By default, you’ll have a maximum of 16,384 columns and 1048576 rows in a single spreadsheet.
Usually, it is a very rare situation when Excel users have data till the last row. So, if you have a large number of unused rows, it could seem like infinite rows—causing the Excel program to freeze and not respond.
In that case, you may want to delete rows from where your data ends to reduce the file size or CPU memory usage.
But, can you really delete infinite rows?
Unfortunately, No! Although you can clear the data from multiple rows at once, it is not possible to eliminate the in-built empty cell ranges. Meaning, you will find 1048576 rows in every worksheet no matter what you do.
But there are several workarounds you could try to delete the Infinite Rows.
Delete Infinite Rows
Remember, you will have a large Excel file only when there are cell formats or null strings in the ranges. For Instance, Format Painter, Conditional Formatting, etc.
As long as the rows are blank, it won’t affect your spreadsheet size. So, to ensure the existing ranges are empty, you can delete rows after your last data.
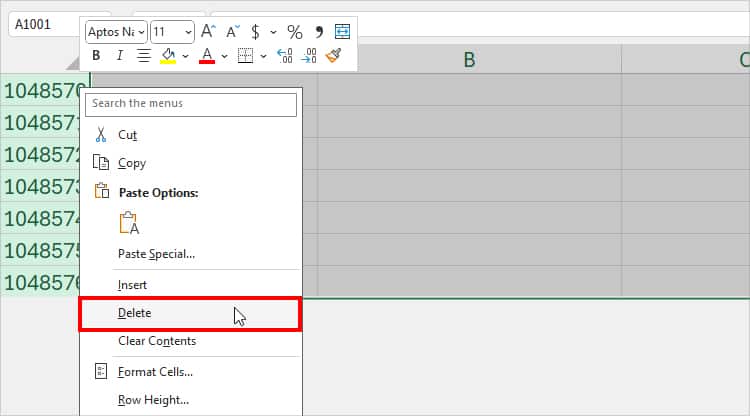
First, select a single entire row. Then, enter the given Excel shortcuts.
Select All Rows: Ctrl + Shift + Down ArrowDelete Rows: Ctrl + -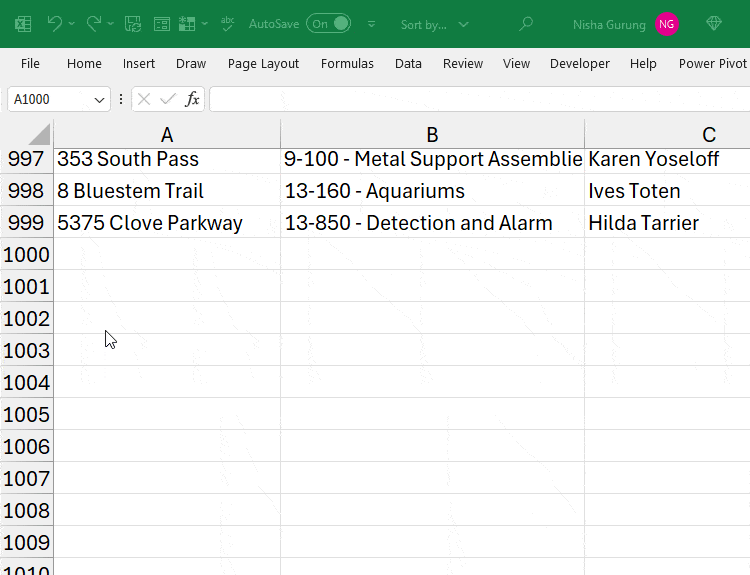
Or, as an alternative, after selecting all rows, right-click on the Row Header and pick Delete.
Once Excel deletes the row, I suggest you press Ctrl + S to save your workbook if you haven’t enabled the AutoSave feature.
In case your Excel does not respond when saving, check out how you can troubleshoot it in our other article.
Hide Infinite Rows
Since you’ll still have the cells visible even after deleting empty rows, you could hide those ranges as a workaround.
As an example, I will hide rows from 1000 till the last. You can specify your own starting row.
- Press
Ctrl + Gto open the Go To dialogue. - On the Reference field, type
1000:1048576and hit OK. It’ll select the mentioned number of rows.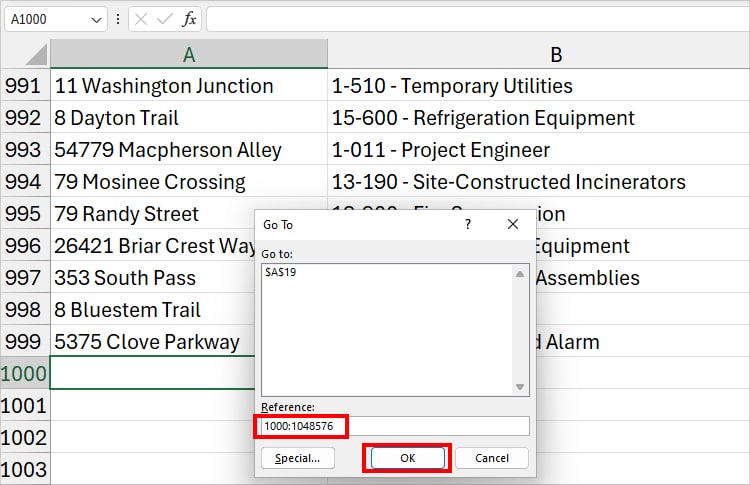
- Right-click on the Row header and hit Hide.
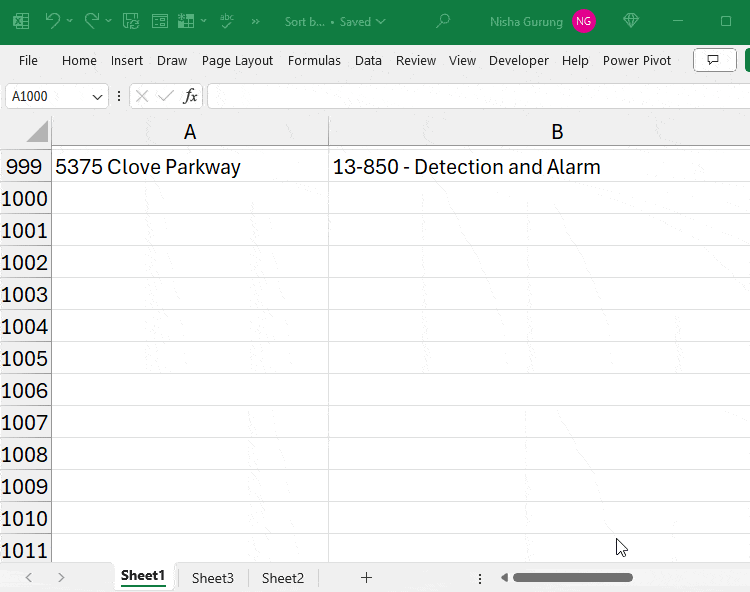
- Now, Excel will display only rows till 999.