Microsoft Excel offers a vast spreadsheet with up to 1,048,576 rows and 16,384 columns. But, if you only want to work around with a specific range of rows and columns, there are a few ways you can limit them.
The restricted or hidden rows and columns will not be usable. Once you reach the limit, you’ll be automatically navigated to another row or column within the specified numbers.
There are mainly two ways that you can limit the rows and columns in Excel. One of the ways is by hiding the rows and columns you don’t want to display and another is by using the VBA code.
How to limit Rows and Columns in Excel
Hide Rows and Columns
This method simply consists of selecting the rows and columns that you don’t like and then hiding or unhiding them. One advantage of this method is that it gets saved with your progress and you won’t need to redo it the next time you open your Excel sheet. Also, it gives a clean appearance. Here are its easy steps:
Hide Columns:
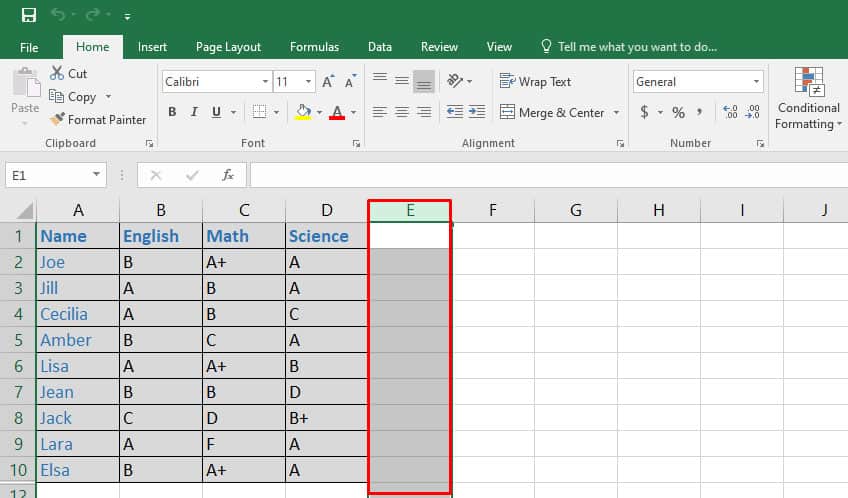
- Once you have your complete data on the Excel sheet, select the new column on the right of your last column with the data. For e.g., our last column is D. We want to select the rest of the columns starting from column E. Make sure to click the column header so that the entirety of it is selected.
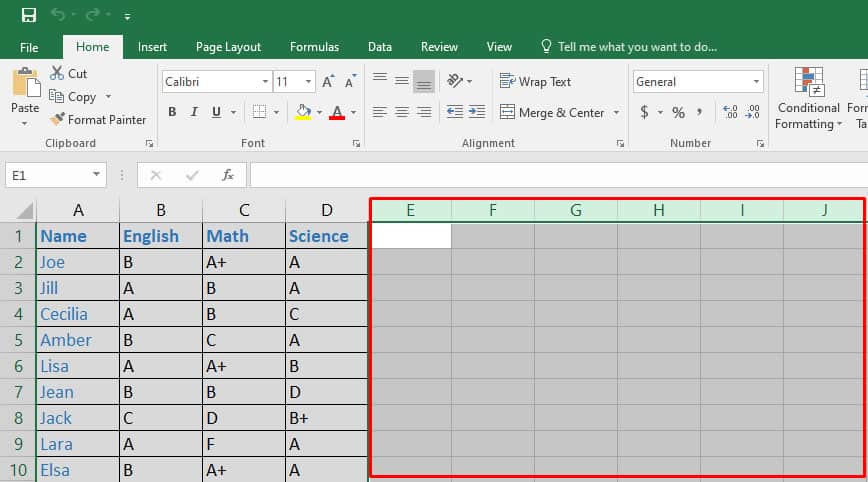
- Then, press the keyboard shortcuts CTRL + Shift + the right arrow key. Doing so will automatically select all the remaining columns.
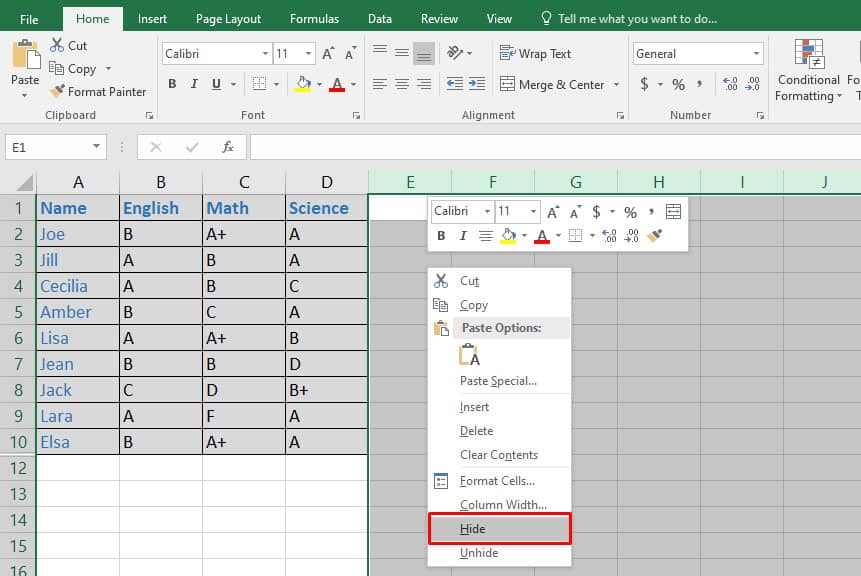
- Right-click on the selected columns and then select the Hide option from the drop-down menu.
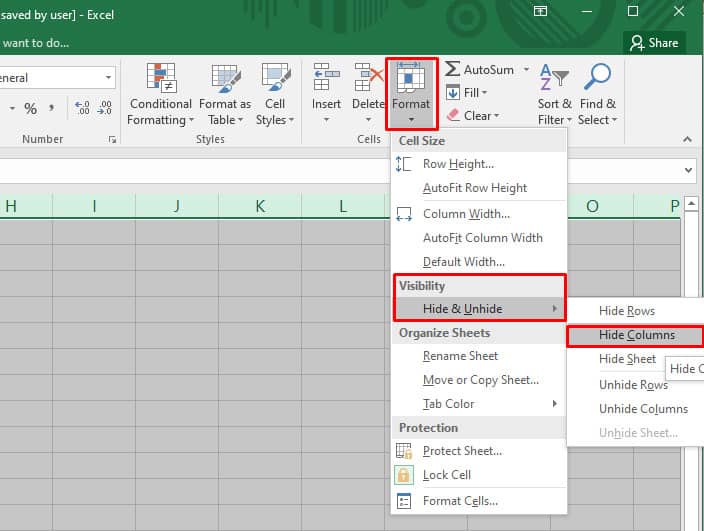
- Alternatively, you can also click on the Format option and then go to Hide & Unhide > Hide Columns.
Hide Rows:
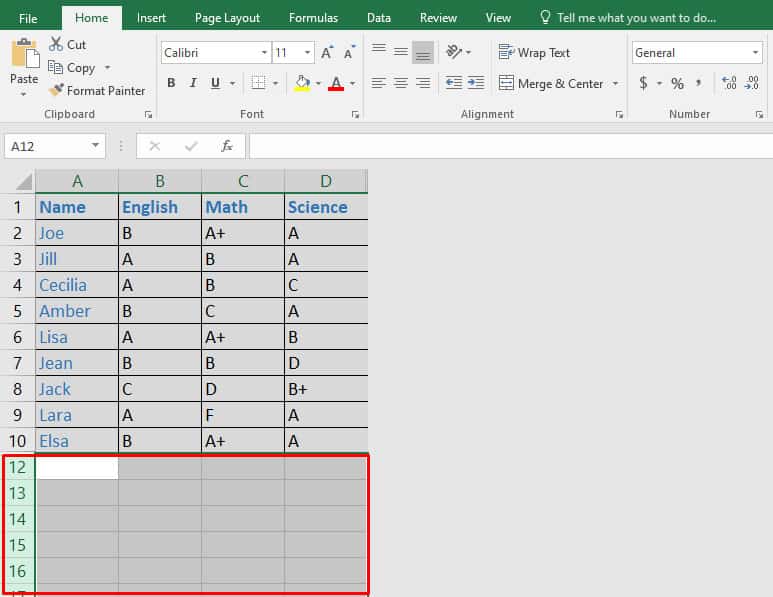
- Click to select the new row after your last row and then press CTRL + Shift + the downward-facing arrow. This will select all the remaining rows. You’ll see that you’ll be navigated to the bottom of the rows up to a million.
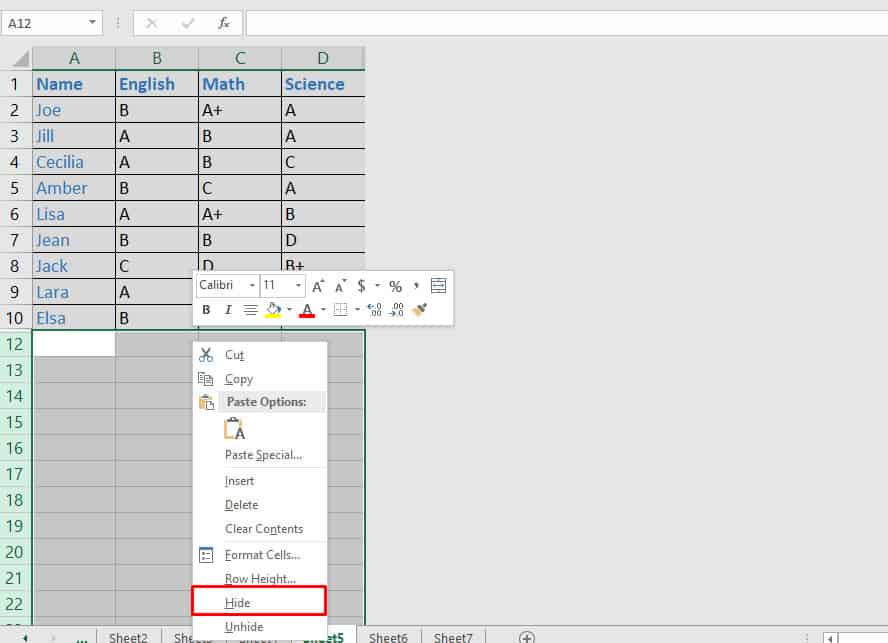
- Scroll up and then hit right-click on the selected rows. Click on the Hide option from the drop-down menu.
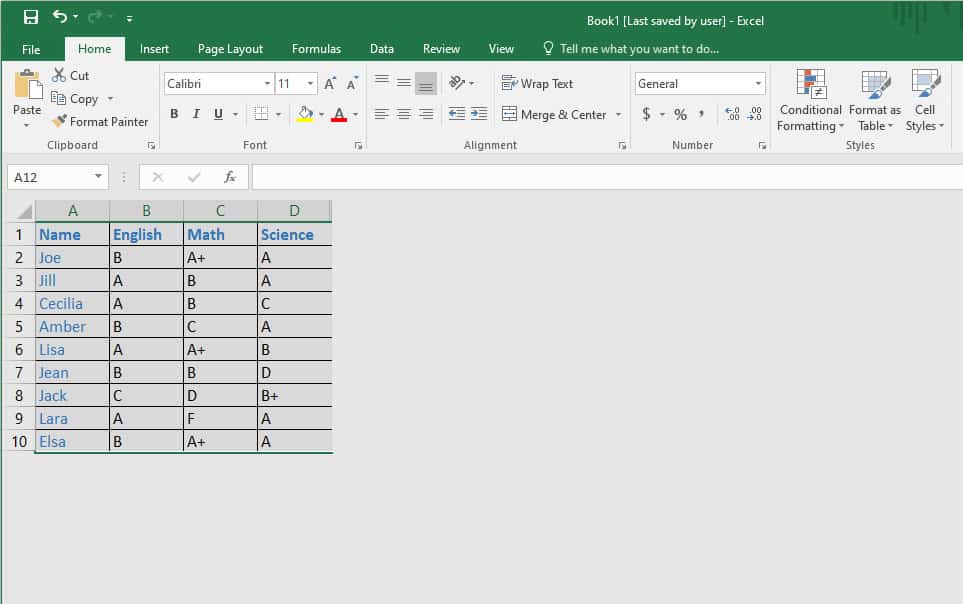
- Now, all the hidden rows and columns will disappear and you’ll only see the plain gray background.
Using the VBA Code
A quick and easy way to limit rows and columns in your Excel sheet is by changing the VBA (Microsoft Visual Basic for Applications) code. Here, you can specify the number of rows and columns you want to use. This method won’t make any changes to the appearance of your sheet. But, you only limit the access of the rows and columns while entering data.
One important thing to note about this method is that it is temporary and it will be removed once you close your Excel sheet. Here’s how you can properly execute it:
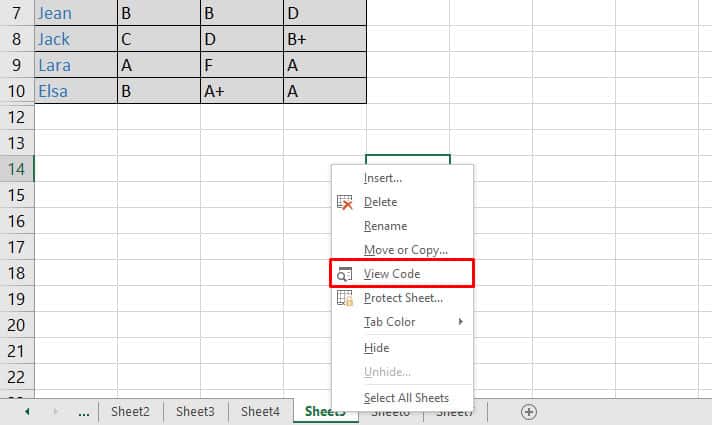
- Open your preferred sheet and then right-click on your sheet tab.
- Then, click on View Code from the available menu.
- In the new MS VBA window, check the Properties tab on the bottom-left panel.
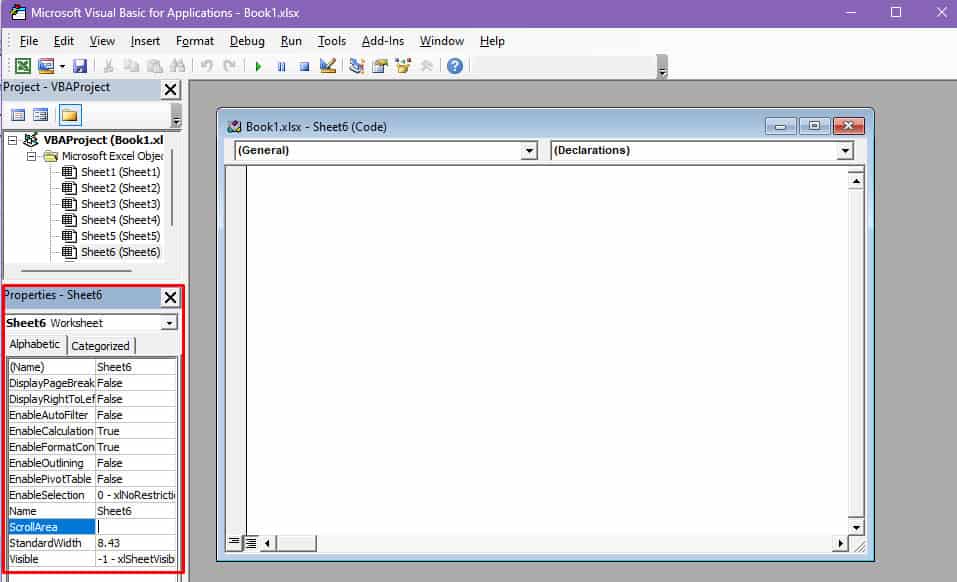
- Here, you can find many settings. Click on the box next to ScrollArea.
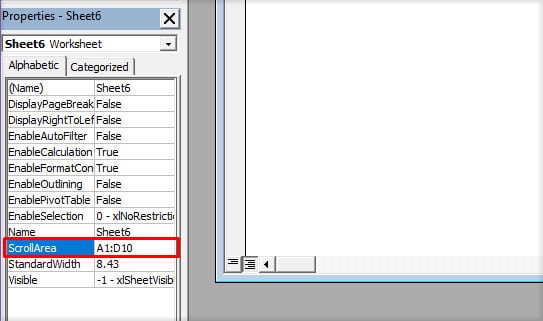
- Inside the box, type in the specific row and column numbers that you want to start with followed by the row and column numbers you want to limit to. For e.g., if you want to limit from column A to D and then limit rows from 1 to 10, enter “A1:D10.”
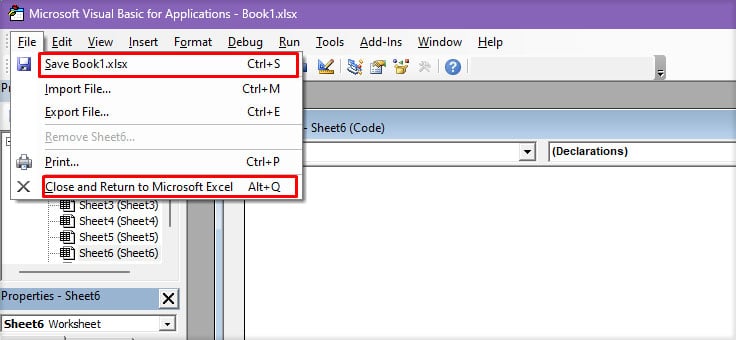
- Now, press Enter. Then, save it by going to File > Save xlsx. Now, click on Close and Return to Microsoft Excel.
- You can now start entering data within your set limit of rows and columns.
If you want to remove the VBA code, either simply exit and reopen your worksheet or follow the above steps and clear the box next to ScrollArea inside the VBA window.
Related Questions
Can I exceed the limit of rows and columns in Excel?
Unfortunately, MS Excel doesn’t allow you to use more rows and columns than its default limit. But, you can still try using the PivotTableReport feature when importing your existing data into a new worksheet. Another way you can achieve this is by splitting your data chart using the Data Model. You can apply this using the PivotTable feature.