With the release of Excel’s AutoSave feature, you can now automatically save your work without having to press the Ctrl + S (Save Shortcut) constantly. Once you enable AutoSave, Excel will save files after every second you make changes in the workbook. So, no more fear of losing files!
While the AutoSave menu is your KNIGHT IN SHINING ARMOR, it comes with a price. As of now, only Excel 365 users can use the AutoSave feature. However, for older Excel versions, you still have the AutoRecover feature which you could use to your utmost advantage.
AutoSave And AutoRecover- What’s the Difference?
If I have to say the key differences between AutoSave and AutoRecover in one word, I would say their availability in Office Versions. But, there’s more!
The AutoRecover feature is available on all the older and latest (365) Excel versions. AutoRecover saves a copy of your Excel file in the specified time period regularly. For example, every 5 minutes or every 10 minutes. Its main purpose is to allow the users to restore the workbook versions during the abrupt app crash, lost internet connection, Excel not responding issues, sudden Restart of your device, and so on.
On the other hand, AutoSave is a new feature that is exclusively available to only Office 365 users. When you enable AutoSave, Excel will actually save your work on a real-time basis which is best for co-authoring workbooks. You can also keep track of changes made in the workbook through History.
Step 1: Save Files to Drive
First and foremost, you must save your workbooks to drive like OneDrive or SharePoint. This step is mandatory whether it’s a new workbook you’ve created in Excel or the external file you opened from your PC.
If you attempt to turn on the AutoSave feature without saving files in the drive, Excel will prompt you to do that first. So, we will start with saving files. Keep in mind, you must save the files in the newer Excel format like .XLSX format to use AutoSave.
For users who already have saved their files to the Drive, you can skip this step and move on to Step 2.
The steps to save the workbooks you created or opened in Excel are the same.
- Launch Excel and open a Workbook.
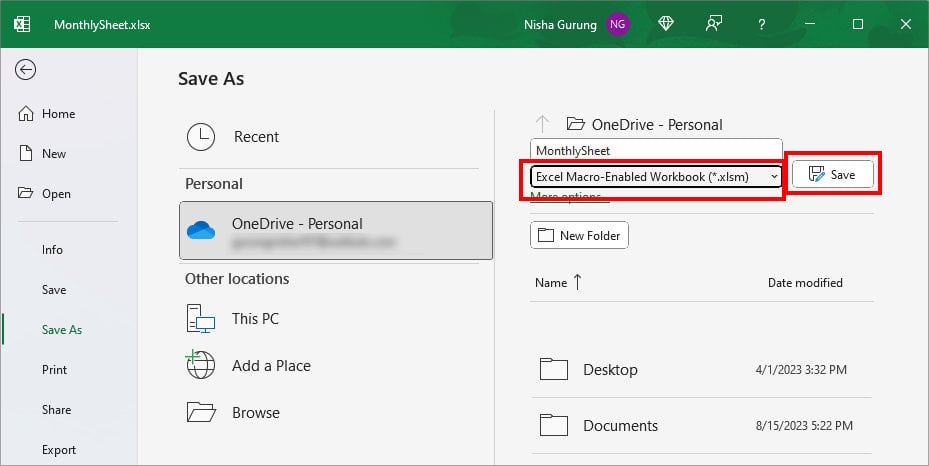
- Navigate to the File Tab. Then, click on the Save As menu.
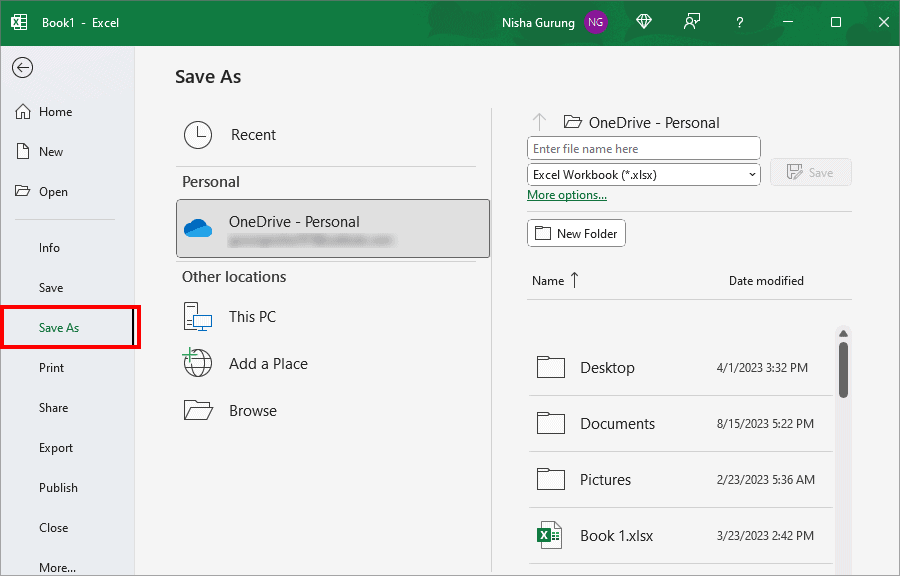
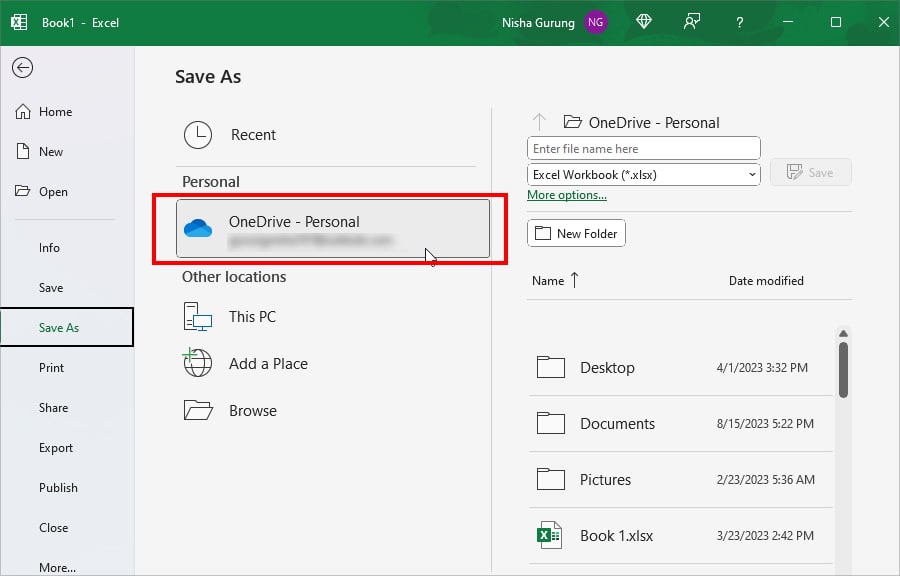
- For School or Office account, choose OneDrive – (Company Name). If you use a personal account, select One Drive – Personal.
- Now, see on the right side. Then type in a Name for the Workbook.
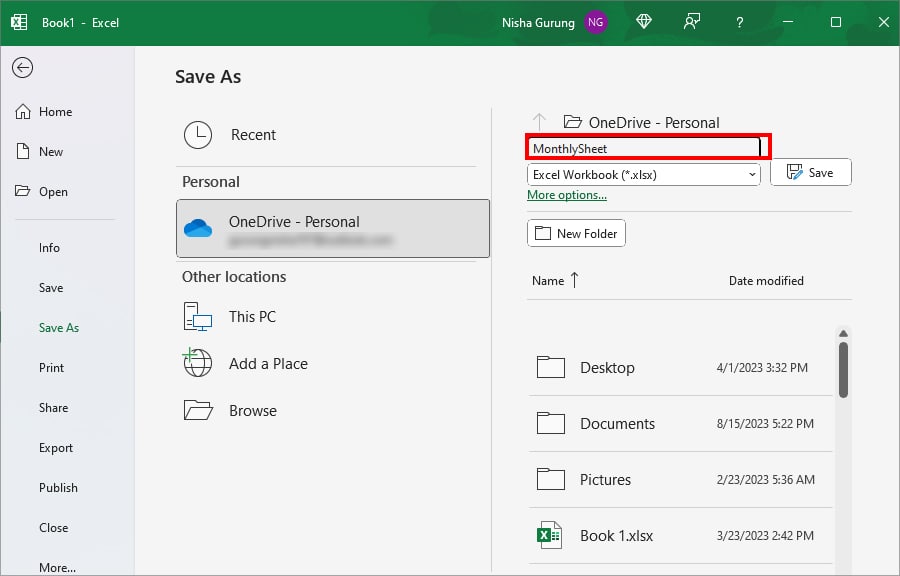
- If the File format is *xlsx, leave it as it is. But, if there’s a different format, expand the drop-down menu and pick Excel Workbook (*xlsx).

- Finally, click on Save.
Step 2: Turn on AutoSave Feature
After you’ve saved the Files to Drive, you’re good to use the AutoSave feature. If you take a look at your Quick Access Toolbar, you can find the AutoSave menu with the toggle button. Simply slide the Toggle on to enable it.
In case you do not see the menu, you may have to add AutoSave to your Quick Access toolbar. For this, expand the Customize Quick Access Toolbar icon and click on Automatically Save. Once the AutoSave appears, Toggle on the button.
Step 3: Configure AutoSave Settings
Now, once you turn on AutoSave, Excel will immediately save the files on a real-time basis. But, to use this feature at its full potential, you can configure the AutoSave Settings from Excel Options.
For example, you can set the option to automatically turn on AutoSave for the files that are already stored in Drive. Or, decrease the time interval for the AutoRecover feature.
Here, we won’t be going through all of the Save workbooks settings. We will just check out the Save settings that influence the AutoSave feature.
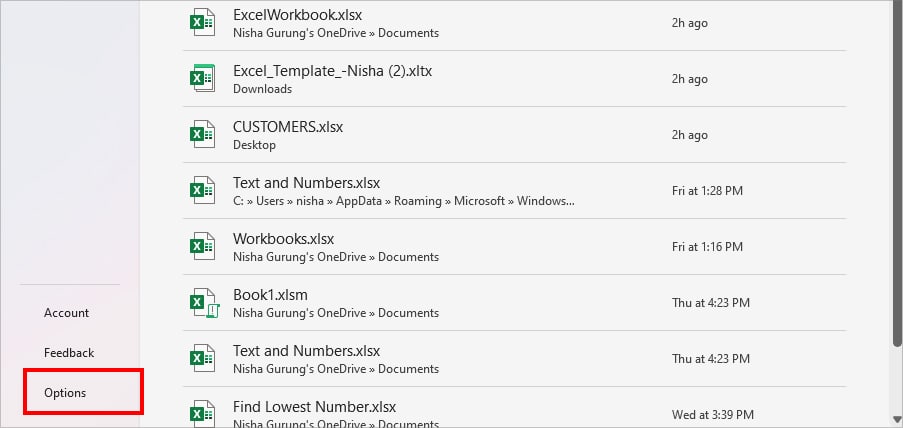
- If you’re on Workbook, click the File Tab.
- On the left panel, choose Options.
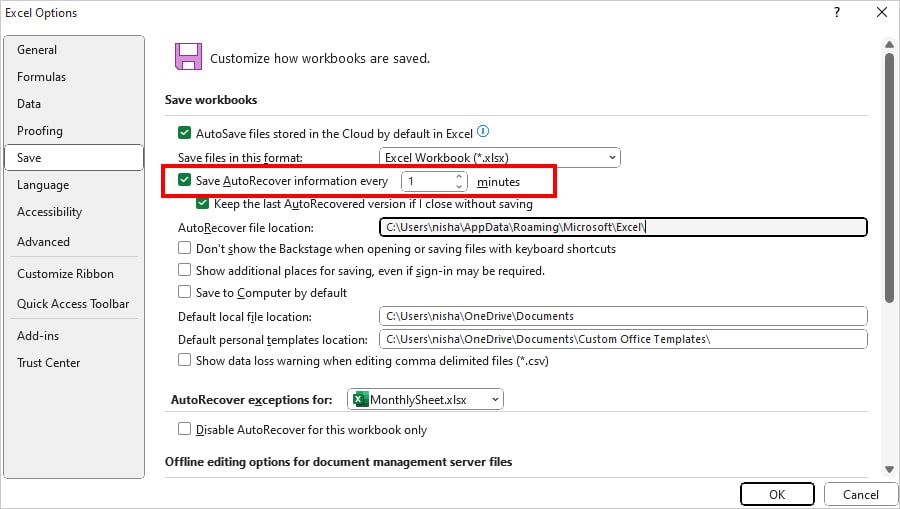
- On the Excel Options window, go to the Save menu. Now, below Save workbooks, modify the settings as preferred.
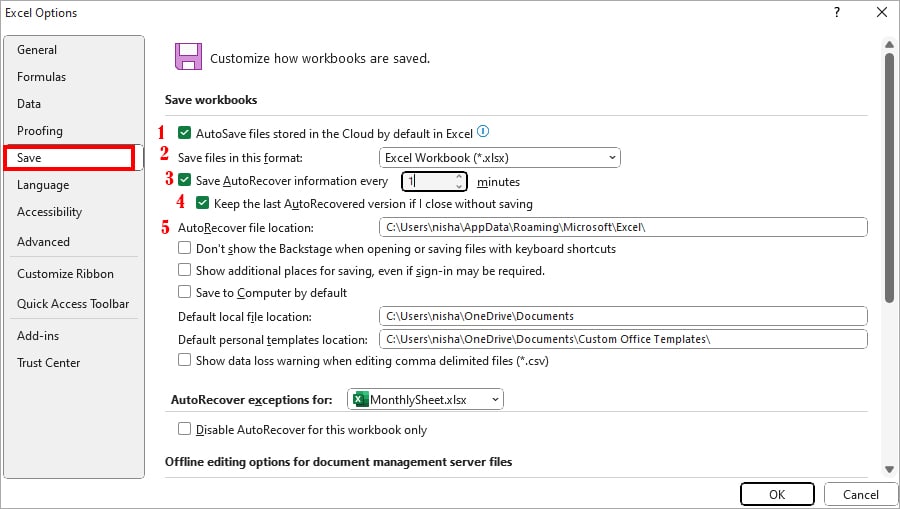
- AutoSave files stored in the Cloud by default in Excel: Tick to enable AutoSave all files saved in Drive.
- Save files in this format: Excel will save all newer workbooks in the file format you choose by default.
- Save AutoRecover information every ….. minutes: By default, the AutoRecover time is 10 minutes. You can decrease the number to command AutoRecover to save files faster. Here, we set the time to 1 minute.
- Keep the last AutoRecovered version if I close without saving: Tick this option to access the AutoRecovered version of files as soon as you open a workbook in Excel.
- AutoRecover file location: Excel stores all your AutoRecovery files in the mentioned File Path. In case you cannot restore files from Excel, you can do this locally from your PC.
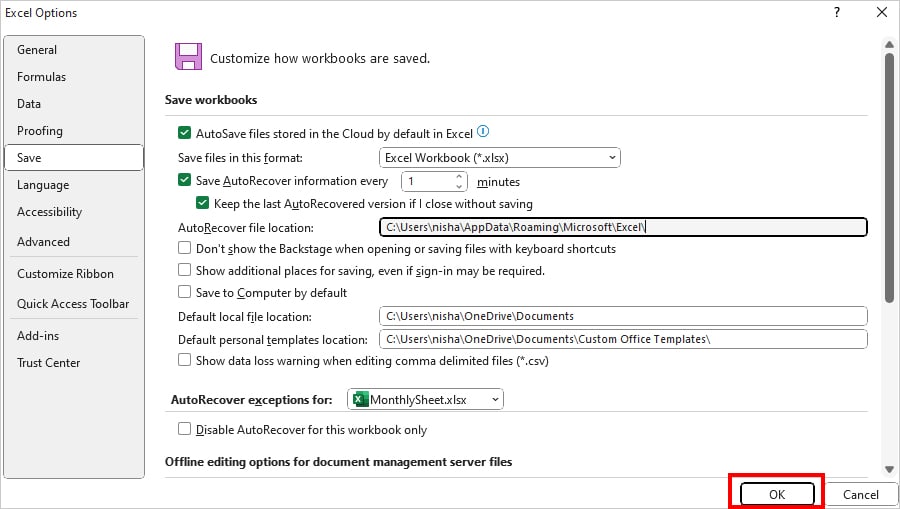
- Once you’re done, click OK.
Can’t AutoSave a Workbook in Excel 365?
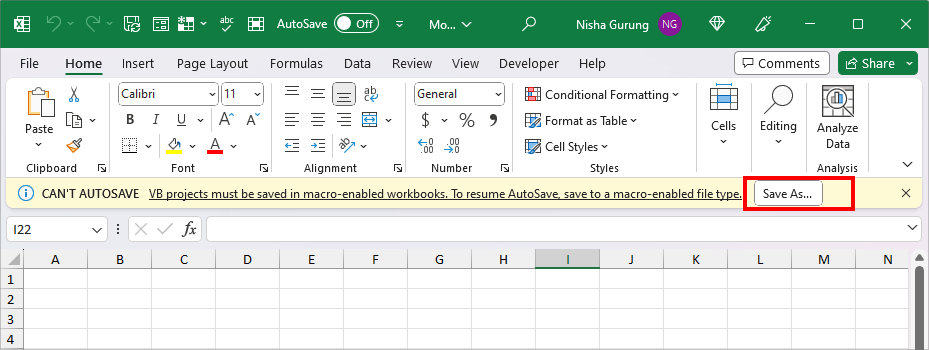
When using the AutoSave feature on the 365 workbooks, you may encounter some error messages like CAN’T AUTOSAVE VB projects must be saved in macro-enabled workbooks. To resume AutoSave, save to macro-enabled file type. You’ll receive this error if your .xlsx workbook contains the Macro.
Remember, Excel will turn off the AutoSave feature for your current workbook until you address this issue. So, do not ignore such messages.

To fix this, click Save As in the yellow warning box.
Choose, a Location. Then, set the file format to Excel Macro-Enabled Workbook (*.xlsm) and hit Save.
AutoSave – Workarounds for Older Excel Versions
As I have said earlier, AutoSave is not available for any other Excel Versions other than 365. For Excel without AutoSave, Ctrl + S shortcut key can be your literal savior. Make a habit of using that key more often. Besides, you can try out these few workarounds.
Change AutoRecover Time
Firstly, reduce the AutoRecover interval time to 1 minute. Although this workaround is incomparable to the real-time saving, it still is a better option than the default 10 minutes time. You can do this from the Save menu of Excel Options. We discussed the steps earlier in the Configure AutoSave Settings part above.
Use VBA code to prompt Excel to Automatically Save Files Before closing
If you’ve used Macros and VBA code before, you might already know that these features are used to run routine tasks in Excel. Using this VBA code, you can prompt Excel to automatically save files before closing. Keep in mind the given code will only work for older Excel versions.
- On your sheet, enter Alt + F11 key to open the VBA window.
- Click on ThisWorkbook twice.
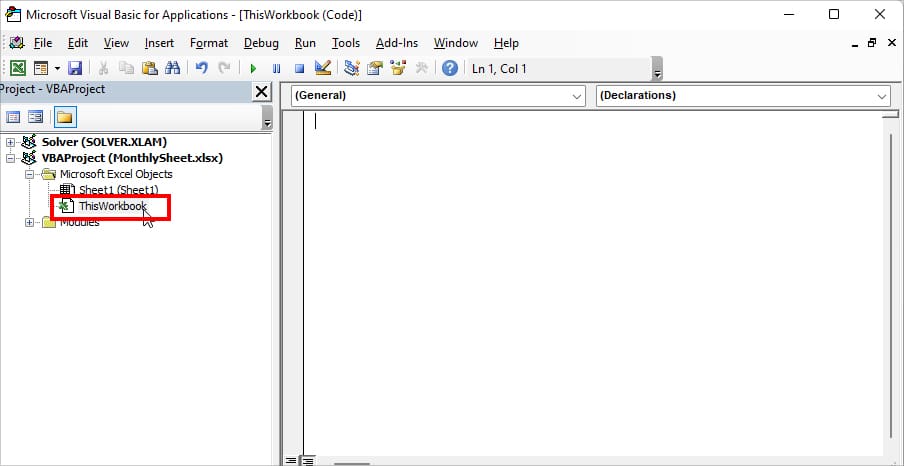
- Copy the code in the box and paste it into the VBA window.
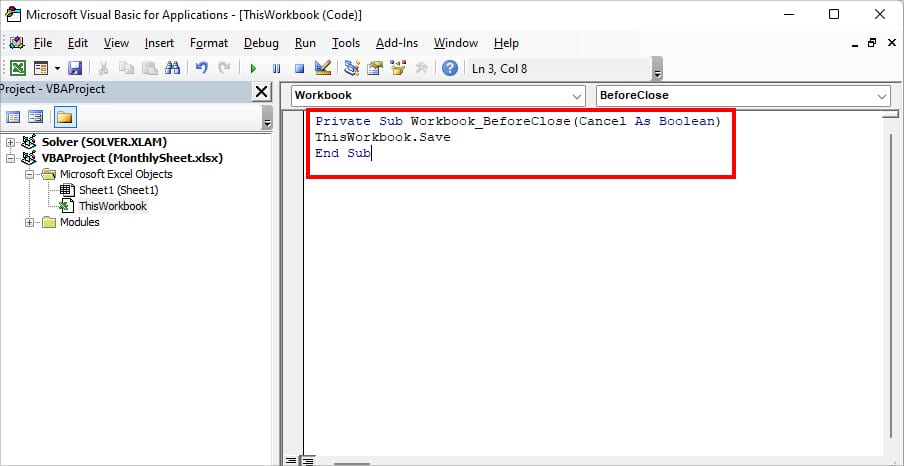
Private Sub Workbook_BeforeClose(Cancel As Boolean)
ThisWorkbook.Save
End Sub- Close the VBA window.