If you enter date in a cell that is formatted as text, excel will have hard time recognizing it’s original format. You will mostly encounter this issue when dealing with date values stored in different locales.
Apart from a text cell formatted cell, you will also get this error if the date has a typo. Eg:
- Incorrect date format
- Incorrect date separator
You can use a range of tools and functions, including Text to Columns, and the DATEVALUE function to fix the Excel not recognizing dates issue.
Separate Time from Date
| Function Used | Data Type | Syntax |
| TEXT | TEXT | =TEXT(value,format_text) |
| VALUE | INTEGER | =VALUE(text) |
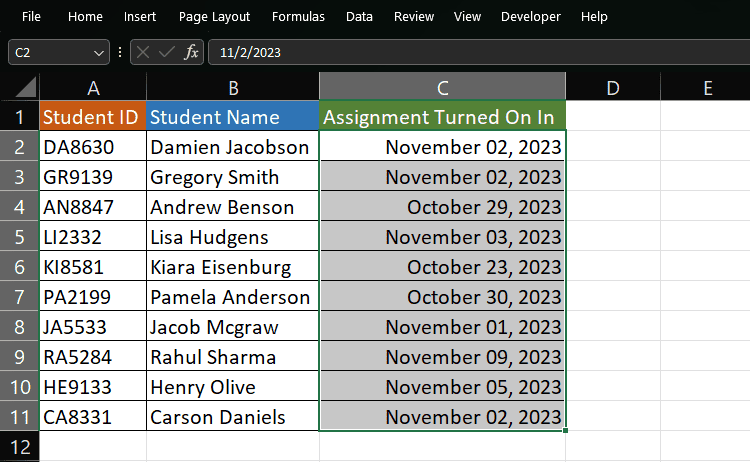
If you’ve entered the date and time in the same cell, Excel is probably recognizing your data as text. You can separate the time from the date to fix this issue.
We’ll first use the TEXT function to extract the date from the date and time value. Then, we’ll convert the text value to a number using VALUE.
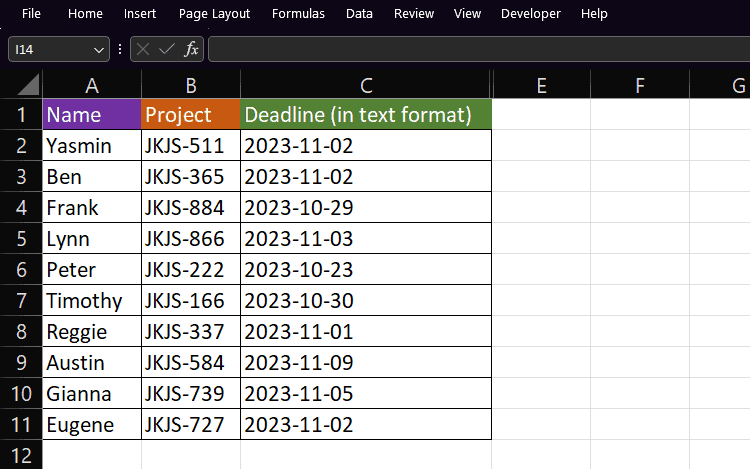
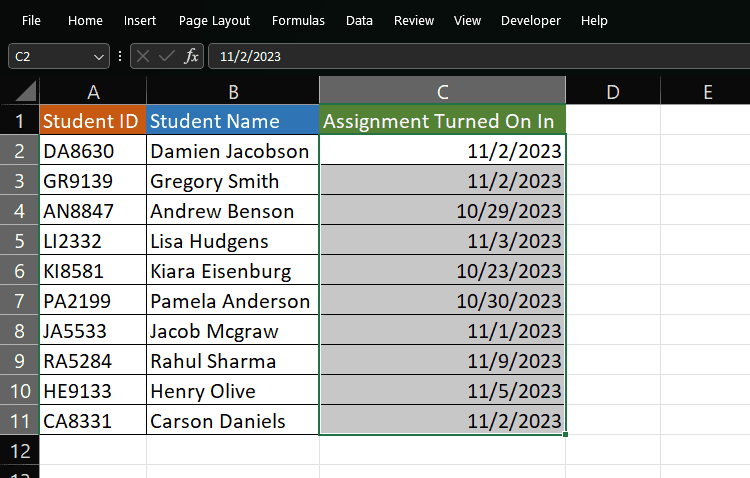
Let’s separate and then convert the values in column C into dates. In cell D2, enter the following formula:
=VALUE(TEXT(C2,"yyyy-mm-dd")) // Returns the serial key of the date in cell C2.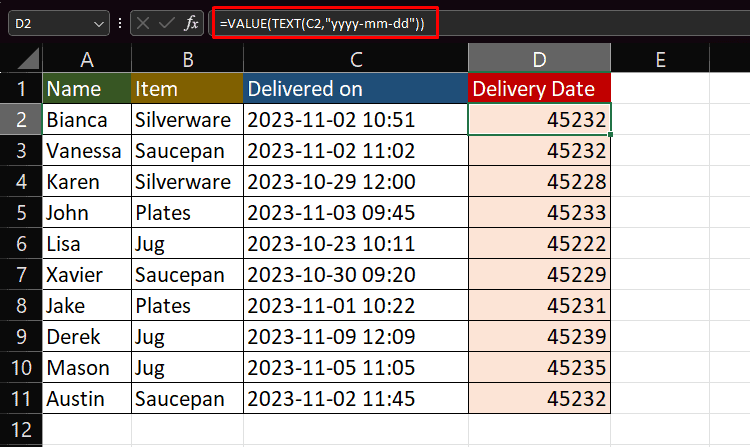
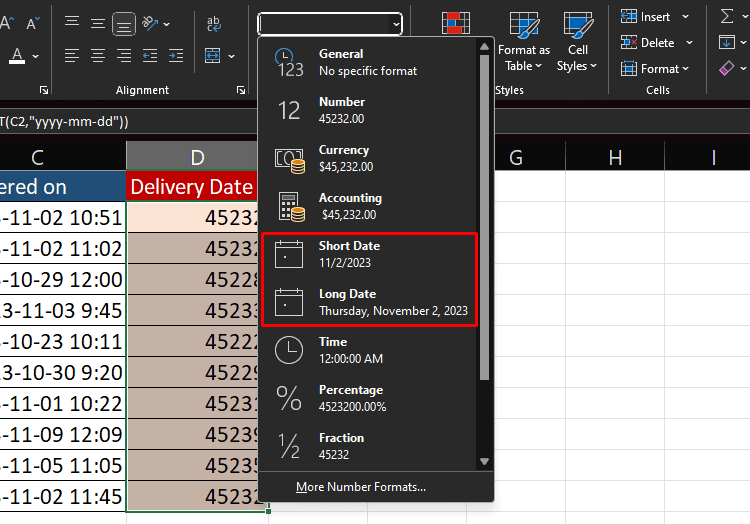
Apply the formula to the entire range. To properly format your date, go to Home > Number > Short/Long Date.
Use Text to Columns
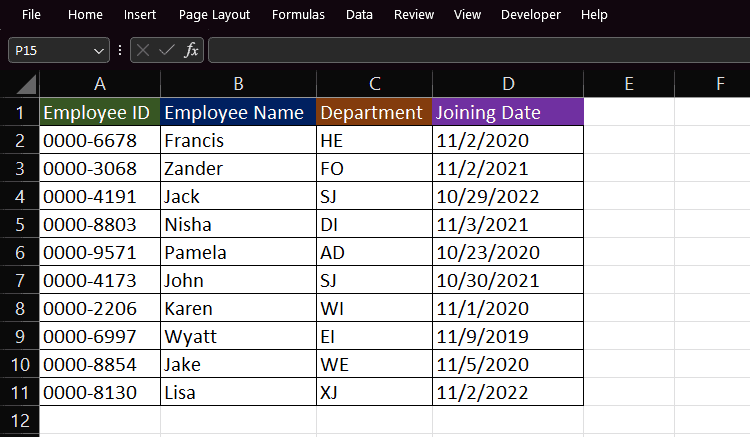
Excel may fail to recognize your dates if they do not match your system date format. In these cases, you can use the Text to Column tool in Excel to convert a large data set to dates.
You can keep the same date format or even change the format to match your system date format using the Text to Columns utility.
- Select range D2:D11.
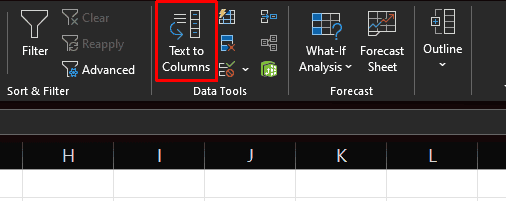
- Go to the Data > Text to Columns.
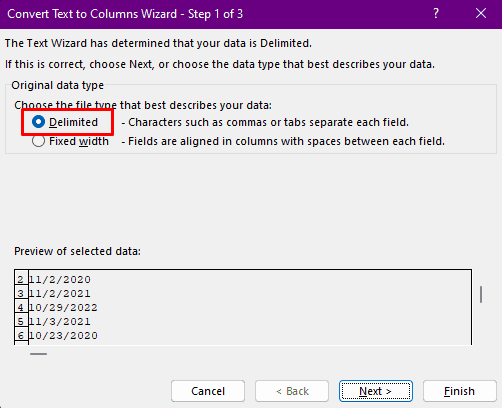
- Select Delimited > Next.
- Uncheck all boxes under Delimiters > Next.
- In Step 3 of 3 window, select Date under the Column data format section.
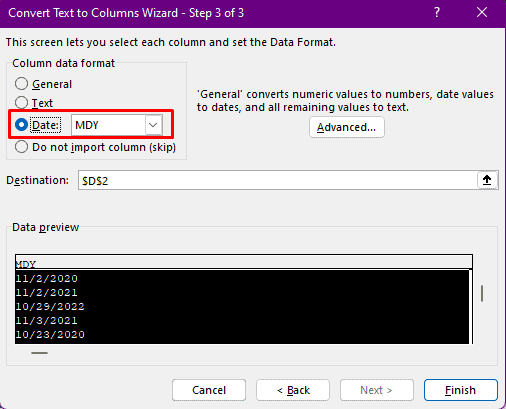
- Click on the fly-out next to Date and choose the format your date is in.
- Select Finish.
Use DATEVALUE to Convert Text to Date
| Function Used | Type | Syntax |
| DATEVALUE | DATE | =DATEVALUE(date_text) |
DATEVALUE is a dedicated Excel function that converts a date stored as text into a date. Like VALUE, DATEVALUE returns dates as serial numbers. So, you’ll have to change the format to a short or long date from the Home tab.
Range C2:C11 holds dates that are stored as text.
Let’s use DATEVALUE to convert them into proper date values. In cell D2, enter the following function:
=DATEVALUE(C2)
Apply the formula to the rest of the column. Select the data, then go to Home > Number > Short Date/ Long Date.
Change Date Delimiter
You must use proper delimiters for Excel to recognize your values as date. For instance, you cannot use commas or decimal points to separate day, month, and year in dates.
Your dates should be separated by symbols like hyphen (-) and slash (/). While making this change is simple when you have a smaller data set, this can be a chore in larger spreadsheets.
To automate this process, utilize the Find and Replace tool in Excel.
- On your keyboard, select Ctrl + H.
- Next to Find What, enter the delimiter you’re currently using.
- Enter either hyphen (-) or slash (/) next to Replace with.
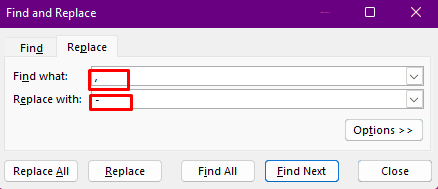
- Select Replace All.
Create a Custom Date Format
Excel may also fail to recognize your value as a date if you’ve entered it in an unconventional format.
For example, if you’ve entered your date as “November 22, 2023”, Excel will recognize it as a string and not a date.
To enter dates in such formatting, you must apply a custom date format. However, remember to convert it to your system date format before making the conversion.
This step is important so Excel can recognize the day, month, and year value.
- Select range C2:C11.
- On your keyboard, press Ctrl + 1.
- From the sidebar, select Custom.
- Under Type, enter your format. To enter the date as “November 22, 2023”, enter mmmm dd, yyyy.
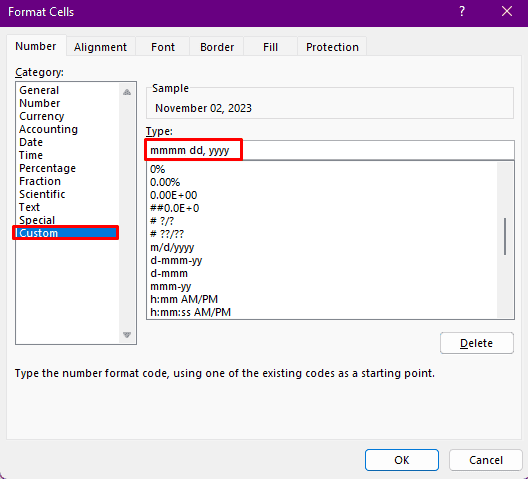
- Click OK.