Excel substitutes for a good task manager. You can maintain records like total working hours and attendance sheets. Additionally, you could even manage time-sensitive data such as delivery dates and times.
When working with such records, you may find the need to separately enter dates and times to better analyze your data. If your spreadsheet contains date and time values in a single column, fret not as there are multiple methods you can use in Excel to separate these values.
Using INT Function
The INT function in Excel returns the integer value of the given reference or data. In date and time, this formula separates the dates from the time. After extracting the date, on a different cell, you can subtract the date value from the original cell containing, the date and time. This will then result in your time.
The syntax for the INT function is pretty simple. It only takes in one reference as an argument. Here is the format you need to follow when using the INT function in a formula:
=INT(number)In this sheet, I have 12 date and time values in the range A2:A13. Here’s how I will be using the INT function to separate date and time values:
Step 1: Apply the Formula
Firstly, let’s use the INT function to extract the date value. We will then subtract the original cell from the extracted result.
- In cell B2, Enter the following formula:
=INT(A2)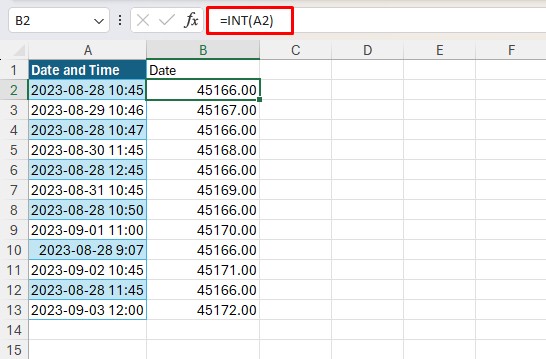
- Use Flash Fill to apply the formula to the rest of the cells.
- In cell C2, enter the following formula:
=A2-B2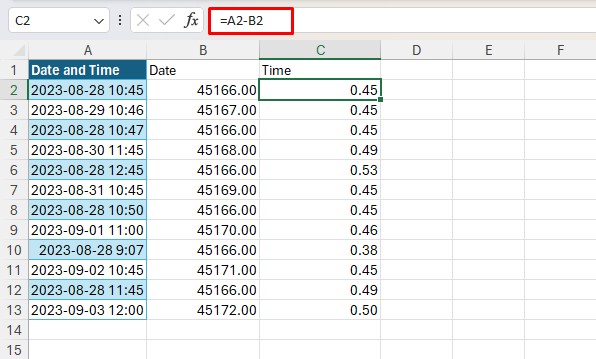
Step 2: Change Format to Date
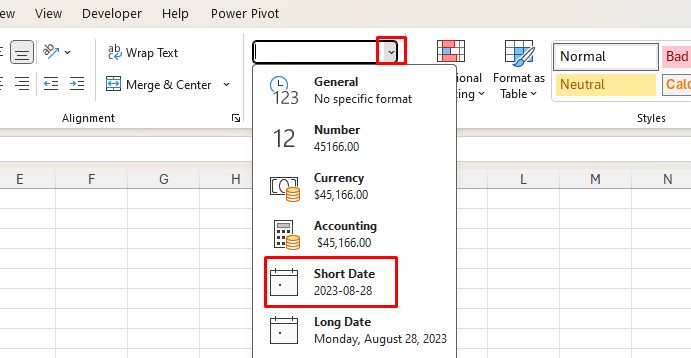
The INT function returns your values in the number format. Our next step will be to change the cell format to date and time format.
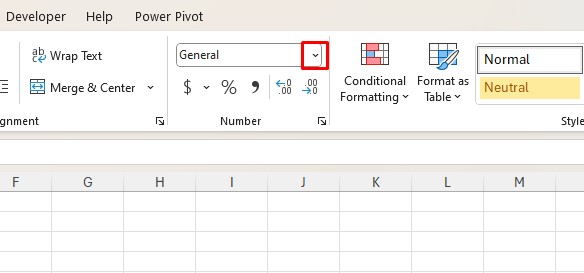
- Select range B2:B13 and head to the Home tab.
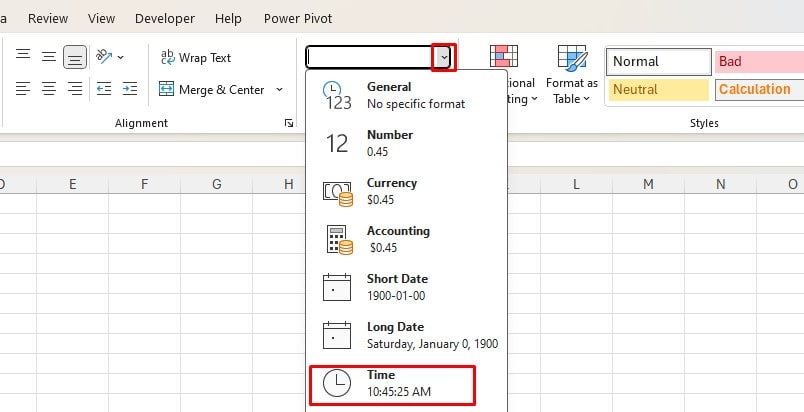
- From the Number section, select the General fly-out.
- Choose Short Date.
- Select range C2:C13.
- Click on the General fly-out menu in the Number section.
- Choose Time.
Use Flash Fill
You can also use Flash Fill to automatically extract date and time values in Excel. As Excel uses smart AI, if you manually enter date values on the adjacent cell, it will recognize the pattern. Select the remaining cells under the new column and use Ctrl + E. This will automatically paste the remaining values in the selected cells.
You can use the same technique to separate the Time values from the source column.
Use Text to Columns
As the name suggests, the text-to-columns tool in Excel is used to separate texts within a cell into multiple columns. You can use this tool in two ways to separate date and time values.
If your date and time values are separated by a delimiter, say a comma, you can use this as a basis to separate your values. However, as most date and time values do not have such separators, you can choose the fixed-width option. Using this option, you can separate your data that have spaces in between them.
- Select the range containing your date and time values.
- Head to the Data tab.
- From the Data Tools section, click on Text to Columns.

- In step 1 of 3, choose Fixed Width > Next.

- Adjust the line under the Preview section. The section represents each column.
- Select each column and choose Date under Column data format.
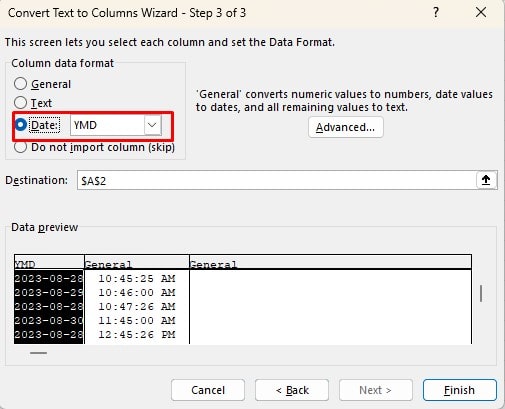
- Select Finish.
- Select the range with your dates, go to Home, and convert it into Short Date.
Use TEXT Function inside DATEVALUE and TIMEVALUE
You can also use the TEXT function to extract date and time values and place them on a different cell. However, the TEXT function converts the results into the text format. You can change the format back to date by nesting the formula inside the DATEVALUE function and inside the TIMEVALUE function for times.
The TEXT function is pretty simple to use. Here is the syntax this function uses when creating a formula:
=TEXT(value,format_text)- value: Your reference
- format_text: The format you wish your value to be in. In this example, we will be using the yyyy/mm/dd (YMD) format for dates and hh:mm:ss format for time.
In this sheet, we have our date and time values in the range A2:A13. Let’s use the TEXT function to extract the date and time values and nest them inside DATEVALUE and TIMEVALUE to format the text values as date and time.
- In cell B2, enter the following formula:
=DATEVALUE(TEXT(A2,"yyyy-mm-dd"))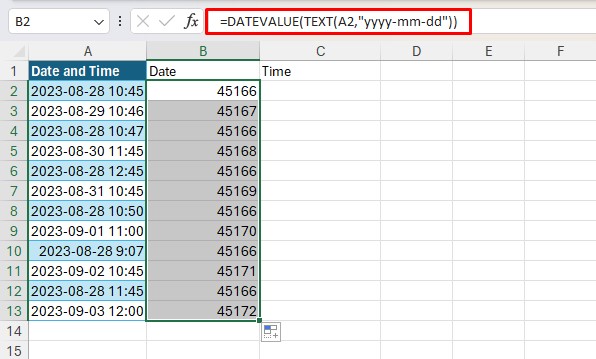
- Use Flash Fill to apply the formula till B13.
- Select the range then in the Home tab, convert the range to Short Date.
- In cell C2, enter the following formula:
=TIMEVALUE(TEXT(A2,"hh:mm:ss"))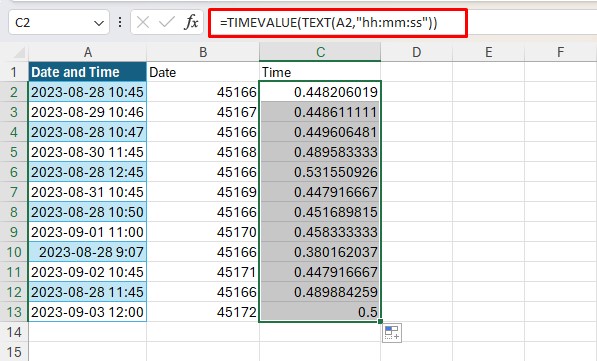
- Use Flash Fill to apply the formula till C13.
- With the range selected, go to the Home tab and convert the range to Time.
Use Power Query
The Power Query is a powerful automation tool. You can use Power Query to split date and time values into two separate columns. After extracting these values in the Power Query editor, you can then close and load your values into an existing, or a completely new sheet.
- Select your table/range.
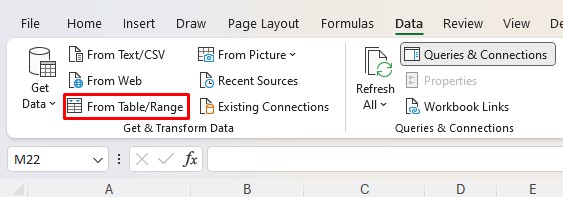
- Head to the Data tab.
- From the Get and Transform section, click From Table/Range.
- If prompted, click OK on the Create Table window.
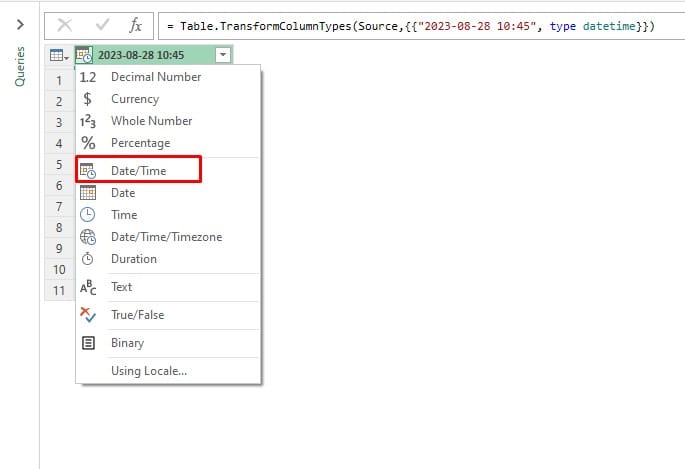
- Click on the top-left of your column and select Date and Time.
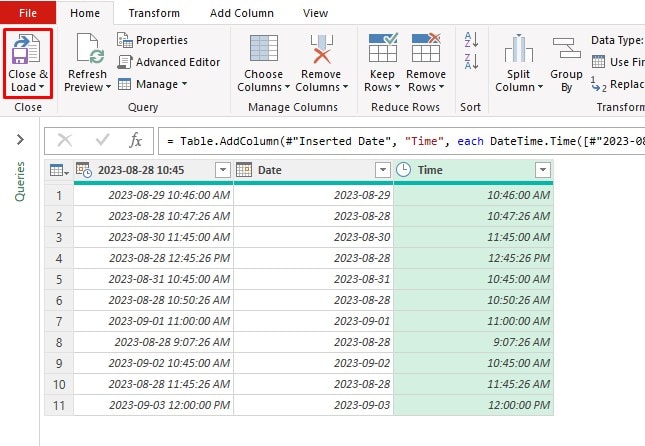
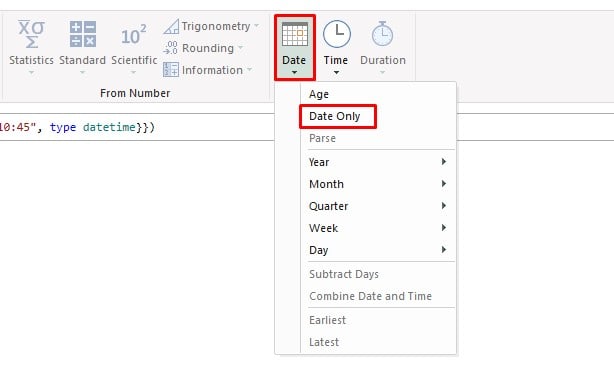
- Go to the Add Column tab in the Power Query Editor.
- In the Date & Time section, select Date > Date Only.
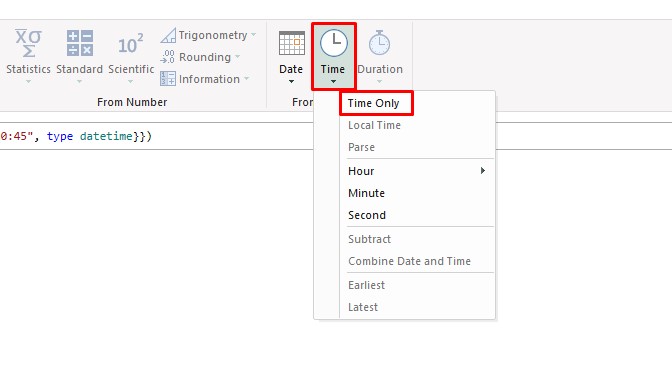
- In the same section, click on Time > Time Only.
- Go to Home > Close and Load.