If you use Excel on a daily basis like me, there can be a lot of repetitive tasks you would have to perform. In my case, I have to apply the same Conditional formatting on different worksheets every week to display the progress status.
For this, I use Excel’s Macro to record the activities which I need to execute again. Then, simply run a Macro for other sheets when required. This way I do not feel monotonous carrying out tasks in Excel. You could also create a Macro for your work and replay them again as needed.
Things You Should Know About Macro
- Macro records every action you make in Excel. For example, activities like typing texts, formatting cells, importing data, using Excel ribbons, mouse clicks, etc.
- Excel stores the recorded Macro activities as VBA (Visual Basic for Applications) Code. In case you miss out on some tasks while capturing, there’s no option but to re-record Macro or edit the code.
- Excel will send you a Security Warning if you haven’t enabled Macro in your workbook. By default, Excel disables Macro to protect your workbook from security threats. So, if you cannot create a Macro, you would have to turn on the Macro first.
- If you select a certain cell range while recording a Macro, Excel will execute the Macro only on the specified range. Meaning, it won’t apply to the new rows or columns you’ve added later in that range.
- There is no limit to run the recorded Macro. You can replay as many times as needed.
- As long as the application supports VBA, you can record Macro in other Office apps too.
Step 1: Add Developer Tab
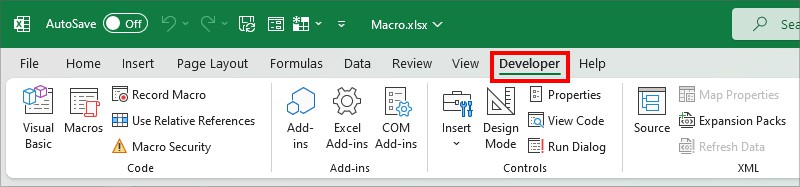
In Excel, Macros fall under the Developer Tab. But, as Excel hides the Developer Tab, you would have to add them to your ribbon in order to use Macro. Check your Excel ribbon and look for the tab. If you cannot see it, go through the following steps. However, for users who already have access to Developer Tab, you can directly proceed with step 2.
- Launch Excel.
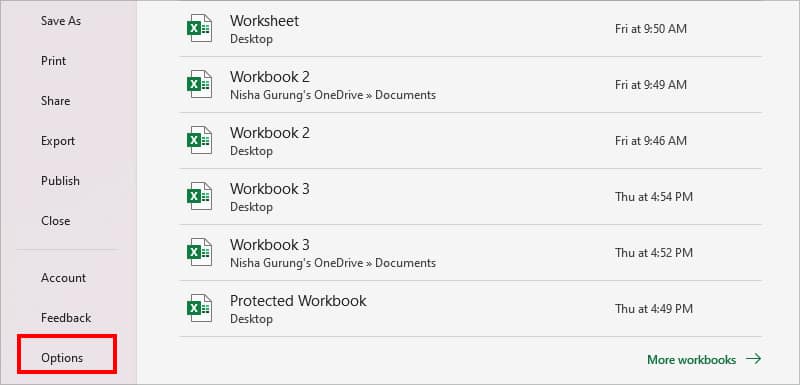
- From the bottom-left, go to Options.
- On a new window, click Customize Ribbon.
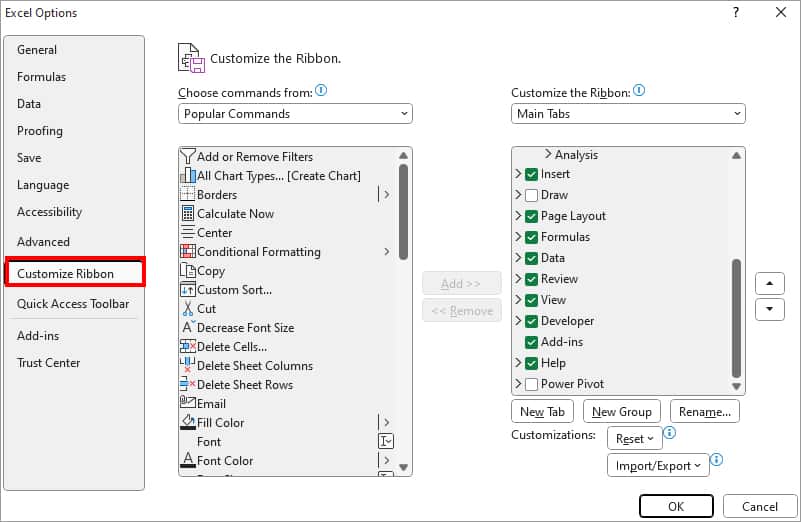
- Now, head to Main Tabs menu and tick the box for Developer.
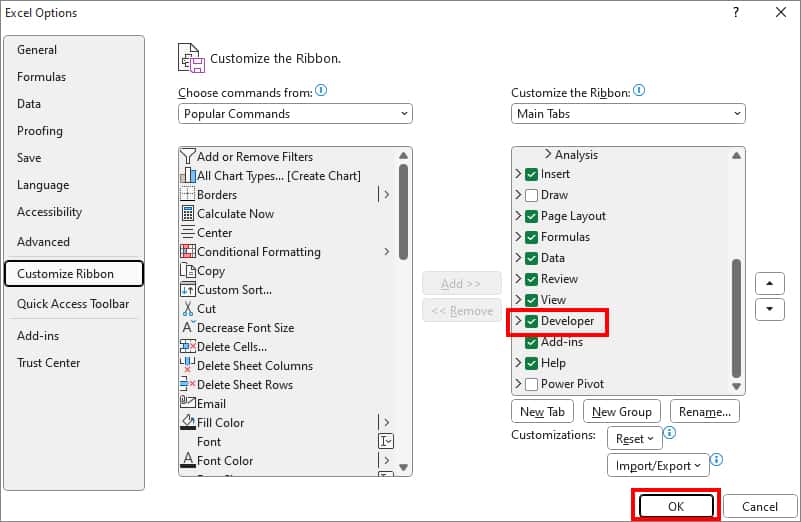
- Hit OK.
Step 2: Record Macro
In this step, we will record a Macro from the Developer Tab. Remember, this step is very crucial because whatever action you perform after hitting the record button, Excel will register the exact command. Then, Excel will display all these recorded activities in the form of a VBA code. If you make mistakes, your only workaround would be to either edit the VBA code or re-record.
- Open a Workbook in Excel.
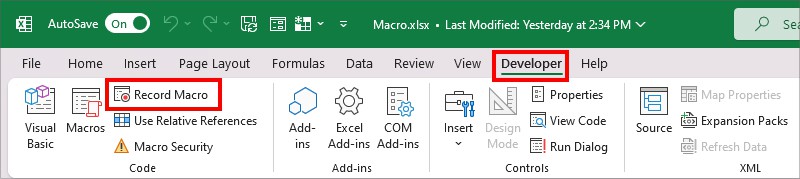
- Go to Developer Tab. Hover over the Code section and click on Record Macro.
- On Record Macro window, fill in the information for the following field.
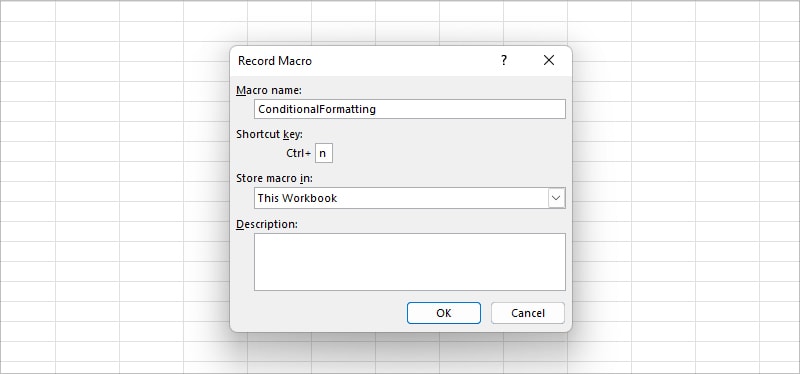
- Macro name: Type in a Name for your Macro.
- Shortcut key: Enter a key to create your own keyboard shortcut to record macro. Do not assign existing default shortcut keys.
- Store macro in: Pick a location to record Macro.
- Description: Type in the details about the Macro.
- Click OK. Once you hit the OK button, Macros will immediately start recording. Perform the tasks you wish to replicate.
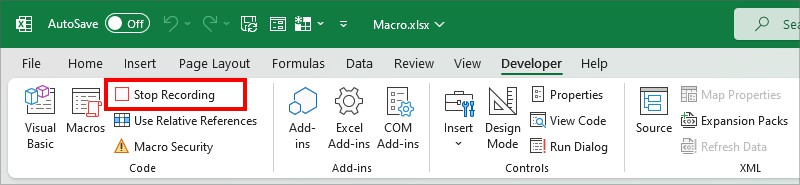
- When done, click Stop Recording in the Developer tab.
Step 3: Run Macro
Once you’ve recorded the Macro, it is ready to use. If you feel like you do not have to edit the Macro, there are three ways you can run a Macro. Check out the steps and follow whichever method seems the most convenient for you.
From Excel Ribbon
You can find a default Macros menu in the Developer tab of Excel to run the Macro.
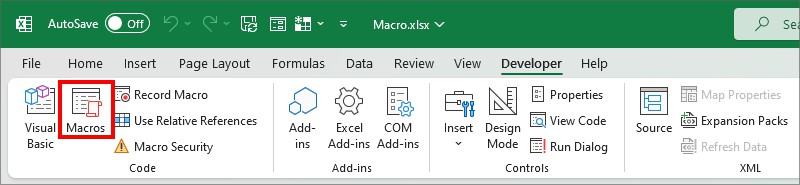
- On Developer Tab, hover over Code section.
- Click Macros.

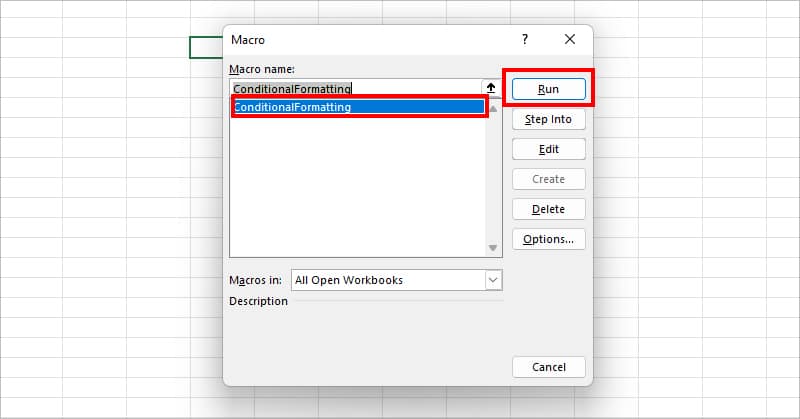
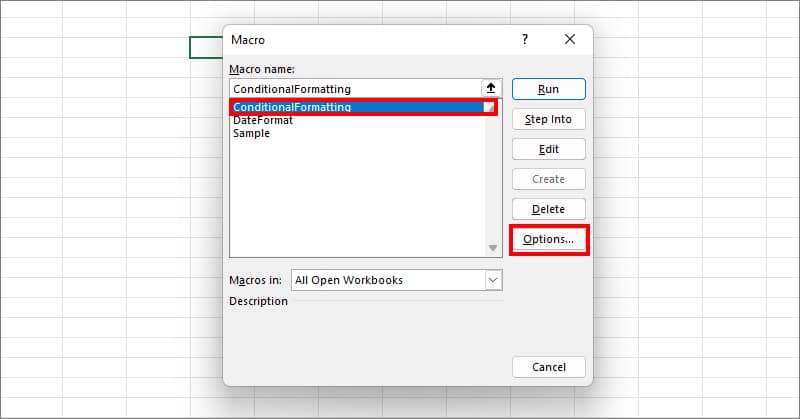
- On Macro Window, select the Macro you just recorded earlier and hit Run.
Using a Custom Keyboard Shortcut
Just like how we created a shortcut to record a macro, Excel also allows you to make a custom keyboard shortcut to run a Macro. It is especially useful if you need to frequently run a particular Macro. Here’s how you create a shortcut.
- On your Excel, go to Developer Tab.
- Hover over Code group and select Macros.

- On Macro Window, select the Macro name you use frequently. Then, click Options.
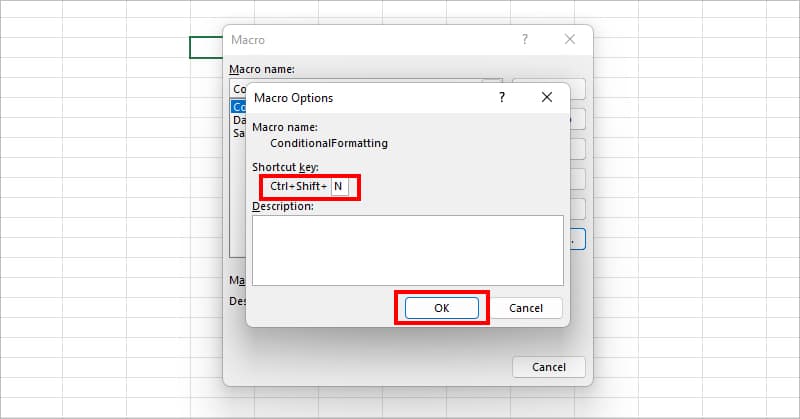
- On the Shortcut key, type in the Key for the shortcut. Click OK and close the window.
- Now, to run a Macro, press down the shortcut keys.
Using Macro Button
If you do not prefer shortcuts, we have an even easier way to run a Macro. Here, we will be creating a Macro button such that you could replay the macro with just one click.
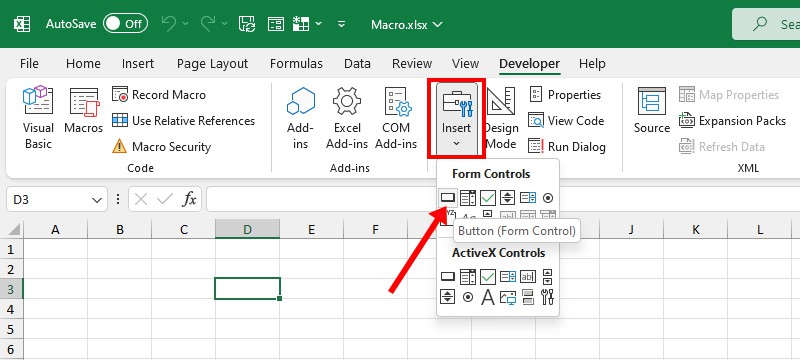
- On your Excel workbook, go to the Developer Tab.

- From the Controls section, click on Insert. Below Form Controls, pick Button(Form Control).
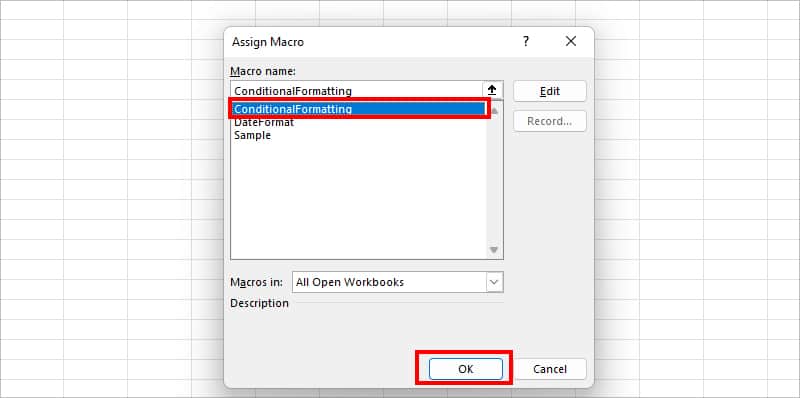
- When the Plus icon appears, click on the cell. On Assign Macro Window, select a Macro and hit OK.
- To edit the Button Name, right-click on the button and choose Edit Text. Erase the current Name and enter the name of your Macro.

- Click on the Button to run a Macro.
How to Edit Macro in Excel?
In case you made a mistake while recording the actions in a Macro, you could always edit them later. But, to do so, you would need Visual Basic Programming Language skills. This is because after recording the Macro, Excel converts the registered activities into VBA code. However, the VBA code might not be complex and technical all the time.
- Launch Excel and click on the Developer tab.

- Hover over Code group and click on Macros.
- On Macro window, select the Recorded Macro and click Edit.
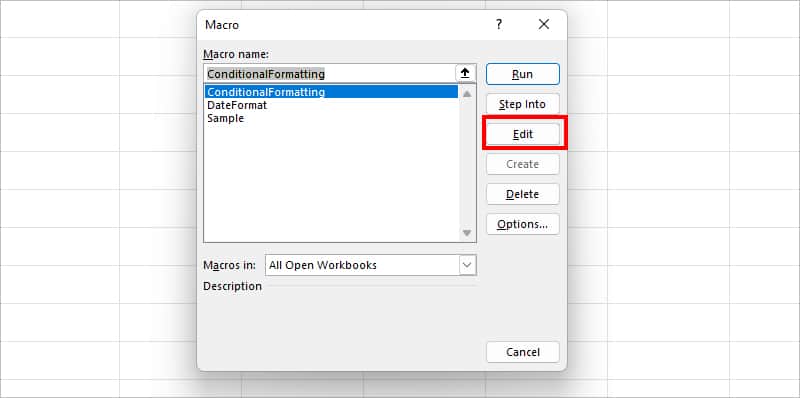
- Check the Visual Basic Code and edit as required.
- Finally, Run Macro.
How to Delete Macro in Excel?
Recording too many Macros will only increase your workbook size. So, you could selectively delete the ones you do not use anymore.
- On your Excel, go to Developer Tab.
- From the Code group, click Macros.

- On Macro window, select a Macro you wish to remove and hit Delete button.
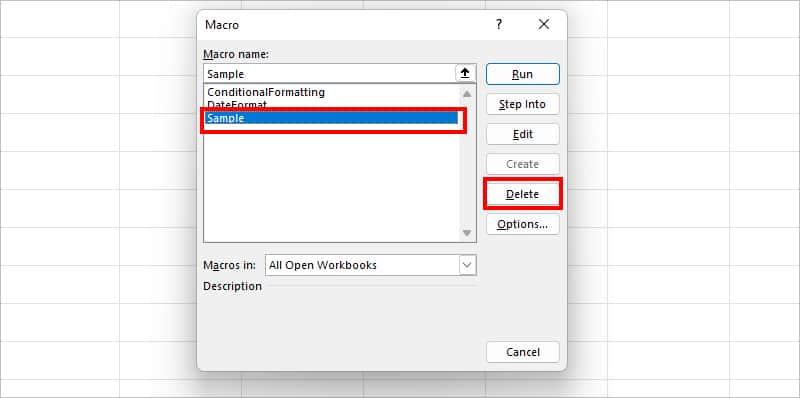
- Pick Yes to confirm.
How to Save Macro-enabled Workbooks?
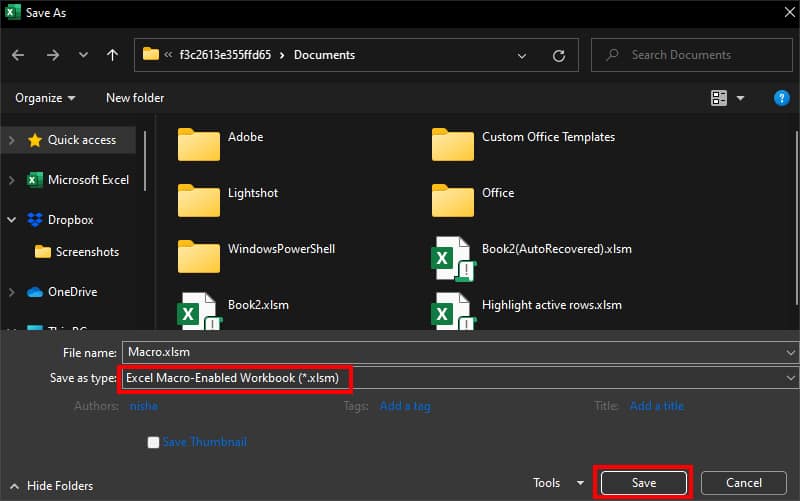
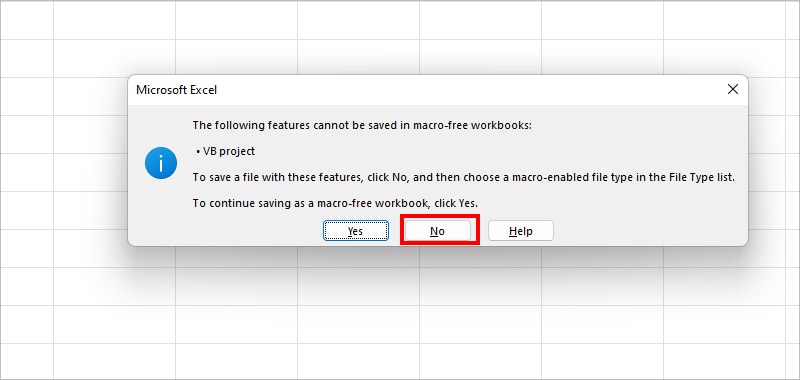
By default, Excel saves all of the workbooks in the .xls file format. So, if you attempt to save the workbook containing a Macro, Excel will send you an error stating “The following features cannot be saved in macro-free workbooks.” During such cases, you can change the Save as type to .xlsm (Excel Macro-enabled Workbook) format. Follow these steps.
- After you click Ctrl + S, pick No in the error window.
- On Save As window, pick Excel Macro-Enabled Workbook (*.xlsm) for Save as type and click Save.