To delete rows based on criteria, you could use the default menu, formula, or different Excel tools like Find & Replace, Go To Special, Filter tool, etc. But, all of these approaches are effective to execute only once or twice.
If you find yourself frequently deleting rows with specific criteria, creating Macros is the best method. Once you capture a Macro, you could replay them whenever needed. The best part is there’s an option to create your own custom keyboard shortcut to run Macros.
When it comes to using Macros and VBA code, it may seem intimidating and complex to many users at first. But, if you have basic knowledge of what Macro is, you do not have to have the hardcore coding language skills to perform simple tasks like deleting rows. Today, we will guide you through the steps to record your own Macro and run the existing code to eliminate rows in 7 cases.
Before you begin, make sure you have enabled Macros on your workbook first. If you’re ready, let’s get started.
Preliminary Step
To record or run a Macro, the first thing you need to ensure is to have Developer Tab. Since it’s hidden by default, it won’t appear on your Excel ribbon unless you add them. So, we will add the Developer Tab as a preliminary step. However, if you already have a developer tab, you can skip this part.
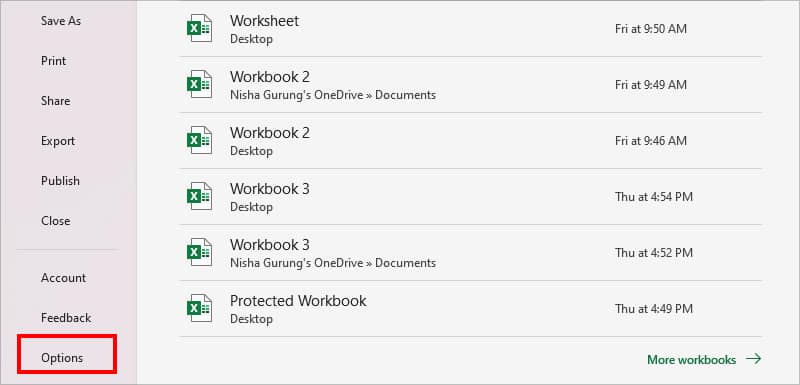
- Launch Excel and click Options.
- On the left panel, head to Customize Ribbon menu.
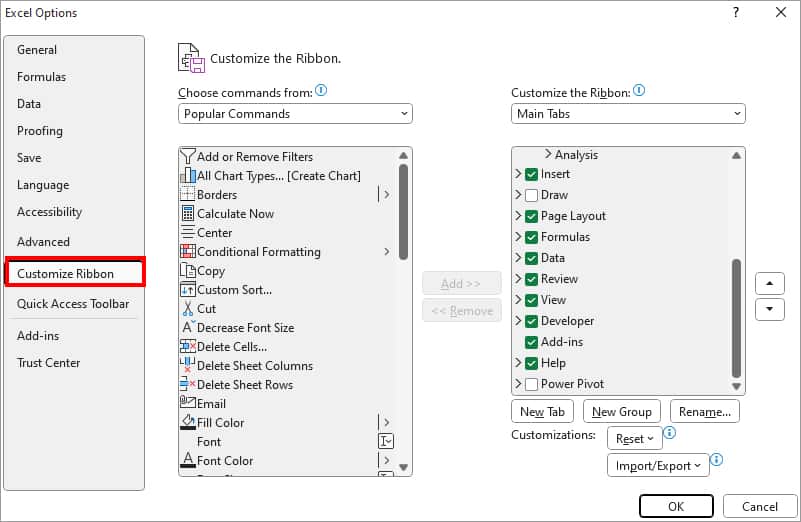
- Hover over Main Tabs menu and checkmark the box for Developer.
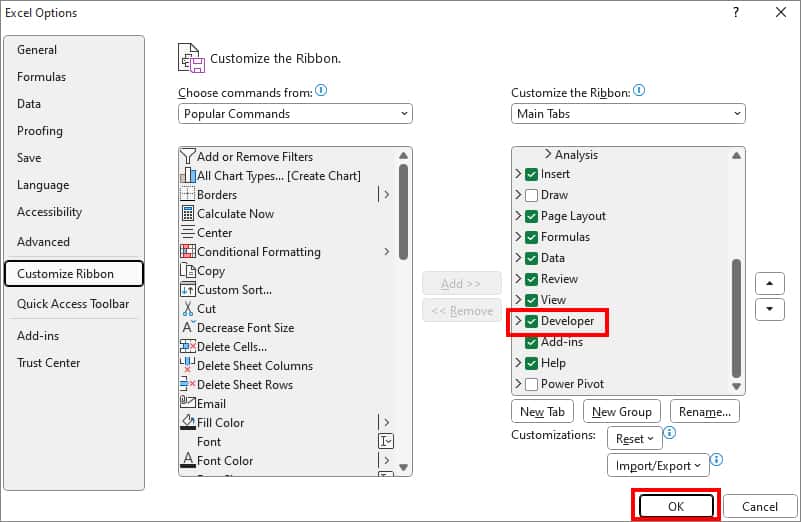
- Hit OK.
Case 1: Delete Rows with Blank Cells
There are two ways you can use Macro to delete the Blank Rows. Since deleting blank rows from the Go To Special menu is simple, you can easily record the Macro by yourself. However, if you’re not comfortable recording a Macro, paste the code mentioned below and run the Macro.
Record Macro
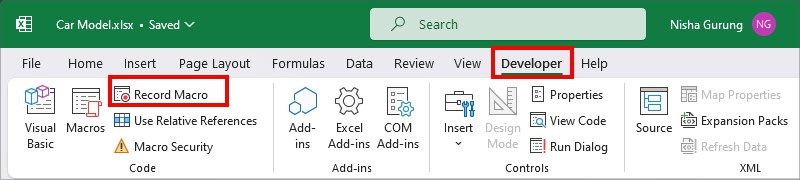
Firstly, open a Workbook. Go to Developer Tab and click on Record Macro.
Then, follow the given steps one by one.
- On Record Macro, Rename a Macro. Then, enter the key if you wish to create a shortcut.
- Click OK. (The recording starts immediately after you click OK)
- Enter Ctrl + A keyboard shortcut to select all.
- Press Ctrl + G to bring up the Go To window and click on Special.
- On Go To Special window, choose Blanks and hit OK.
- Right-click on one of the Blank cells. Then, click Delete.
- On Delete window, pick the Entire row and click OK.
- From the Developer Tab, click Stop Recording.
- To see the Macro code, click on Macros. Select the Macro name and click Edit.
Here’s what our recorded Macro code looks like. Except for the range, your record VBA code might’ve also appeared like this. If needed, Modify your Macros.
Paste VBA Code
- Open Excel Workbook.
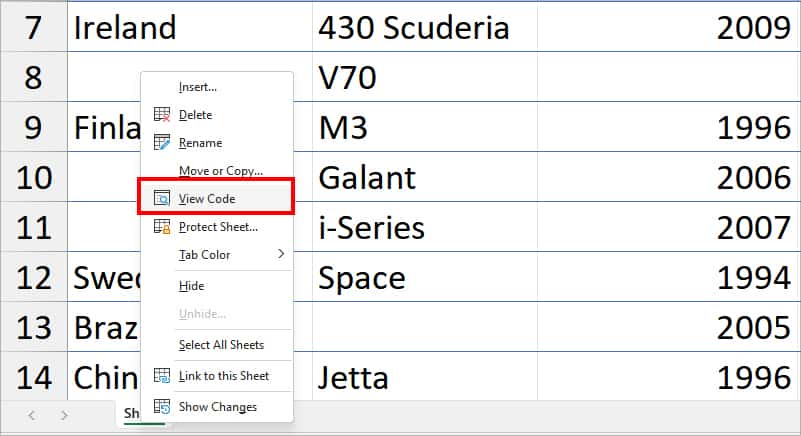
- Right-click on the Sheet and choose View Code.
- Copy the VBA code given in the box and paste them into your VBA window.
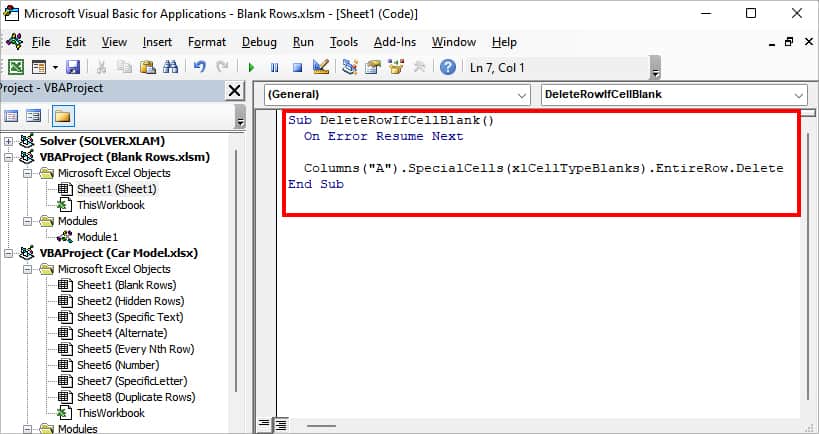
Sub DeleteRowIfCellBlank()
  On Error Resume Next
  Columns("A").SpecialCells(xlCellTypeBlanks).EntireRow.Delete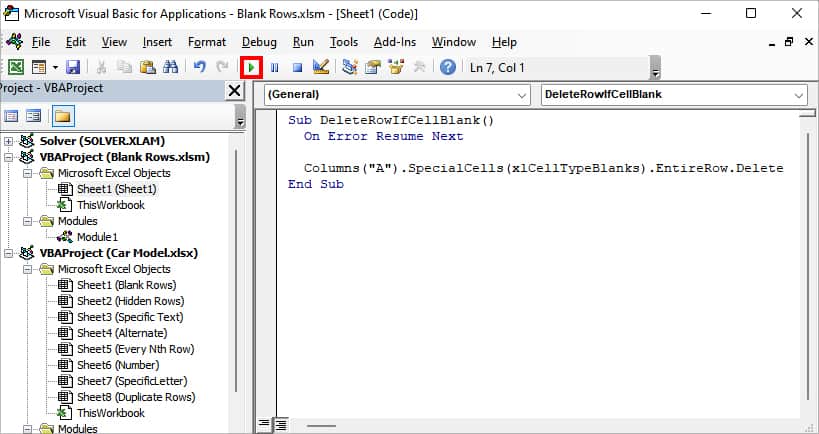
End Sub- To run code press F5 or Run button.
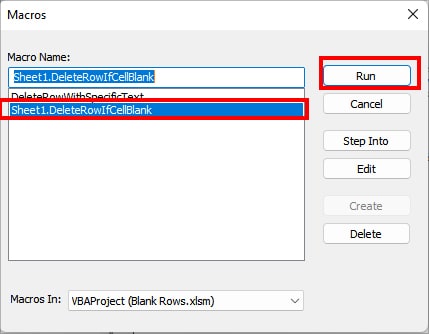
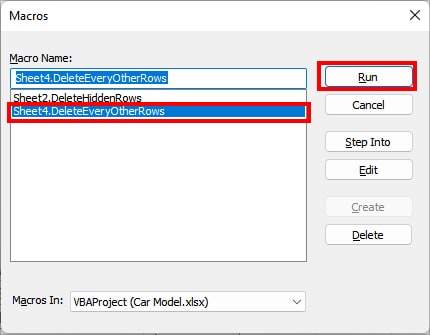
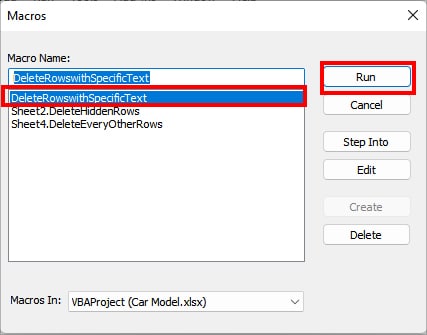
- If Macros window shows up, select your Macro and hit Run.
Case 2: Delete Hidden Rows
The only way to Delete Hidden Rows by default is by using the Document Inspector in Excel. In this case, it is not possible to record a Macro. So, here, you can use the VBA code we constructed to cancel out hidden rows on your worksheet.
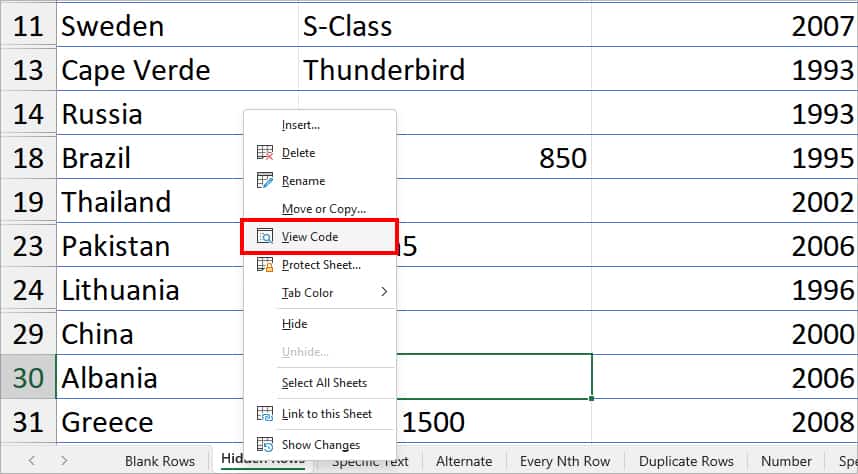
- Right-click on your Sheet name at the bottom and click View Code.
- You should see the Microsft VBA window. Copy the code in the box and paste them into the empty space like in the picture.
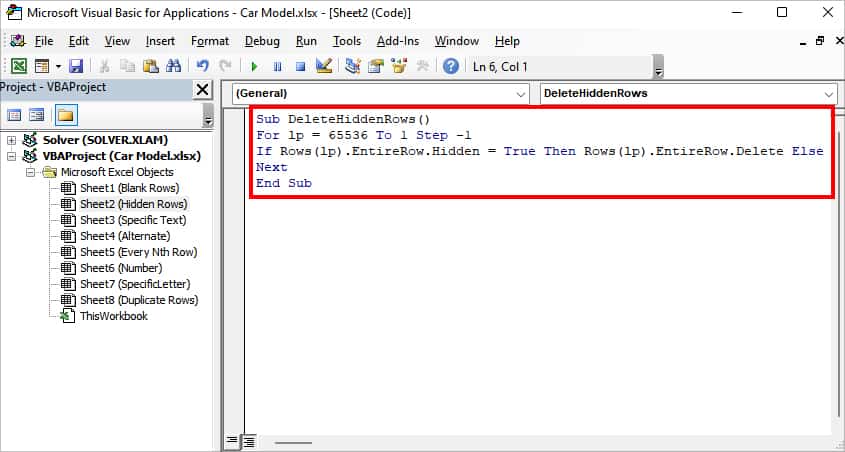
Sub DeleteHiddenRows()
For lp = 65536 To 1 Step -1
If Rows(lp).EntireRow.Hidden = True Then Rows(lp).EntireRow.Delete Else
Next
End Sub- Enter the F5 key to run the code. If prompted, select Macro name and hit Run on the Macros window.

Case 3: Delete Every Other Row
To delete every other row in Excel, you could use a MODROW formula. But, we have an even simpler VBA code for you.
- On your Excel sheet, select the Data and enter Alt + F11 keys to bring up the VBA window.
- Double-click on your Sheet name. Copy this VBA code and paste them onto your VBA window.
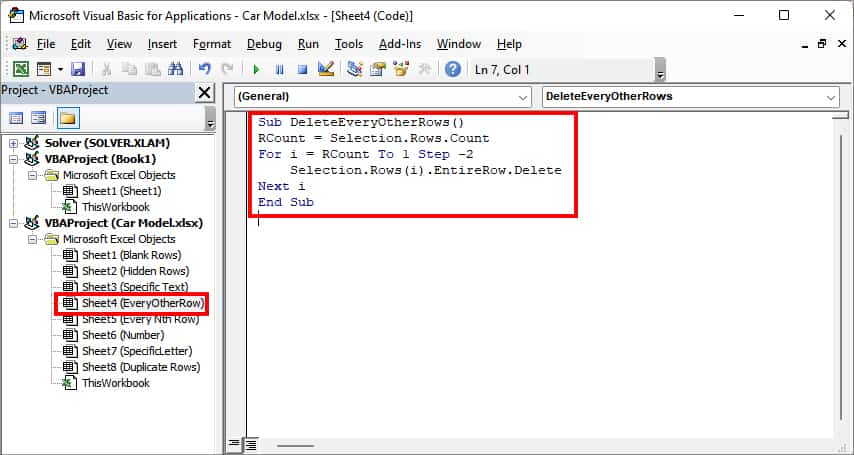
Sub DeleteEveryOtherRows()
RCount = Selection.Rows.Count
For i = RCount To 1 Step -2
    Selection.Rows(i).EntireRow.Delete
Next i
End Sub- Press the F5 key. When prompted, choose your Macro and click Run.
Case 4: Delete Rows with Specific Text
In some instances, you may find the need to delete rows with specific text from the entire data. To do so, we’ve created a VBA code. As an example, we will delete the row with the text “Ford” in the steps. Make sure to enter your own specific text in the code.
- Select your data and press the Alt + F11 keyboard shortcut together for the VBA window.
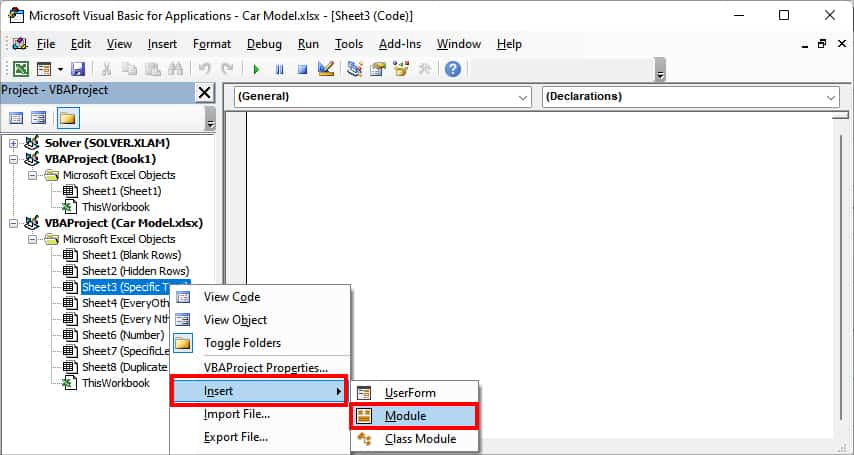
- On Project Explorer, right-click on the Sheet > Insert > Module.
- Now, copy the given code and paste them into the Module window. Remember, on “Your Specific Text”, enter a Text you wish to delete the Row with. Similarly, set a Column Index to look for text in. See the example in the image, we have entered Ford as Text and 4 as Column Index.
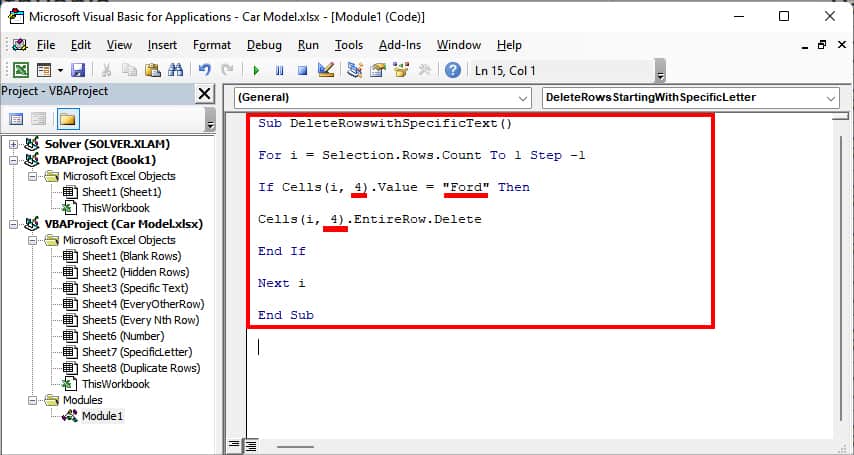
Sub DeleteRowswithSpecificText()
For i = Selection.Rows.Count To 1 Step -1
If Cells(i, “Column Index”).Value = "Your Specific Text" Then
Cells(i, “Column Index”).EntireRow.Delete
End If
Next i
End Sub- Enter F5. If the Macro window pops up, hit Run.
Case 5: Delete Rows Beginning With a Specific Letter
Suppose, you want to delete rows beginning with a specific letter instead of a text. In that case, we have created a Macro VBA code for you. Remember, you need to specify your own “Initial letter” in the code.
- On Excel Sheet, press Alt + F11 keys together.
- On VBA window, double-click on your Sheet.
- Copy the code. Then, on the VBA window, paste the copied code into the Module box.
Sub DeleteRowsStartingWithSpecificLetter()
For i = 1 To Selection.Rows.Count
For j = 1 To Selection.Rows.Count
If Left(Selection.Cells(j, 1), 1) = "Initial Letter" Then
Rows(j + 3).EntireRow.Delete
End If
Next j
Next i
End Sub
- Now, you need to enter an Initial Letter in the code like in the given image. Here, we’ve entered the “C” letter.

- Enter F5 to run.
Case 6: Delete Rows With Number Criteria
If you have number values in your data, you can delete rows with specific number criteria. For Instance, delete rows with numbers less than 5000 (“<5000”), greater than or equal to 25000 (“>=25000”), and so on. You can use the VBA code we’ve created for this. But, you need to make sure to specify your column index and number criteria in the code.
- For the VBA window, press Alt + F11.
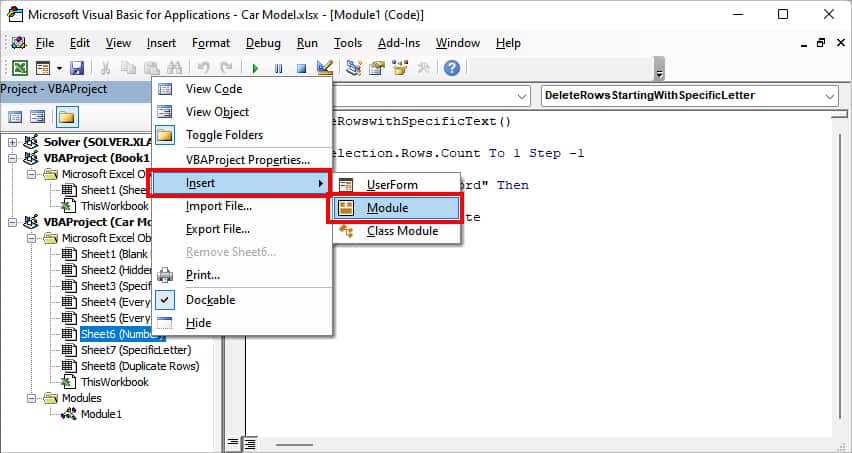
- Right-click on Sheet name. Choose Insert > Module.
- Copy the Code and paste them into your Module.
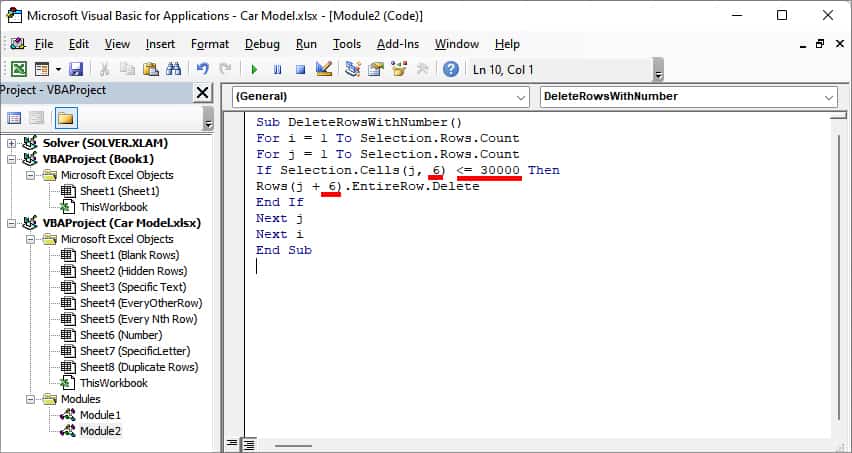
Sub DeleteRowsWithNumber()
For i = 1 To Selection.Rows.Count
For j = 1 To Selection.Rows.Count
If Selection.Cells(j, “Column Index”) “Number criteria” Then
Rows(j + “Column Index”).EntireRow.Delete
End If
Next j
Next i
End Sub- Now, specify your “Column Index” and “Number Criteria” as shown in the image. Here, our Column Index is 6 and the number criteria is <=30000.
- Enter F5.
Case 7: Delete Rows with Duplicates based on a Single Column
If you need to regularly get rid of duplicate rows based on a single column, we also have a VBA code for it.
- Open the Excel workbook and press Alt + F11 keys together for the VBA window.
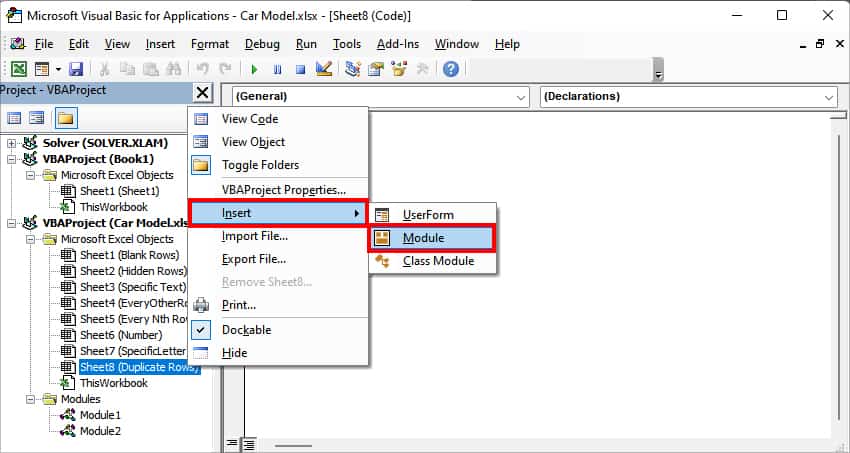
- On VBA window, right-click on the Sheet name. Choose Insert > Module.
- Then, copy the code as given in the box and paste them into the VBA window.
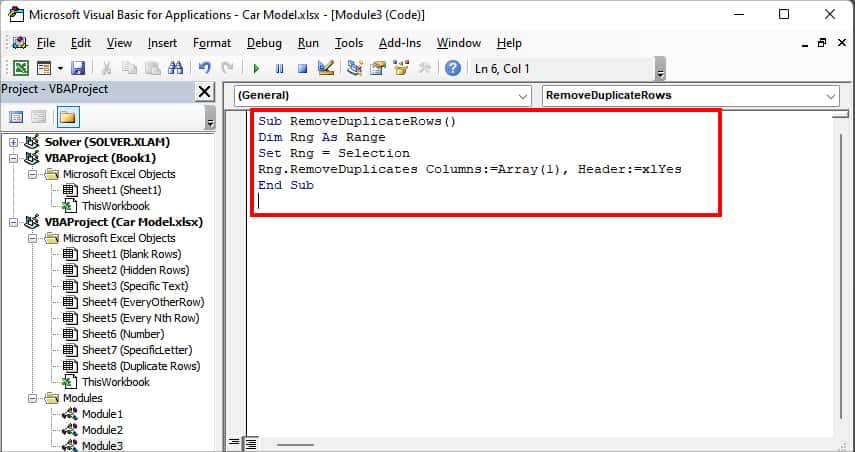
Sub RemoveDuplicateRows()
Dim Rng As Range
Set Rng = Selection
Rng.RemoveDuplicates Columns:=Array(1), Header:=xlYes
End Sub- Press F5 key.
- On the Macros window, select your Macro and click Run.
