If you are looking for a way to create a backup of your Outlook contacts, Outlook already has a built-in option called “Import/Export.”
Depending on the Outlook version, you can export all your Outlook contacts in the PST or CSV format.
To export specific contacts only, you can create a separate contact folder and select that folder while exporting.
Once you export contacts from Outlook, you can import them to another Outlook application or even a different email client like Gmail/Google Contacts.
On Windows
- Open the Outlook app.
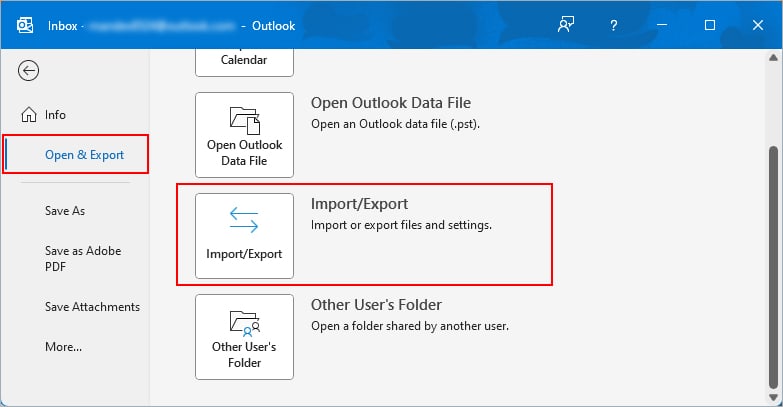
- Click the File menu.
- Then, select Open & Export in the sidebar.
- Now, in the right pane, select the Import/Export button.
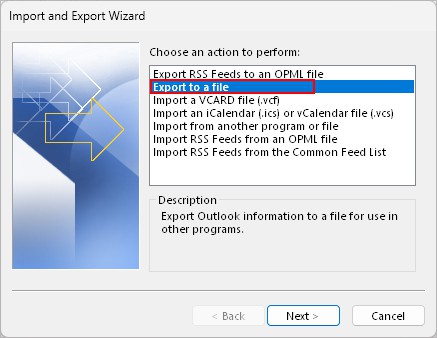
- On the next prompt, select Export to a file option.
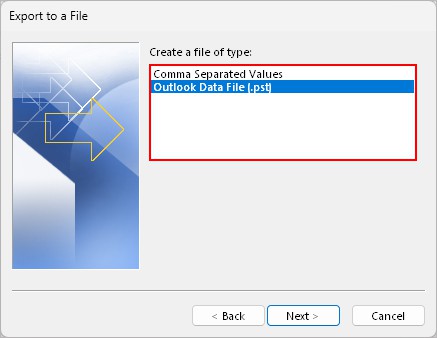
- Select one of the following options according to your preferences. Here, we are exporting the PST file, but the process is almost similar.
- Comma Separated Values: Export contacts to a CSV file that you can open in spreadsheet applications like Excel and Google Sheets
- Outlook Data File (.pst): Export to a PST file that you can directly open and import on the Outlook desktop app
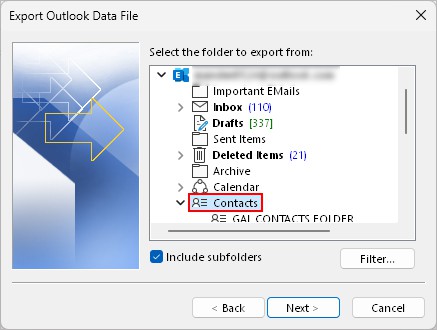
- Next, choose the account containing the contacts you want to export.
- Select the contact folder you want to export. To export all the Outlook contacts, select the root Contacts folder and enable the Include subfolders checkbox.
- Click Browse to export the file to a preferred location. Additionally, choose one of the options under the Options section if you want to allow or prevent duplicate items inside the exported folder.
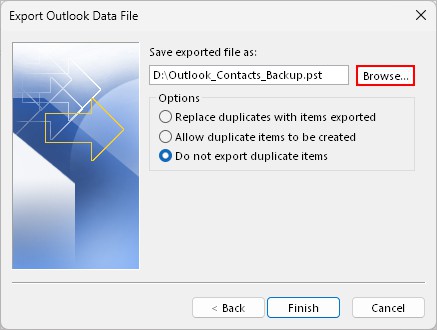
- When done, click Finish.
- Enter a password to make it secure. Note it down somewhere as you will require it when importing.
On Mac
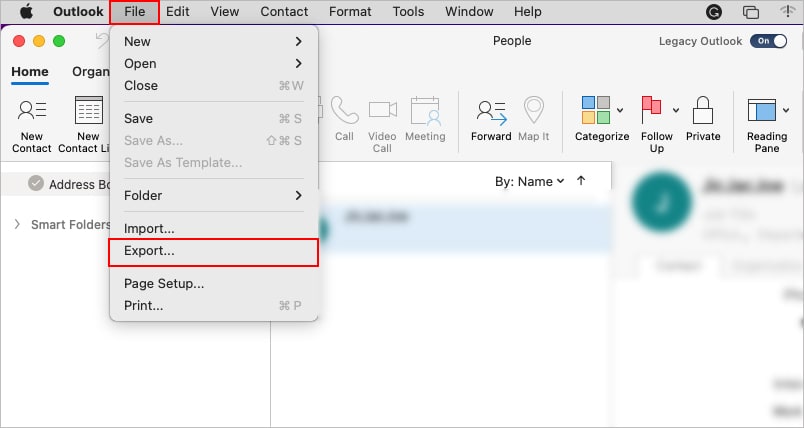
- Open the Outlook app.
- Click the File menu and select Export. If the Export option is greyed out, revert to the legacy Outlook version.
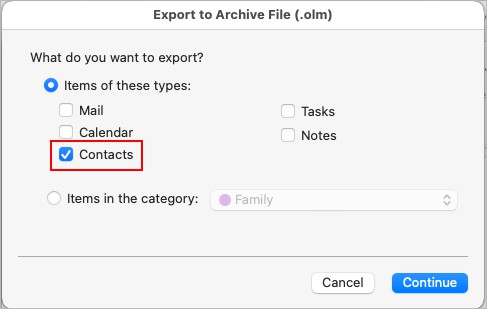
- Uncheck all other items except the Contacts option and click Continue.
- Next, provide a file name and browse to your preferred location to save the file.
- When done, click Save.
On Outlook Web
- Open a browser and sign in to your Outlook account.
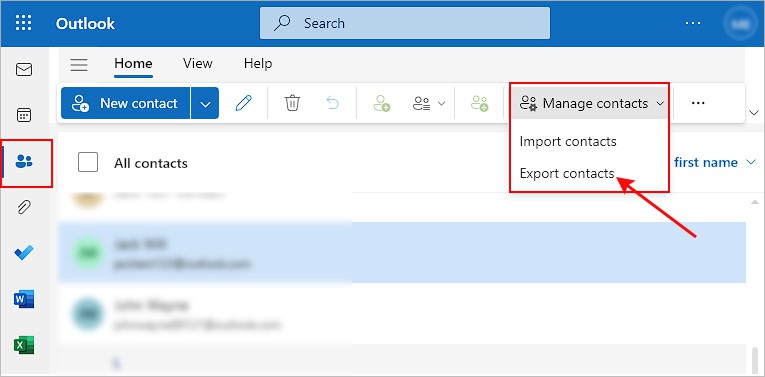
- Then, click the People icon in the sidebar.
- Now, select Manage contacts > Export contacts in the top bar. Look for it under the Home tab.
- On the Export contacts window, select All contacts or other contact folders you have created.
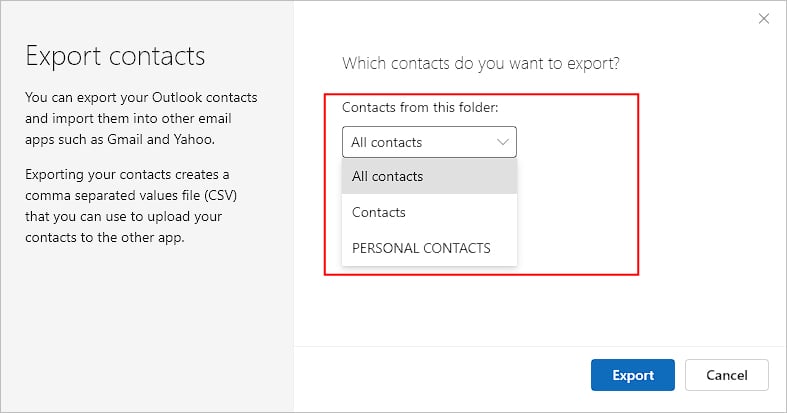
- Click Export.
- On the next window prompt, browse the preferred location to save the CSV file.
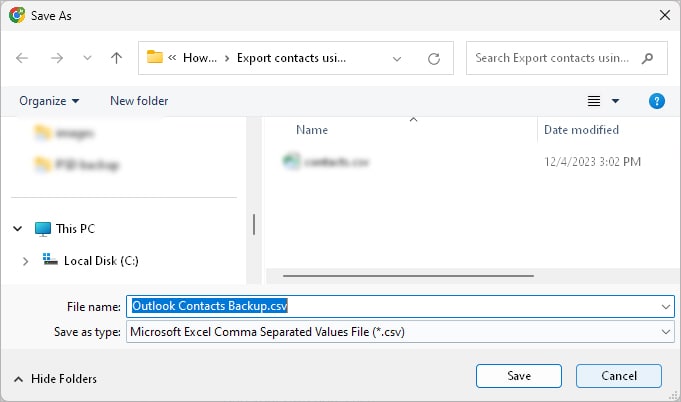
- When done, click Save.
How to Export My Outlook Contacts to iCloud?
As of today, Outlook doesn’t provide an option to directly export its contacts to iCloud. However, you can easily view and sync all your Outlook contacts to the Contacts app on your iPhone.
For this, you just have to add the Outlook account to your Mail app.
- Open the Settings app.
- Go to Contacts > Accounts.
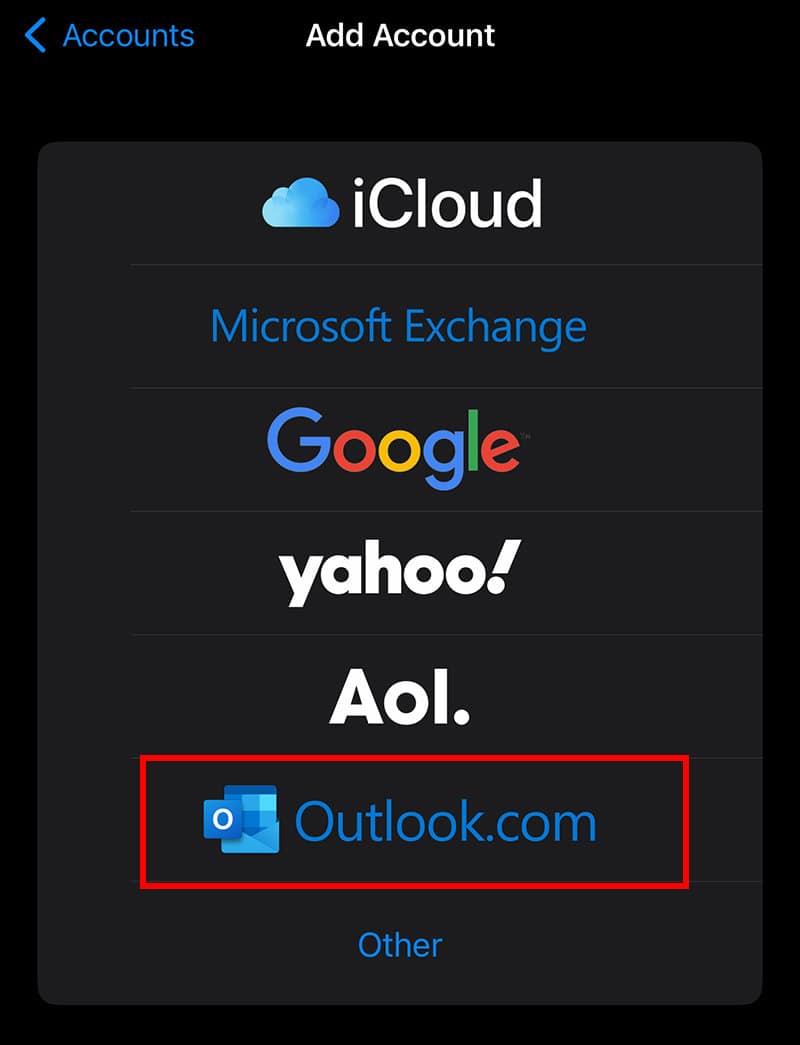
- Tap Add Account.
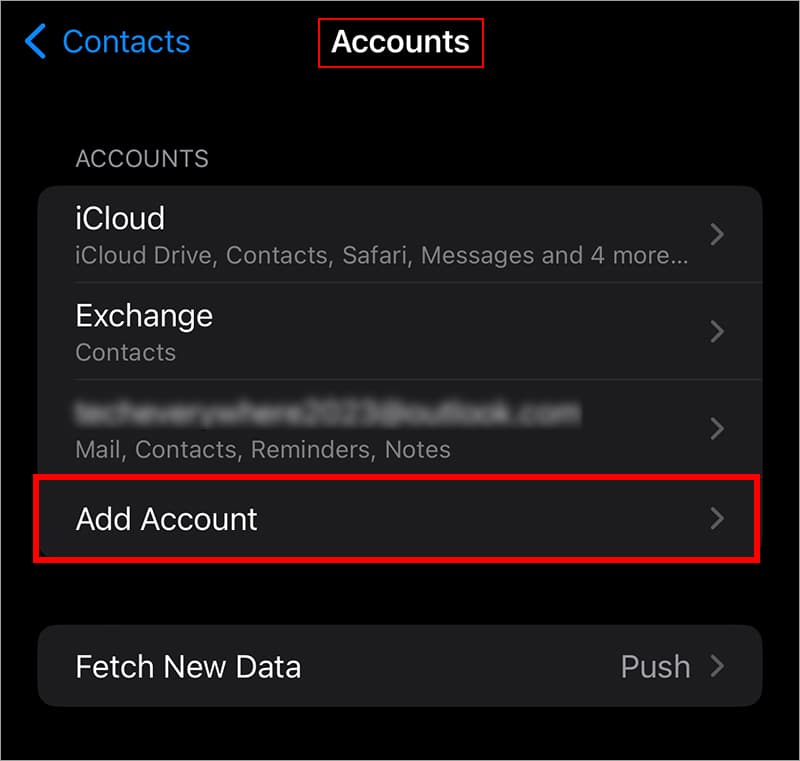
- Choose Microsoft Exchange or Outlook.com. Sign in with the necessary account credentials when prompted.
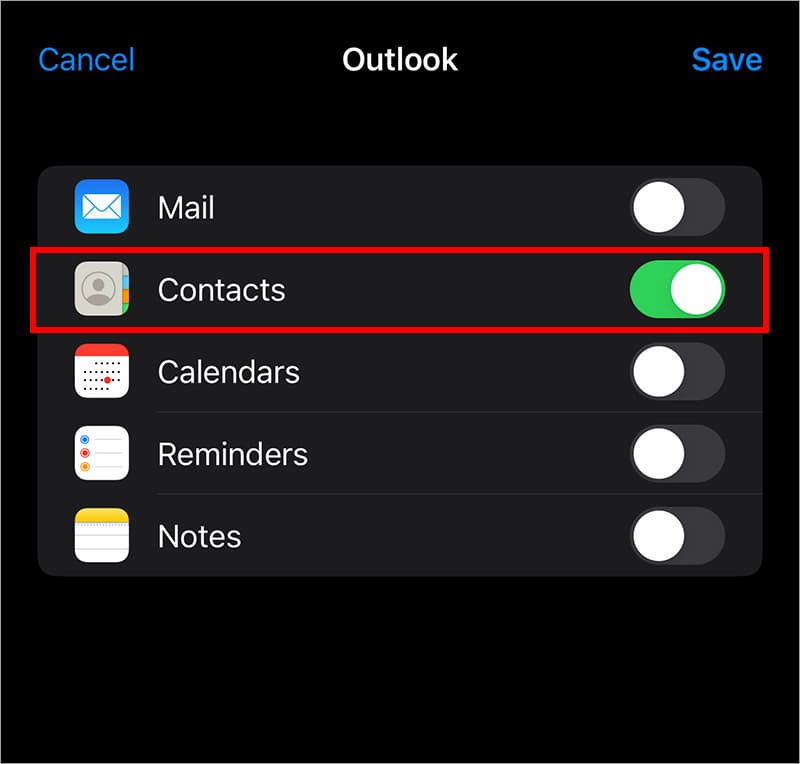
- Once the Outlook account is added, toggle on the button next to Contacts and tap Save.
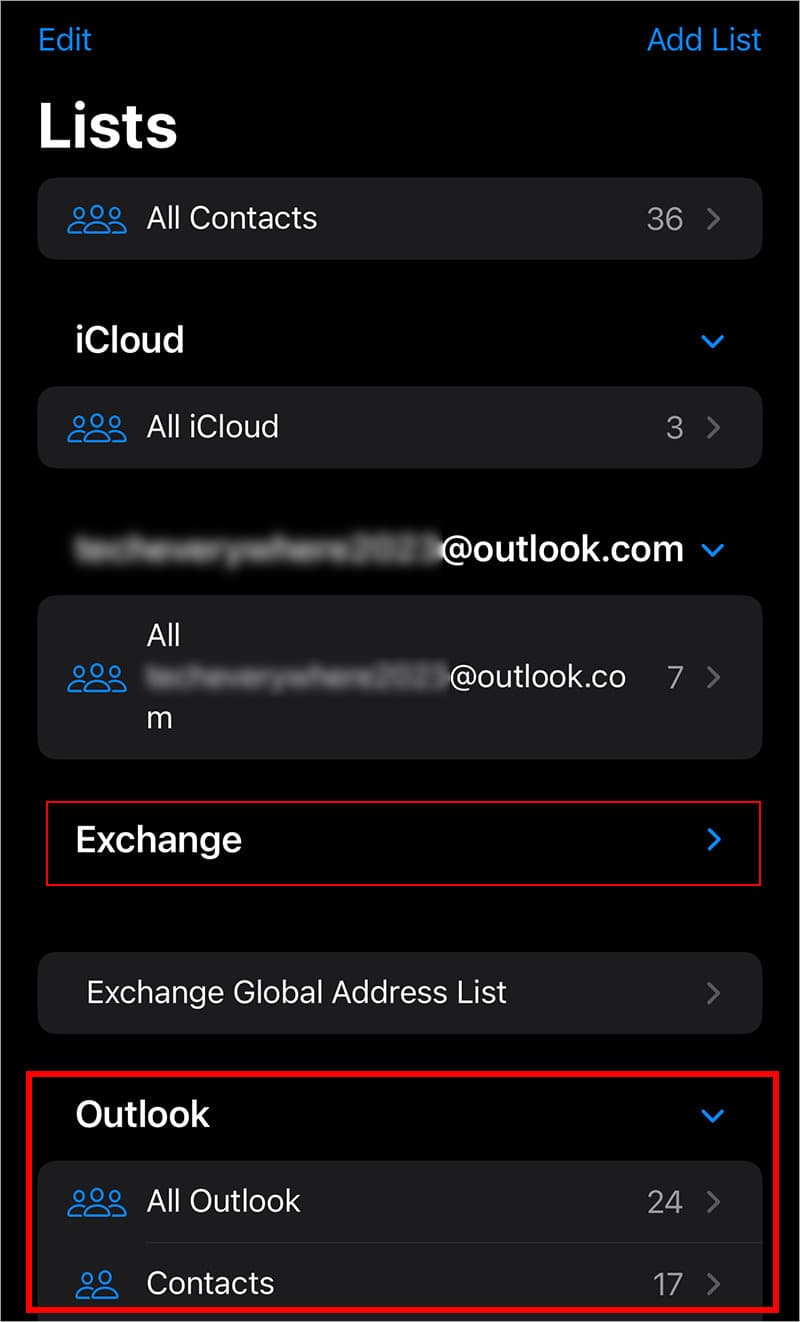
- Now, you can access all the Outlook contacts inside the Contacts app on your iPhone.
How to Export Outlook Contacts in My Global Address List?
Using the Global Address List, you can access all the shared contacts of each account connected to the same Microsoft Exchange server that you are connected to.
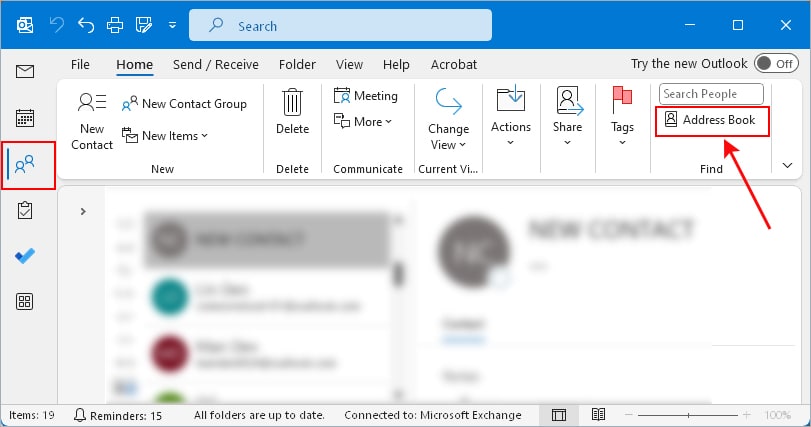
- Open the Outlook app.
- Click the People icon.
- Then, select Address Book under the Home tab. Look for it at the end inside the Find section.
- On the next window, select Global Address List under Address Book.
- Select the contacts you want to export. Press and hold the Ctrl/Shift key to select multiple items.
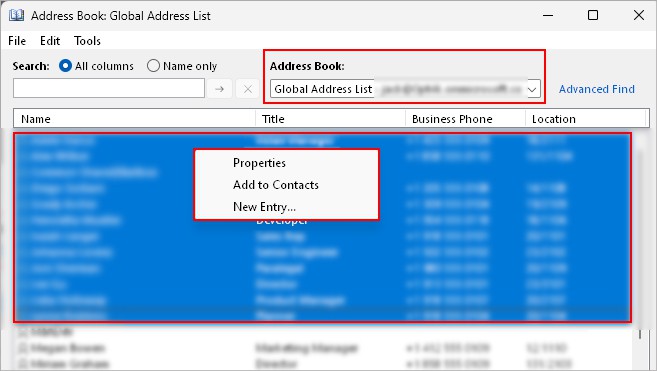
- Now, right-click and select Add to Contacts.
- After the contacts are added, export them in the PST or CSV file format as mentioned in the above section.
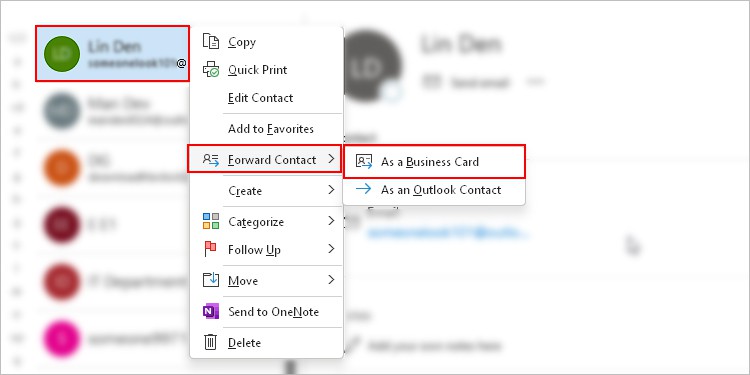
How to Export Outlook Contacts to vCard?
By default, you can only export Outlook contacts in either PST or CSV file. As a workaround, you can use the forward option to send a contact as an attachment in vCard format (vcf).
This is particularly useful when exporting contacts to a different email client like Gmail/Google Contacts or even devices like Android and iPhone.
For this,
- Click the People icon and select a contact.
- Then, right-click and select Forward Contact > As a Business Card.