If you manually set up a POP account, Outlook automatically creates a PST file to store all your Outlook items like emails, calendars, contacts, and other information.
However, since other types of accounts such as Exchange, IMAP, Office 365, or Outlook.com use OST files instead of PST, you have to manually create a PST file for them.
No matter which account you use, you can create additional PST files. Then, you can use them to create a backup of your Outlook information or import it while migrating from one system to another.
Use the Import/Export Option
Outlook already comes with the built-in option to export a PST file. While exporting, you can choose specific Outlook items and Outlook creates a PST file for it.
You can create multiple instances of such PST files and store them anywhere you want afterward.
However, note that these files don’t include the rules and blocked senders list.
- Open the Outlook app.
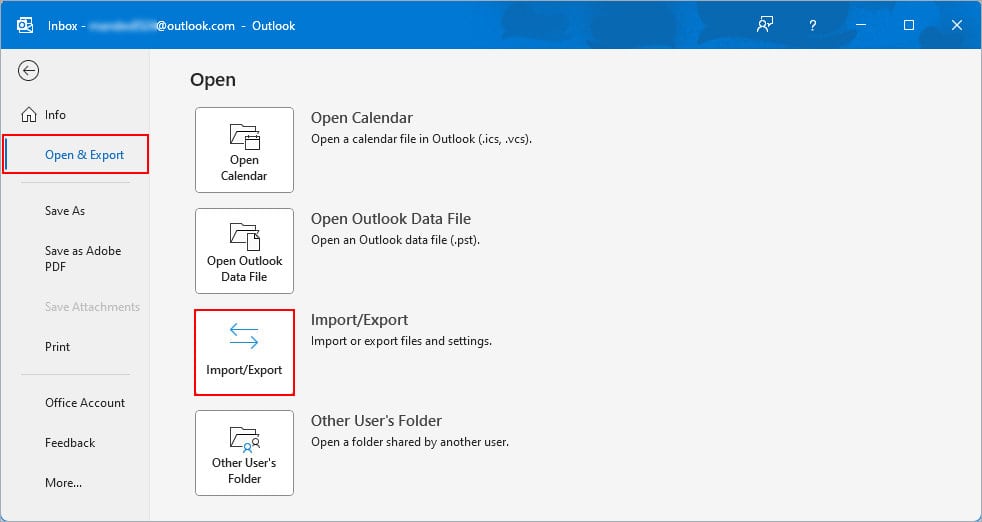
- Click the File menu and select Open & Export from the left sidebar.
- Now, in the right pane, click Import/Export.
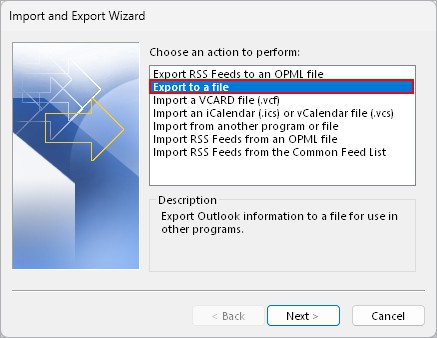
- On the next prompt, select Export to a file and click Next.
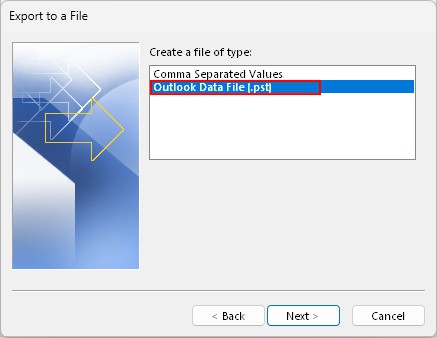
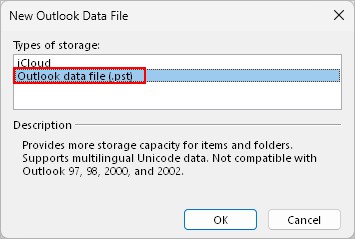
- Then, select the Outlook Data File (.pst) option.
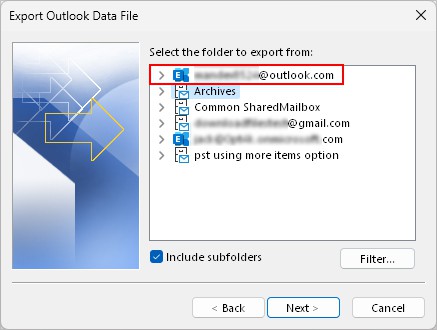
- Choose the folder whose contents you want to export to the PST file. If you have multiple accounts, choose the folder under the desired account.
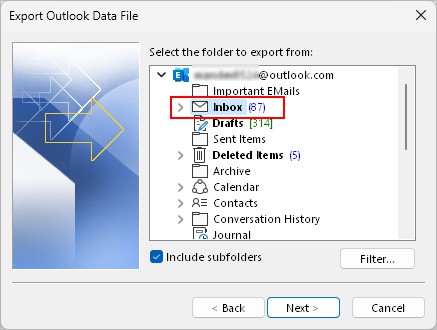
- Enable the Include subfolder and use the Filter option to exclude specific contents like messages from a particular sender.
- To export everything on that particular account, just select the account name.
- Click Browse and save the PST file to your preferred location. You can even rename the file if you want.
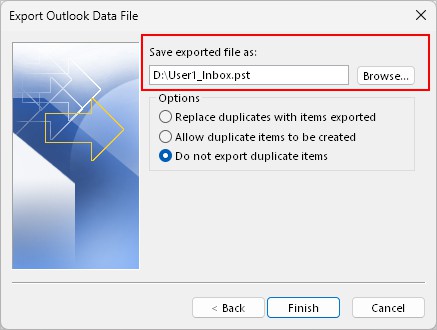
- Under the Options section, choose the preferred option depending on whether you want to allow, reject, or replace duplicate items inside the exported file.
- Click Finish when done.
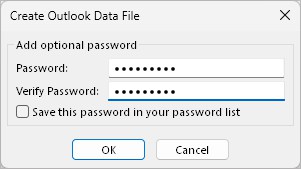
- On the next prompt, enter a password to secure the PST file. Otherwise, leave it blank and click OK.
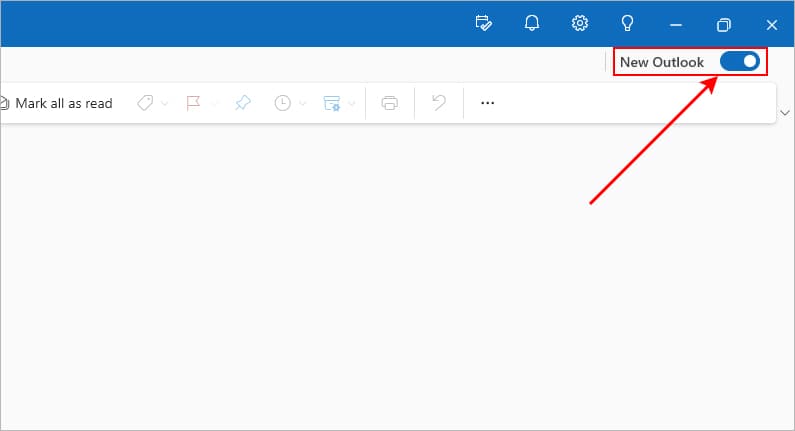
If you use the new Outlook version of the desktop app, you won’t find the File tab and Import/Export option.
To access it, revert to the legacy Outlook version as follows.
- Open the Outlook app.
- Toggle off the New Outlook button in the top right corner.
Create a Blank PST
Depending on the Outlook version, a PST file can store items up to 50 GB. However, as its size grows over time, Outlook can become slower and have performance issues.
To resolve it, you can create another blank PST and store some Outlook items there. The good news is you can even export these PST files using the above-mentioned Import/Export option.
- Open the Outlook app.
- Under the Home tab, click New Items and select More Items > Outlook Data File.

- On the next prompt, select the PST option.
- Then, enter the desired name for the file and save it to your preferred location.
- Additionally, enable the Add Optional Password checkbox to secure it with a password. Don’t forget to note it down as Outlook will need it to open the PST file.

- When done, click OK.
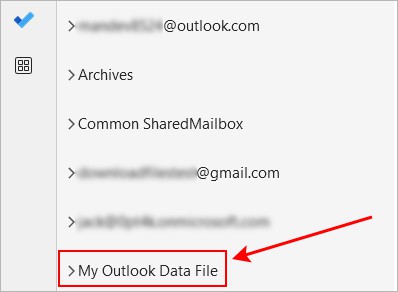
- Select the Inbox icon and you should see the new PST folder appear on the sidebar.
- Now, you can manually drag and drop Outlook items to move them to that folder. Alternatively, you can set up a rule to automatically move specific incoming emails there.
Export OLM and Convert to PST (On Mac)
Although Outlook allows you to import a PST file on a Mac system, it stores the Outlook contents in a different format called OLM.
While Outlook doesn’t have a built-in option/tool to convert OLM to PST, you can use several third-party apps available online.
Before converting to PST, you can export the OLM file on Mac as follows.
- Launch the Outlook app.
- Select the Tools tab. You may not find it if you are using the new Outlook version. In that case, switch to legacy Outlook first.
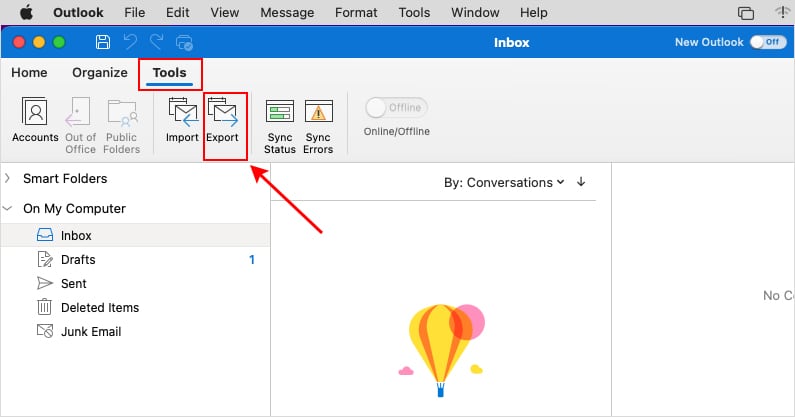
- Now, click Export.
- On the next window prompt, select the Outlook items like email, calendar, and contacts that you want to export to an OLM file.
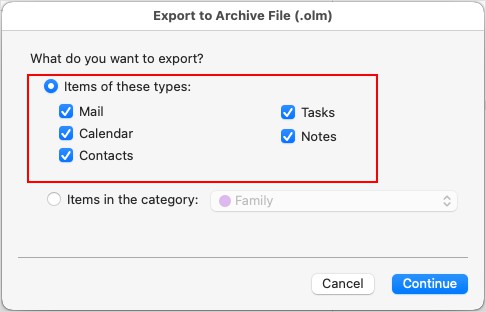
- When done, click Continue.
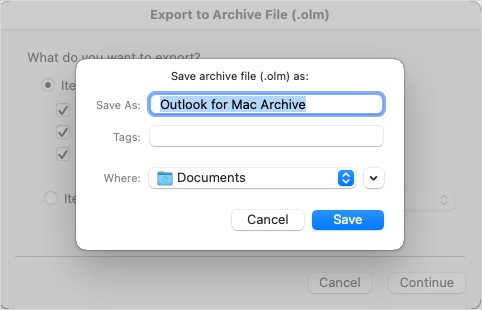
- Save the OLM with the desired name and file location. If you have previously exported an OLM file with the same name, provide a different file name or replace it.
- Click Finish.