Sending an email message in Outlook is pretty basic. You simply type the name/email address along with other necessary details and hit the Send button.
However, as the number of recipients grows, it isn’t convenient to manually add them one by one. Imagine having to type 10, 20, or even a hundred email addresses on your contact list!
A better approach is to select all of the recipients and send the email at once. What’s more, you can group all of them so that the To/Cc/Bcc field isn’t cluttered with too many emails.
Using Keyboard Shortcut
Whether you are using the Outlook app on Windows or Mac, you can use the Shift key to select all of the contacts. Then, add them to fields like To, Cc, or Bcc and send the email as usual.
First, click one of the fields to open the contact window. Then, select the topmost contact and click the last item in the address book while holding the Shift key. This will select all the items in between. Now, click the To or other fields where you want to add them.
Using a Distribution List
Using a distribution list (also known as the contact group) is perhaps the quickest way to send emails to multiple people at once. If you don’t have such a group, consider creating one which includes all your contacts.
Once you have the group, you just have to type out its name to send the email to all of its members.
- Open the Outlook app.
- Select the Email tab and click New Email to compose a new email. Or, just press the Ctrl + Alt + M keyboard shortcut.
- Alternatively, open one of the draft messages that you want to send.
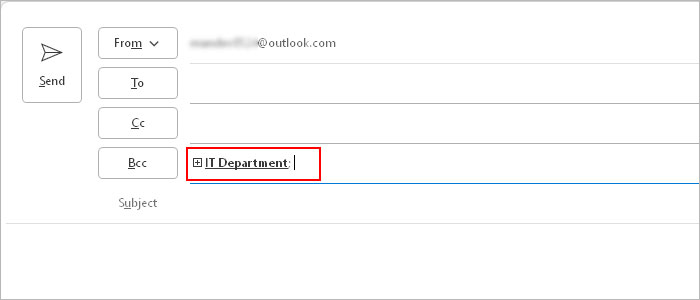
- Type the name of the contact group next to the To, Cc, or Bcc field. If you want to exclude an email, click the plus icon to expand the group and remove it.
- Fill out other fields like Subject and Body.
- Click Send when done.
Using Mail Merge
Using the powerful mail merge feature, you can send a copy of the email to all your contacts individually. Plus, you can use it to automatically generate a personalized email for all the recipients at once.
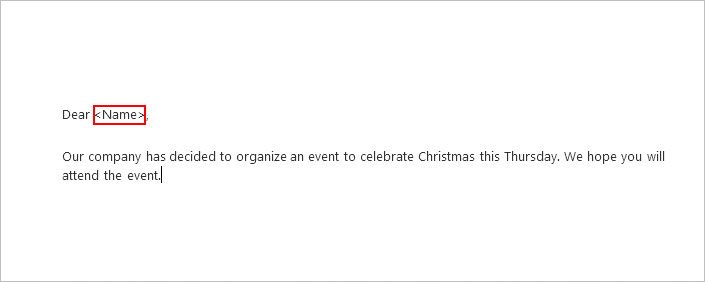
For example, let’s say you want to send an email whose contents are pretty much the same. Except, you need to address each email with their respective names like Hi John!, Hi Jack!, and so on.
Now, you could use the same message and replace each recipient manually. Luckily, there’s a better way to automate it.
You can use Merge Fields options like first name, last name, and other details to create multiple messages while replacing such fields automatically based on your Outlook contact information.
You must have the Word app (part of your Microsoft 365 subscription) pre-installed on your system to use this feature.
- Open a new Word document.
- Compose the email message you want to send. If a detail needs to change depending on the recipient, just leave it blank or write something to replace it later.
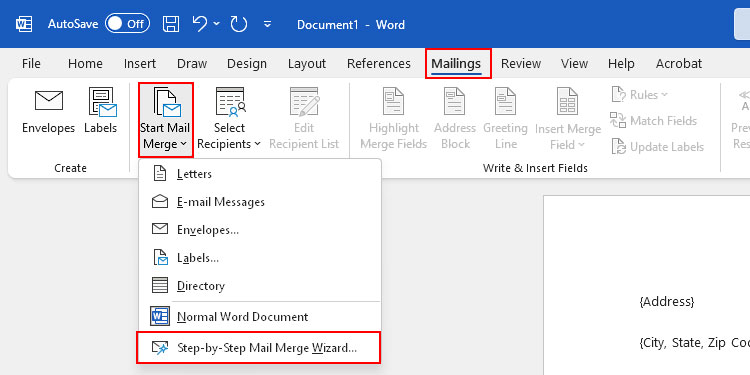
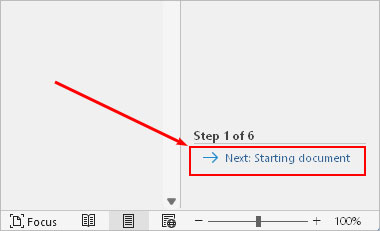
- Under the Mailings tab, click Start Mail Merge and select the Step-by-Step Mail Merge Wizard option.
- Once the Merge Merge pane appears on the right side, select the E-mail messages option for Step 1.

- Under the Step section, click Next.
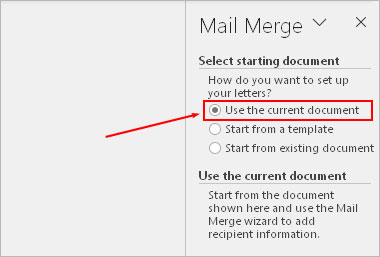
- Then, choose the Use the current document option and click Next.
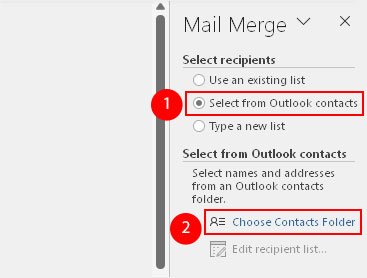
- Under the Select Recipients section, choose the Select from Outlook contacts option and click Choose Contacts Folder below.
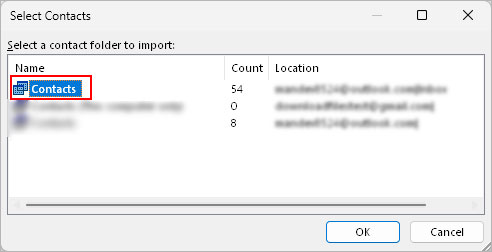
- On the next prompt, select the contacts folder which contains the list of recipients you want to send the email to and click OK.
- To exclude someone from your contacts for this email, disable the respective checkbox.
- Click Next.
- Under Step 4 of 6 section, click Next: Preview your e-mail message.
- Now, for details that are unique to each recipient, click Insert Merge Field and insert appropriate options like first name, last name, address, etc. in their respective places.
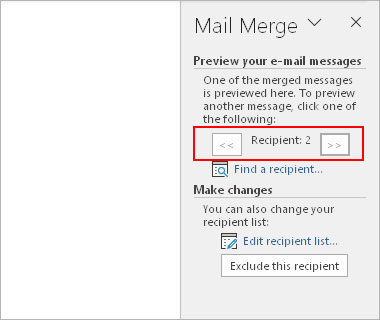
- If you click the left/right arrow under Preview your e-mail messages, you can see such details change for each recipient in the email.
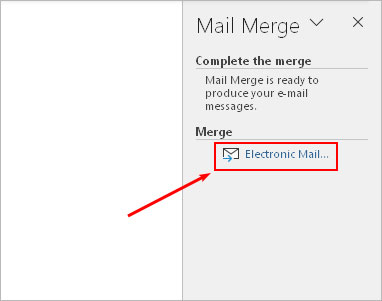
- Once done, click Next: Complete the merge under the Step 5 of 6 section.
- Click Electronic Mail under the Merge section.
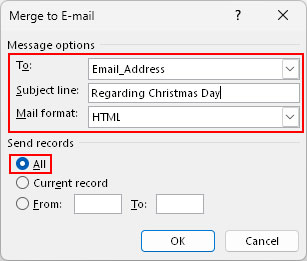
- On the next prompt, make sure the Email_Address option is selected for the To field and choose the All option under the Send records section. Add a subject line if you want.
As a tech content writer, Jabin covers Excel-related articles at InsideTheWeb. His articles mainly involve helping new users to quickly familiarize themselves with the Excel interface and explaining various essential features. While he got introduced to Excel in his early school days, he developed a keen interest in it after working on a college project. He was impressed at how quickly one could accomplish several tasks with built-in functions like the filter function and user-friendly tools like the power query. Keeping beginner audiences in mind, he loves to explain even the most fundamental Excel concepts in detail and break down complex topics with a step-by-step approach. As an avid Excel user, he believes every task can be done a lot quicker if you know the right tools and techniques. When he’s not behind a keyboard, he loves to listen to interesting audiobooks and podcasts.