Facebook
Twitter
Instagram
Office
Excel
Ms Word
OneDrive
Google Docs
Google Sheets
Google Drive
Email
Gmail
Outlook
Emal Etiquette
Office Etiquette
Productivity
Home
»
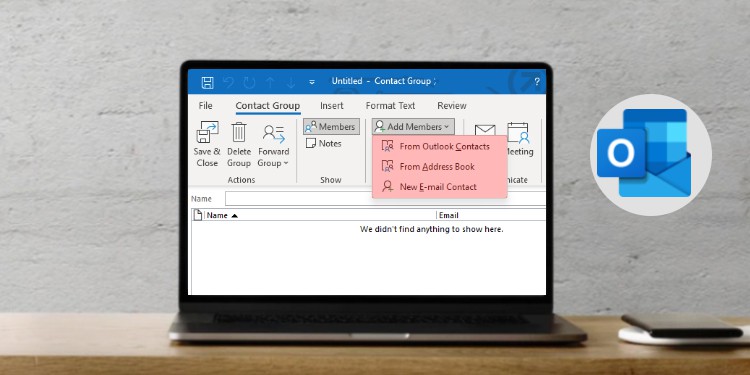
how-to-create-a-distribution-list-in-outlook
»
how-to-create-a-distribution-list-in-outlook
how-to-create-a-distribution-list-in-outlook
By
itw
December 16, 2022
1 Min Read
itw
Website
Add A Comment
Submit
Type above and press
Enter
to search. Press
Esc
to cancel.