Is your Excel printing an extra blank page? One of the primary reasons you encounter this problem is when there is an additional page in your workbook. So, yes, it might not be your printer that’s printing the empty pages.
Excel’s Page Break divides the pages to print. By default, Excel automatically sets the page breaks according to the page size, scale, margin, etc. So, there is a high chance of your document having extra pages.
As the page break lines are dotted and grey-colored, you may fail to notice them at first. However, you can easily view them from the Page Break Preview and remove the unwanted ones. Keep reading the article to learn four ways to get rid of these extra pages in Excel.
From Page Break Preview
First of all, you can rescale the different pages from the Page Break Preview before printing them. In this view mode, you can see huge Page 1, Page 2, and so on watermarks on your sheets. So, you can define the exact number of pages to print and avoid extra pages. Or, completely delete the unwanted pages.
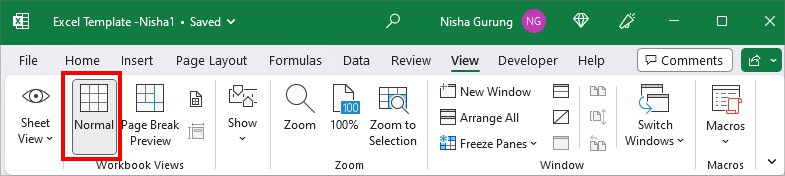
- On your sheet, navigate to View Tab.
- From Workbook Views, click on Page Break Preview.

- You can see the Page Number watermark in the view. Re-define the Pages by moving the Blue lines horizontally or vertically.
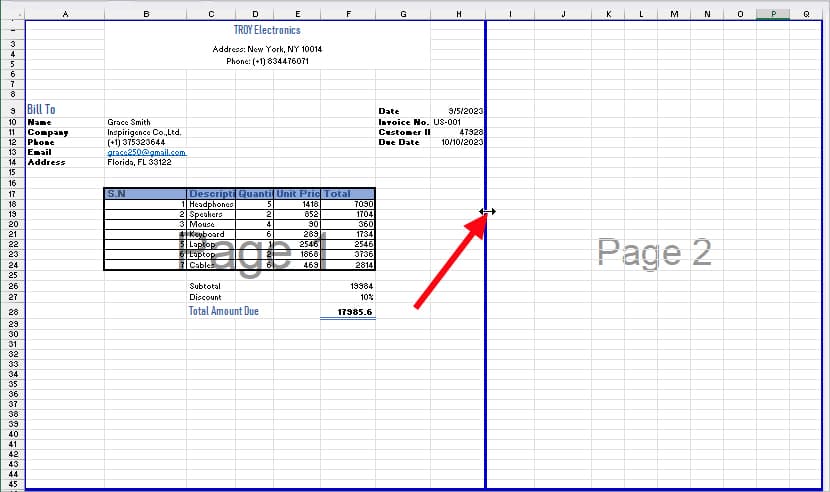
- To delete an extra page, drag the Blue line toward the bottom of the last page.
- Once you’re done, click on Normal to return to default View.
- Now, when you enter Ctrl + P, you will no longer have an extra blank page.
Print Selection
When you have huge spreadsheets, the number of print pages could span 100 or more. During such cases, you could opt for the Print Selection option. In this method, we are not actually deleting the extra page like above. But, we are printing only the selected area to dodge the blank or unnecessary pages.
- On your Excel sheet, select the Cell ranges you wish to print.
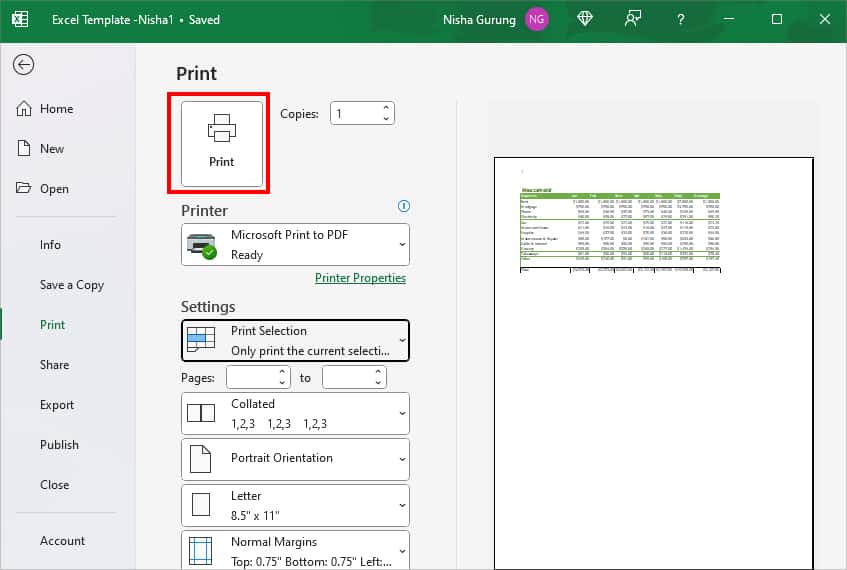
- Enter Ctrl + P shortcut key to bring up the Print menu.
- Under Settings, pick Print Selection.
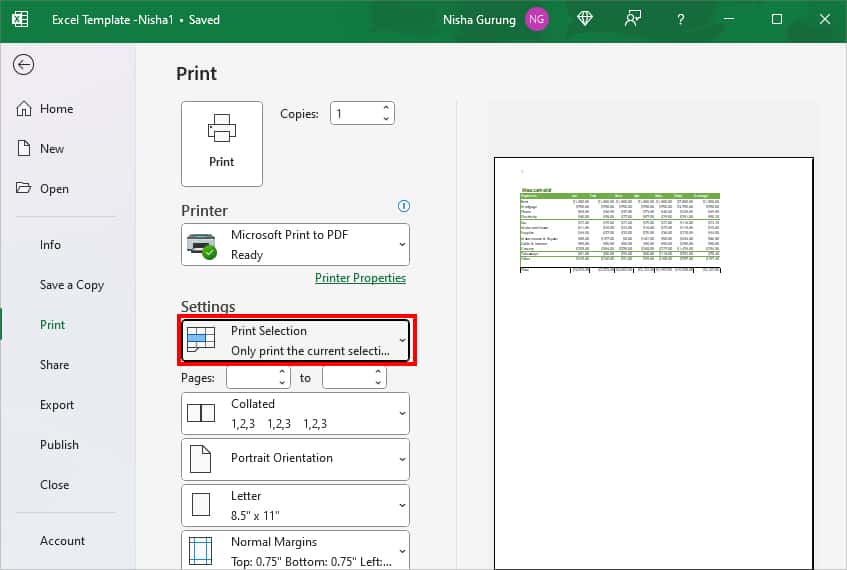
- Hit Print.
Set Print Area
If you need to print a certain area of your worksheet repetitively, you could opt for a Print Area. When you set a Print Area, Excel will automatically print only selected parts of your spreadsheet. By doing so, you wouldn’t have to select the cell ranges every time to print. It is also a good way to skip printing spare pages.
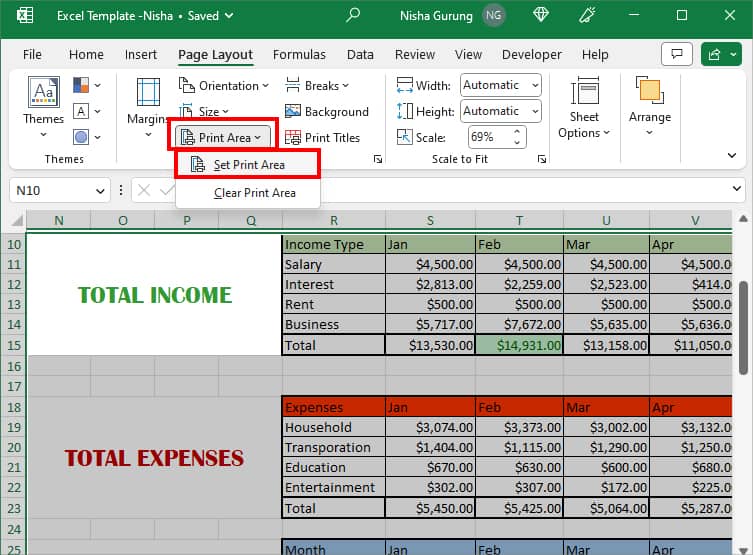
- On your spreadsheet, head to Page Layout tab.
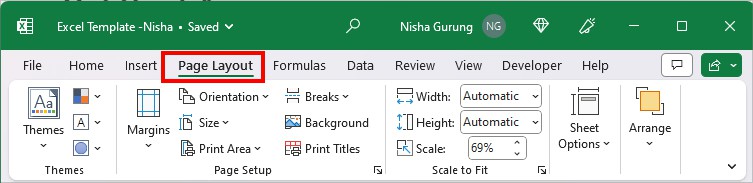
- Hover over the Page Setup section. Then, select Print Area > Set Print Area.
Alternatively, if you prefer a shortcut, select the cell ranges and use the given Excel keyboard shortcut. Also, you do not have to press down the keys together since this is a Ribbon shortcut. Enter each key one by one.
Shortcut key: Alt + P + R + SDelete Blank Sheets
If you are printing an entire workbook, you will possibly have extra pages due to the blank sheets. To prevent this, you can delete all the unnecessary sheets from your workbook.
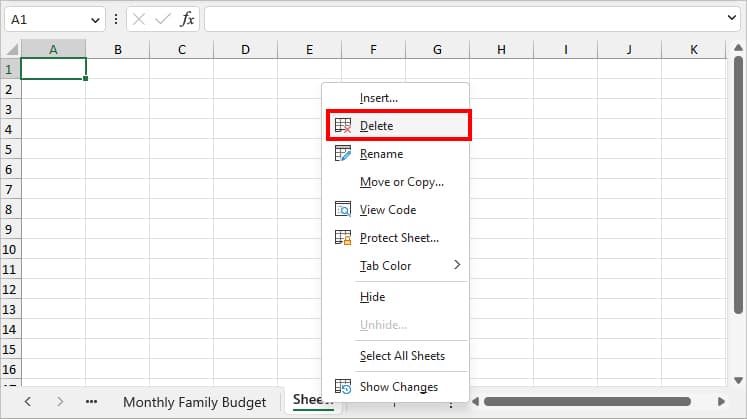
- Hover over the Sheet name at the bottom and right-click on it.
- Pick Delete to remove the sheet.