Since Excel does not print gridlines, we usually apply cell borders to organize our data. But, if the borders do not show up, our spreadsheet will look cluttered on the print page.
In most common scenarios, it can happen when the border color and the background cell are the same. Or, there are hidden rows and columns that are hiding part of the borders.
Nonetheless, you can troubleshoot this problem with these 7 tried and tested fixes. Without any delay, let’s get started!
Change Border Color
The primary reason your Border is not showing could be mainly due to the Border Color.
Either the Border color is set to white that’s disappearing with the white cell. Or, the border color blends with the background color.
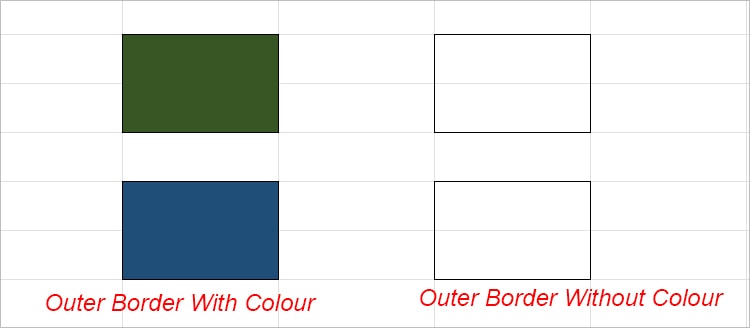
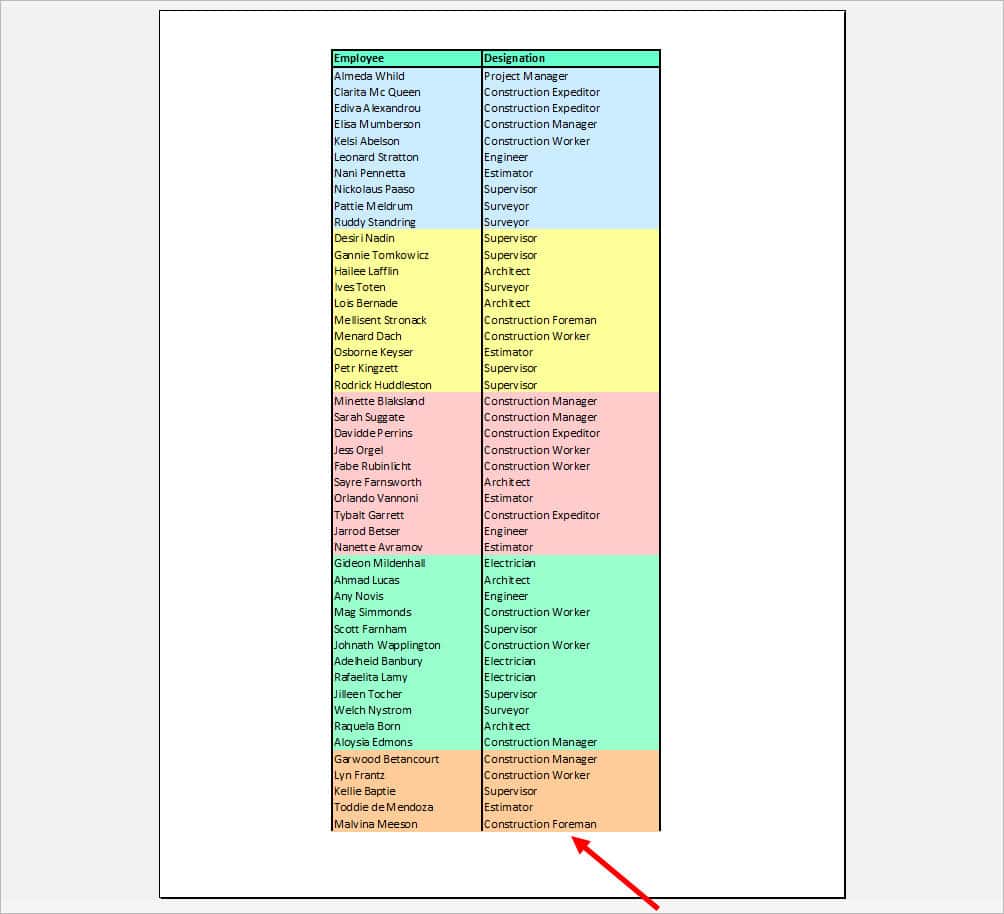
For example, here, although I have applied the Outer Black Border, it does not appear clearly in the Cell with a Green and Blue Color. On the other hand, it’s pretty distinct in the white cell.
To fix this, change to a suitable Border Color.
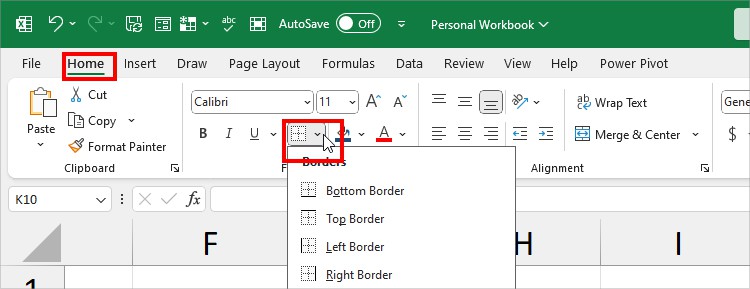
On your Home Tab, expand the Border menu. Go to Line Color. Then, choose any one color. Make sure the Color differentiates your border.

Check Line Style
If your Line Style is set to None, you won’t see the Border Lines when applying or drawing them.
Make sure there are either dash, dotted, or straight lines for the Border. However, for the well-defined border, I obviously would recommend you pick the latter option.
First, click on the Border option from the Home tab.
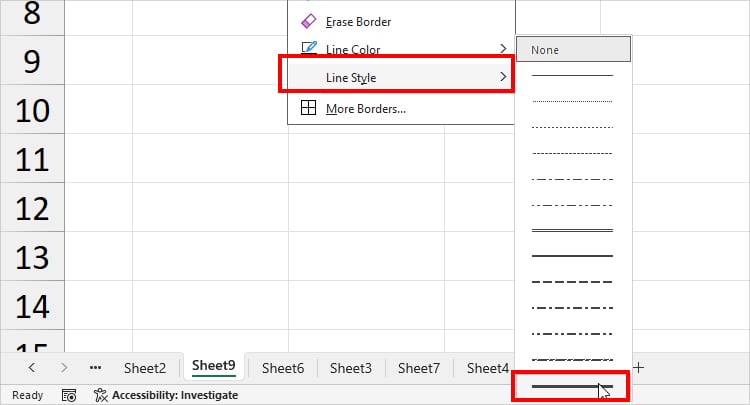
Then, head to Line Style and select a Line Design for the Border. Here, I picked the Last Option.
Now, apply the Border and see if it solves your problem.
Adjust Cell Size
You won’t see the borderline when your texts are spilling to adjacent cells as shown in the image. So, adjust your cell size to automatically fit the text.
For Columns, head to the Column Header and hover over between Two columns. Once you see the Resize cursor, double-click on it. Now, you should see the cell border.
Unmerge Cells
Next, borders like All Border does not apply to the merged cells. This could be the reason why the borders are not showing inside the cells.
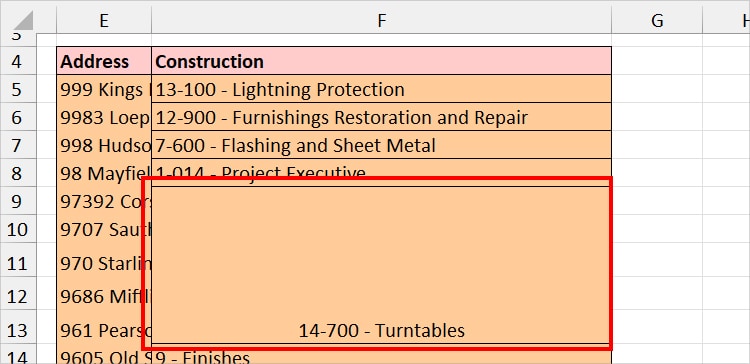
Unmerge Cells if you have merged cells in the spreadsheet. For that, select Cell Area and go to the Home Tab. From the Alignment group, click on Merge and Center.
Unhide Rows Or Columns
Do you have hidden rows or columns in your spreadsheet?
When you hide the cells, Excel also puts away the border lines along with it. This is why for users who cannot see half of the border, look for hidden columns/rows in your sheet and unhide them.
To unhide, enter Ctrl + A to select Cells. Right-click on the Column Header and select Unhide.
Again, while all cells are still selected, right-click on the Row Header and choose Unhide.
Check Border in Page Break View
Is your Border not showing completely while printing a worksheet?
If so, there are chances that the Page Break separated the Border cells into two pages. To check, look for the Page Break Line and see whether the Border lies inside it or not.
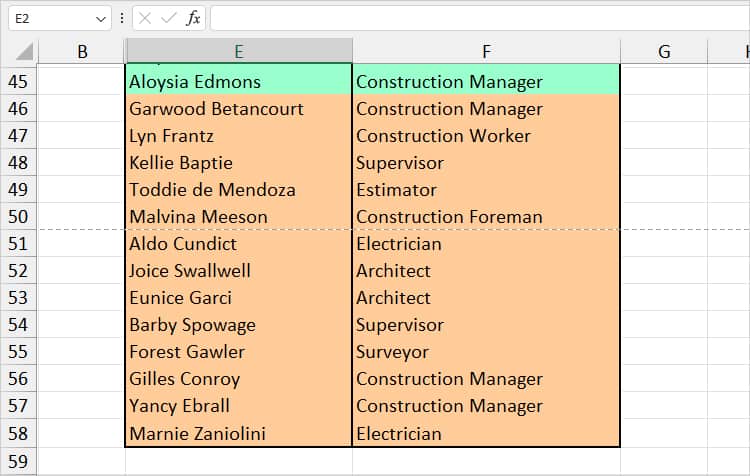
In case it doesn’t, the remaining border is probably on another page. Now, what do you do in such a situation?
Either move data and fit the information with borders on one page. Or, transfer the data to another page which is below the Page break line.
Check Print Area
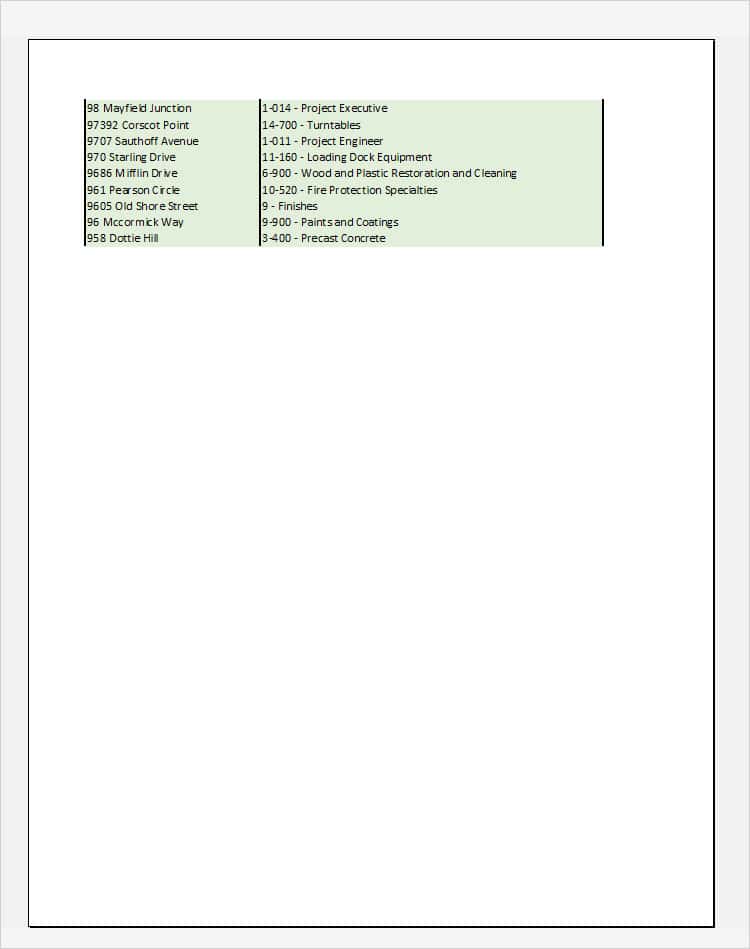
Another reason the Border might not appear while printing the worksheet could be due to the Print Area. When you set a Print Area, only the selected region is included to print.
If the border is beyond the Print Area, you won’t see them on the print preview.
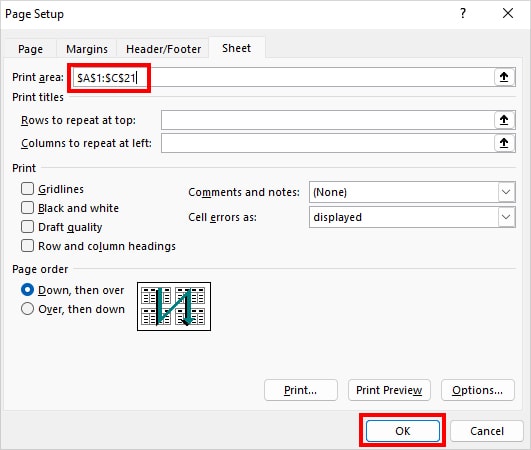
Check to see whether you need to expand the Print Area or not. Head to the Page Layout Tab and click on the Page Setup icon.
On the Page Setup window, see the Print area menu. Using the Collapse icon, select the cell ranges. Then, click OK.