While duplicate values can help find out the Subtotal value, they could be just redundant items in other cases. If the repetitive items do not add any value to your data, it is better to get rid of them quickly.
There are many ways you can remove duplicates in Excel. You could merge duplicates, transform them into a single row, etc.
But, deleting the duplicate rows based on one single column is different. This is because in this case, the values of duplicate Rows and Columns might not be the same. Don’t worry! We have compiled four simple methods to delete them in this article.
Remove Duplicates Menu
If you want to permanently get rid of duplicates, there’s a default Remove Duplicates button in Excel. This method is by far the easiest and quickest way to get the job done.
If the value of duplicate rows and columns does not match, Excel will send you No duplicate values when you select all the columns to delete.
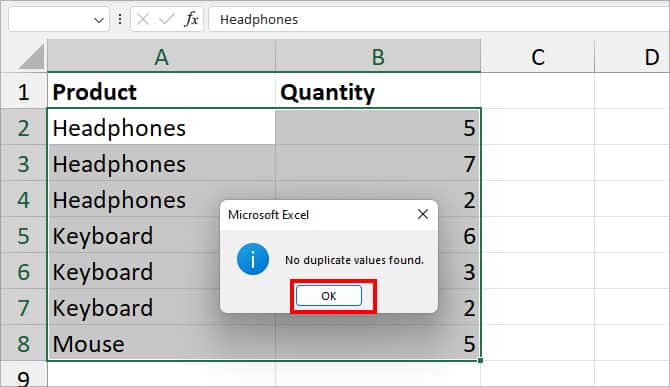
So, here, we will choose just one column after selecting the range to remove duplicates based on a single column.
- Firstly, select the entire data.
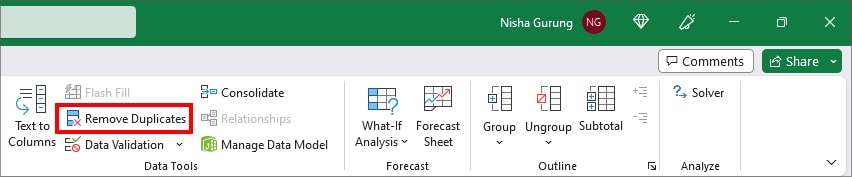
- Head to Data tab and click on Remove Duplicates on Data Tools group. Or, use the Alt + A + M Ribbon shortcut.
- On Remove Duplicates, click on Unselect All button.
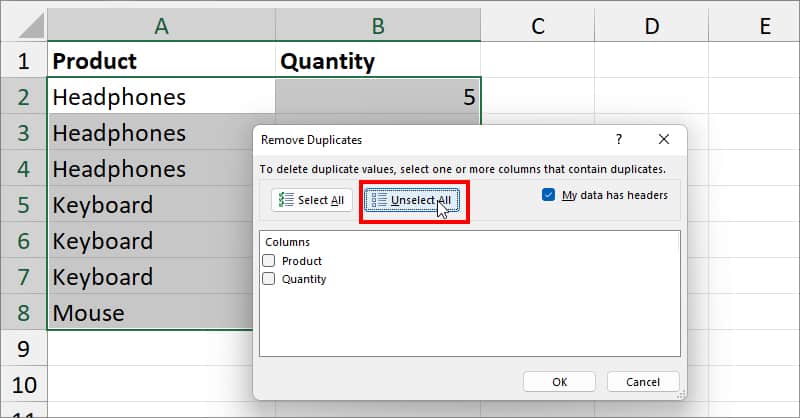
- Then, only tick the box for one of the Column’s name to remove duplicates based on it. Hit OK.
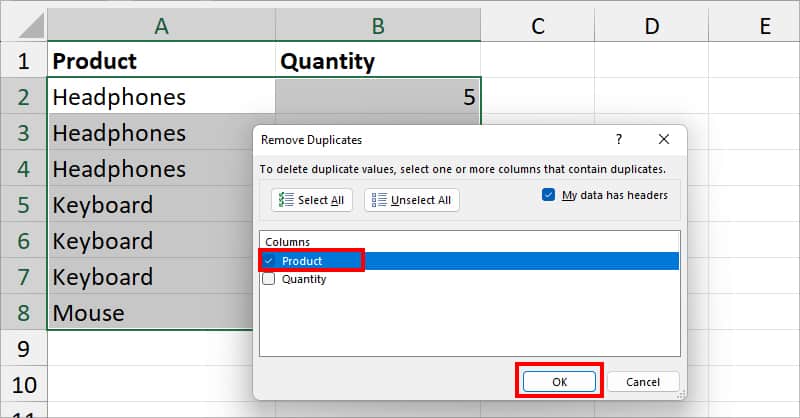
- Click OK.
Using VBA code
For some of you, you may have to regularly delete the duplicates from your data. In that case, what better way than to use the VBA code? Here, I have mentioned the VBA code to remove the duplicates. You could just copy and paste them into your VBA application.
- Launch Excel Workbook.
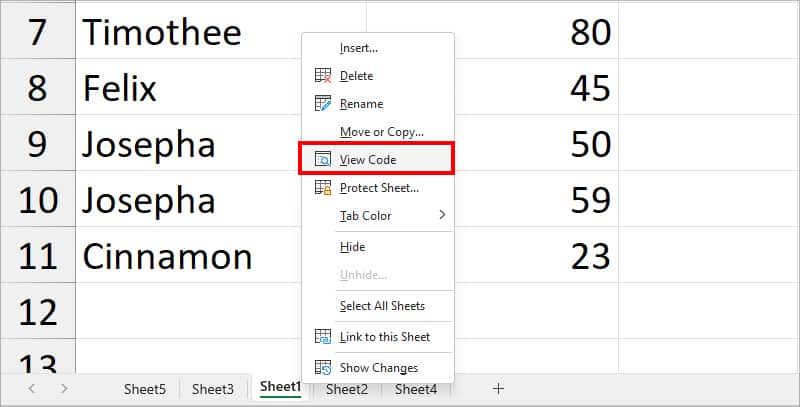
- Right-click on the Sheet with Duplicates and pick View Code option.
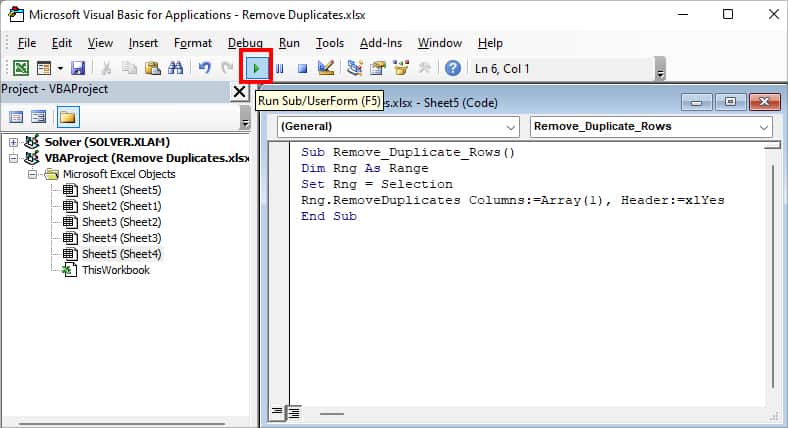
- Microsoft Visual Basic for Applications window should open. Copy the code mentioned in the box and paste it into the VBA window.
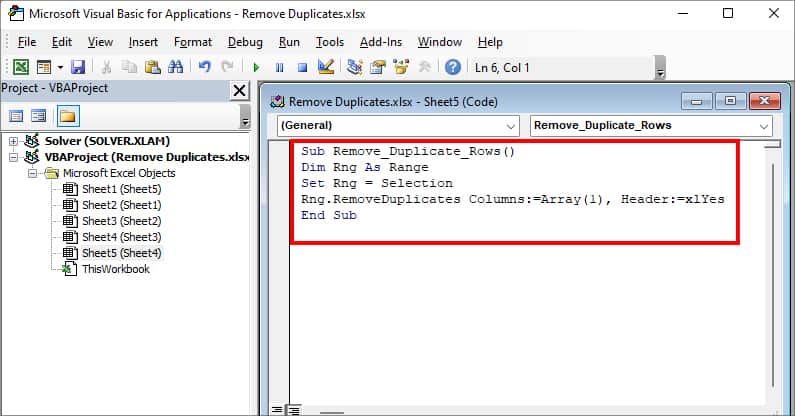
Sub Remove_Duplicate_Rows()
Dim Rng As Range
Set Rng = Selection
Rng.RemoveDuplicates Columns:=Array(1), Header:=xlYes
End Sub- Hit the F5 key or click the Run button on the VBA window.
To run Macros next time, all you have to do is go to the Macros menu from the Developer tab. Select the Macro Name and hit Run. Remember, in order to access Developer Tab, you’d have to add them to the Excel ribbon first.
Using COUNTIF Function and Filter Tool
Another method to delete the duplicates based on one column is by using the Filter tool. But, in addition to the filter tool, we will also use the COUNTIF function to create a supporting column.
The COUNTIF function counts and returns the total number of cells based on certain criteria. So, we will first use it to count the number of duplicate values from a specific column.
On a new column, enter the COUNTIF formula as given in the box below. This will be your helper column.
=COUNTIF($A$2:A2, A2)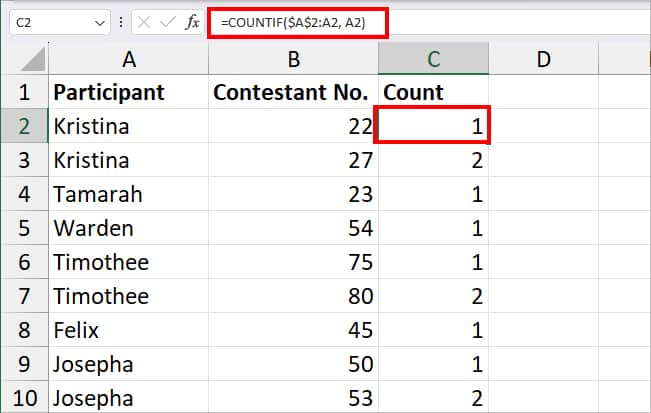
Once you get the result, extend the fill handle to copy down the formula to the rest of the column. In the above formula, we passed down the value of Column A ($A$2:A2) as range and A2 as criteria arguments. Since we locked the $A$2, the cell A2 remains constant when the formula copies to another cell. Thus, it’ll count the number of participants’ names in Column A.
- Click on one of the cells within the Column.
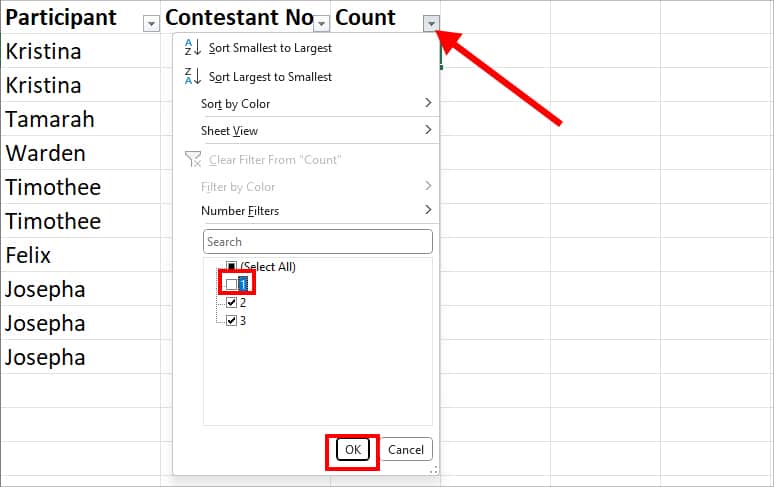
- To turn on the Filter, enter Ctrl + Shift + L shortcut key. Or, click the Filter menu in the Data Tab.

- Click the Filter button for Count Column. Untick the 1 option and hit OK. (Here, 1 represents the unique values)
- Select the Filtered rows and right-click on them. Pick Delete Row.
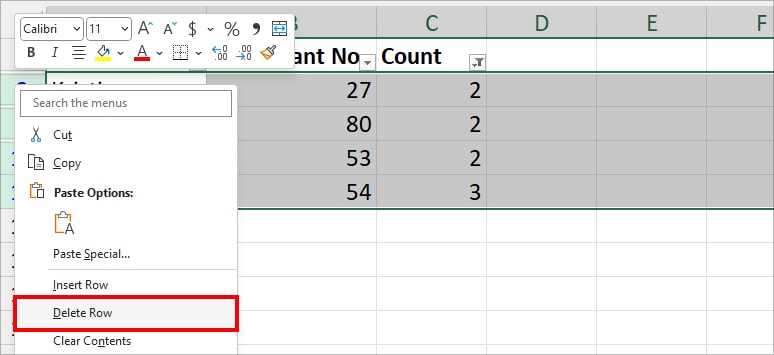
- Enter Ctrl + Shift + L keyboard shortcut to turn off the Filter. Delete the helper column.
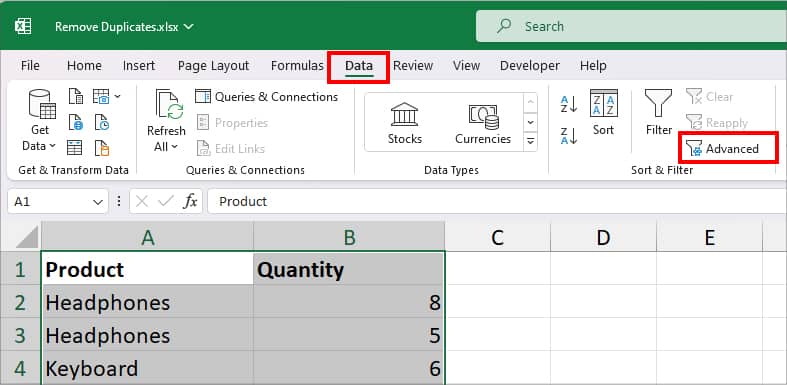
Using Advanced Filter
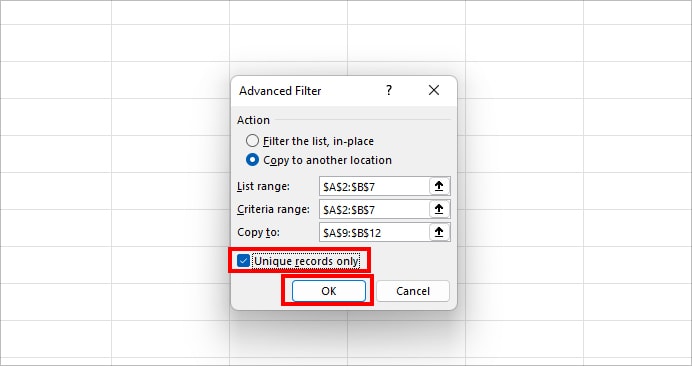
If you wish to simply filter out the duplicates without deleting them, this method is for you. In the Advanced Filter window, you can find two options. If you pick the Filter the list, in-place, the option will just filter out the duplicate values.
However, if you choose Copy to another location option, there won’t be any duplicates in the filtered items. Either way, you’ll still have the duplicate values.
- Select your data.
- Click Data Tab. From Sort & Filter, select Advanced.
- Below Action, choose one of the following options.
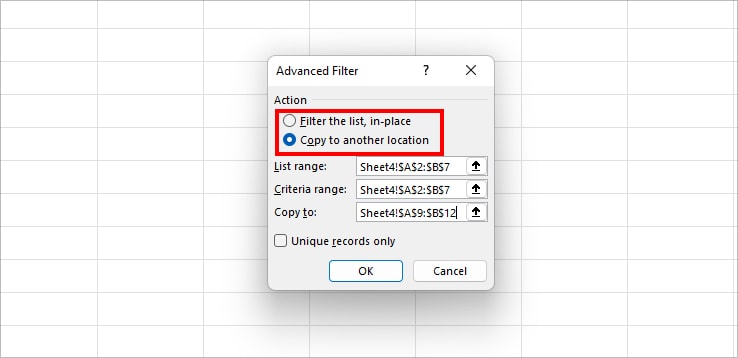
- Filter the list, in-place: Filter duplicates from selected data. Does not delete duplicates.
- Copy to another location: Copy the filtered data to different parts of the sheet. If you select this option, select the cell range on Copy to the menu.
- Check mark the box for Unique records only and hit OK.