Whenever you format a cell with long text using the Wrap Text option, Excel automatically adjusts the row height to prevent it from cutting off or being hidden.
However, this doesn’t work if you manually change the row height before/after enabling the Wrap text option. In most cases, you can encounter such an issue when using a template as it usually has custom cell formatting settings.
Also, if you have merged cells, enabling Wrap Text has no effect on the row height and the cell contents will still be only partially visible.
Fortunately, you can easily fix such issues by simply adjusting the row height.
Auto-Fit the Row Height
When you explicitly set a custom row height, the contents only take up and fill to its size instead of the row height set by the Wrap Text option.
So, to fix it, you can either increase the row height manually or use the auto-fit option.
- Select the cell (s) with cut-off cell contents. Or, select all the cells at once by clicking Ctrl + A.

- Click the Home tab.
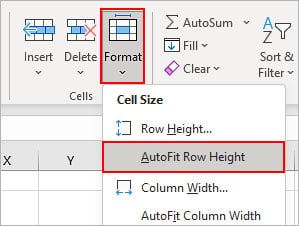
- Click Format > Auto-fit Row Height.
- Alternatively, you can specify a custom row height inside the Row Height option.
Unmerge the Merged Cells
As the Wrap Text option works differently for the merged cells, just using the Auto-fit option doesn’t work in this case.
So, if you have such cells, you need to unmerge them and then adjust the row height; either manually or using Auto-fit option.
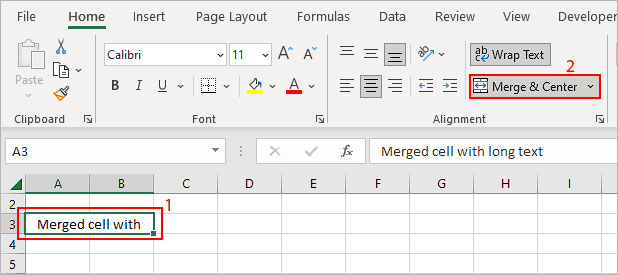
- Select the merged cells. If you have multiple cells which are merged, you can select all the cells with the Ctrl + A keyboard shortcut.
- Now, unselect and disable Merge & Center under the Home tab. Also, make sure the Wrap Text option is enabled.
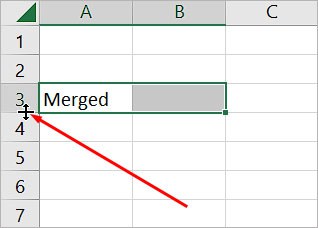
- Then, hover over the bottom border of the row containing those cells. When the cursor turns into a double-arrow icon, drag it down until all the text is visible.
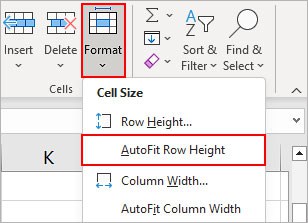
- Alternatively, you can use Auto-Fit Row Height as mentioned above (Format > Auto-fit Row Height).
Unwrap and Wrap the Text
While the Wrap Text option applies to normal cells, it doesn’t work if the cell containing the text refers to a formula and updates later. It can happen irrespective of whether the formula refers to cells inside/outside of the worksheet.
For instance, 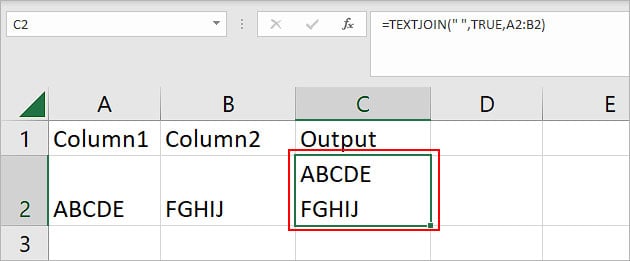
Here, cells under the Output column refer to a formula that combines text from the other columns (Column1, Column2).
But, since the resulting text is long, we have used Wrap text on all the cells under the Output column.
However, when the formula updates and the result contains a new longer text, the Wrap Text doesn’t adjust the row height to include it as shown in the image below.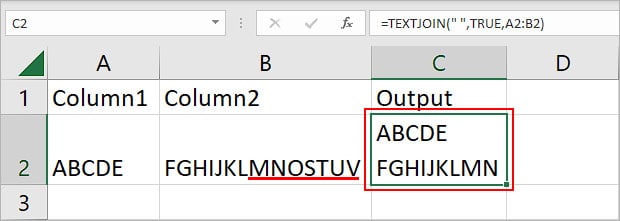
To fix it,
- Select cells referring to the formula. Alternatively, you can also select all the cells at once by pressing the Ctrl + A key.
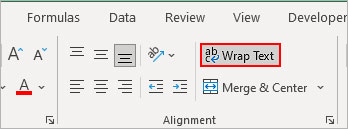
- Now, click to disable the Wrap Text.
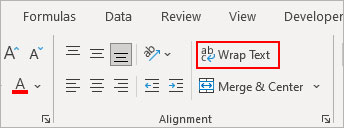
- Click Wrap Text again to adjust the row height automatically.
Repair or Reinstall the App
The above methods should fix the wrap text issue most of the time. However, on rare occasions, the issue may persist.
This could happen due to a bug/glitch in your Excel app. To resolve it, you can first try repairing the application. Then, as a last resort, you could also reinstall the app.
To repair the app,
- Press Windows + R, type
appwiz.cpl, and press Enter.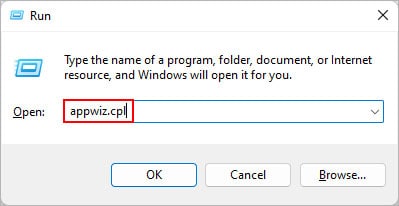
- Scroll down to Microsoft Office or Microsoft Excel.
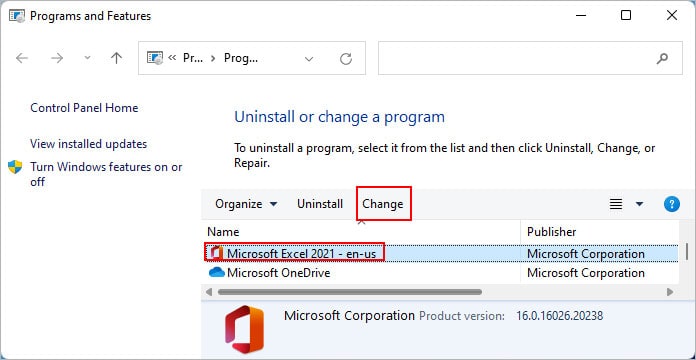
- Click Change in the top bar.
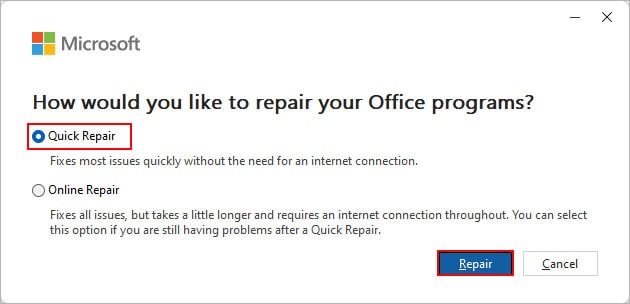
- Select Quick Repair and click Repair. If it doesn’t work, use the other option; Online Repair.
- Wait for the repair process to finish.
- Check if the Wrap Text feature is working now.
To reinstall the app,
- Press Windows + R, type
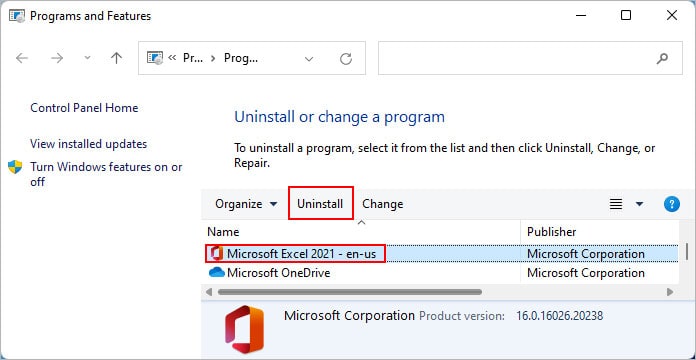
appwiz.cpland press Enter. - Select Microsoft Excel. If you don’t see it, select Microsoft Office.
- Click Uninstall and follow the on-screen instructions to complete the installation.
Once finishing the uninstall process, log in to your Office account. Then, download the setup file and run it to install the Excel app again. See if the issue has been resolved.