A ghost email is any email that Outlook keeps sending despite there being no email left to send on the Outbox.
As you click the Send/Receive button, you can notice Outlook trying to send such emails on the Send/Receive progress window and on the status bar.

Since they don’t appear in the outbox, finding and removing them can seem difficult. However, you can resolve such issues with various tools like SCANPST and MFCMAPI as mentioned in the article.
Repair Outlook Data File
Most of the time, the ghost emails appear when your Outlook data file (PST or OST) gets corrupted.
To repair the corrupted PST files, you can use Outlook’s built-in tool called Inbox Repair tool (also known as SCANPST). Then, you should be able to successfully remove the ghost emails from your Outlook app.
- Exit Outlook app.
- Open File Explorer.
- You can find the Inbox Repair Tool in one of the following locations. Alternatively, type SCANPST on the search bar to find it.
C:\Program Files\Microsoft Office\root\Office16C:\Program Files(x86)\Microsoft Office\root\Office16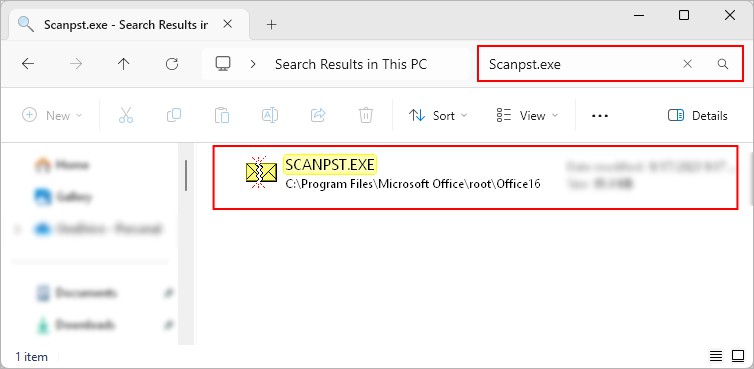
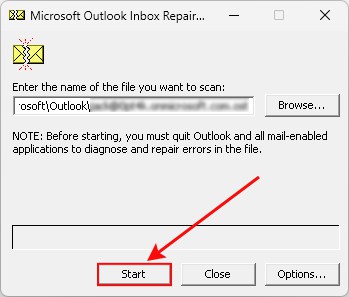
- Double-click to open and run the
SCANPST.exefile. - On next prompt, click Start.
- Wait for the tool to find any existing errors with the data file.
- Next, enable the Make backup of scanned file before repairing checkbox to create a backup before starting the repair process.
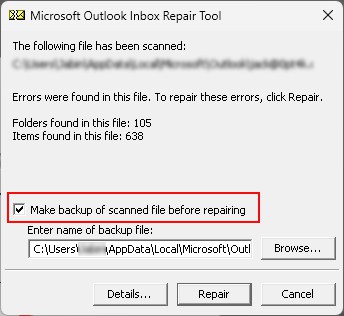
- Click Repair.
Use the MFCMAPI Tool
The MFCMAPI is an advanced tool that lets you open MAPI stores (one that deals with how Outlook stores your messages on the app).
You can also use it to troubleshoot Outlook issues like messages stuck in outbox.
- Exit the Outlook app.
- Open a browser and go to the MFCMAPI GitHub page.
- Download the latest MFCMAPI file. If you are using the 64-bit Outlook app, download the file with x64 on it.
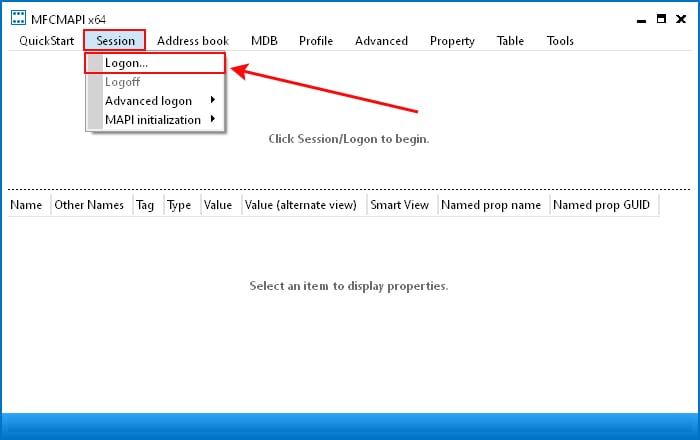
- Extract the downloaded file and launch the
MFCMapi.exefile inside it. - Then, click the Session menu and select Logon.
- Next, choose the Outlook profile you are currently using or having problems with.
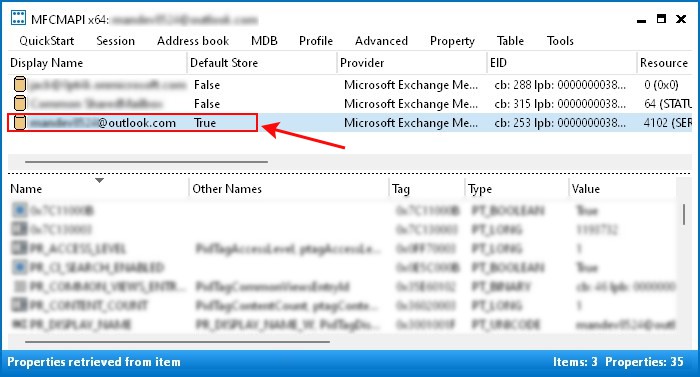
- Check the Outlook account that has the Default Store value set to True and open it.
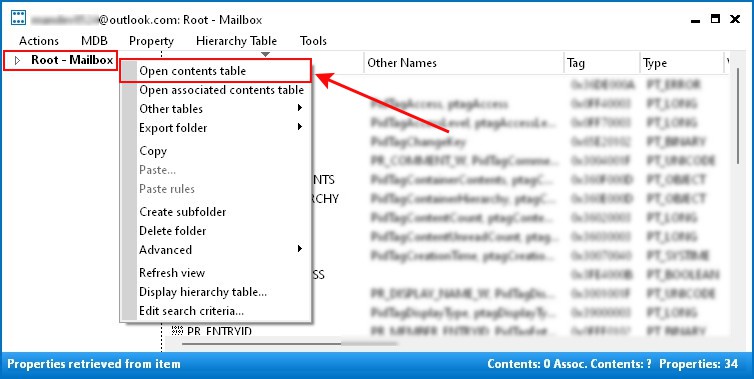
- Right-click on Root – Mailbox or Root Container and select Open contents table.
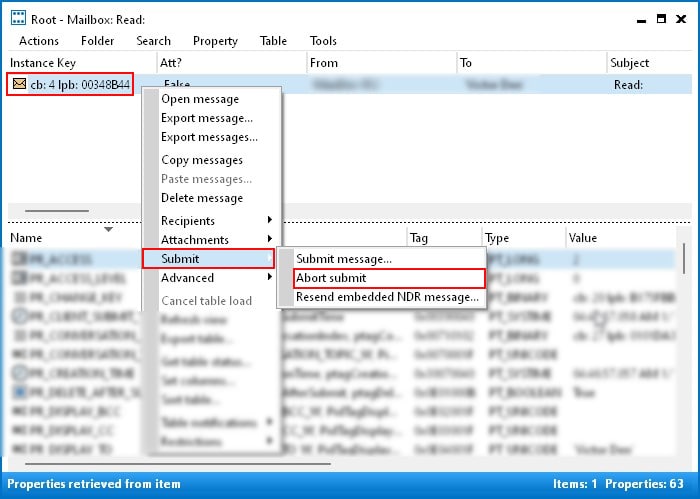
- Then, right-click on the ghost email (stuck read receipt) and select Submit > Abort submit.
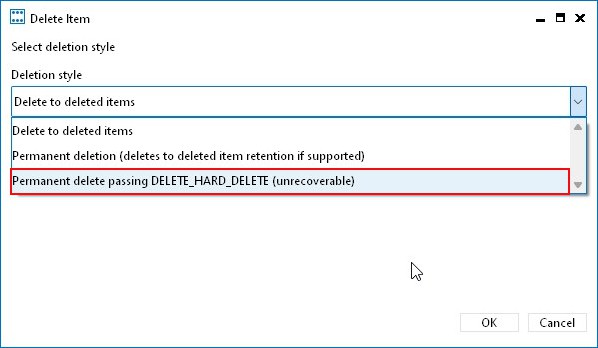
- Now, to remove the ghost email, right-click and select Delete message.
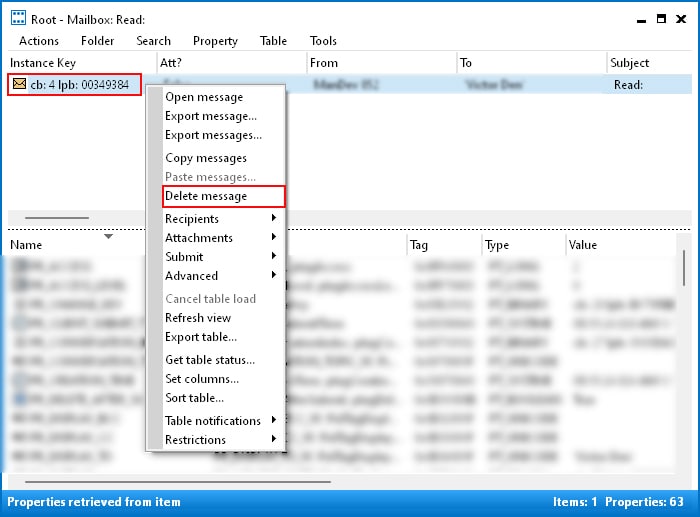
- On the next prompt, select the Permanent delete passing DELETE_HARD_DELETE (unrecoverable) option and click OK.
- Relaunch Outlook.
Disable Read Receipts
As stuck read receipts can result in ghost emails, you can completely prevent sending read receipts in the first place. For that, you can configure the Outlook options as follows.
- Open the Outlook app.
- Click the File menu.
- Then, click Options in the bottom right corner.
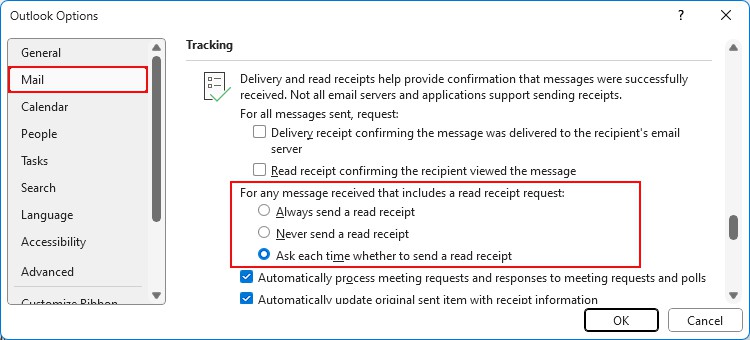
- On the next window, select Mail from the sidebar.
- Scroll down to the Tracking section.
- Under the For any message received that includes a read receipt request section, choose Never send a read receipt to automatically reject a read receipt request. Or, choose Ask each time whether to send a read receipt to prompt you whenever you have an incoming mail that contains a read receipt request.
- Click OK.