Usually, a cell spans its contents over its current column width. After that, the remaining contents either get cut off or remain partially visible depending upon whether the cell next to it is empty or not.
While you could increase the column width to make the entire contents visible in a cell, all other cells in that column also take up the same width. Instead, a better option is to wrap text or insert a line break to break the whole cell content into multiple lines.
Using Wrap Text
The Wrap Text feature is a quick way to wrap a long piece of text. Here, Excel automatically adjusts the row height and splits the text content on the next line within the same cell.
- Select the cell (s) containing the long text. To quickly select an entire column, use the Ctrl + Shift + Down arrow shortcut key.
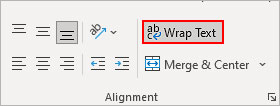
- Click the Wrap Text button under the Home tab. You can find the option in the Alignment section.
- Additionally, adjust the column width to fit more content while wrapping text. For this, simply drag over the right border of the desired column.
By Inserting a Line Break
Unlike the above option, you can choose the specific part of the text to split it into multiple lines by inserting one or more line breaks.
However, once you insert a line break, you can notice that Excel automatically enables the Wrap Text option.
- Double-click the cell to edit it.
- Now, place the cursor on part of the text you want to move into a separate line.
- Use one of the following keyboard shortcuts.
- For Windows users: Alt + Enter
- For Mac users: Ctrl + Option + Return
- Additionally, you can insert multiple line breaks to make a long formula more readable in the formula bar. Click the down arrow icon at the end to expand the formula bar.
- Repeat the same process to insert line breaks at other preferred parts of the text.
Using Find and Replace
Manually inserting line breaks can be a tedious task when you have to do so for multiple cells. Instead, you can use the Find and Replace option to insert multiple line breaks at desired positions for multiple cells at once.
- Select the cell (s) where you want to insert multiple line breaks.
- Press Ctrl + H to launch the Find and Replace window.
- Next to the Find what field, type the character after which you want to insert a line break in a cell.
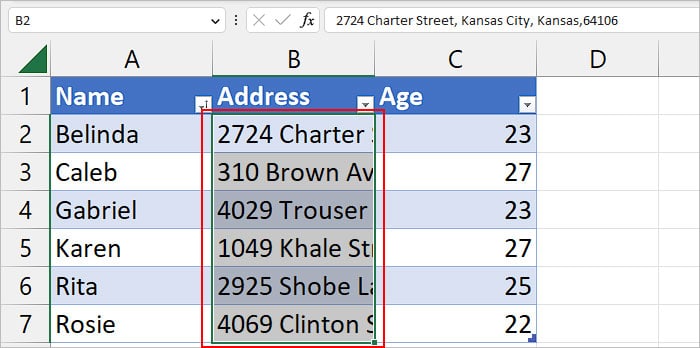
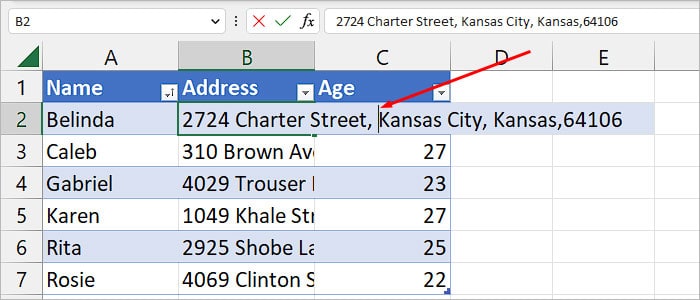
For instance, if your cell contains something like 4029 Trouser Leg Road, Greenfield, Massachusetts, 01301, enter a comma followed by the space character.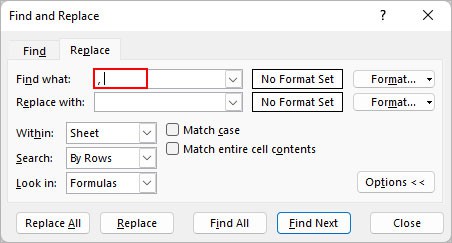
- Then, press Ctrl + J next to Replace with field. Doing so will insert line breaks replacing a specific character like a space or comma in each cell.
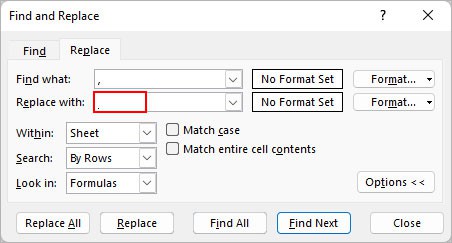
- Click Find Next to go through each cell that will be affected.
- Click Replace All when done.
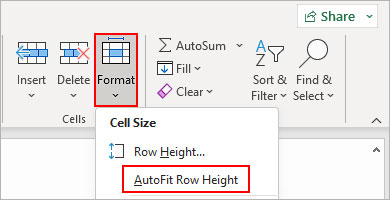
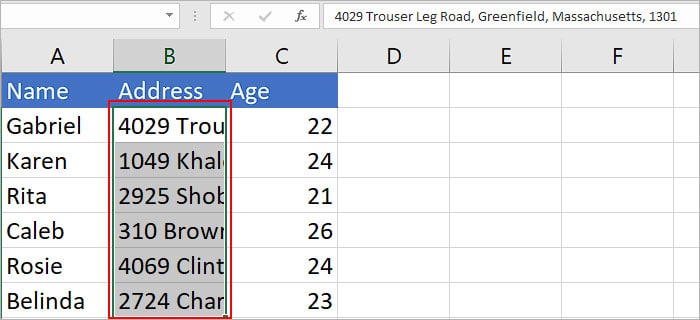
- While the above cells are still selected, select the Home tab, and click Format >AutoFit Row Height.