If you use multiple devices, it’s best to sync all your personal or work contacts in one place. Well, Google Contacts offers us this convenience. It also reduces the risk of losing contacts while updating the firmware or resetting your phone.
Syncing contacts with the Gmail account eliminates the unnecessary effort of manually adding contacts. You can organise and access them from any device where your Gmail account is signed in. Moreover, your device’s contacts will instantly update in the Gmail account if you sync them.
How to Sync Contacts With Your Gmail Account?
To sync contacts of any of your devices, you need to sign in to your Gmail account and enable contact sync. Syncing will not only backup your Contacts, but it also helps to access them from all trustworthy devices where Gmail is signed in.
Whether you have Windows, Mac, Android or iPhone, we have compiled complete steps for syncing contacts with your Gmail account. You can follow these steps to sync them:
On Windows
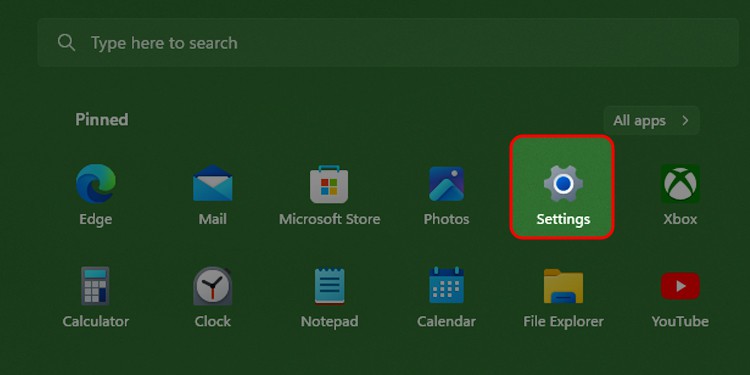
- Open the Settings app from the startup menu.
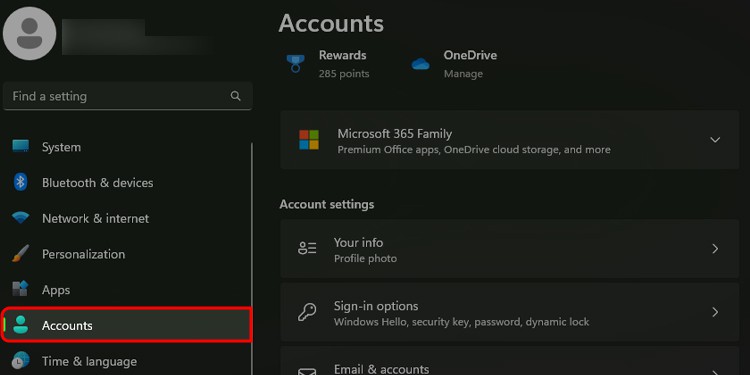
- Click on Accounts.
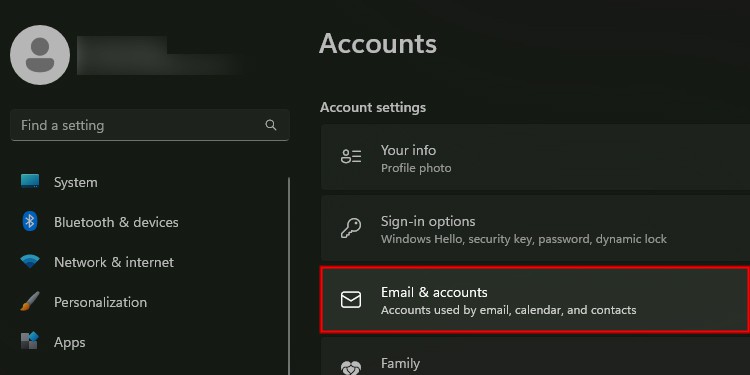
- Click on Email & accounts.
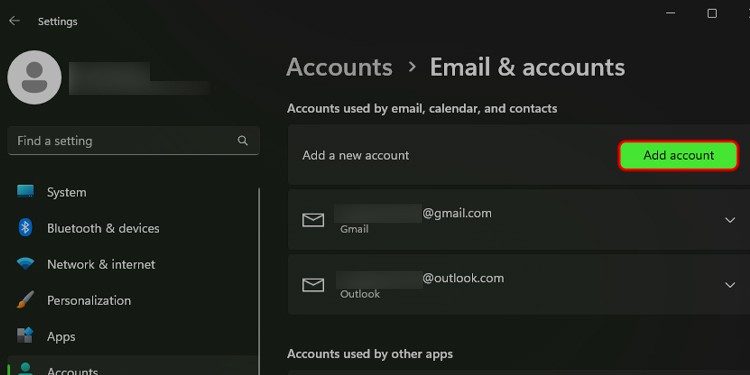
- Click on Add an account under the Email, Calendar, and Contacts.
- Choose Google.
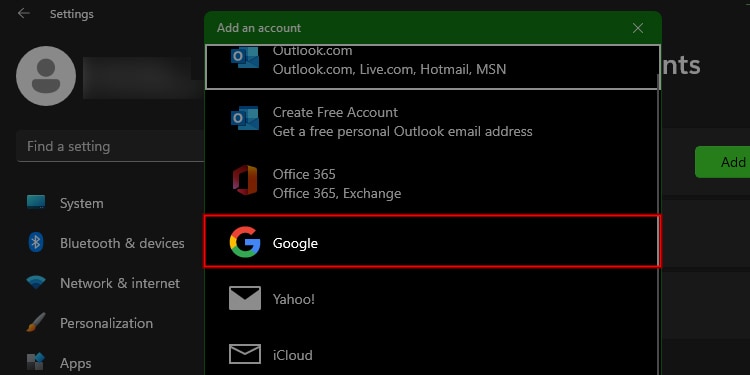
- In this prompt, enter your Gmail ID.
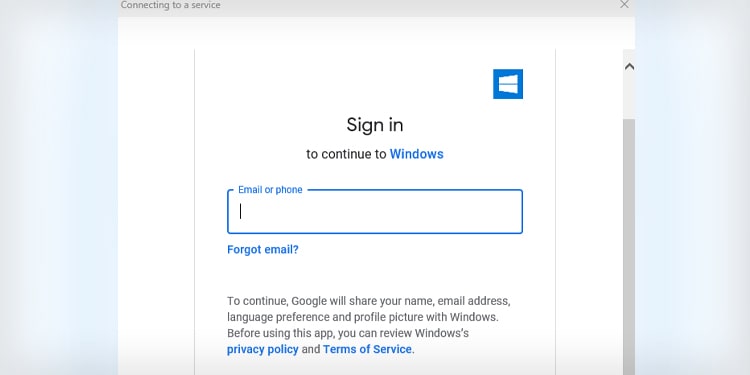
- Click Next.
- Enter your password for this account and again click Next.
- Click on Allow to permit Windows to access your Google account.
- Now Click Done.
On Mac
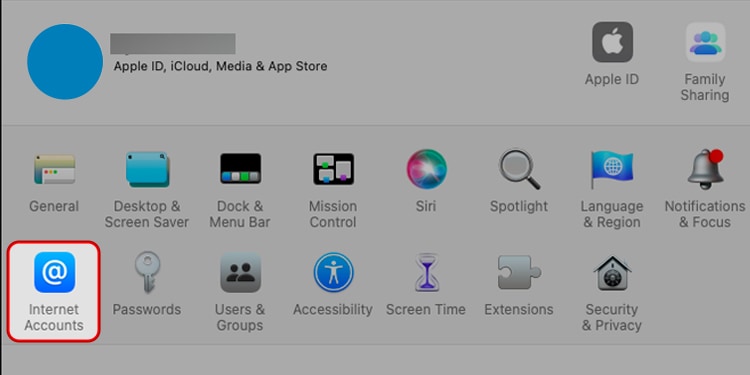
- Go to System Preferences and click on Internet Accounts.
- Choose Google.
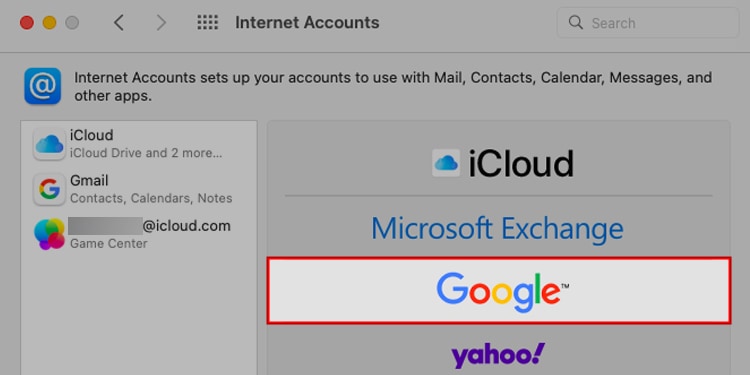
- Now enter your Gmail account credentials and click Next.
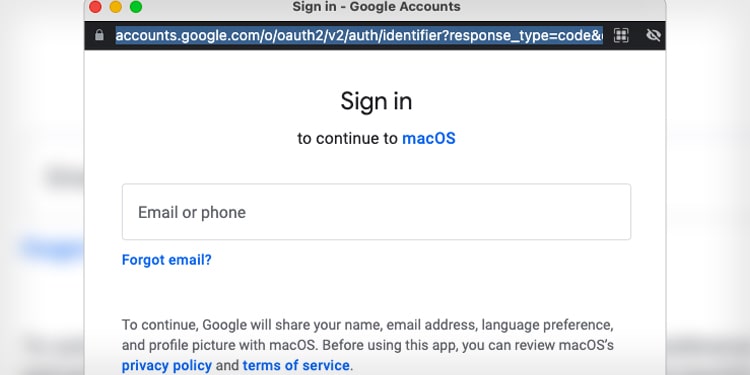
- Click to check on Contacts.
- Click on Done.
On Android
- Open the phone Settings.
- Tap on Google.
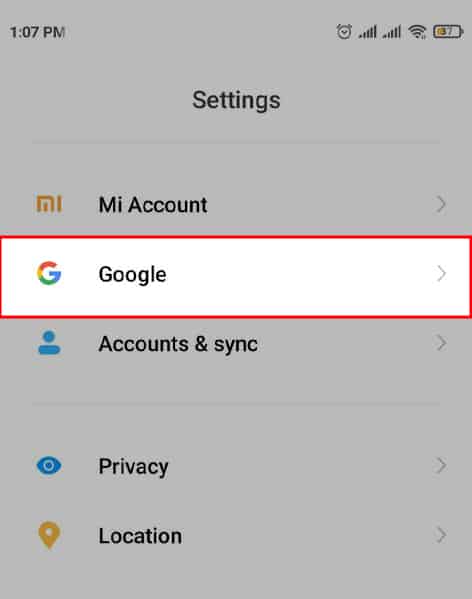
- Choose a Google account to save in.
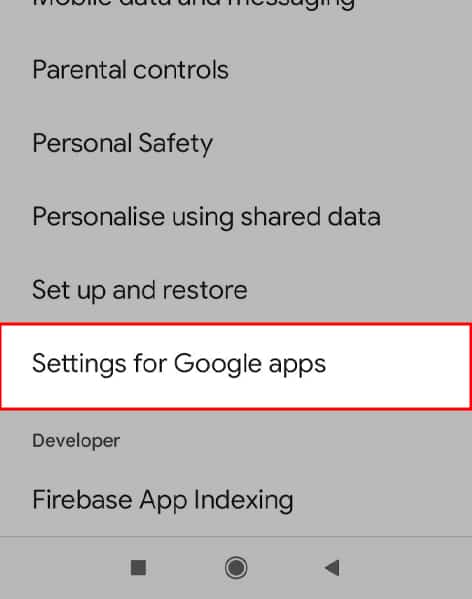
- Tap on Settings for Google apps.
- Tap on Google Contacts sync.
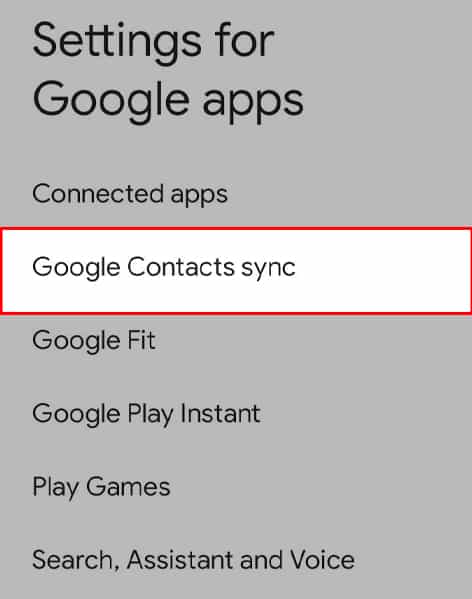
- Tap on Also sync device contacts.
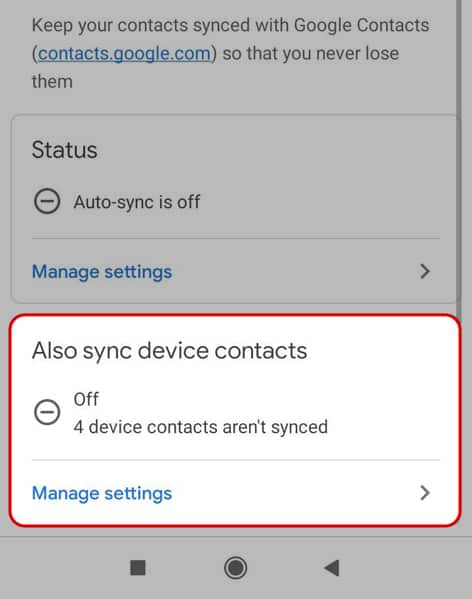
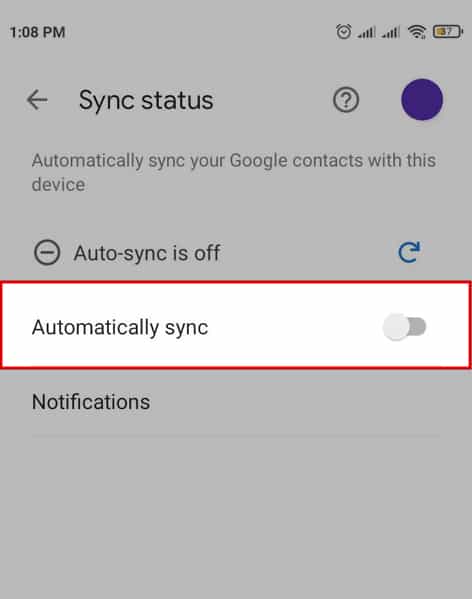
- Now enable Automatically back up & sync device contacts.
On iPhone
- Open the Settings app.
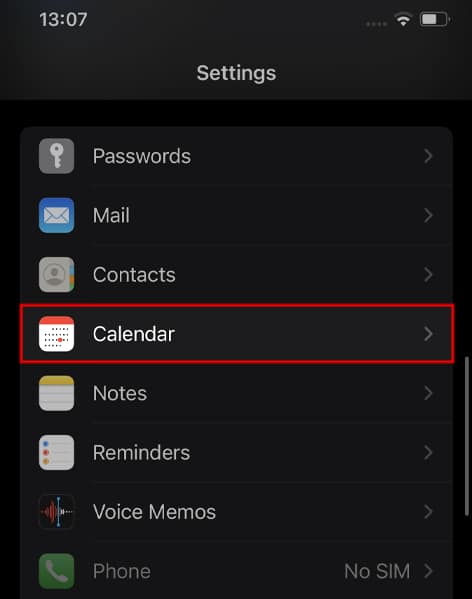
- Tap on Contacts.
- Tap on Accounts.
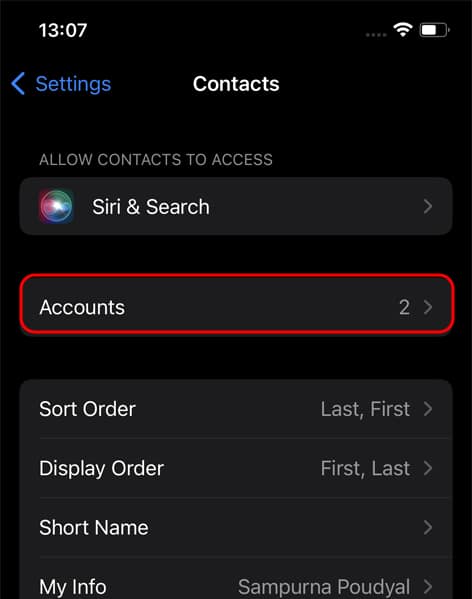
- Now click Add account.
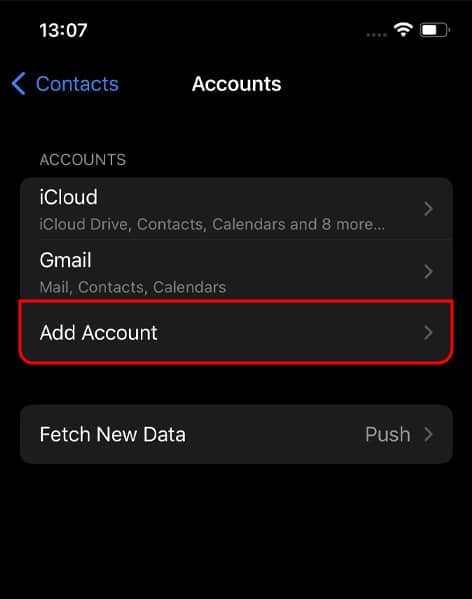
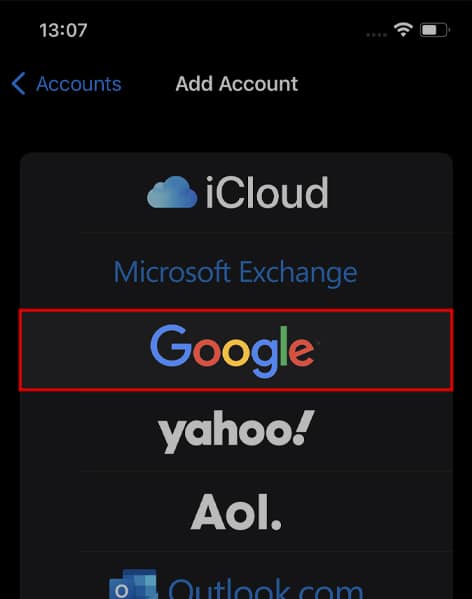
- Tap Google.
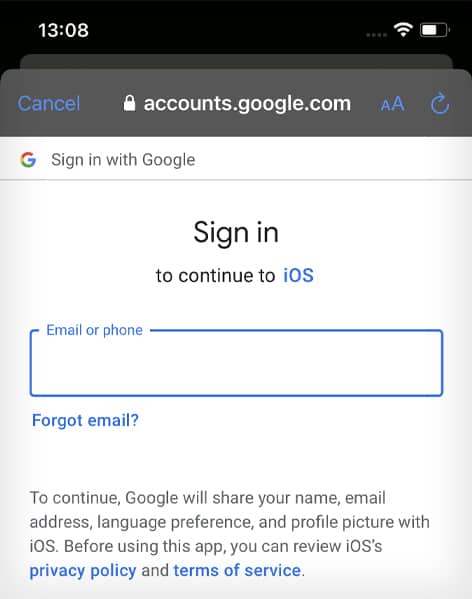
- Sign-In with your Google Account as it directs.
- Make sure to toggle on Contacts. Here you can select other apps as well to sync with the account.
- Tap on Save.
- Now launch your contact app to start syncing.
How to Import Contacts to Your Gmail Account?
Syncing contacts with Google cannot import contacts saved to your SIM cards. You can import a contact file if the above methods don’t work well. Before that, you need to export the contact file to your local device on your phone or PC.
Step 1: Export Contacts from Phone
If you want to transfer your contact details from your phone, you can export them as a single contact file. The contact app of Android phones has the option to export as a CSV file. Whereas, for iPhone, you can use iCloud to export them to your PC.
On Android
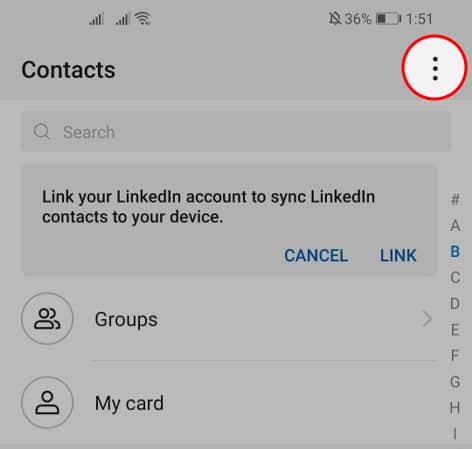
- Open your phone Contact app.
- Tap on the three dots (More).
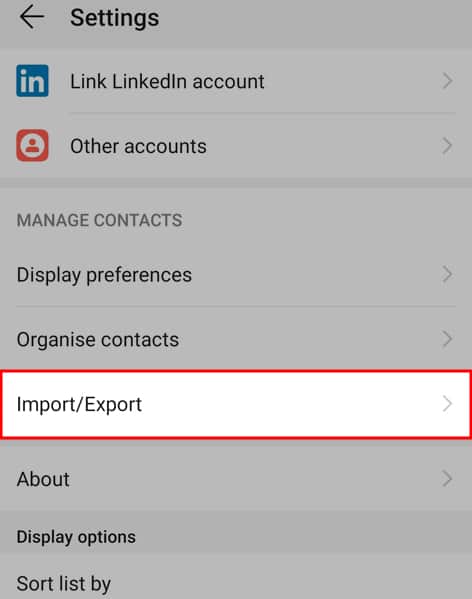
- Tap on Import/Export.
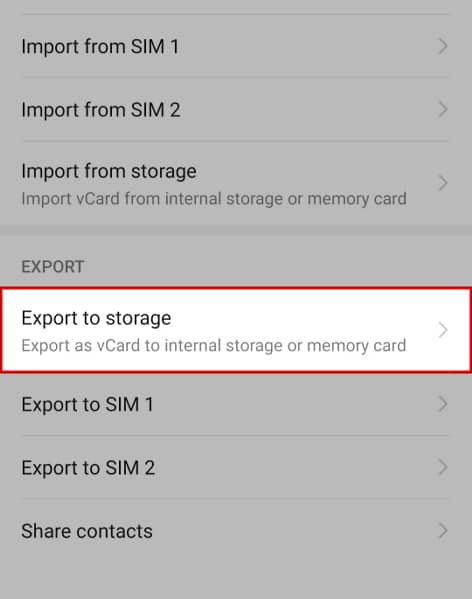
- Tap on Export to storage.
- In the pop-up, click on Export.
- Now check the mark on SIM or from where you want to export contact details.
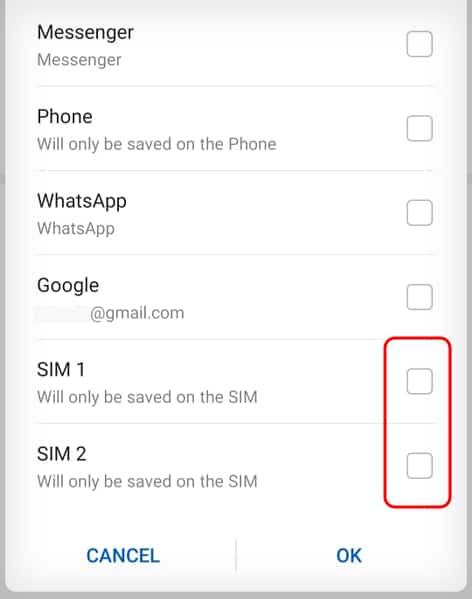
- Tap OK.
On iPhone
If you have a backup of your contacts to iCloud, you can export contacts from iCloud on your computer. Go through these steps to export them:
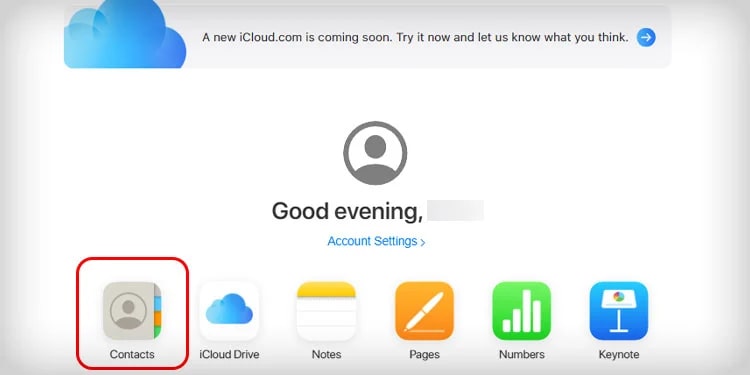
- Go to the iCloud website and log in with your Apple Id.
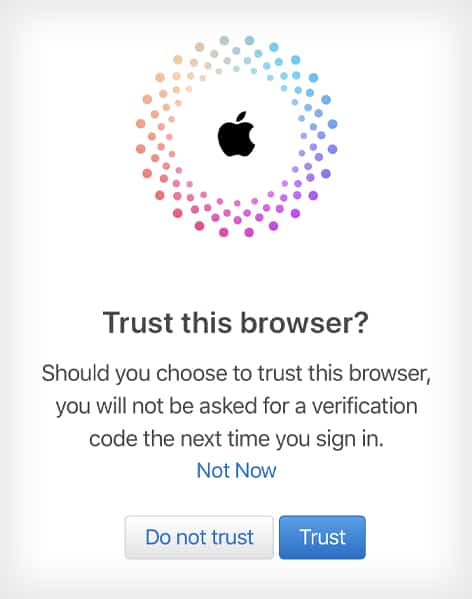
- Click on Trust this browser if permission is needed while logging in for the first time.
- Click on Contacts.
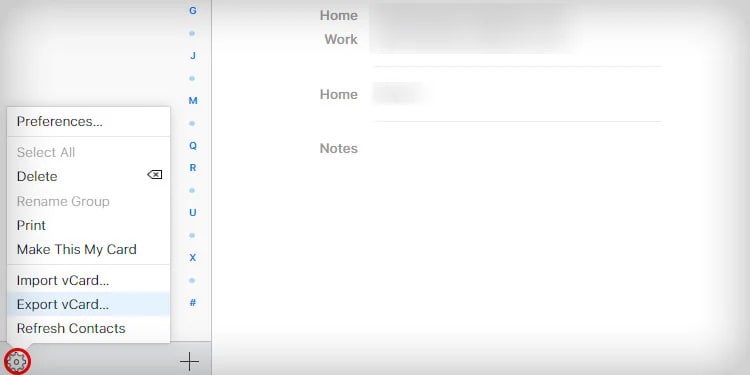
- Click on the gear icon.
- Now click on Export vCard in this pop-up menu.
- Choose a location where you wish to save.
- Click OK.
Step 2: Import Contact to Google Contacts
You can import any contact file into your Gmail Account that lies in your device storage. If the contact file is on your Android phone, you can import them using the Google Contacts mobile app. Launch the Contacts web application on the browser if it is on a PC or iPhone.
On PC
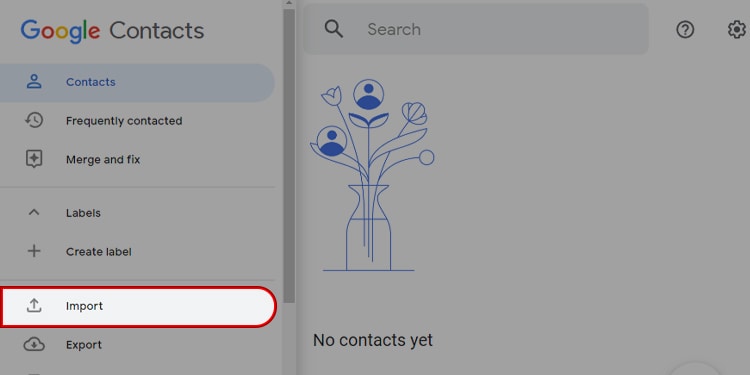
- Open Google Contacts on your browser and sign in.
- Click on Import.
- Click on Select File from your storage on this prompt.
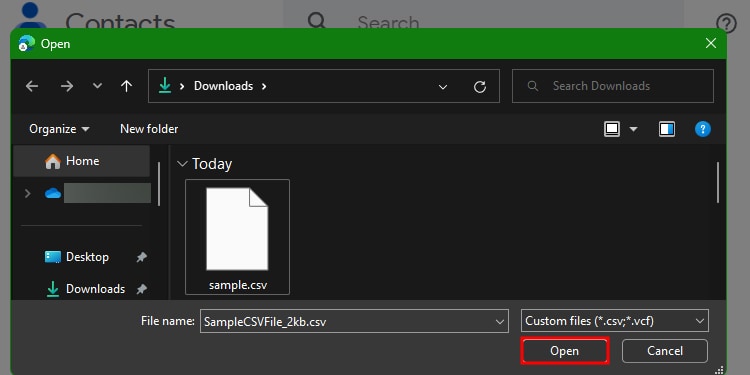
- Now choose a vCard or CSV file from this pop-up window.
- Click Open.
On Mobile
- Open the Google Contacts app.
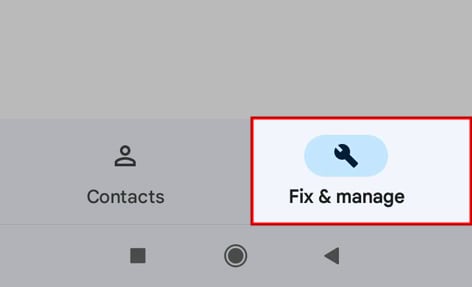
- Tap on Fix & Manage.
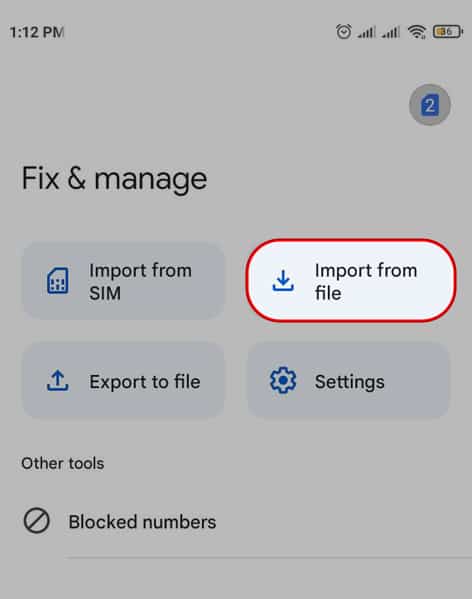
- Tap on Import from file.
- Choose the Google account where you want to save.
- Now choose the CSV file from your storage.
- You can see the import status in the notification bar.
Alternatively, Tap on Import from SIM to directly import them if you have put in the SIM Card.