Using Excel in a professional setting or for a project means sharing your workbook with several users.
Luckily, Microsoft Excel allows its users to share the files in two ways .i.e with the Shared Workbook and Co-authoring feature. So, you can just skip the tedious process of creating file copies and sending them every time.
In this article, I have compiled a detailed step-by-step guide to share your Excel File in two ways.
Shared Workbook Vs Co-authoring Excel File
Before you share your workbook, it’s important to know which approach you’re using.
To put it simply, Co-authoring is a new feature and has replaced the Shared Workbook in the latest versions. It has more smoother experience for collaboration.
Whereas, Shared Workbook is an outdated feature available for previous versions. In this mode, you won’t be able to use several Excel features which would be a bummer for cooperative tasks.
We will discuss both of the features and how to share files with multiple users in more depth below.
But, first, take a look at this table to quickly know the differences and choose the suitable feature.
| Shared Workbook | Co-authoring Workbook | |
| Availability | All Excel Versions from 2007. Microsoft 365 users can also switch to Shared Workbook. | Microsoft 365 only |
| Features | Does not Support Excel features like applying table formats, inserting data validation, using hyperlinks, modifying Pivot Table Chars, adding threaded comments, and so on. Most of the commands in Excel Ribbon are greyed out. | Supports all functions, features, and commands. |
| Supported Platform | Users cannot open the shared workbook in Excel Web. | Users can open shared workbooks in mobile apps, web, desktop apps, etc. |
| Track Changes | The changes in history are hard to comprehend. | It is easy to review the updated changes. |
| AutoSave Feature | Not Available in Shared Workbook. The user must save the file to refresh the changes. Or, automatically update after every 5 minutes at minimum. | Enables AutoSave. Any performed activities are updated immediately. |
Co-authoring Excel File
Microsoft Excel has introduced amazing workbook-sharing features that allow multiple users to work in real-time on the same file.
Also, the best part is there are no restrictions for accessing the Excel menu like the older sharing. For me, the most fascinating part about this feature is that I or any shared user can immediately see the updated changes.
However, the one limitation to the Co-authoring is that only Microsoft 365 users have access to it at the moment.
If you have a 365 subscription, let’s get started with the steps.
Step 1: Save Workbook in Drive
Before you share the workbook, you must upload your files to the OneDrive and save them. It will also turn on the AutoSave feature.
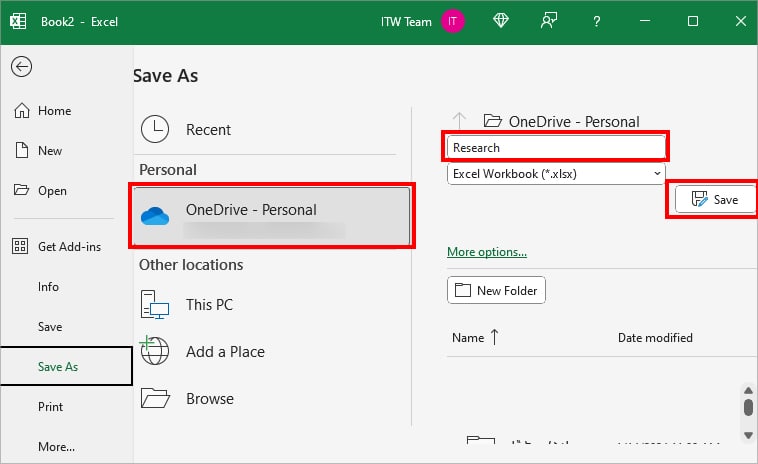
- On your workbook, head to the File > Save As.

- Below Personal, choose OneDrive – Personal. Then, on the right side, enter your File name, select Workbook type, and click Save.
Step 2: Share Workbook
Once you have uploaded the workbook to the drive, it’s ready to share.
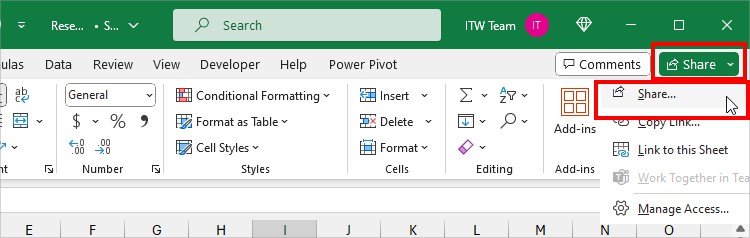
- On the top-right of your Excel Ribbon, click on the Share > Share.
- To manage Share Settings, click on Anyone with the link can edit.
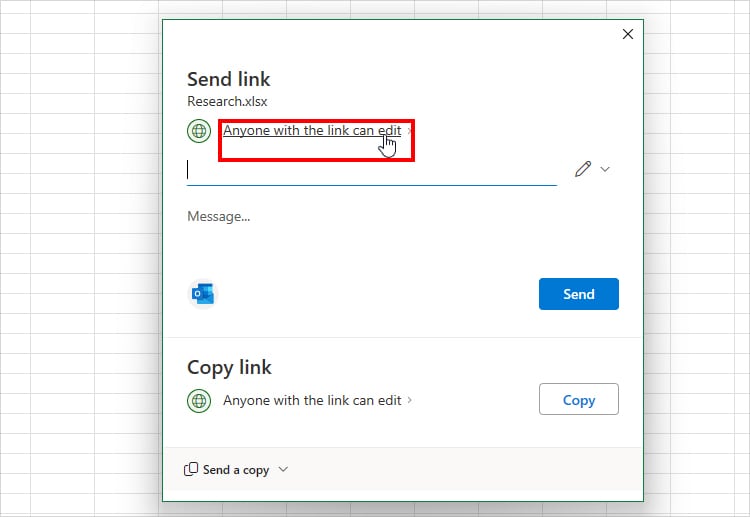
- Then, set your options in the Sharing settings window and click Apply.
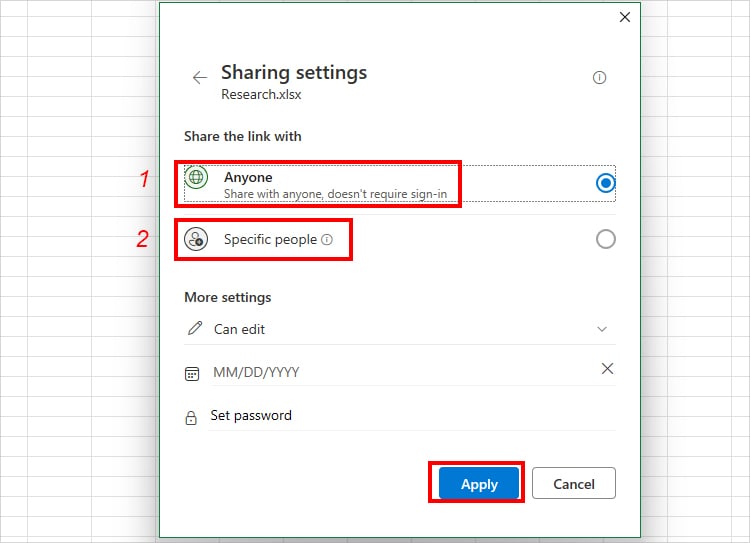
- Share the link with: Pick Anyone or Specific People.
- More Settings: Select Can edit or Can view. Set the password and expiry date for the link.
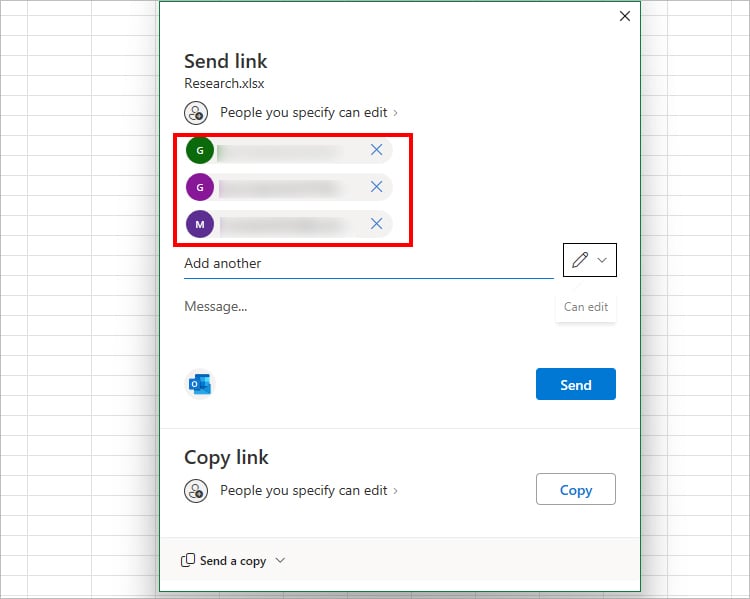
- If you selected Specific people, enter the Email Address, Name, or Group in the field.
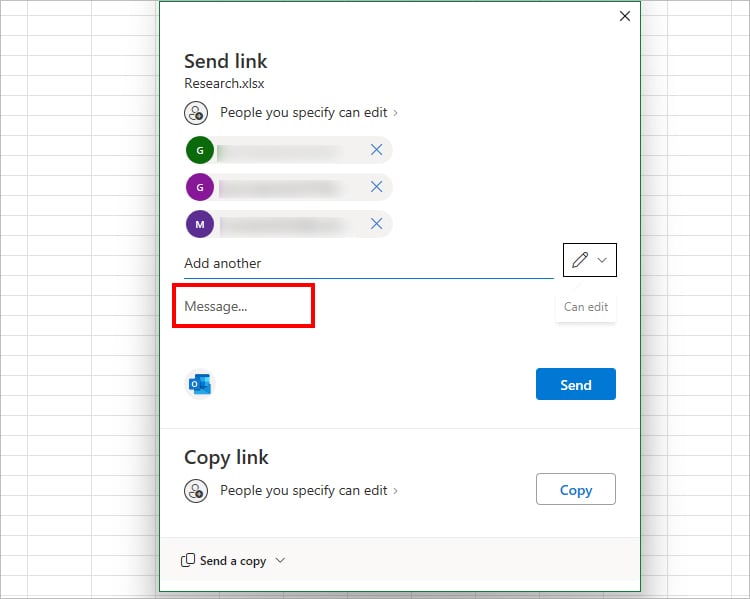
- Type your message in the Message field.
- Now, choose from three ways of sharing your workbook.
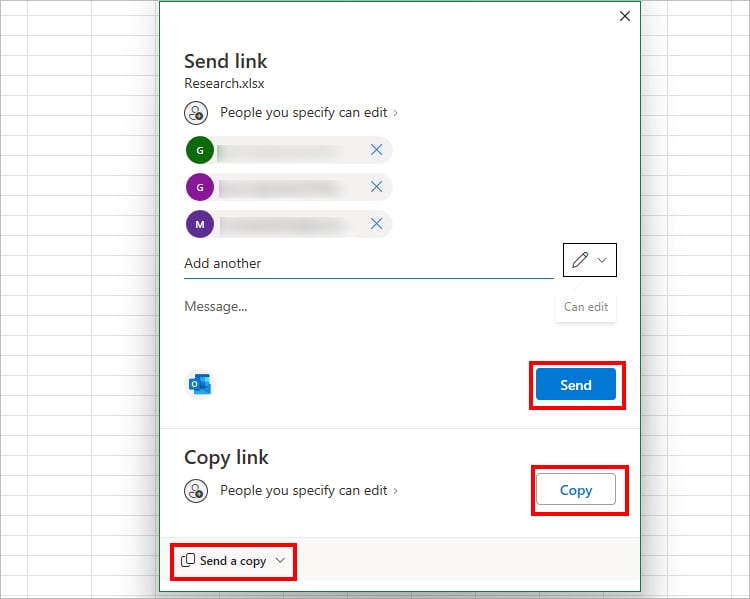
- Send Via Outlook: Next to the Outlook icon, click Send.
- Send Workbook Link: Below the Copy Link, hit Copy. Again, click Copy.
- Send a Copy: To share a copy, expand the Send a Copy menu. Pick an Excel workbook or PDF option.
After you share the Excel file, just ask the other person to open the workbook.
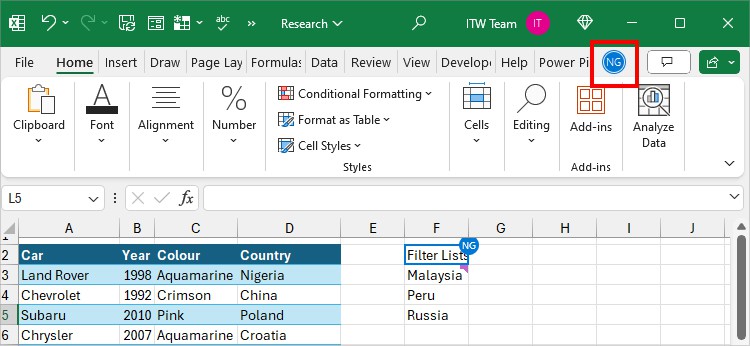
Congratulations! Now, you and your colleague can immediately perform tasks together on the sheet.
See the profile on the top right to know that the other users are active in the document.
Step 3: Track Changes
Since the co-authoring displays the user’s initial with a colorful cell border in the active cell, it’s quite easy to track changes.
But, sometimes, you might want to see the previous changes made in your workbook. For that, navigate to the Review Tab and click on Show Changes.
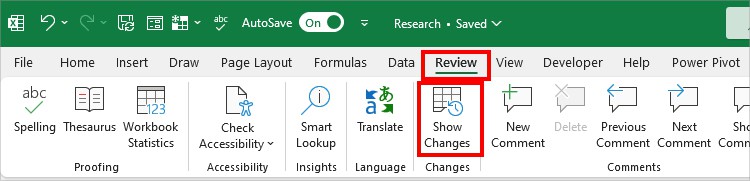
You can see the Version history on the right side.

Step 4: Manage Access
Suppose, you want to add a new user or remove the existing one in your workbook. To do that, there’s the Manage Access menu. Either the Owner or Shared User can edit this setting.
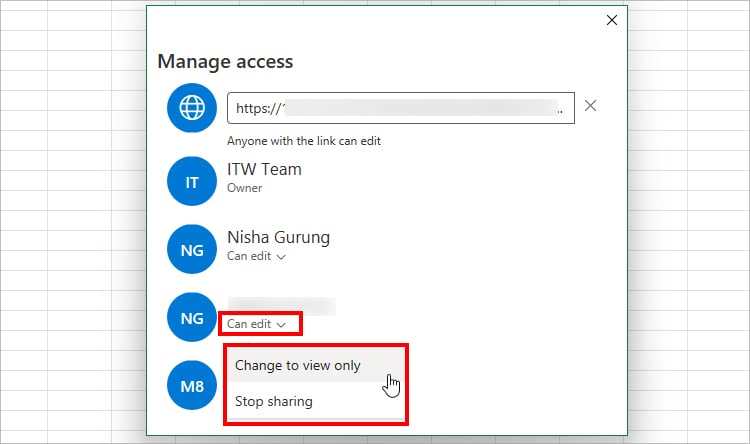
From the top-right corner, click the Share button > Manage Access.
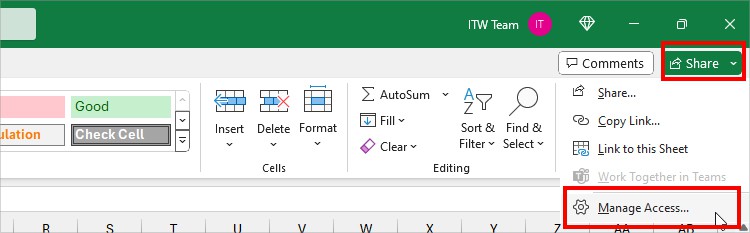
Under the User name, click on the Editing option. Then, choose Change to view only or Stop sharing.
Shared Workbook
If you use older Excel versions, you can opt for the Shared Workbook feature to collaborate with your team in Excel.
Now, Excel has hidden the Shared Workbook menu in the new versions. So, if you only see the greyed-out Unshare Workbook menu, follow step 1 to load them into your Ribbon first.

Here, we will also insert other useful commands like Track Changes, Protect Sharing, and Compare and Merge Workbooks.
Step 1: Load Share Workbook
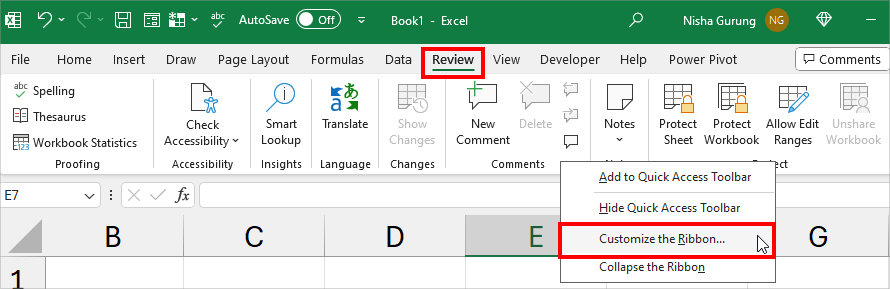
- On the Review tab, right-click on Ribbon > Customize the Ribbon.
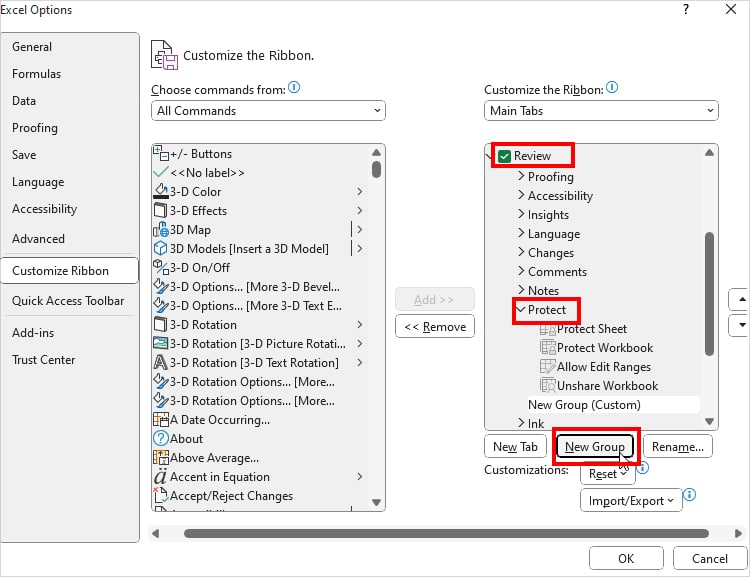
- Go to the Customize the Ribbon menu. Expand Review > Protect and click New Group.
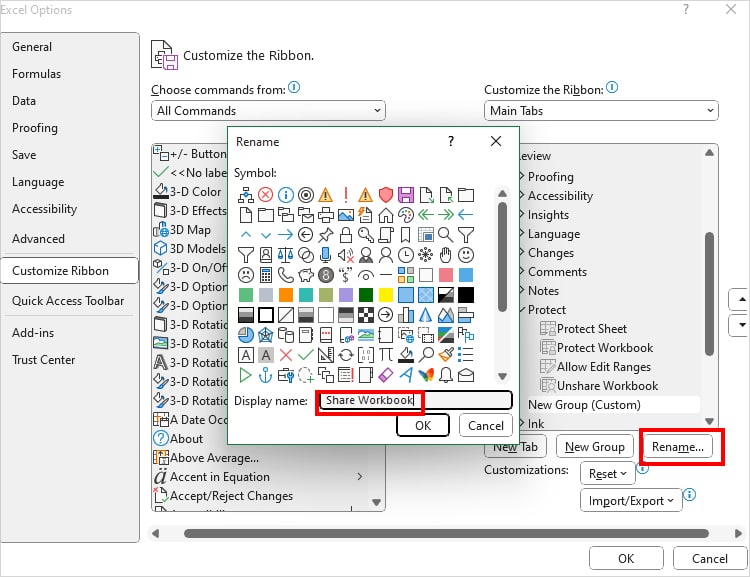
- Right-click on New Group and choose Rename. On Display name, enter the name and click OK.
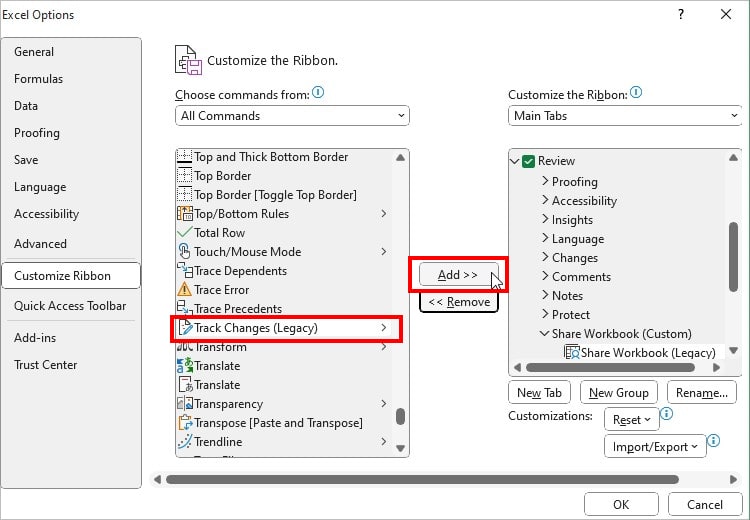
- On Choose commands from, pick All Commands.
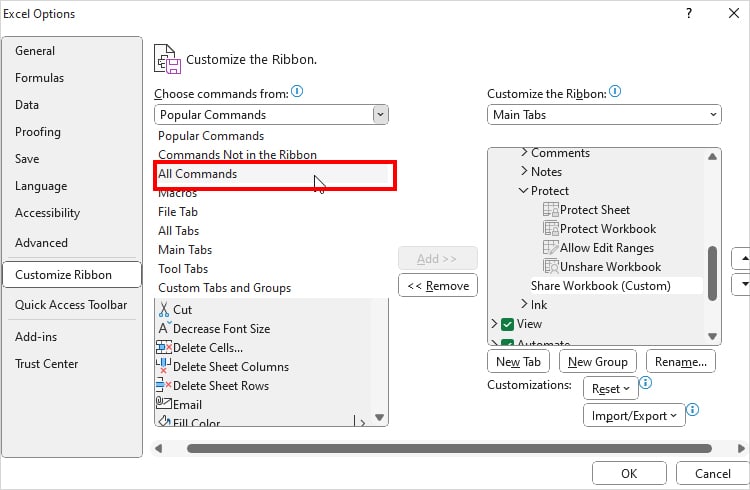
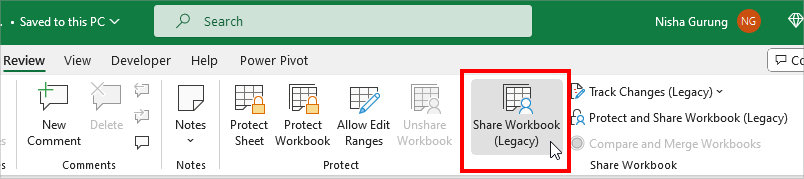
- Scroll down to select the Share Workbook(Legacy) and click Add.

- Again, find Track Changes (Legacy) in the lists and choose Add.
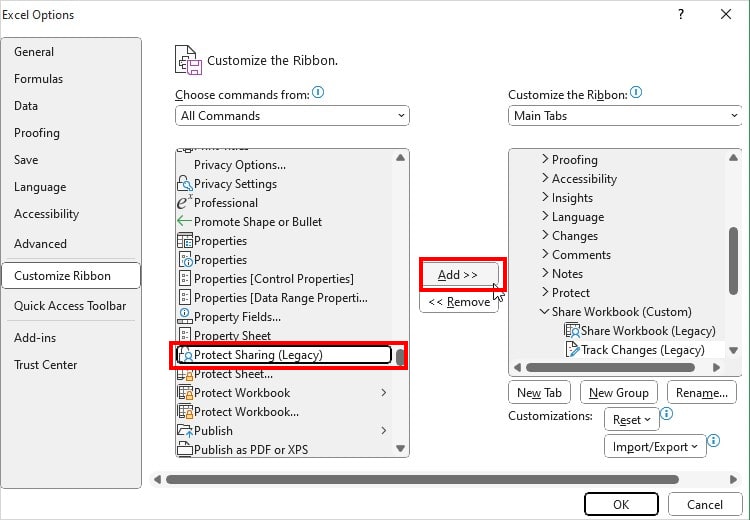
- Locate Protect Sharing (Legacy) in the list and hit Add.
- Finally, find the Compare and Merge Workbooks. Hit Add.
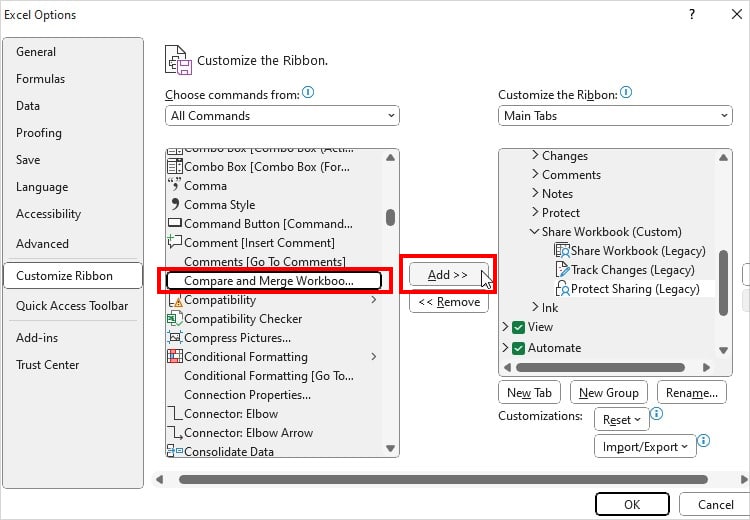
- Hit OK.

Step 2: Share Workbook
Now, you’ll have all the commands in the New Group of Review Tab.
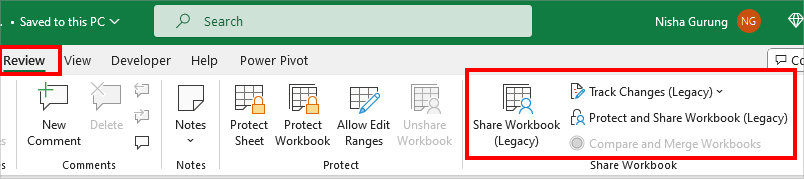
- Click on the Share Workbook (Legacy).
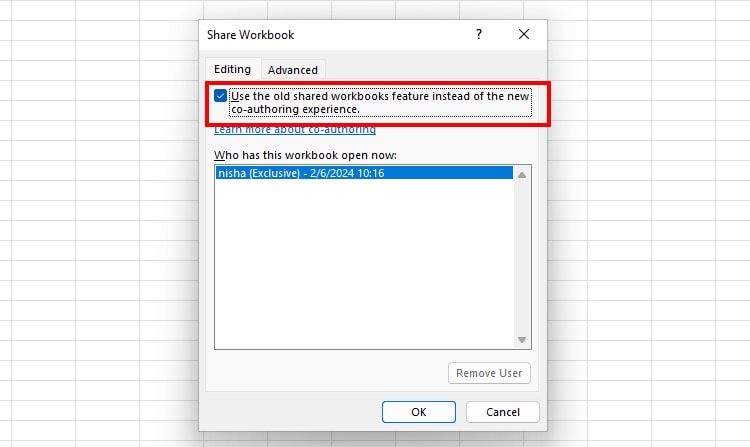
- On the Share Workbook window, stay on the Editing Tab. Check the box for Use the old shared workbooks feature instead of the new co-authoring experience.
- Next head to the Advanced Tab. Then, set the following menu.
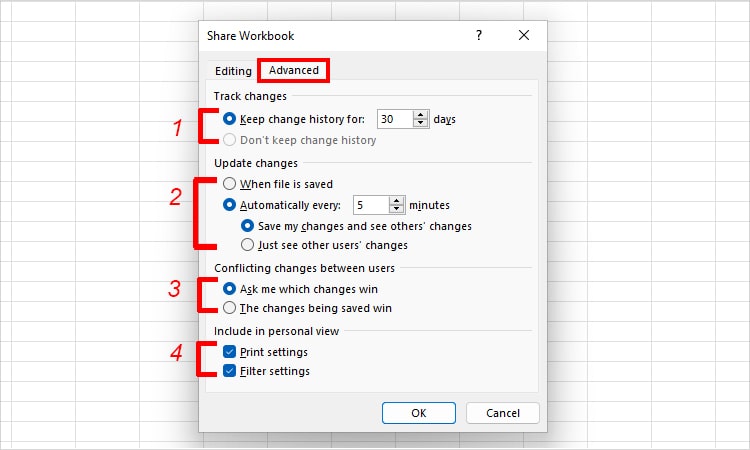
- Track Changes: Specify the number of days you want to store the changed history.
- Update Changes: Choose to update the changes after saving a file or automatically after every specified minute. If you pick Automatic, you can also set the viewing option.
- Conflicting changes between uses: Pick how you want to save the changes made.
- Include in personal view: Tick to show the Print settings and Filter Settings.
- Click OK.
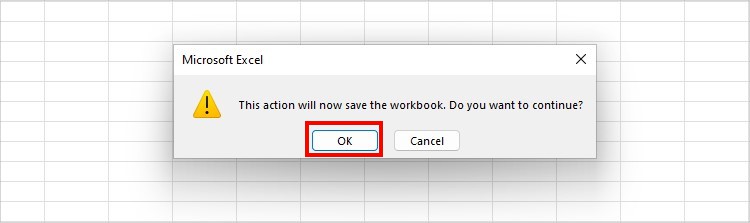
- On the prompt, hit OK.
- Lastly, save your file in a shared network so that other users can access the workbook.
Step 3: Track Changes
Now, let us see how you can track the changes made by users in the workbook.
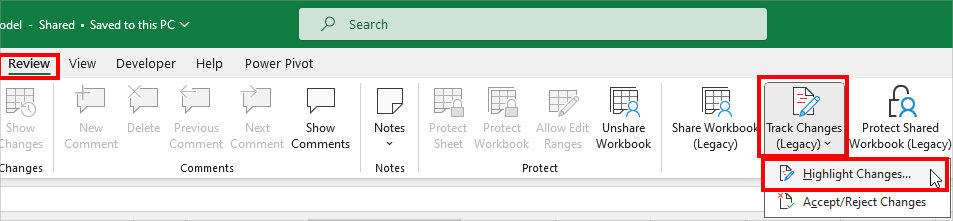
- In the Review tab, click on the Track Changes (Legacy) > Highlight Changes.
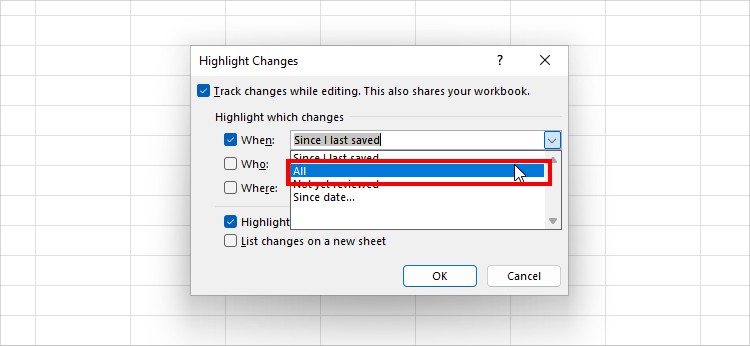
- Below Highlight which changes, set the When to All.
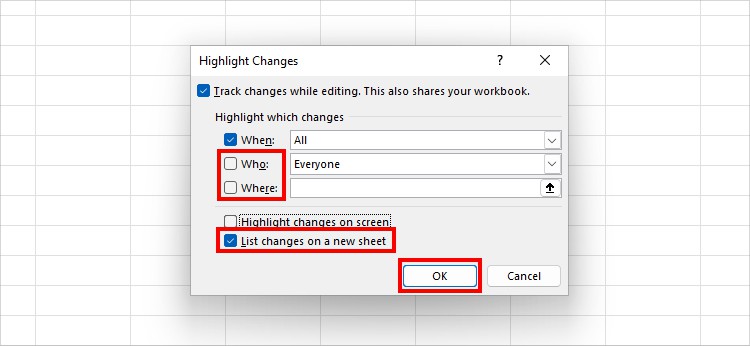
- Untick the option for Who and Where. Check the box for List changes on a new sheet and hit OK.
- Head to the new sheet to see the revisions done.

Step 4: Protect Shared Workbook
Remember the Protect Shared Workbook command we loaded earlier?
Using it, you can protect your workbook from changes like users unsharing the workbook or disabled tracked changes.
- On your Review tab, choose Protect Shared Workbook.

- On the window, tick the option for Sharing with track changes. Then, if you want, enter the Password.
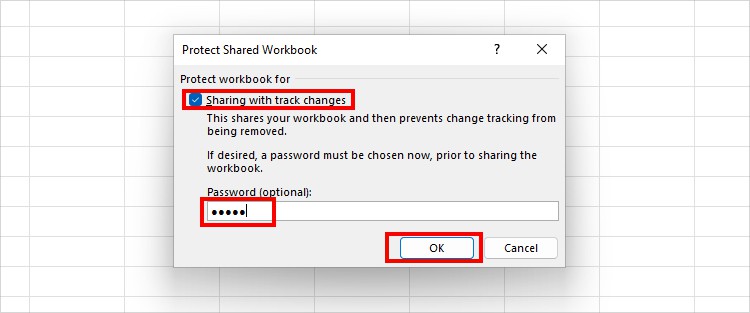
- Click OK.
Step 5: Compare and Merge Workbooks
Did your colleagues revise the workbook and make a copy of it?
If so, you can merge all Excel workbooks instead of creating an entire new file with all versions.
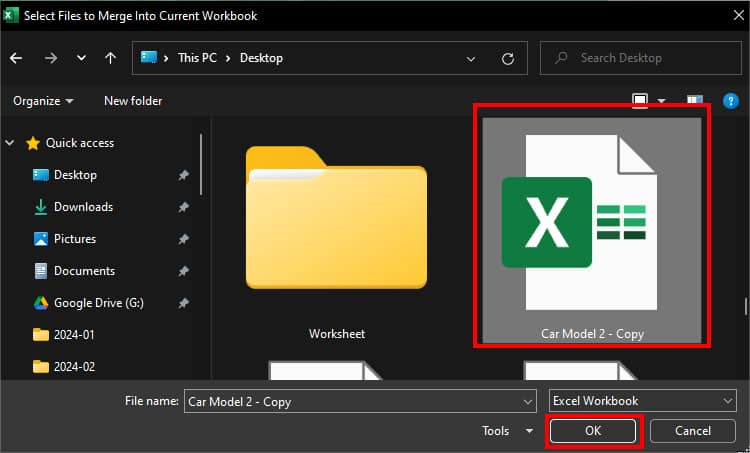
- Head to the Review tab. Then, click on the Compare and Merge Workbooks command.
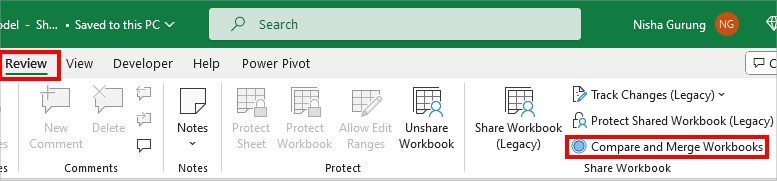
- From your PC, pick a Workbook and choose OK.