When you share your workbook with other parties, you may have issues noticing the changes made in the workbook. To overcome this, Excel has the option to Track Changes made by other users, including or excluding you.
The newer versions of Excel have the command to Track Changes hidden by default. You will have to first enable it from the Excel Options, then, start tracking changes.
The Track Changes feature extends its functionality by allowing you to accept or reject the applied changes. Keep reading as we give you a detailed, step-by-step analysis of this feature and its application!
Step 1: Unhide Track Changes
You can skip this step if you can access the Track Changes option in the Review tab of the Excel program. If the section, however, isn’t available you’ll have to enable it from Excel Options.
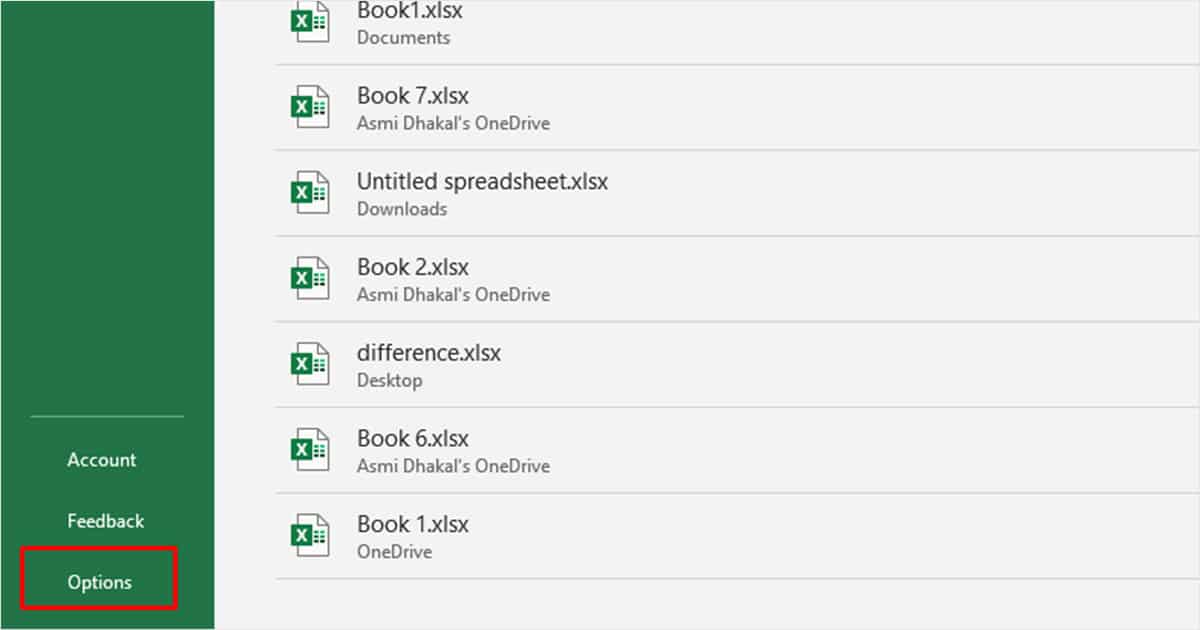
- Head to File from the menu bar.
- From the sidebar, select Options.
- Click Customize Ribbon.
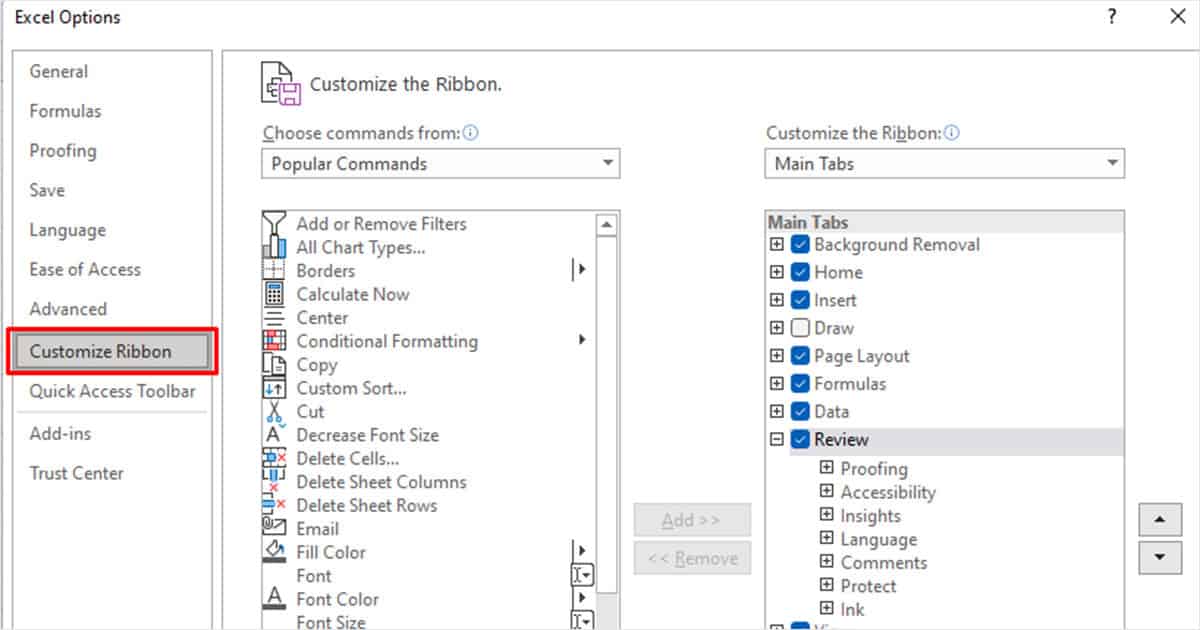
- Under Main Tabs, expand Review.
- Click the New Group then, the Rename button.
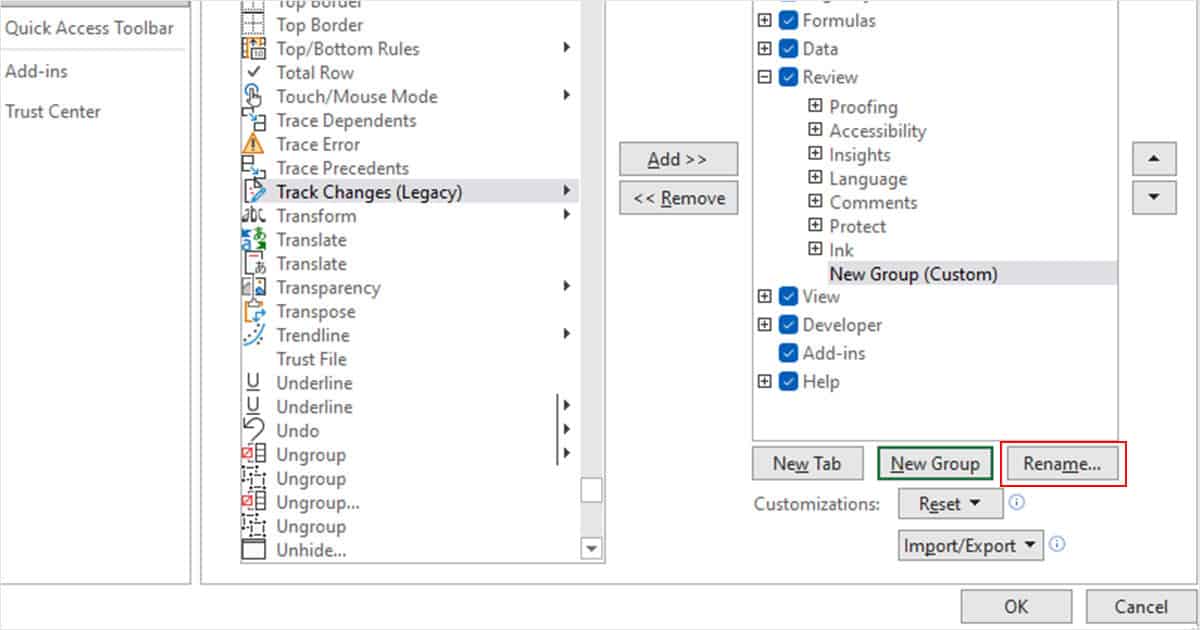
- Give your section a name. We named it “Changes”.
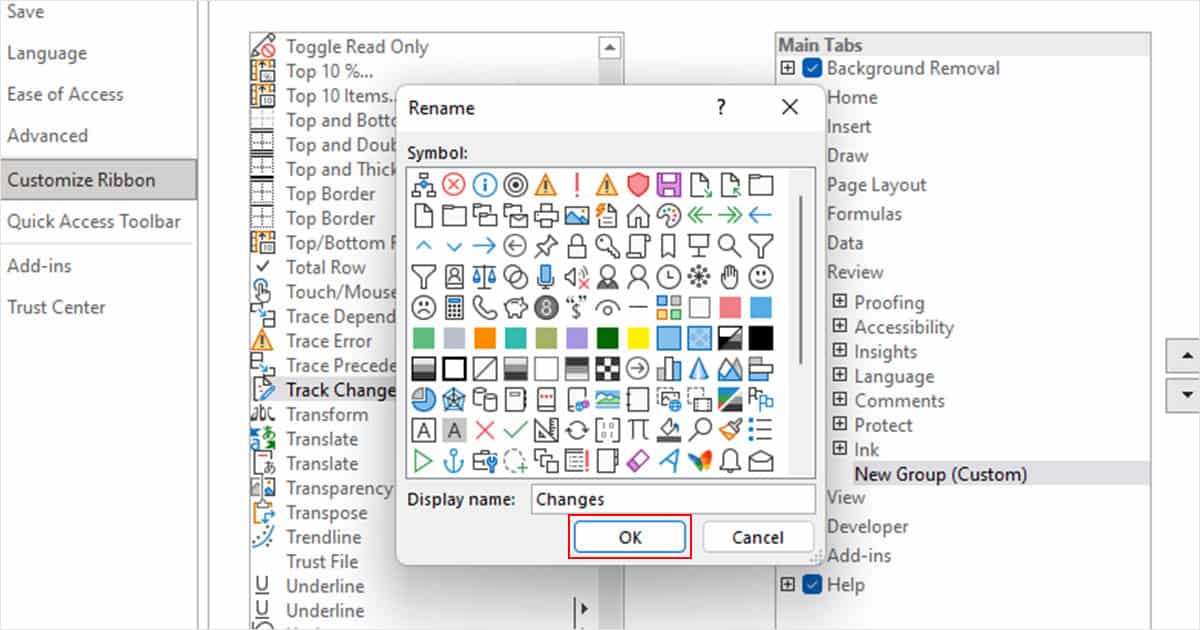
- Select OK.
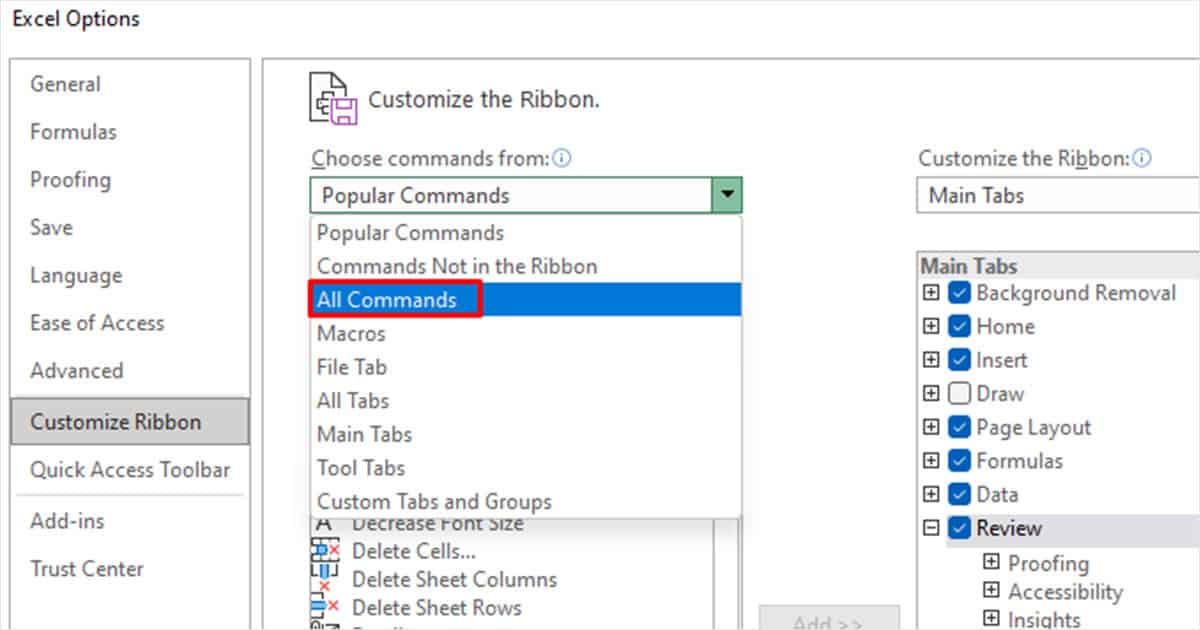
- Under Choose commands from, choose All Commands.
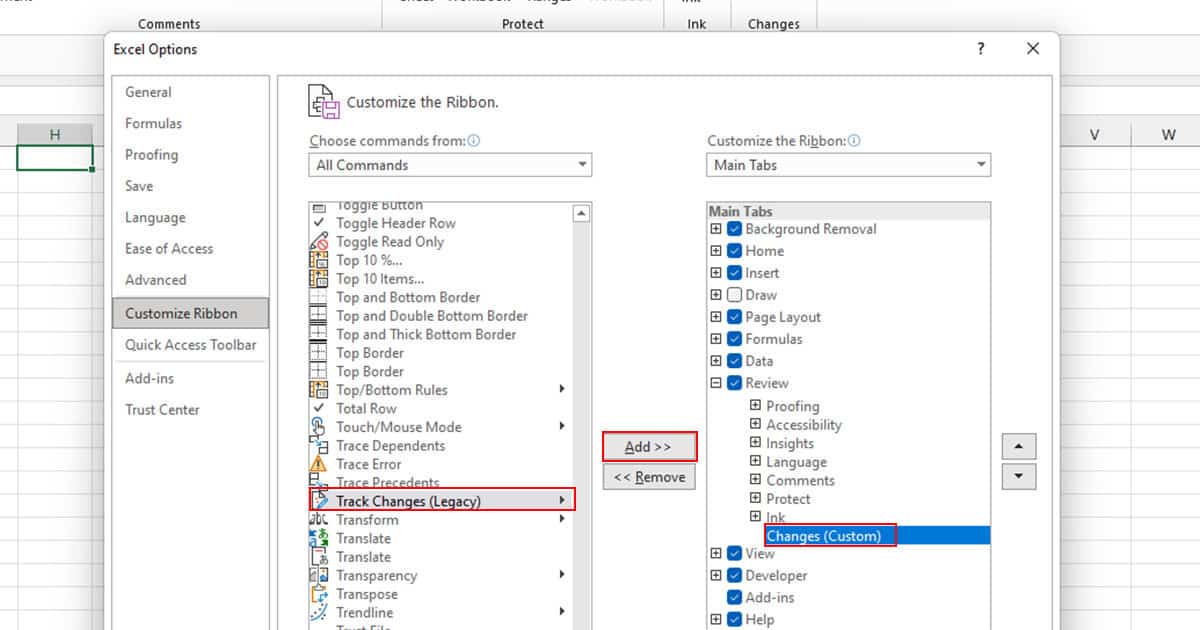
- Scroll down to select Track Changes.
- Under Main Tabs, make sure your new custom tab is selected.
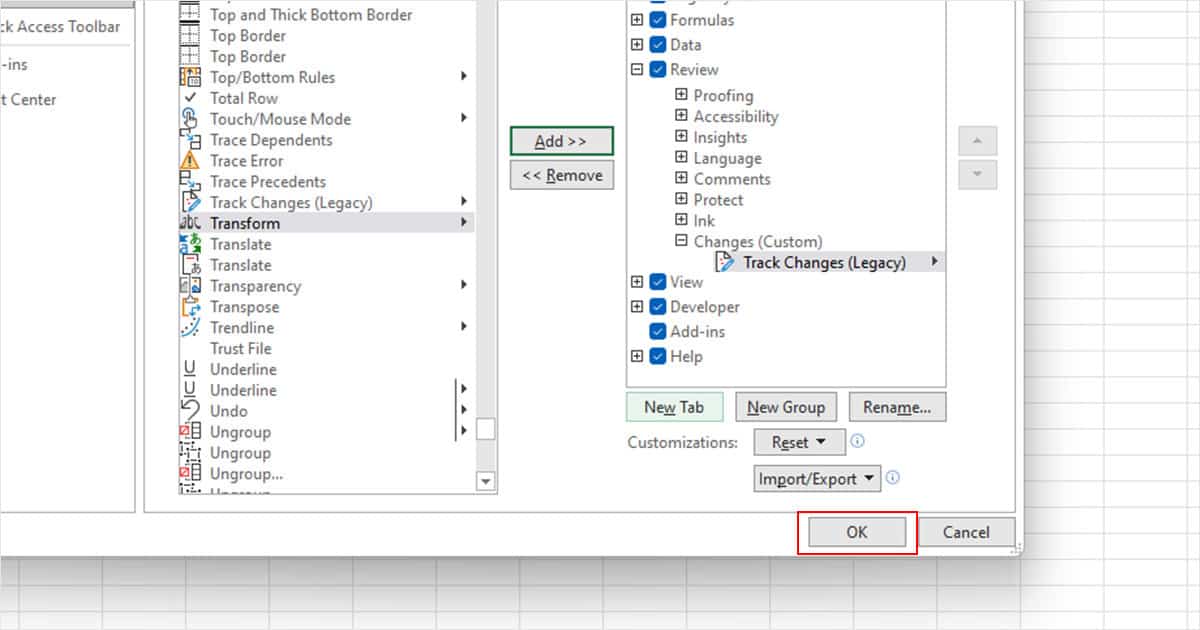
- Click Add >>.
- Select the OK button.
Step 2: Enable the Track Changes Feature
After you unhide the option, you can finally enable tracking changes. You cannot identify who made what changes before you activate this feature. Keep in mind, enabling this feature automatically shares your workbook.
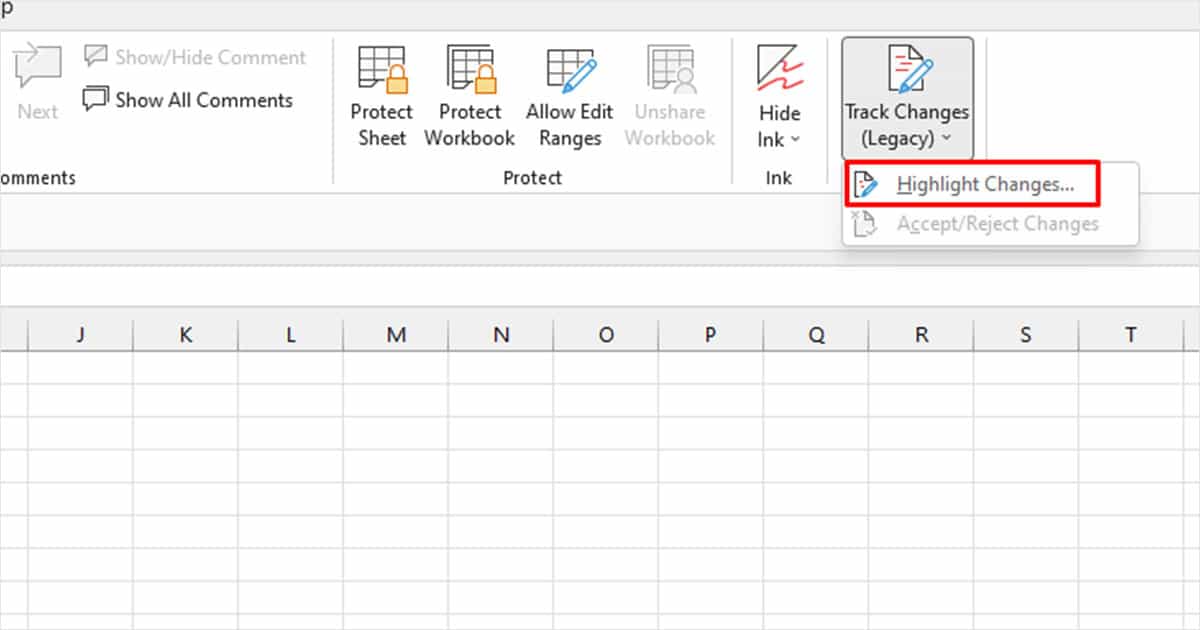
- Head to the Review tab.
- Click on Track Changes (Legacy) > Highlight Changes.

- Select the box next to Track changes while editing…
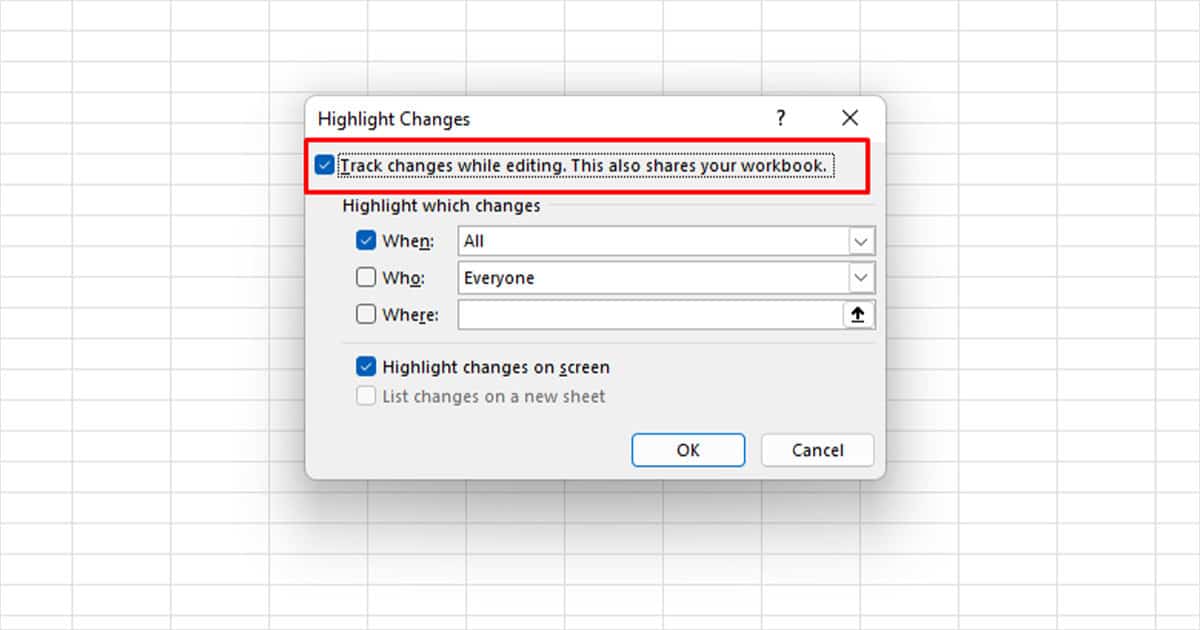
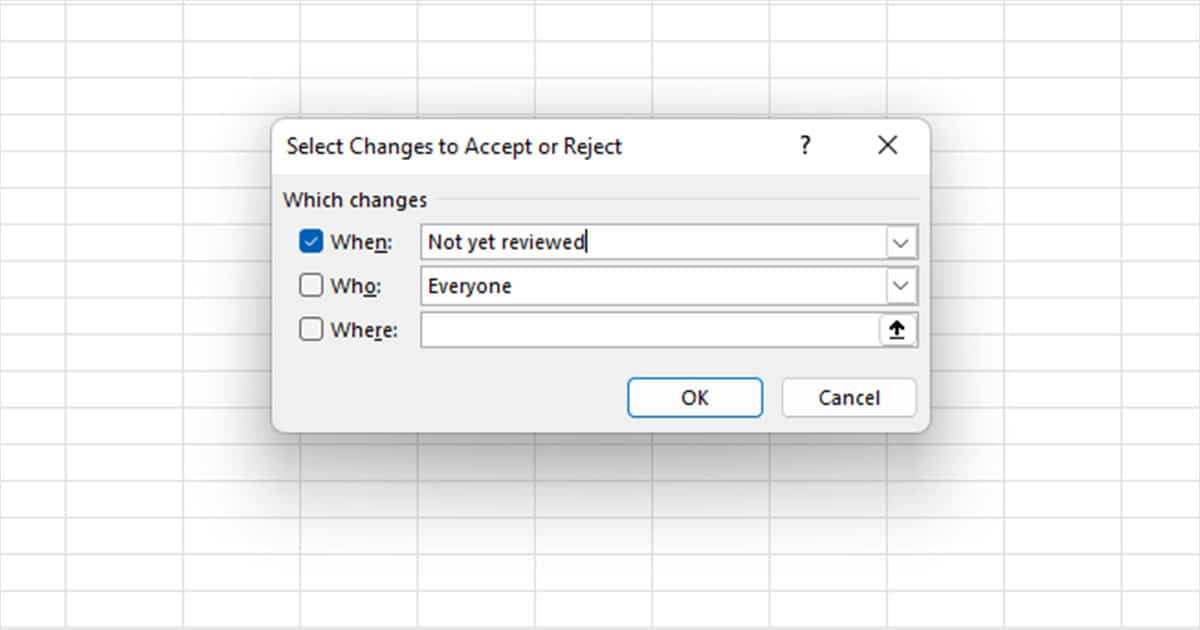
- Under Highlight which changes, select the drop-down menu for:
- When: Set the timeline you wish Excel to highlight changes from.
- Who: You can choose the user or users you wish to view changes for.
- Where: Specify the range you wish Excel to track changes in. Leave it empty if you wish to track changes in the entire grid.
- Select OK.
- If you haven’t already, save your workbook.
Step 3: View Changes
After you enable tracking, Excel will highlight the cells with changes made by set users with borders. To see who made what change in the cell, simply hover your cursor over the cell. A comment box will appear showing the name of the user, and the change they made including the date and time the change was done in.
If there are a lot of changes in your worksheet, you can view the set changes in a different sheet.
- Save your workbook (Ctrl + S)
- In the Review tab, head to Track Changes (Legacy) > Highlight Changes.
- Select the box next to List changes on a new sheet.
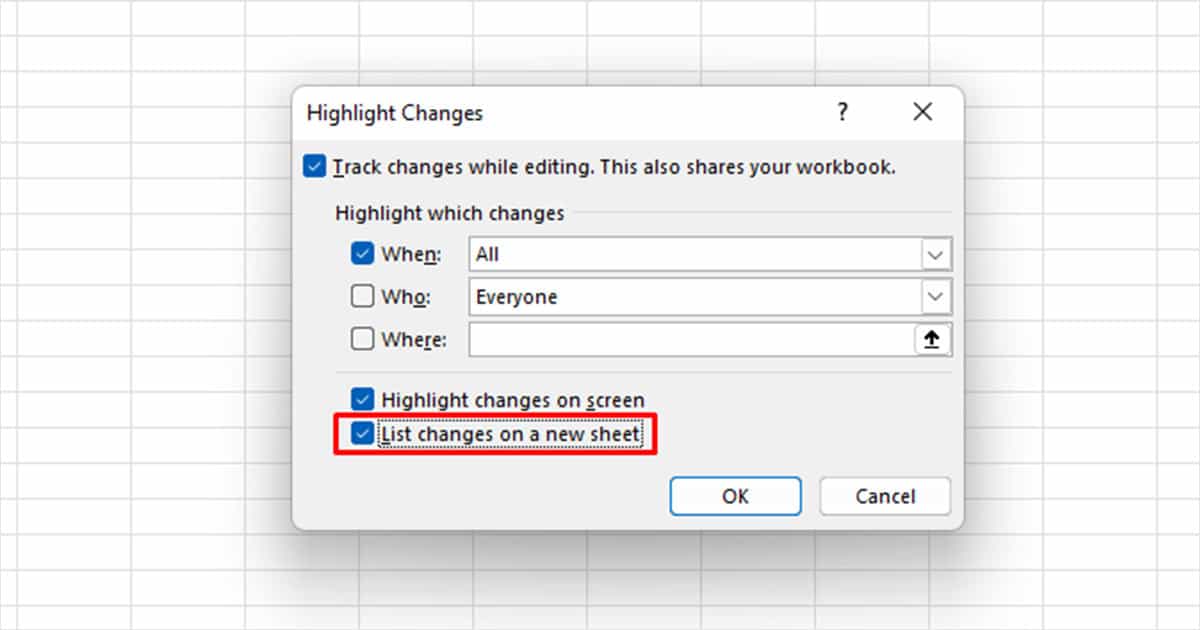
- Click OK.
Excel will create a new worksheet with 11 columns including the Action Number, Date, Time, Who, Change, Sheet, Range, New Value, Old Value, Action Type, and Losing Action.
Step 4: Accept or Reject Changes
If you’re the owner of the workbook, you have the option to accept or reject changes. This is a great added feature that helps greatly in data analysis to finalize your document.
- Head to the Review tab.
- Select Track Changes (Legacy) > Accept/Reject Changes.
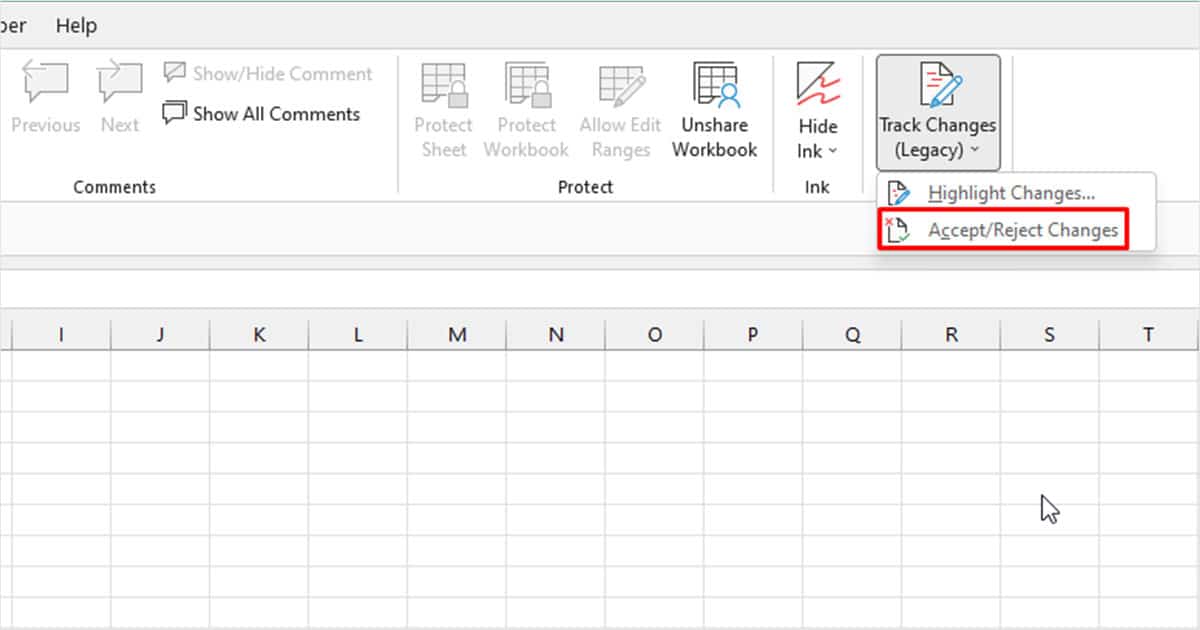
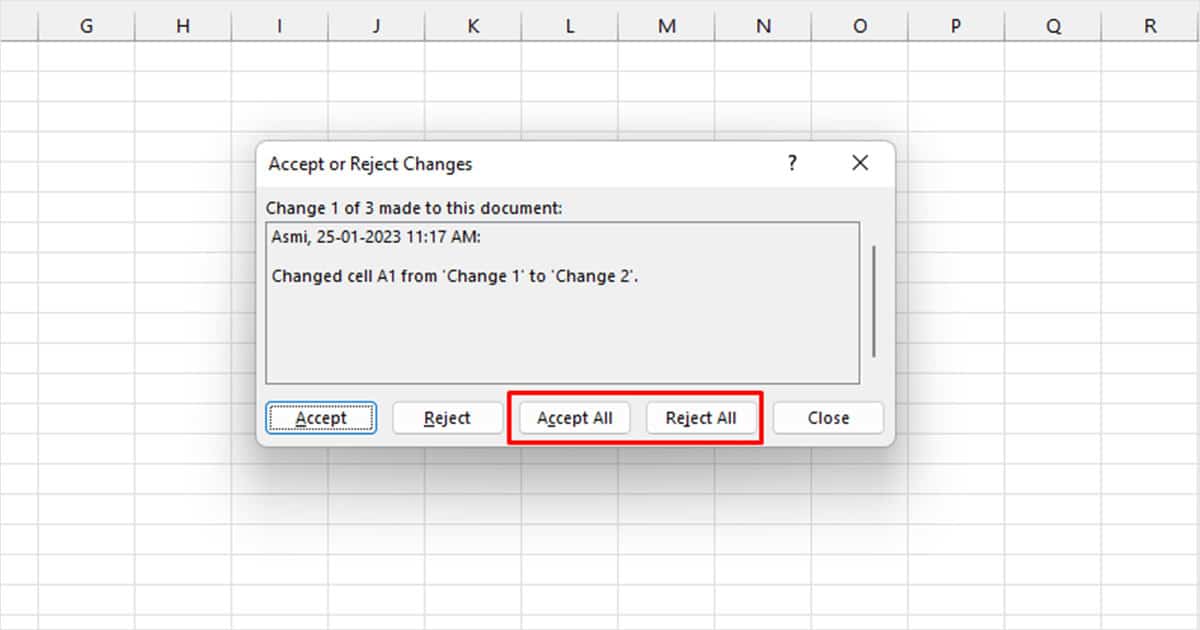
- In the window, specify which changes you wish to accept or reject.
- Click OK.
- Select Accept or Reject to make changes in the selected cell.
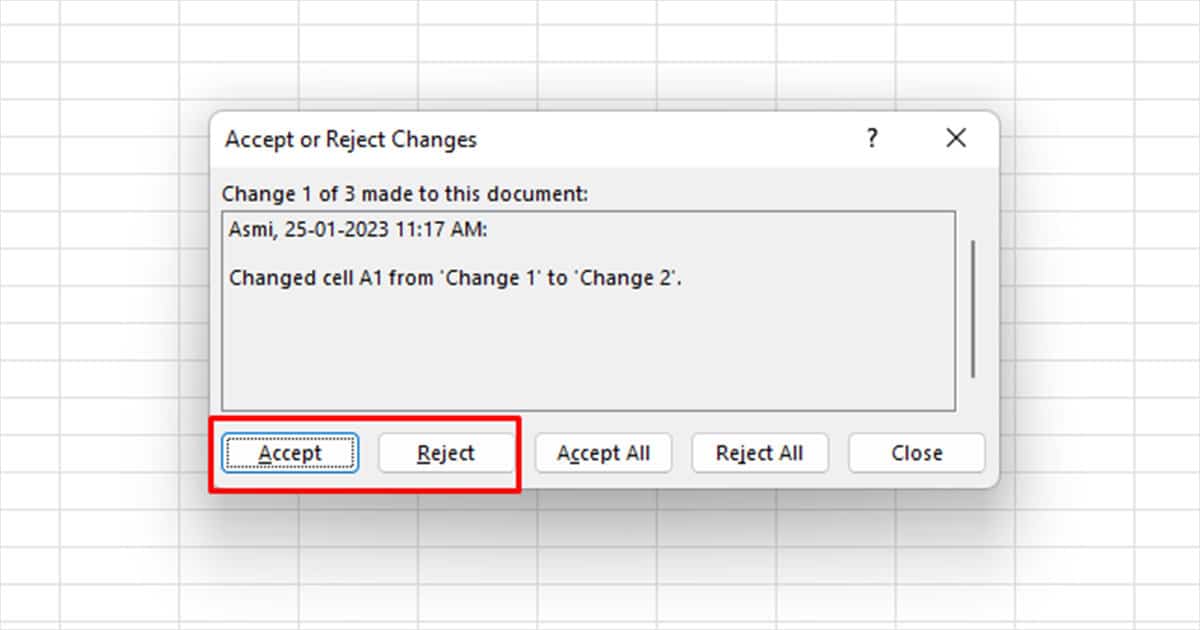
- If you wish to accept or reject all changes, click Accept All or Reject All.