While long-winded addresses such as 2395, Ingleside Avenue Macon, 31204 provides complete information, there are times when we just need a separate column for each part of the address.
But, going through the tedious process of manually separating individual parts like street address, city, state, and zip code isn’t always convenient. Especially when you are dealing with a huge dataset.
So, we need a method that automates this process for us and separates all the addresses at once.
QUICK TIP: Whichever method you choose below, consider converting your data into a table so that you can quickly sort the addresses later, when required. Using Text to Columns
The Text to Columns is a powerful Excel feature that can separate several characters based on single/multiple delimiters. It also walks you through various steps to split your addresses, consequently making the whole process easier to follow.
However, all your data must follow some kind of pattern, such as all address parts separated with characters like commas, dashes, or any other characters. This makes it easier to split them into individual columns.
While it provides delimiters like Comma, Space, Tab, Comma, and Semicolons by default, you can use custom characters like @, +, or others as delimiters. Also, you can multiple delimiters depending on your address data.
- Select the cells containing the addresses. Use the shortcut Ctrl + Shift + Down to quickly select all the non-empty cells in the column.

- Then, click Text to Columns under the Data tab.

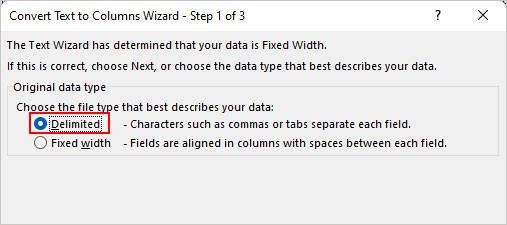
- On the next prompt, choose the Delimited option and click Next.
- Under the Delimiters section, select an appropriate delimiter for your data. If the delimiter isn’t available, select Other and enter it there. Here, our addresses are separated by a comma so we used it as a delimiter.
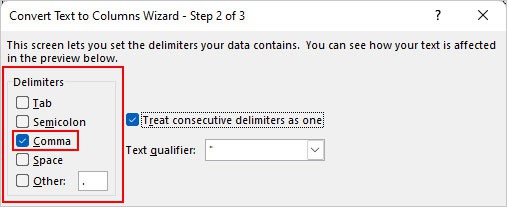
- If your address data has multiple delimiters, you can check multiple options under Delimiters in combination with the custom ones.
- Enable the Treat consecutive delimiters as one checkbox and click Next.
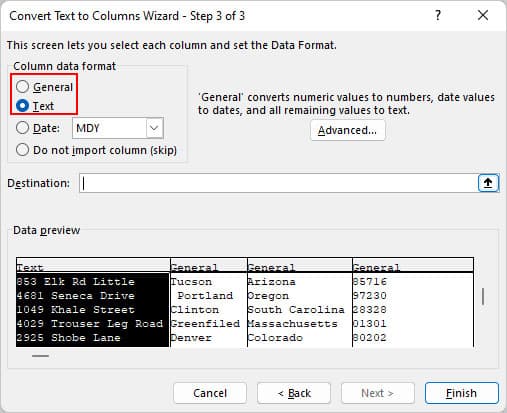
- Then, select either the General or Text option.
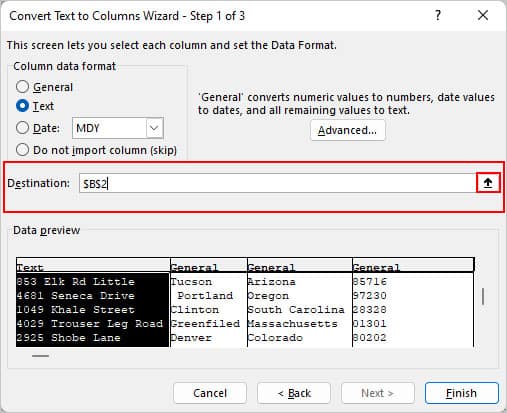
- Click the Up arrow icon to specify where you want to place the output.
- Check if you get the desired output under the Data preview section. If the output doesn’t look like what you wanted, click Back and customize the Delimiter options.
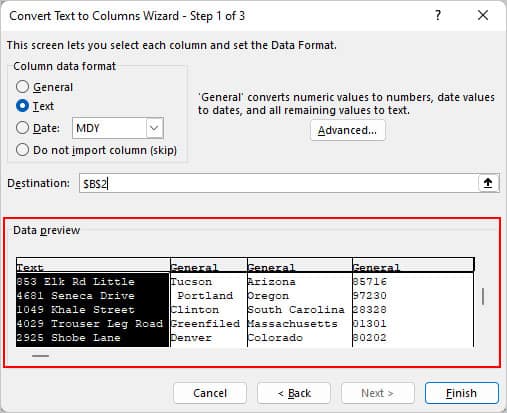
- Click Finish when done.
Using Power Query
Power Query is pretty similar to the Text-to-Columns feature. But, it has additional options such as separating the text into columns by letter case and digit/non-digit combinations.
For instance, it can separate an address like 563 Carlsbad Village Drive into 563 and Carlsbad Village Drive based on digit/non-digit combination.
Also, you can further split the output within the Power Query editor as many times as you want and even return to the previous steps.
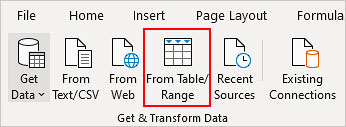
- Click From Table/Range under the Data tab. You can find it inside the Get & Transform Data section.
- Convert the data into a table if asked. Otherwise, go to the next step.
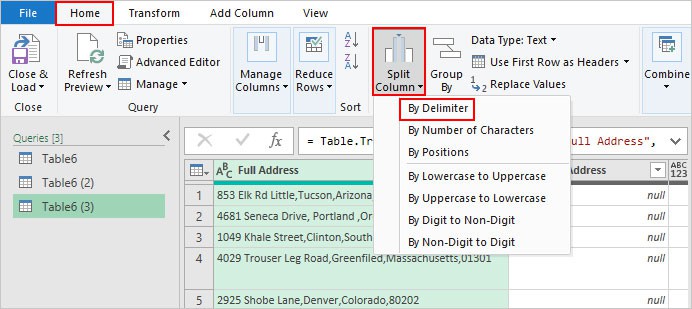
- Click the Home tab and select Split Column > By delimiter.
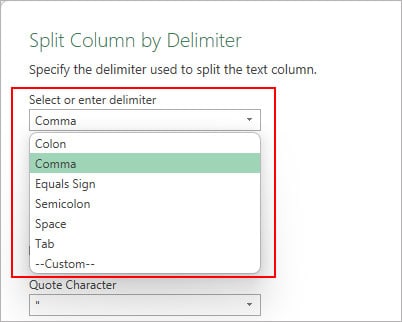
- On the next prompt, select an appropriate delimiter. Choose Custom to enter a delimiter other than the default one.
- Expand the Advanced options below to specify the number of columns or rows you want Power Query to split the addresses into.
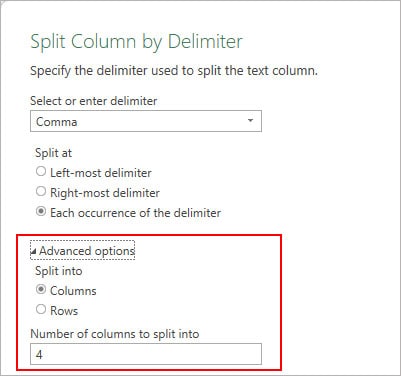
- When done, check the preview of the output. Also, enter appropriate header names for the columns.

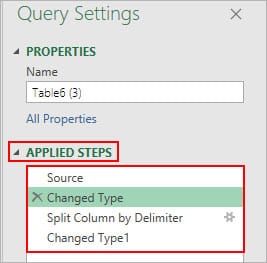
- To undo or perform a different operation, navigate through the different steps under the Applied Steps section and click the cross icon to delete the unwanted ones.
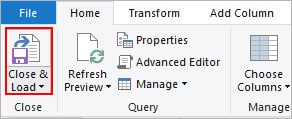
- Click Close & Load to save the final output.
Note: Power Query will create a new worksheet and place the separated addresses in a new table.Using the Flash Fill Feature
Another way to split an address into multiple columns is using the Flash Fill feature. It’s smart enough to identify the pattern and autocomplete the column/row with appropriate data.
However, you have to manually separate the full address across one or two rows before it can detect the pattern.
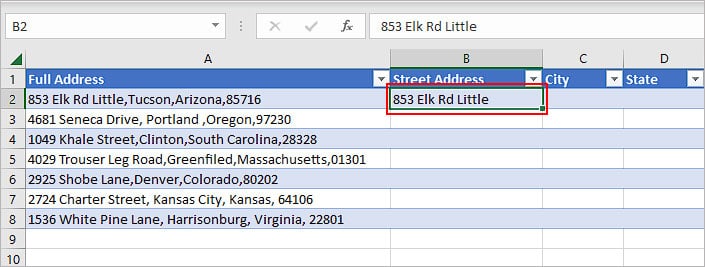
- Select one of the cells containing the full address and press Ctrl + T to turn it into a table. Also, enable the My table has headers checkbox on the Create Table prompt.
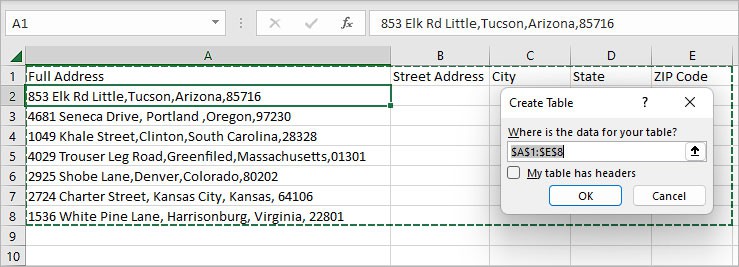
- Separate the first part of the full address manually for the first cell and press Enter. Here, we are separating the Street Address.
- Start typing the first part for another cell and once you see Excel autocompleting the list, press Enter. Sometimes, you may not get the autocomplete option. In that case, press Ctrl + S to save and try again.
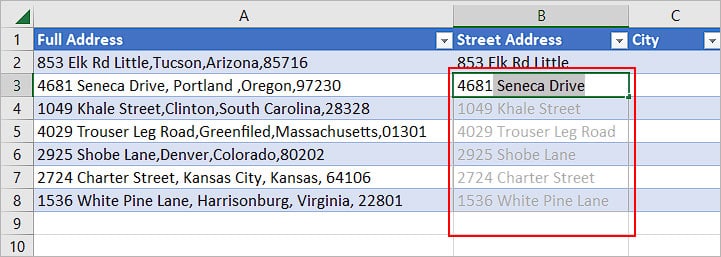
- Repeat Steps 2 and 3 for other columns.
Using the TEXTSPLIT Function
Alternative to the conventional SEARCH, LEFT, MID, and RIGHT functions, the new Excel function called “Textsplit” is a great feature to split texts such as addresses. However, you need to have the Excel web version or Office 365 in order to use it.
As most people normally prefer columns for a separate address field, we have mentioned the syntax accordingly.
Syntax for single delimiter:=Textsplit(cell reference, "col_delimiter")
You can even use the function for multiple delimiters. For this, you just have to enclose them into a curly bracket.
Syntax for multiple delimiters:=TEXTSPLIT(cell reference, {"col_delimeter1","col_delimeter2"})
While we have included only two delimiters in the above syntax, you can add more delimiters if required.
To understand the formula better, let’s take a look at an example.
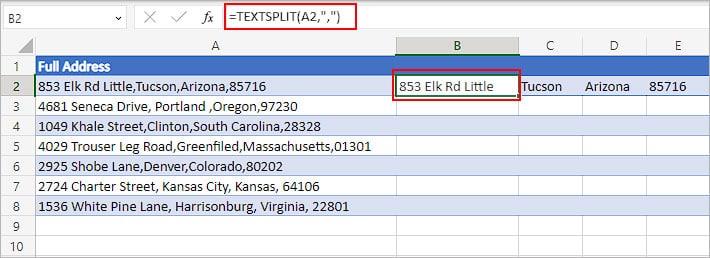
Here, we have used the formula =TEXTSPLIT(A2,”,”) where,
- Cell reference= A2
- col_delimiter= comma
Once you get the result for one address, you can drag the fill handle across a column which will automatically fill other columns too.