By default, the name of each cell is its address such as A1, B1, A8, J10, etc. So, whenever we want to write a formula in Excel, we usually use the address to reference a cell or cell range.
But since it’s difficult to remember the address of cell references, we need to manually select the cell/cell range every time we want to use them in a formula.
And, in case we need to use the cell reference that’s on a completely different worksheet, it becomes more of an issue as we have to find the cell range first.
So, a better approach is to name the cell range as referencing a cell by its name is much easier than having to remember an address. Plus, we can use named ranges across multiple worksheets.
Rules to Consider while Naming a Cell Range
Naming a cell range is extremely easy and can be done in two basic steps; selecting the required cell range and giving it a name. You can even view the list of all named ranges that exist in the whole workbook, and edit them later if you want.
However, the name of the cell range must follow the rules below.
- Must start with a letter, backslash, or an underscore.
- Cannot contain any space or special characters like +,-,$, and so on. For instance, both
Employee NameandEmployee+Nameare invalid. - Cannot use a cell reference such as
A5. - Cannot be longer than 255 characters.
- Each named range must be unique. Even “employee” and “Employees” are considered the same because the named ranges aren’t case-sensitive.
How to Name a Range in Excel?
Using Define Name
You can use the Define Name option to easily name a cell range along with additional options like inserting a comment and the scope of the named range.
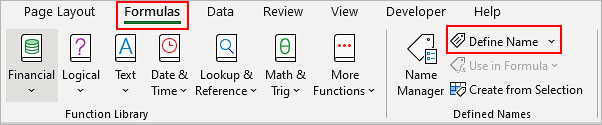
- Select the cell (s) you want to name. Click the Formulas tab.
- Inside the Defined Names section, click Define Name.
- On the next window prompt, enter a preferred name for the cell range.
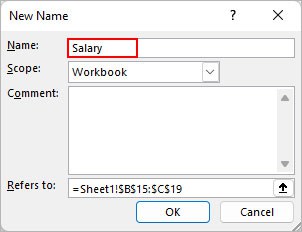
- Next to the Scope field, choose Workbook if you want the named range to be accessible across other workbooks. Otherwise, select your worksheet to limit the named range inside it.
- Additionally, type a comment you want to see while typing the named range in a formula.
- Click the Up arrow icon and select the cell range you want to name.
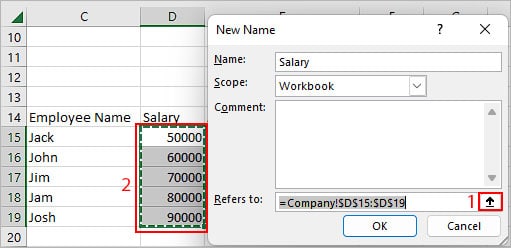
- When done, click OK.
Using the Name Box
It is perhaps the most convenient and quickest way to name a cell range. Using the name box, you can name a cell range without navigating across different menus. Additionally, you can click the down arrow button next to it to view all the named ranges existing on the whole workbook.
To use it,
- Select a cell range.
- Now, go to the name box and replace the cell address with a preferred name.
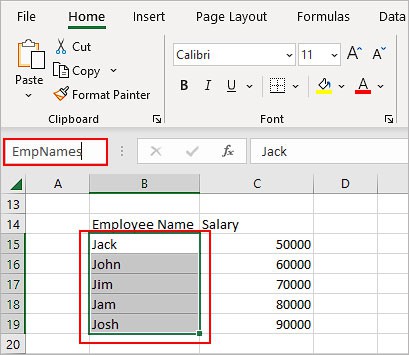
- Press Enter.
Note: You can view the list of all named ranges when you click the down arrow next to the name box.Using the Create from Selection Option
This method is particularly useful if the cell range you want to name already contains the desired name in the header/footer or in one of the side columns.
For instance, if you have many columns like Name, Age, Address, and so on, it isn’t convenient to select each of the respective column cell ranges and name them.
Instead, you can use the Create From Selection option that automatically sets the names for each cell range in column. Alternatively, you can also name a cell range across a row using this method.
- Select the cell range you want to name.
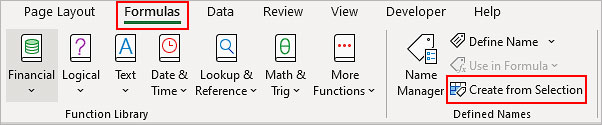
- Click the Formulas tab.
- Select Create from Selection in the Defined Names section.
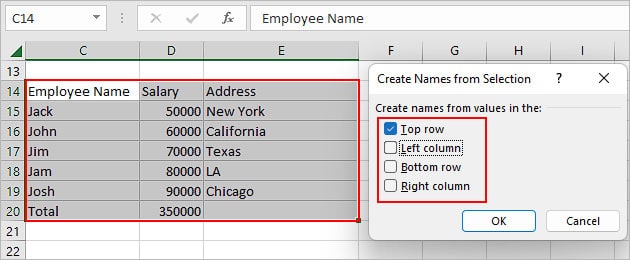
- On the next window prompt, select one of the following values.
- Top row: Uses the topmost cell value inside column (s) of the selected cell range to name the cell range for each column. In our case, selecting the top row creates named ranges for each column as Employee_Name, Salary, and Address.
- Left column: Uses the cells in the leftmost column to name all the respective rows.
- Bottom row: Uses the last row in the entire worksheet to name the cell range.
- Right column: Uses cells in the rightmost column to name all the respective rows.
Use Named Ranges inside Formulas
After creating a named range, you can use it in a formula by specifying it after the Equal sign.
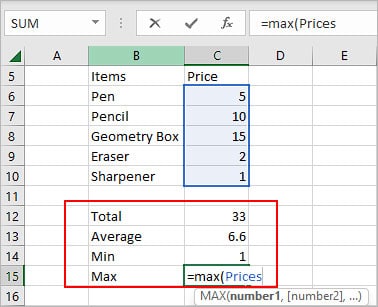
For instance, we are trying to calculate the total cost of stationery items using the named range called “Price”.
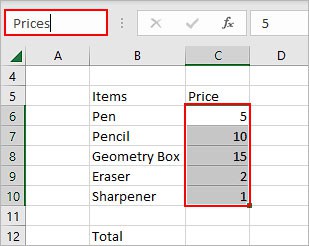
- First, we name the cell range containing the price list as “Prices”.
- Now, to calculate the total price, we can just mention the named range as follows.
=SUM(Prices)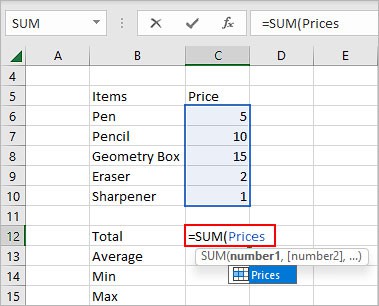
Without a named range, we would have to select the price cell range each time we needed to use it on different formulas. But, using the “Prices” named range, we can now calculate various other things as well like the minimum price, maximum price, and average price.
| Formula | Example |
| AVERAGE | =AVERAGE(Prices) |
| MIN | =MIN(Prices) |
| MAX | =MAX(Prices) |
Convert Named Ranges into Links
Once you have a named range, you can even convert it into links. Using such links, you can directly jump to the named range even if it’s in a different worksheet.
To create a link,
- Select the cell where you want to insert the link for the named range.
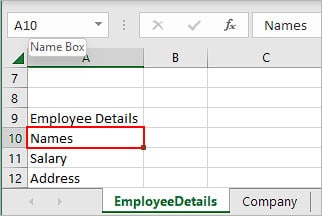
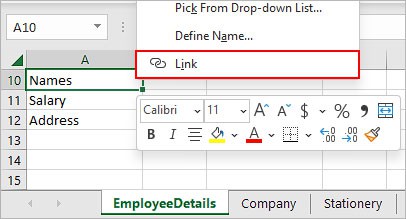
- Right-click on it and select Link. Here, we are creating a link for Names in the EmployeeDetails worksheet to navigate directly to the named range in the Company worksheet.
- On the Insert Hyperlink window, select Place in This Document.
- Then, select the named range you want to link to under the Defined Names section.
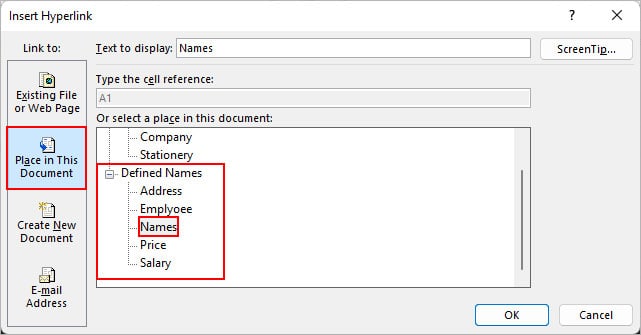
- Click OK.
Related Questions
Why Do I Keep Getting a Name Conflict Error?
A worksheet cannot have two named ranges with the same name. So, if you try copying or moving a named range into a worksheet that already contains a named range with the same name, you will receive such errors. To resolve it, consider using a unique named range or rename the already existing one.
What Happens if I Insert a New Item in the Named Range List?
The named range automatically includes any new entry if you insert it somewhere in the middle of the named cell range. You can do so by right-clicking on the cell where you want to insert the new entry. Then, select Insert > Entire Row.
However, if you try to insert the new entry at the start or end of the named range list, they won’t be included in the named range.
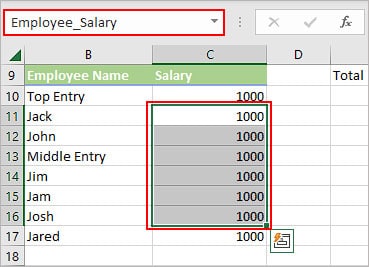
For instance, in the above image, the Top entry and last entry (Jared: 1000) weren’t included in the Employee_Salary named range automatically after inserting them in the list.
So, you either have to include it by manually editing the named range in the name manager or create dynamic named ranges which update the named range itself upon adding new items.