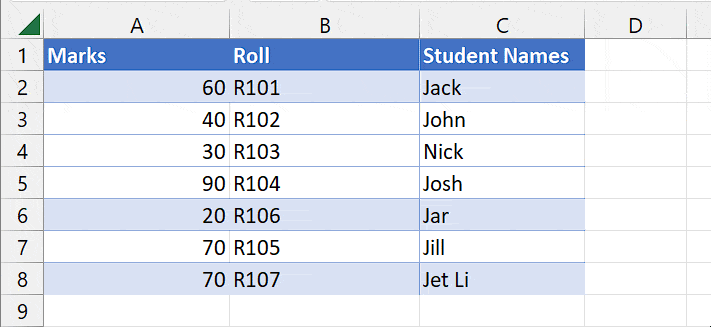
While working with multiple rows and columns in Excel, you may sometimes need to move and re-arrange them.
Usually, it isn’t an issue when moving contents to a blank row/column. However, shifting an entire row/column can get a little tricky as you normally can’t do so without replacing the contents of the destination cells.
To avoid such an issue, continue reading as we have covered several workarounds for you.
Before You Begin
While moving rows/columns, you can use these keyboard shortcuts for a faster workflow.
- Ctrl + Shift + Down: Select an entire column
- Ctrl + Shift + Right: Select an entire row
- Command + X: Cut command for Mac users
Using Power Query
Power Query is perhaps the quickest way to move and re-arrange your rows/columns. While it primarily supports moving columns, you need to transpose the data first in order to use that feature for rows.
To move columns,
- Select all the cells containing the data.
- Under the Data tab, click From Table/Range.

- On the next prompt, enable the My table has headers if the header names already exist on your dataset.
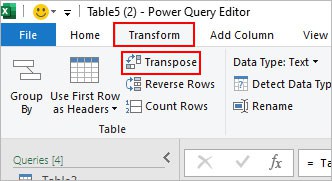
- On the Power Query Editor window, select the Transform tab.
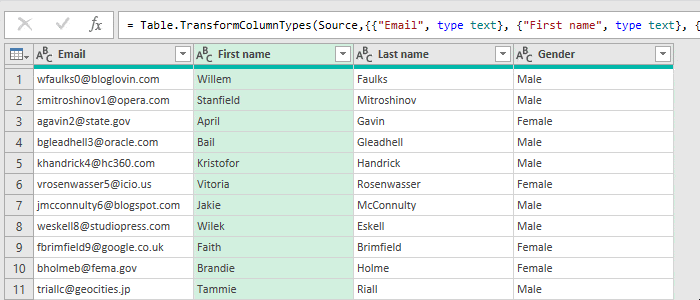
- Select the column you want to move. Then, click Move and choose an option according to your preferences (to left, right, beginning, end)

- Alternatively, drag and drop the column header to a desired location.
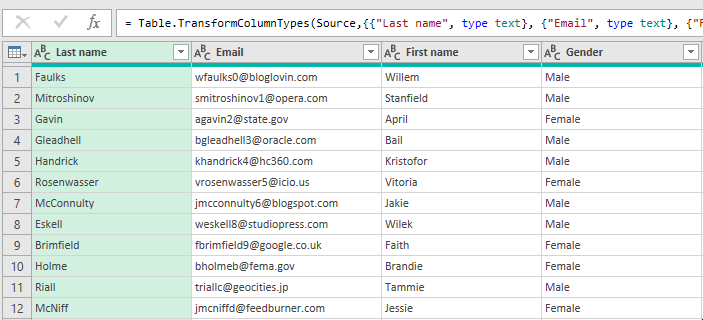
- To re-arrange multiple columns at once, select them using Ctrl or Shift key. Then, drag their headers to the desired position. Or, use one of the Move options under the Transform column.
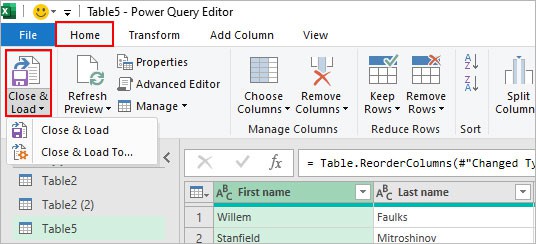
- Under the Home tab, click Close and Load > Close & Load to.
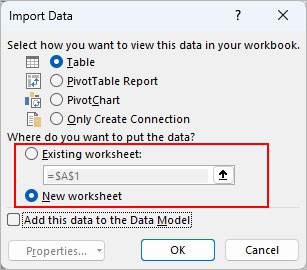
- Now, select the preferred destination where you want to insert the output.
To re-order the rows,
- Follow the same first four steps of the above columns method.
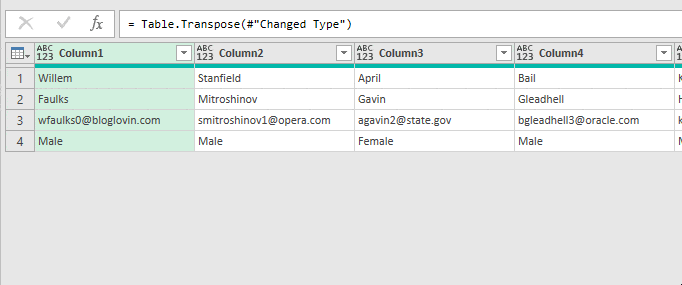
- Copy and save a copy of the table headers beforehand as it may get lost while transposing. Then, click Transpose under the Transform column.
- Now, drag the column to the preferred position. (Since we transposed the rows and columns, we are actually re-ordering a record here.)
- When done, click the Transpose button again.
- Click Close & Load > Close & Load To in the upper left part of the Power Query window.
- Save it in the preferred location.
Using Drag and Drop
The drag and drop method is the quickest way to move rows or columns. It works quite well when dealing with a small dataset. However, if you have a large dataset, it can be inconvenient to drag across multiple rows/columns. In that case, it’s better to consider using another method.
- Select the row (s) you want to move.
- Hover over the border of the selected row.
- Once the cursor turns into the move icon (four arrows), do one of the following.
- To move the row without replacing the destination cells, keep on pressing the Shift button. Then, drag the row/column below the row where you want to move it and release the mouse button when done. You can see a green horizontal bar when moving the row.
- To move and replace other row(s), just drag and drop the row to that location. However, this will delete the contents of the destination row (Row 4).
- To move the row without replacing the destination cells, keep on pressing the Shift button. Then, drag the row/column below the row where you want to move it and release the mouse button when done. You can see a green horizontal bar when moving the row.
Similarly, you can move single or multiple columns. However, this time, you need to select the column. Then, drag it to the right of the column where you want to move, while still holding the Shift key.
Next, release the Shift key and drop the column after you see the green vertical bar in the right place.
To move and replace a column, simply drag the column without using the Shift button.
For instance,
Note: If you don’t want to keep holding the Shift button when moving the row/column, drag them while holding the right-click instead. Then, choose “Shift Right and Move” for moving a row and “Shift Down and Move” for a column.Using Cut and Paste
As the name suggests, you can cut and paste contents from one row/column to another. Here, you can choose to move them without replacing the contents of the destination row/column. Also, you can use this method to move the contents in a different worksheet.
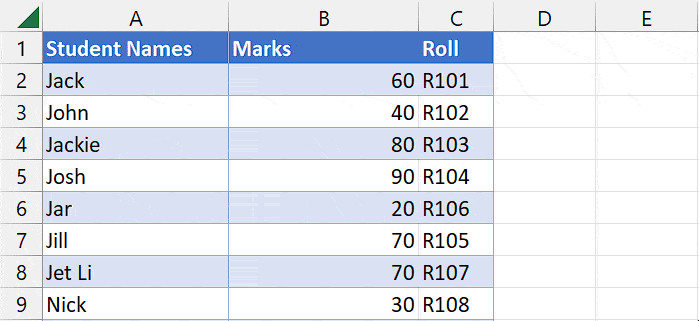
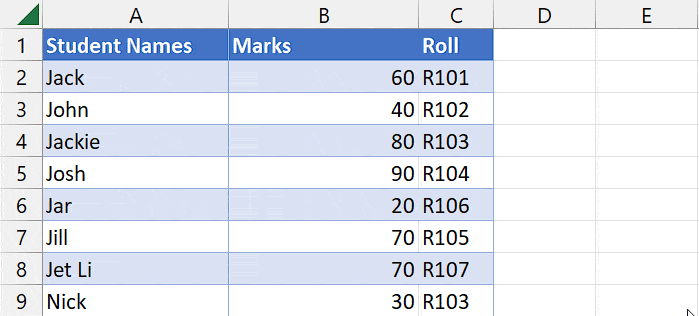
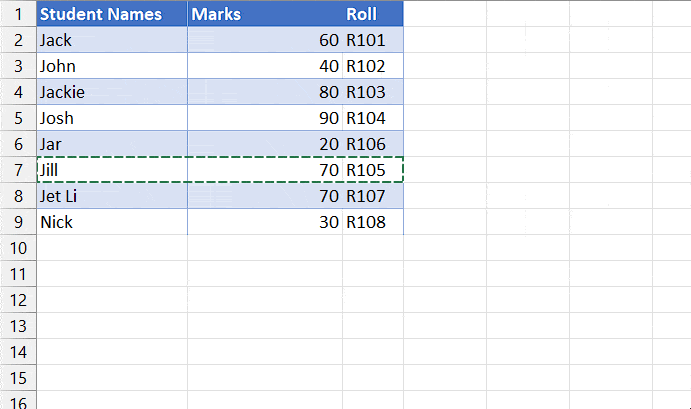
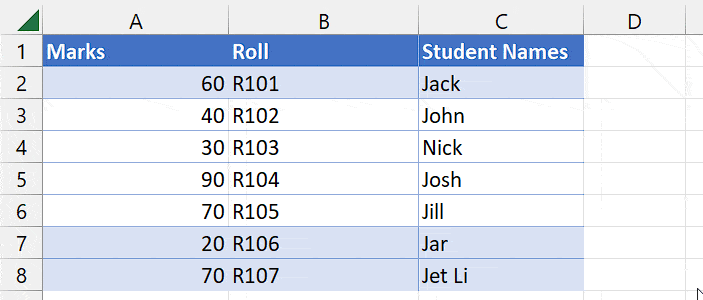
- Select the row (s) you want to move and press Ctrl + X to cut them. You can then see the dotted moving lines. Here, we are trying to move Row 7 {Jill, 70, R105} above Row 6 {Jar, 20, 106}.
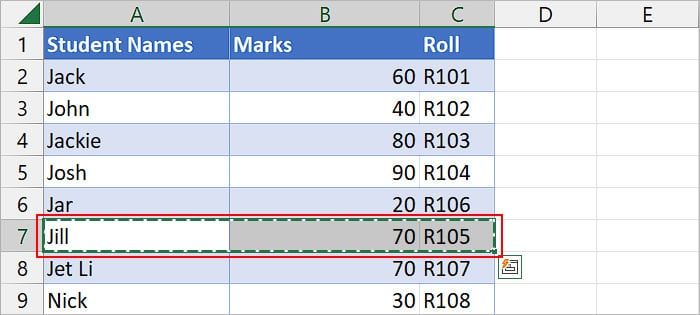
- Right-click on the cell above which you want to insert the select row data and choose the Insert cut cells option. This option will just shift all the other rows downwards and not delete any rows.
- Alternatively, cut the row contents and choose any other paste option if you want to replace the contents of the destination row.
You can follow a similar process to move a column. Just cut the column (Ctrl + X) and right-click on the cell next to where you want to move the column. Then, release the mouse button and select the Insert cut cells option.
For instance,
How to Move a Row/Column to Another Worksheet?
If your destination row/column is in another worksheet, you can move the required values as follows.
- Select the row (s) or column (s) you would like to move.
- Press Ctrl + X to cut them.
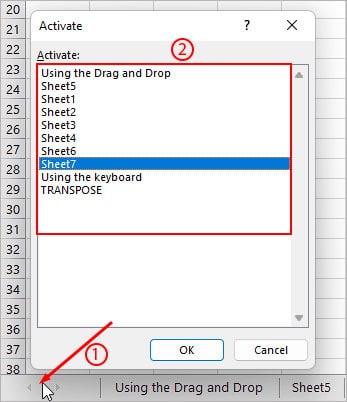
- To switch across worksheets faster, right-click on the bottom left corner and select the worksheet where you want to move the contents.
- Select the leftmost cell of the destination row and press Ctrl + V to paste the contents.
Related Questions
How to Move an Entire Row to a Column?
Moving the row data to a column and vice-versa is simply a transpose operation. For this, you can use the transpose function
=TRANSPOSE(cell reference of row/column)
Alternatively, use the Transpose option under the Transform tab by opening them in the Power Query.