By default, Outlook groups the incoming emails by date such as Today, Yesterday, Last Week, etc.
However, you can still group emails according to sender, subject, or flag. This way, you can quickly go through the inbox without having to search and look for specific kinds of emails.
Now, let’s look at several ways to organize and group similar emails based on several criteria.
Feel free to try out multiple options or choose one that works best for you.
Using the Arrange By Option
Whether you want to group emails by subject, sender, date, or even flags, you can do it all using the Arrange by option in Outlook.
Here, you simply choose how you want to group the emails and that’s it—Outlook automatically arranges them for you.
To use it,
- Select the Inbox tab.
- Select one of the emails in the message inbox.
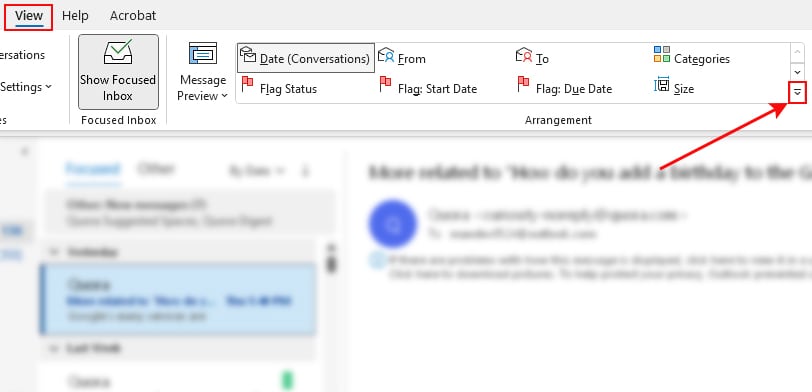
- Then, under the View tab, click the down arrow icon to expand the Arrangement options. If the Outlook window isn’t on full screen, click the Arrange by option.
- Now, choose one of the preferred options like Date, Flag Status, Size, etc to arrange your emails.
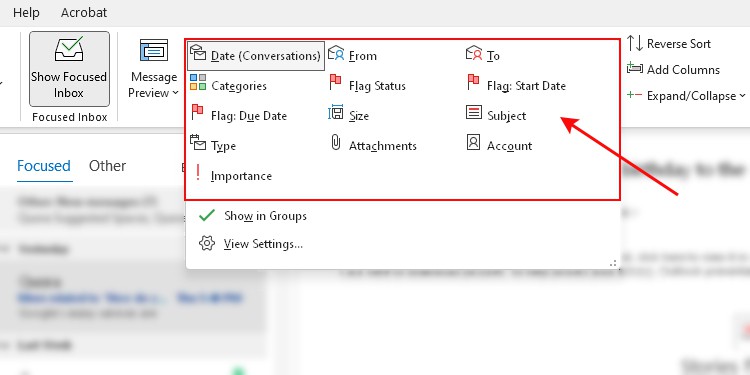
- Also, make sure the Show in groups option has a little green tick icon next to it.
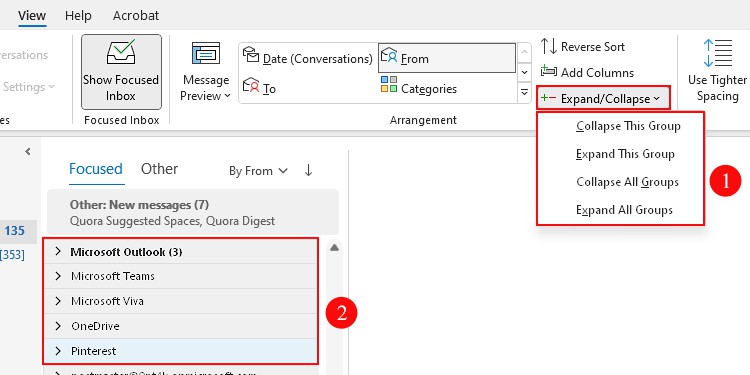
- Use the Expand/Collapse option below the View tab to quickly show/hide the email messages inside group arrangements.
Additionally, you can even group emails in multiple levels of arrangement options.
For instance, you can group emails from a particular sender and then further group them by the subject for each sender.
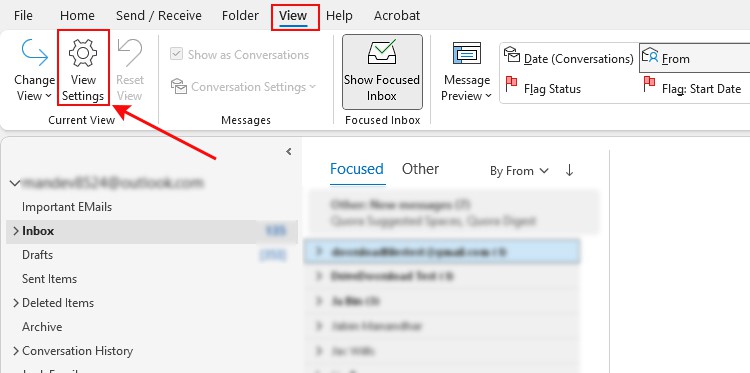
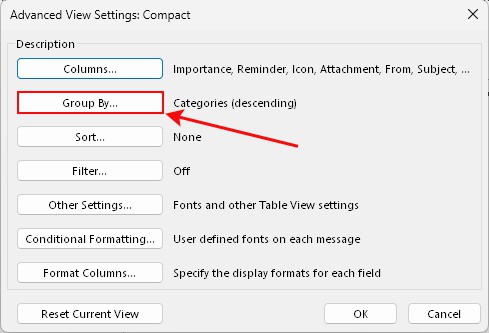
- Under the View tab, click View Settings.
- On the next window prompt, select Group By.
- Then, uncheck the Automatically group according to arrangement checkbox.
- Now, choose the options according to how you want to group emails with multiple levels of arrangement options.
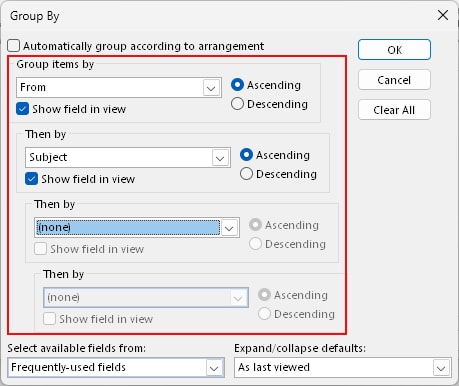
- Choose one of the Expand/collapse default options to set a default view for the emails such as expanded or collapsed form.
- When done, click OK.
Group Emails by Conversations
If you often communicate over emails on Outlook with back-and-forth replies, you can group emails by the conversations.
This way, you can easily track all the messages that are part of the same conversation; even when someone replies to it at a later time.
However, note that this option is only available if your messages are arranged by Date.
To enable it,
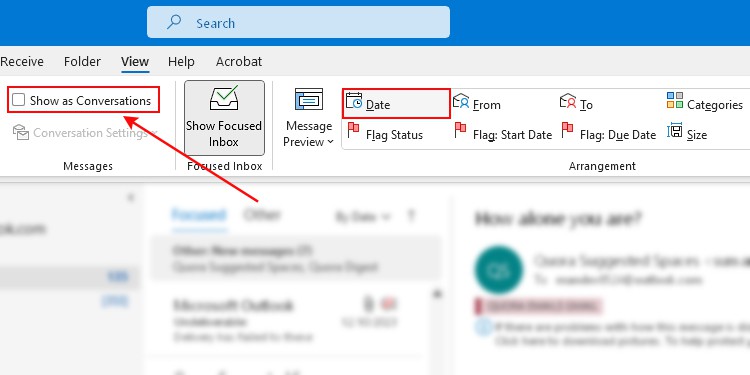
- Select the View tab.
- Select Date in the Arrangement section.
- Then, enable the Show as Conversations checkbox.
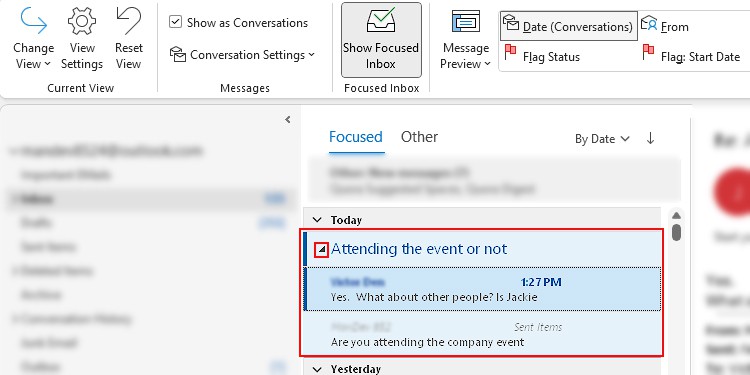
- Additionally, click Conversation Settings and choose your preferred option to display the conversations.
- To view messages (including replies) inside a conversation, click the right-arrow icon next to the message.
Group Emails Using Outlook Categories and Rules
The Outlook categories can help identify and visualize different types of emails without even opening them. Along with Outlook’s built-in categories, you can create custom categories according to your preferences.
Additionally, you can set up a rule to automatically assign categories and group similar emails as they arrive in your message inbox.
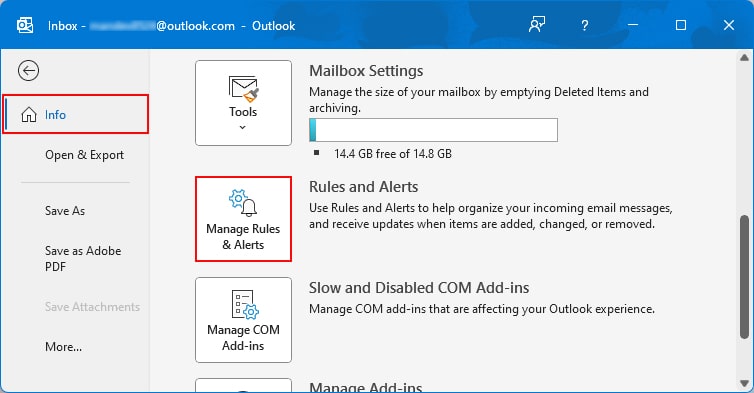
- Click the File menu.
- Then, click Manage Rules & Alerts.
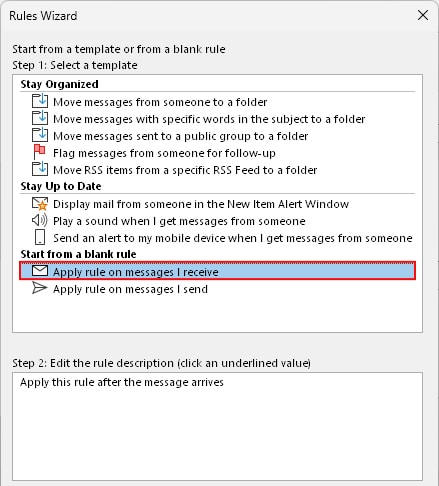
- On the next window, click New Rule.
- Select Apply rule on messages I receive to apply the rule to incoming messages.
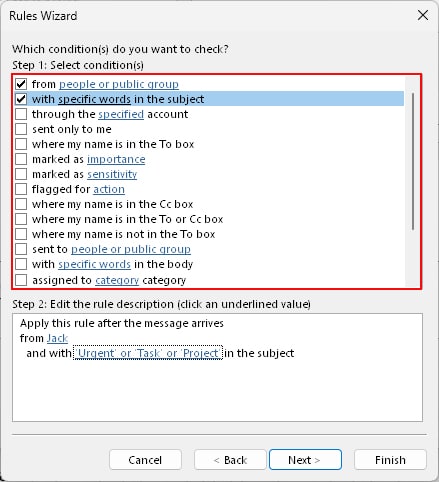
- Select the preferred conditions to assign/group emails such as from a particular sender, containing certain words, containing attachments, or any other.
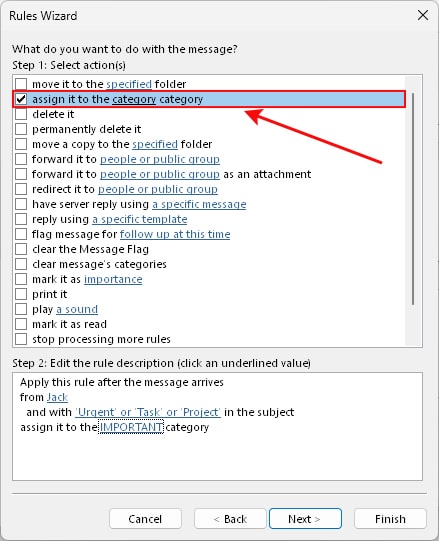
- Next, choose the assign it to the category category option and select a category.
- Add any exception conditions if necessary.
- Enter an appropriate name for the rule.
- Also, select Run this rule now… option if you want to apply the rule to existing messages that match the specified criteria.
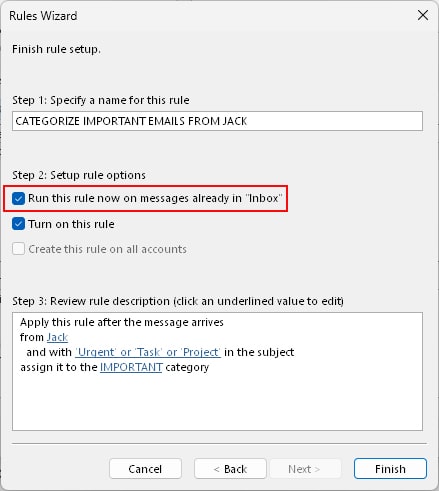
- When done, click Finish.