By default, tables are dynamic in nature. So, you can just start entering new data next to its immediate last row or column, and the table should expand automatically to include them in the new row/column.
However, what if you realize later that you need to insert some data somewhere in the middle of the table body? Or, you may sometimes need to leave certain rows or columns blank to fill them in later.
In both cases, you need to extend the table manually. But, the good part is you can do so without deleting/modifying the existing table data.
Using the Resize Handle
This is perhaps the quickest method to extend a table. Here, you just drag the resize handle to add new rows or columns.
- Hover over the last cell of the table. However, don’t select that cell.

- Once it turns into a double-arrow icon,
- Drag across: Add new column (s)
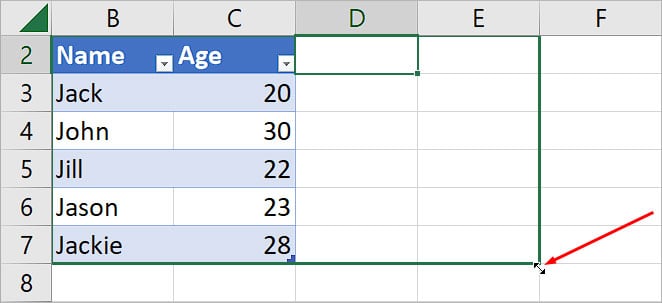
- Drag below: Add new row (s)
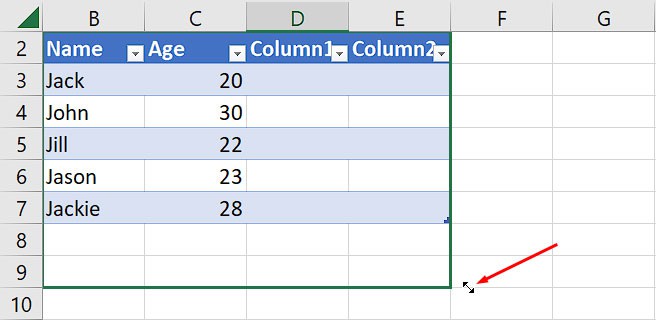
Note: You cannot drag the cursor diagonally to extend the table, both row-wise, and column-wise at once. So, extend the table in one direction at a time.Using the Resize Table Option
With the Resize Table option, you can add the desired number of multiple rows and columns at once.
- Select a cell inside the table which you want to extend.
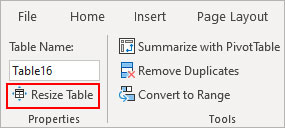
- Then, click the Table Design tab that appears at the top.

- Click Resize Table at the top left corner.
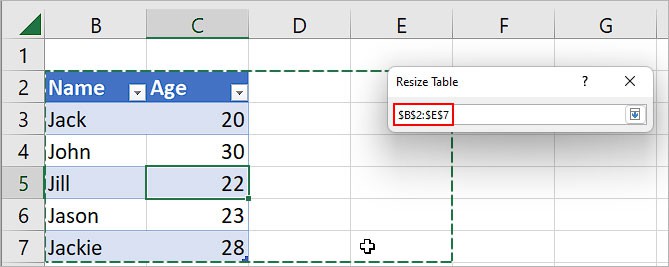
- Enter the new cell range to extend the table. Or, click the little Up arrow icon to drag across a larger cell area. Also, make sure you start selecting from the upper-leftmost cell of the table body and the selection is larger than the initial table.
Using the Insert Option
If you ever need to insert a new row or column in the middle of your table data, you can extend the table using the Insert option. Alternatively, you can also use it to contract the table and exclude a row/column.
To add new rows
- Select the cell above which you want to insert a new row.
- To add multiple rows, select the number of cells accordingly. Meaning, if you want to insert 6 rows, select six cells.
- Then, right-click and select the Insert > Table Rows Above option. Here, we are only inserting one row above Row 4.
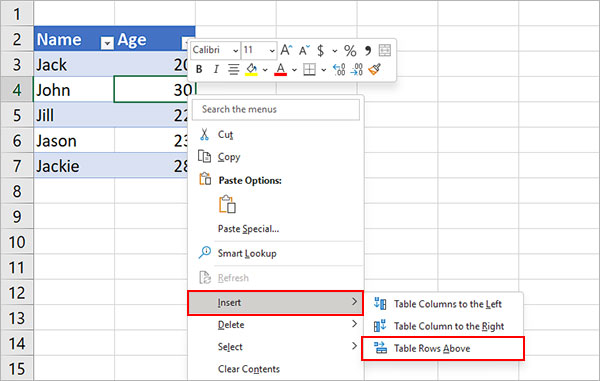
- Additionally, you can insert a new row first and then press the F4 key to start adding another row.
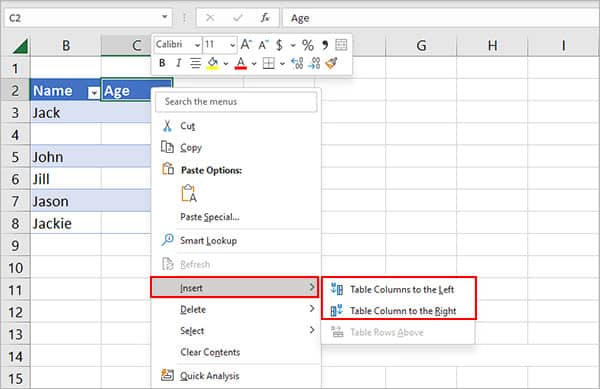
To add new columns
- Select the cell where you want to insert the new column to the left or right side.
- Then, right-click, and hover over Insert.
- Next, select the Table Columns to the Left or the Table Columns to the Right option depending upon where you want to insert the new column.
Why Is My Table Not Expanding Automatically?
With the default Excel settings, your table should expand automatically. However, if it’s not the case, you must enable a setting in the Excel option.
- Launch the Excel app.
- Navigate to File > Options.
- Select the Proofing tab from the sidebar.
- Now, on the right pane, click the AutoCorrect Options button.

- Under the AutoFormat As You Type tab, make sure the Include new rows and columns in table checkbox is enabled.
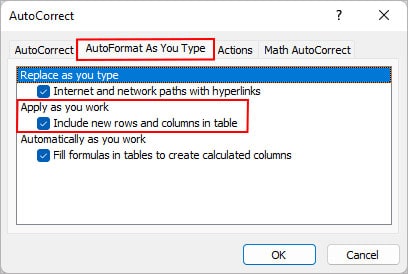
- Click OK.