If you are learning Excel as a beginner, creating worksheets is one of the first things you will do.
Often times when we talk about an Excel file, we are referring to the Excel workbook. While workbooks and worksheets may seem similar, they are actually two different things.
A worksheet is simply a combination of cells where you work (insert, delete, and perform different calculations) on your data. And, such worksheets collectively make up a workbook.
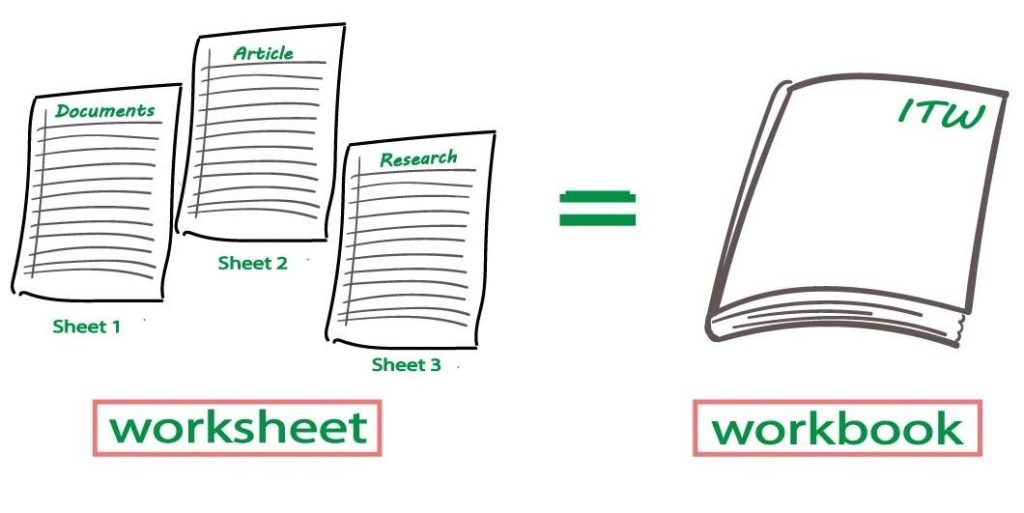
By default, a blank workbook already contains a single worksheet called “Sheet1”. And, all the cells inside such worksheets are initially empty which you can fill later with necessary data.
Once you create or open a workbook, you can add and work with multiple worksheets in the same workbook.
Along with the initial worksheet, you can create up to 255 additional sheets on a single workbook. However, all worksheets have the same number of rows and columns with a similar interface.
You can use several ways to create a worksheet, but each of them includes two basic steps; creating/opening a workbook and adding worksheets.
Step 1: Open a Workbook
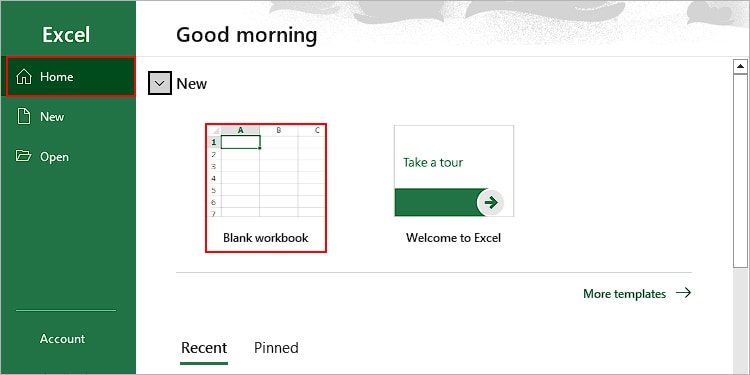
Once you launch the Excel app or open it after signing in to your Office account, you can start by creating a blank workbook or opening one of them.
To create a blank workbook, simply click Blank workbook on the Home tab or New tab.
You can also open recently created workbooks under the Recent tab or use one of the Excel workbook templates.
Step 2: Add/Create Worksheets
No matter which workbook you work on, it must contain at least one worksheet. To add/create additional worksheets, you can use one of the several methods listed below.
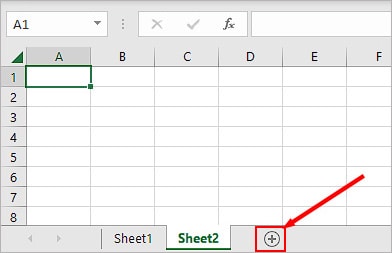
Using the Plus Icon
Here, you simply click the plus icon at the end of the Sheets tab on a workbook. Once you click the button, a new sheet will appear right next to the selected worksheet.
Using the Right-Click Method
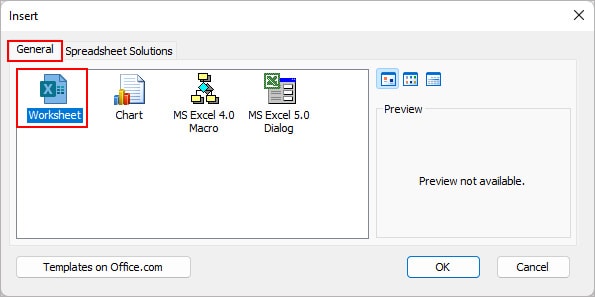
In this method, you simply right-click on a sheet and choose the Insert option.
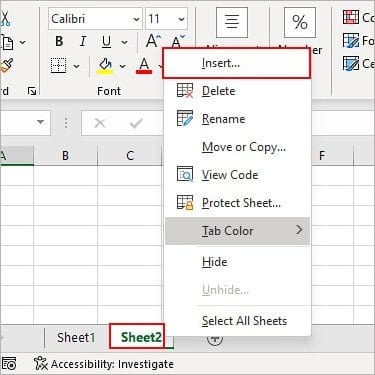
Then, select Worksheet on the next prompt and click OK. Unlike the above plus icon method, the newly created worksheets appear on the left side of the selected worksheet.
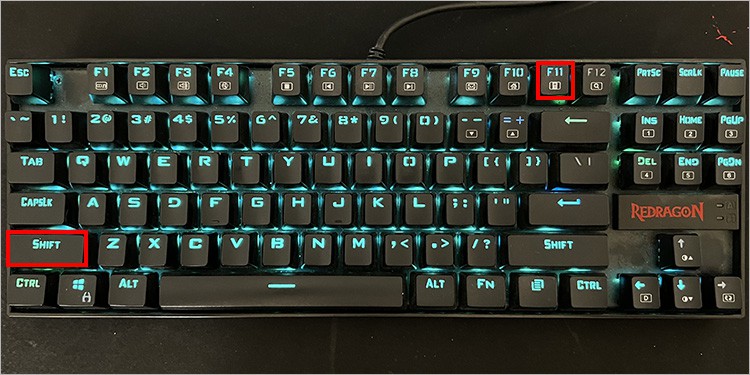
Using the Shortcut Key
You can also use the shortcut key Shift + F11 to create a new blank worksheet. This will create the new worksheet on the left side of the selected worksheet.
How to Navigate through Multiple Sheets?
To switch to another sheet, you can just click the sheet tab.
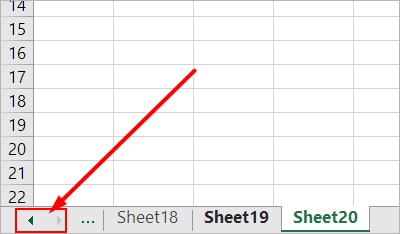
However, if you have too many sheets, clicking the sheet might not be convenient. In that case, follow use the method below.
- Right-click on the two arrow icons in the bottom left corner.
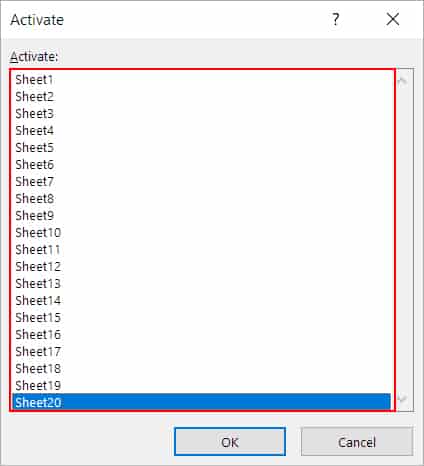
- Then, select the preferred worksheet from the entire list of worksheets in your workbook and click OK.
On Excel online, you can view the list of all your worksheets and jump to the preferred one by clicking the three horizontal lines icon located at the beginning of the Sheet tabs.
Similarly, to change the order of a sheet, just drag it ahead/behind worksheets. Alternatively, you can right-click on the worksheet and select Move or Copy.
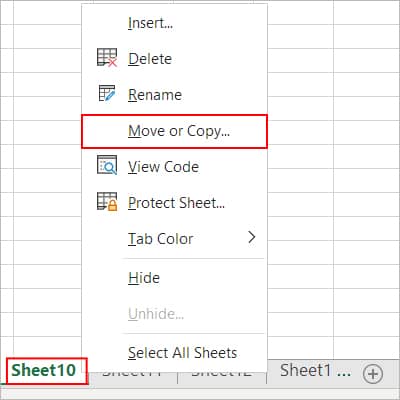
Then, under the Before sheet section, select where you want to place the sheet. It will be place before the chosen sheet.

Some Essential Operations on an Excel Worksheet
Delete a Worksheet
To delete a worksheet, right-click on it and select Delete.
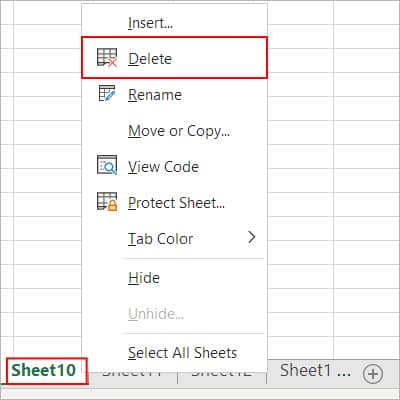
However, consider checking for external links before deleting worksheets. Otherwise, you could get a REF error.
If you really need to delete the worksheet, consider finding and breaking such links before you do so.
Name the Worksheets
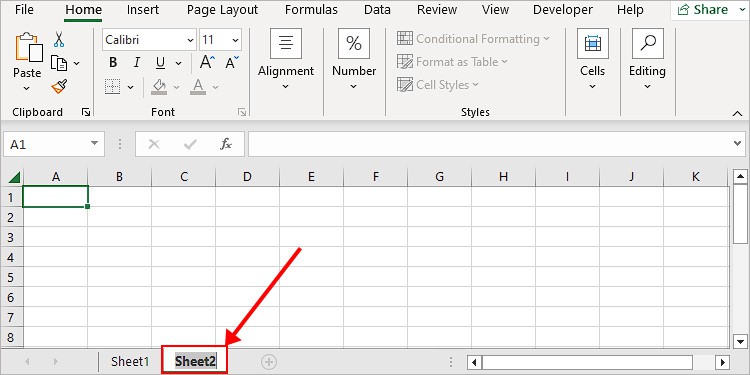
By default, Excel names all the newly created sheets as Sheet with a number. For instance, Sheet1, Sheet2, Sheet3, and so forth.
A better approach is to provide a relevant name for the sheets so that you can easily identify them. To rename a worksheet, double-click the sheet and replace the old name with your preferred name.
Hide the Worksheets
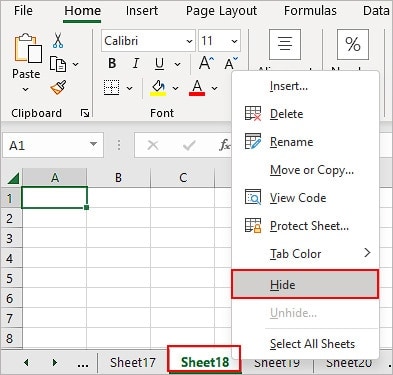
If your workbook contains too many worksheets, you can temporarily hide the unnecessary ones. This way you can focus on just the worksheets you are currently working on. To hide a worksheet, right-click on its tab and select Hide.
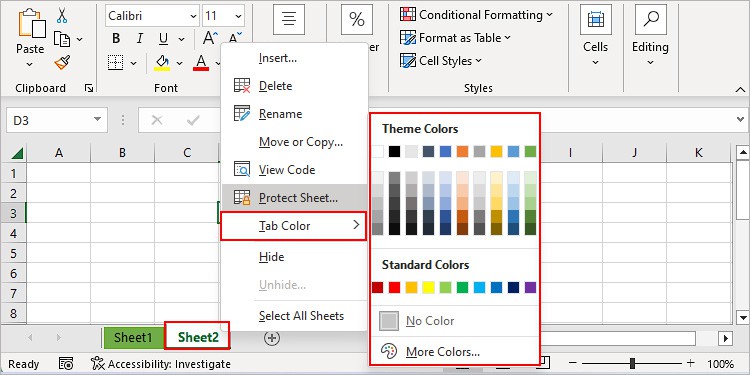
Color the Worksheets
Along with the name, you can color each of your worksheets. To color a worksheet tab, right-click on the worksheet, hover over the Tab color, and select your preferred color.
Note: You can select multiple worksheets and apply an operation like delete, hide. To select all the adjacent worksheets, select the first worksheet and then select the last worksheet while holding the Shift key. You can also select individual non-adjacent worksheets by pressing the Ctrl key while selecting.Some Important Keyboard Shortcuts
The keyboard shortcuts significantly increase your productivity. So, you should always consider using them as much as possible.
While it may take some time to learn initially, you will be able to do things much more quickly in the long run.
- Shift + F11: Create a new blank worksheet
- Ctrl + PageDown: Go to the next worksheet
- Ctrl + PageUp: Go to the previous worksheet