A group in Outlook can mean two different things — an Outlook group that’s part of the same Microsoft 365 group or an Outlook contact group. Usually, many users seem to confuse an Outlook group with contact groups.
A contact group is just a list of certain contacts which replaces a bunch of email addresses with a particular group name. Whereas an Outlook group is a single email address with which one group member can send a message to all other members at once.
Depending on your specific needs, you can find steps to create both types of groups in the article below.
How to Create an Outlook Group?
An Outlook group is particularly useful for collaborating with other members. Here, each member can view every message sent to the group email address in the shared mailbox and even access the shared files like attachments.
On top of it, everyone in the group has access to a common calendar where each member can view or even edit all the events on it.
To create it,
On Windows
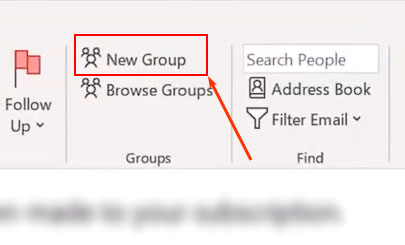
- Under the Home tab, click New Group. You can find it inside the Groups section.
- On the next prompt, fill out the group name and email field.
- Under the Privacy section, choose one of the following options.
- Public: Anyone on the same Microsoft 365 organization can join and view group resources.
- Private: Only people approved by the group admin can access the group.
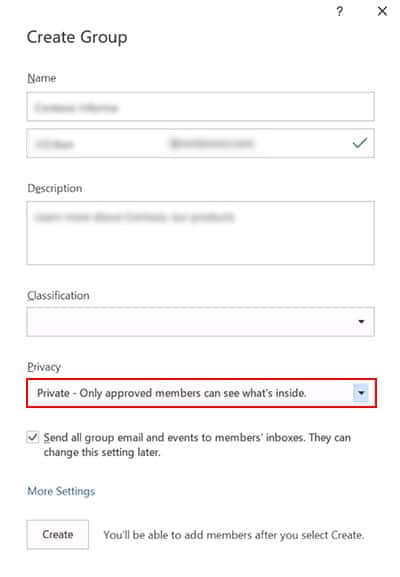
- Enable the checkbox next to “Send all group email and events to members’ inboxes…”.
- When done, click Create.
- Next, enter the name or email of the people you want to add to the group and press Enter.
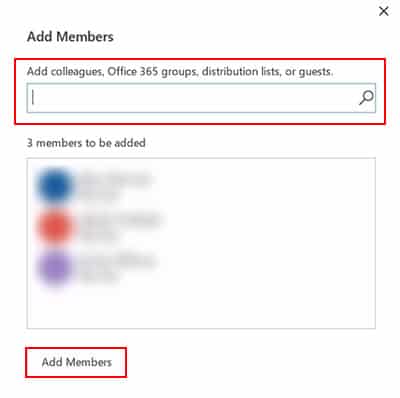
- Repeat the above step to add other people.
On Outlook Web Version
- Open a browser and log in to your Outlook web account.
- Then, select the Inbox icon in the sidebar.
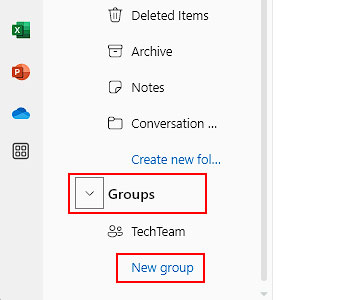
- Now, expand the Groups dropdown and click New group. Look for it in the bottom left corner.
- Enter the group name. Additionally, provide a description.
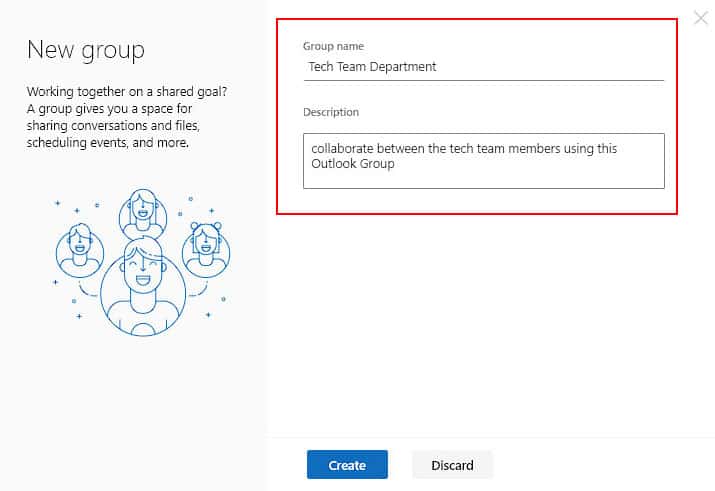
- Next, enter the email address of the people you want to add as group members.
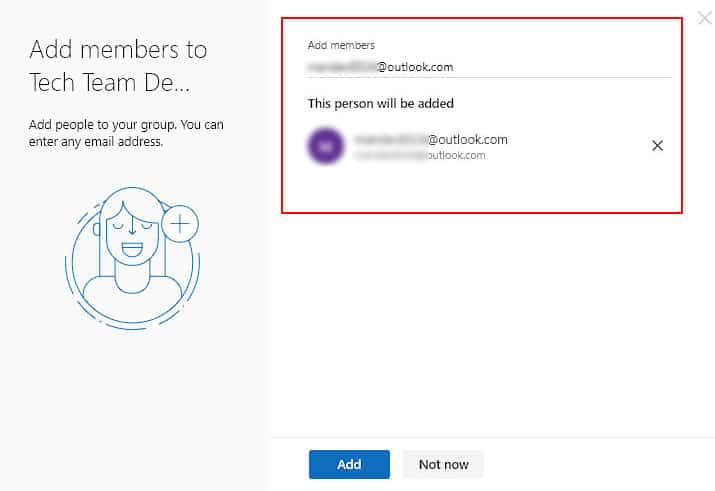
- When done, click Add.
On Mobile App
- Open the Outlook app.
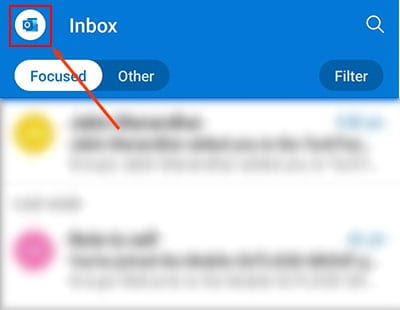
- Tap the profile icon. Look for it in the top right corner.
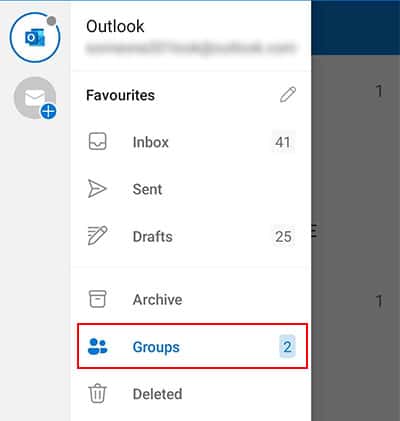
- Tap Groups.
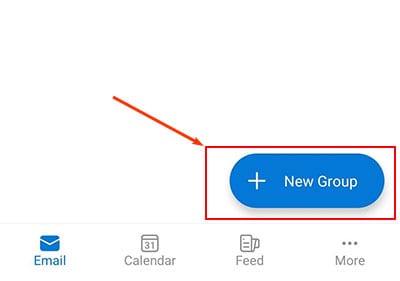
- Tap New Group in the bottom right corner.
- Provide a group name and enter the name or email address of the people you want to add to the group.
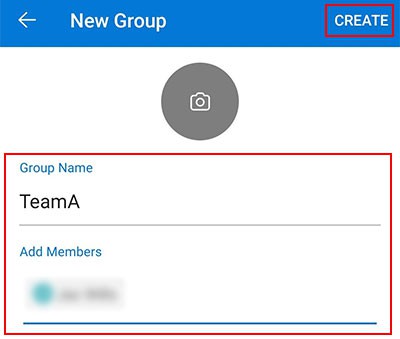
- Tap Create in the top right corner.
How to Create a Contact Group?
If you just need to autocomplete a set of email addresses while sending an email message or meeting request, you can opt to use a contact group.
Unless you share a contact group with other people, it’s saved to your particular system and is exclusively available for your Outlook app only.
To create it,
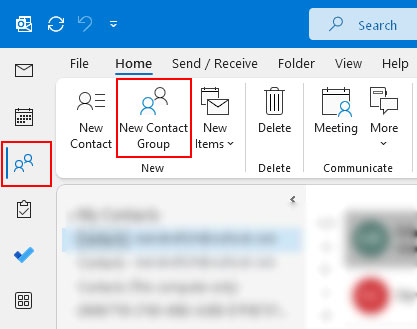
- Select the People icon. You can find it on your left sidebar or bottom right corner depending on the Outlook app.
- Under the Home tab, click New Contact Group.
- Then, click Add Members.
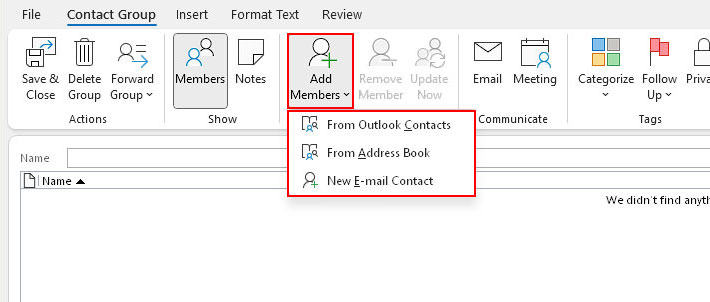
- Choose the From Contacts or Address Book option to add group members from your existing contacts.
- Alternatively, choose the New email contact option to add a new member outside your contacts.
- Type the name/email. Or, double-click the email from the list which you want to add to the group.
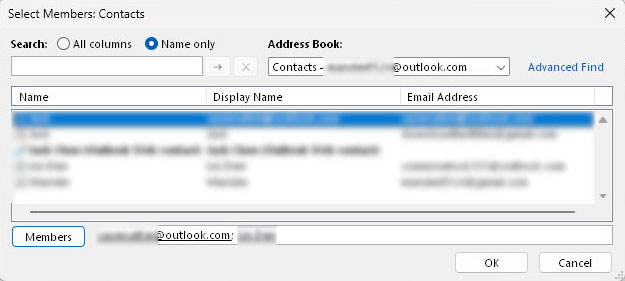
- Click Save & Close when done.
How to Add/Remove Members in an Outlook Group?
According to the project, you can add or remove members from the group. For this, you can edit the Outlook group and even change other settings if required.
- Open the Outlook app. Or, log in to your Outlook web account.
- Then, select the Inbox icon in the sidebar.
- Expand the Groups section and choose the group you want to edit.
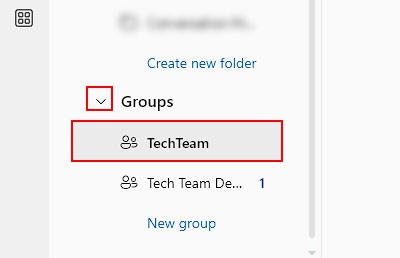
- Click the group name.
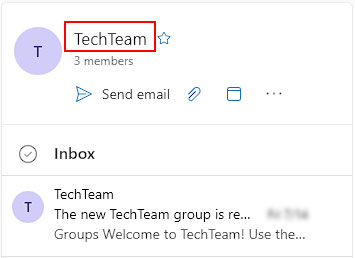
- On the next window, select the Members tab.
- To add a new email, click Add members. Then, enter the name/email of the person and click Add.
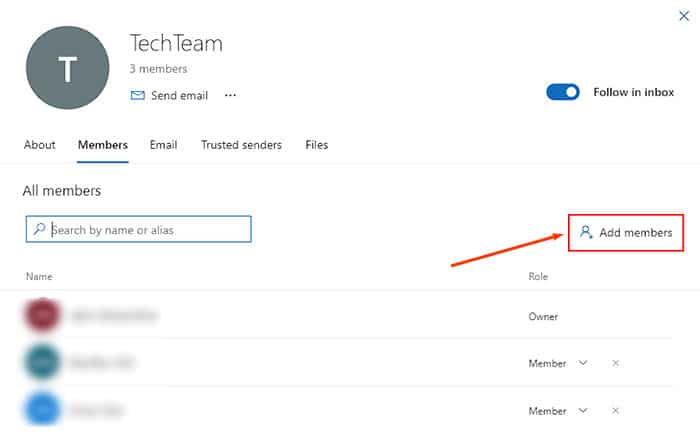
- To remove an existing group member, click the little cross icon next to the respective email. Click OK to confirm when prompted.