Usually, when working with a dataset in Excel, especially a large one, it’s quite normal to miss or require column (s) that need to be added later.
In the following example, the marks of the English subject are missing so we need to add a new column for it.

Inserting a new column at the end (after the Total Marks column) is relatively easy. But, what if you need to add it somewhere in the middle to accurately calculate the Total Marks?
On top of it, what if you need to add multiple columns at once?
How to Add Column on a Regular Cell Block (Non-Table Data)?
If you are looking to insert a column between regular columns, you can use the methods below. However, for a table, you can directly jump to the next section.
Using the Shortcut Key
- Click the main column header (A, B, C…) to select an entire column. Here, we are trying to add an “Address” column between the Name and Email columns.

- Then, press the shortcut key Ctrl + Shift + + or Alt + I + C. For Mac users, use the shortcut key Cmd + Shift + + instead.
Using the Home Ribbon
- Select a column next to which you want to add the new column.
- Click the Home tab.
- Then, select Insert > Insert Sheet Columns.
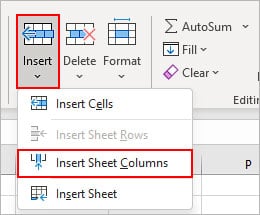
Using the Right-Click Method
- Select a column or any cell under it and right-click on it.
- Then, select Insert. Alternatively, use Insert > Entire column if you have selected certain cells only.

How to Add a Column in an Excel Table?
Inserting a column in an Excel table is pretty much the same, with some additional options.
However, unlike in the regular cell block, you cannot add multiple new columns between non-adjacent columns at once. But, you can still re-arrange each column order after opening the table in the Power Query editor.
Using the Resize Handle
- Hover the bottom-left corner of the last cell inside the table. You can use the keyboard shortcuts; Ctrl + Right arrow and Ctrl + Down arrow, to move between the last column and row of the table.
- Hover over the cell border. Once the cursor turns into a small double-arrow icon, click and drag it on the right side to add one or more columns.


Enter New Input
- Just select any adjacent cell right next to the last column of the table.
- Start typing the column header name or a cell input and press Enter.
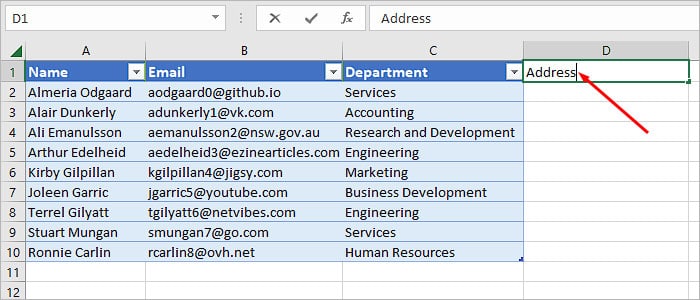
- Additionally, you can even paste cell values directly next to the table.
Using Resize Table Option
- Select any cell inside the table where you want to add one or more columns.
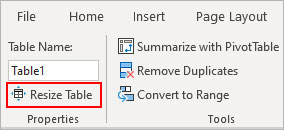
- Under the Table Design tab, click Resize Table.
- On the next prompt, replace the old cell reference and drag across the table to add as many columns as you like.
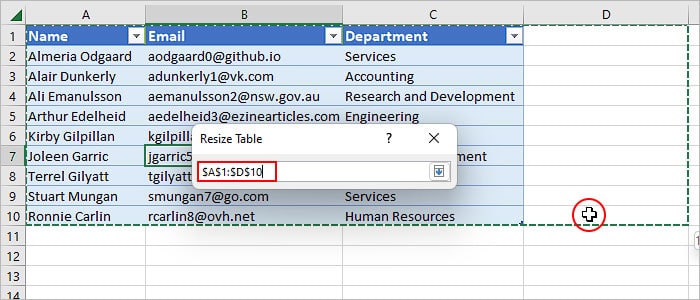
- Click OK when done.
Using the Home Ribbon
- Select the table column header next to which you want to insert the new column.
- Under the Home tab, select Insert > Insert Table columns to the Left.
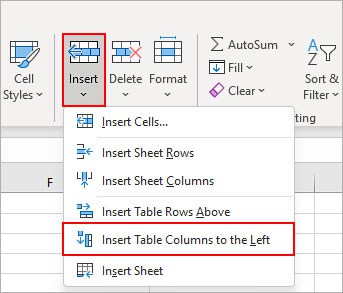
- Alternatively, choose the Insert Table columns to the right option if you are adding the new column next to the last column.
- To add multiple columns, select two or more adjacent cells and insert columns using Step 2.
Using the Right-Click Method
- Select the column header next to which you want to insert the new column.
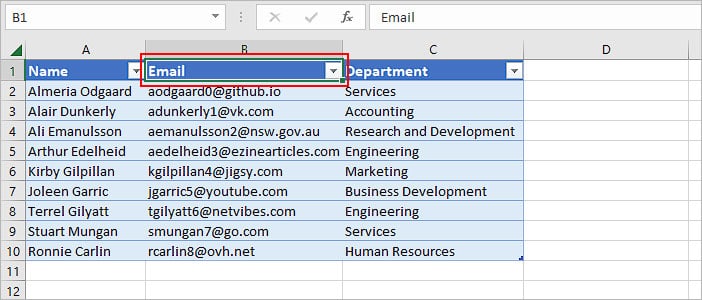
- Right-click and select Insert > Table columns to the Left. Alternatively, you can just press the shortcut key, Alt + I + C.
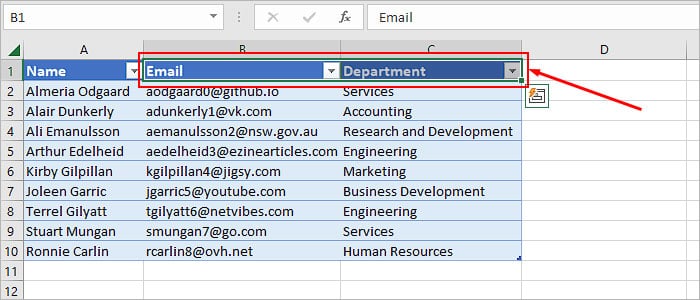
- To insert multiple columns, select the respective adjacent column header or any cells of such columns. Then, use the shortcut or right-click method.
Using Power Query
- Select any cell on the table where you want to add new columns.
- Then, under the Data tab, click From Table/Range. You can find it in the Get & Transform Data section.

- On the Power Query editor, select the Home tab and click Enter Data.
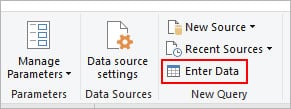
- On the Create Table window, select and replace the new default Column 1 column with your preferred column header name. Here, we are adding the Address column.
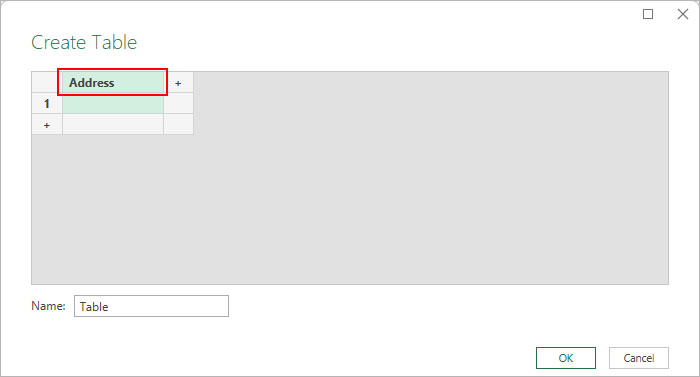
- To add more tables, click the plus icon next to the new column.
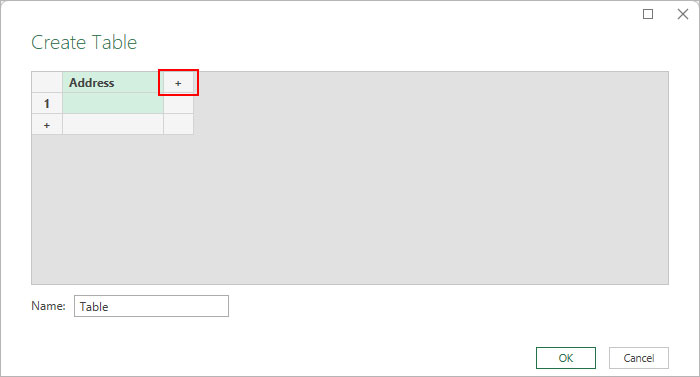
- Enter the new table name and click OK.
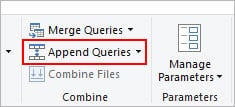
- Now, click the Append Queries under the Home tab.
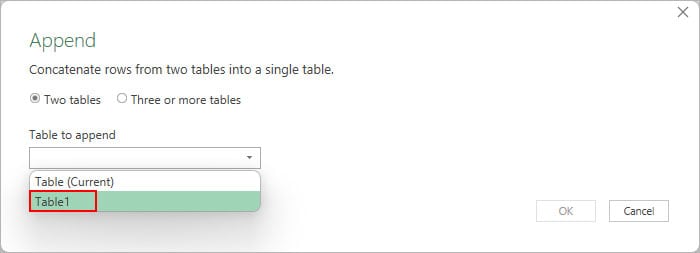
- Next, select an appropriate option (Two tables, Three or more tables) depending on how many tables you want to combine.
- Under the Table to append section, click the dropdown menu and select other tables to get a single table with the newly added columns.
- Additionally, right-click on the new column header and select the Move option to rearrange its position. Or, just drag it across columns to the preferred position.
- Also, select the appropriate type for the new field values next Data Type field. By default, every new column will have the TEXT value type.
- Click Close and Load > Close & Load To.
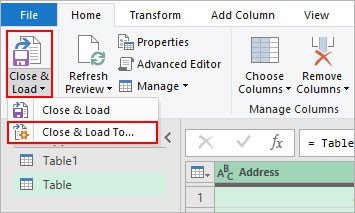
- On the next prompt, choose where you want the whole table with the new appended column (s) and click OK.
How to Add Multiple Columns in Excel?
Similar to adding a single column, you can even add multiple columns at once.
As we have already covered steps for adding multiple columns in tables, you can follow the steps below for regular cell blocks.
- Select the same number of columns you want to add. For instance, select two columns to insert two columns to the left, and likewise.

- Press the shortcut key Alt + I + C. Or, right-click and select Insert > Entire Column.
How to Add a New Column without Affecting Other Columns/Fields?
The above methods will insert a column for the entire worksheet. Meaning, you get an entire column such as A, B, C, or other depending on where you have inserted the column.
By default, an Excel table prevents you from inserting a new field when you have other tables below.
However, this can become a major issue in cases where you have multiple cell blocks in the same worksheet.
For instance,
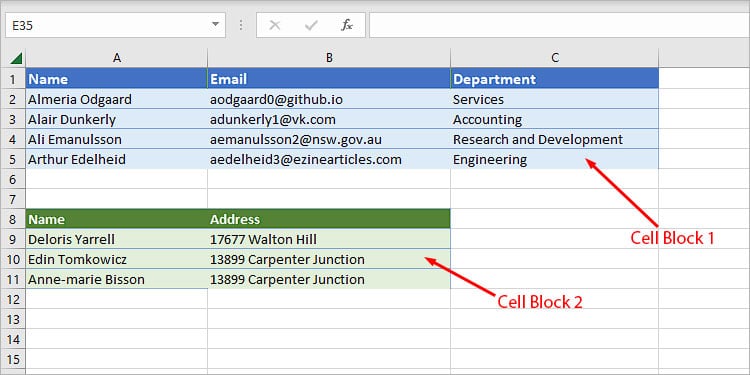
Here, we have two cell blocks with separate fields in the same worksheet. Now, if we try to add a column using the above methods, Excel could insert it for both of them.
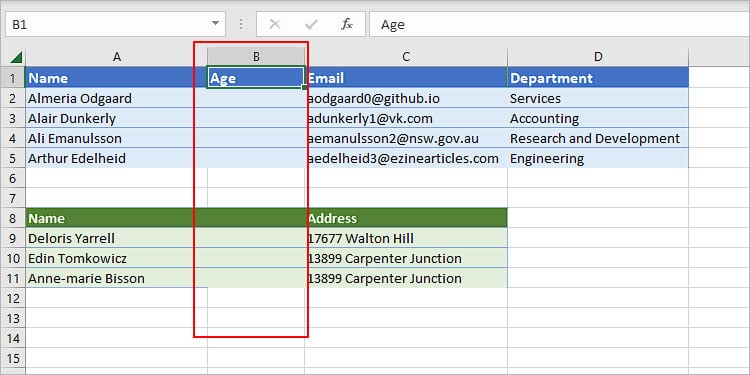
As we can notice that we wanted the Age column only on cell block 1. But Excel inserted it for Cell Block 2 as well.
To avoid this issue,
- Select only the cells of the desired column/field. To select an entire field of a cell block, you can use the shortcut key Ctrl + Shift + Down arrow while selecting the first cell of the field (Email in this case.)
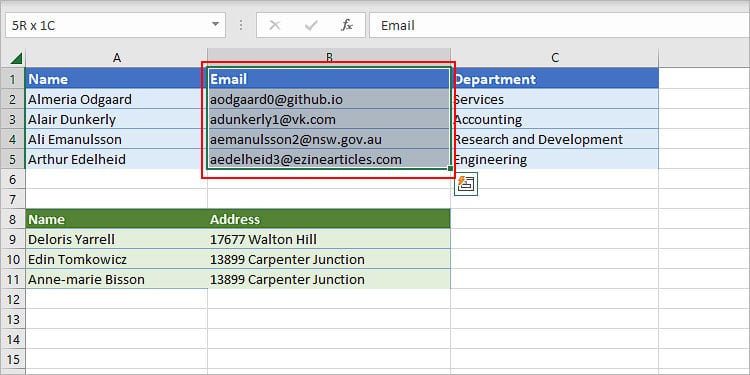
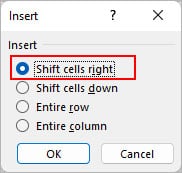
- Now, right-click and select Insert. On the next window promo, choose Shift cells right.
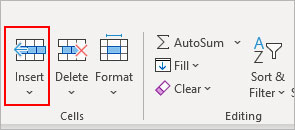
- Alternatively, you can click the Insert button under the Home tab.
Related Questions
Why Am I Receiving an Error Message while Adding a New Column?
Although it’s rare, you may sometimes experience an error message such as “Microsoft Excel can’t insert new cells because it would push non-empty cells off the end of the worksheet”.
This happens when there’s a non-blank cell under the last column of the worksheet. Also, even if the cells appear empty you could still get the error when they have some type of formatting.
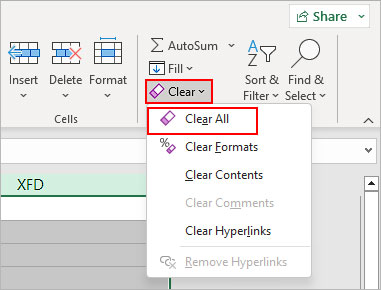
To resolve it, you have to clear the formatting or clear any values on such cells.
- Press Ctrl + End to reach the last column on the worksheet.
- Then, press Ctrl + Shift + End to select all cells of the column.
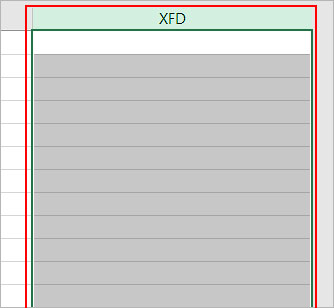
- Now, under the Home tab, select Clear > Clear All.
How to Add the Number Values of a Column in Excel?
If you are looking for a shortcut to quickly calculate the total sum of the number values in a column, you can do so as follows.
- Select the cells of that particular column.
- Press Alt + =.