While opening a particular Excel file, you might come across the error “There was a Problem Sending the Command to the Program”. When this happens, the error keeps popping up, and closing its dialog or clicking OK just exits the Excel app without opening the file.
Nonetheless, you could still open the Excel app without the error. So, instead of directly opening the file, try opening it via the app and see if it works. For this, open a new instance of the Excel app and select File > Open to browse the desired file.
Similarly, disable the Ignore DDE option in Excel which is known to cause the error in the first place.
If the error persists, try out other solutions mentioned in the article.
Disable DDE Option
Whenever you double-click to open an Excel file, the Windows Explorer first needs to send a DDE message so that the Excel app can open the clicked file.
However, when an option to ignore the DDE is enabled, the Excel app can’t send the message and therefore you get the error. So, to resolve it, you must enable DDE.
- Launch the Excel app.
- Select the File tab.
- Then, click Options in the bottom-left corner of the window.
- On the next window, select Advanced from the sidebar
- Keep scrolling and stop when you reach the General section at the bottom.
- Uncheck the Ignore other applications that use Dynamic Data Exchange (DDE) option.
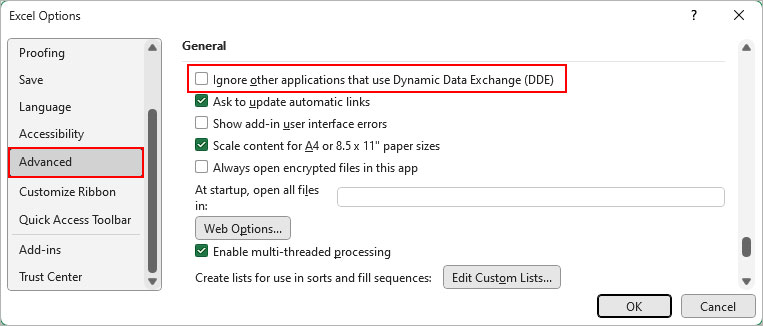
- Click OK.
- Check if the previous problematic Excel file opens without the error message.
If the error pops up again, enable the following option.
- Navigate to File > Options.
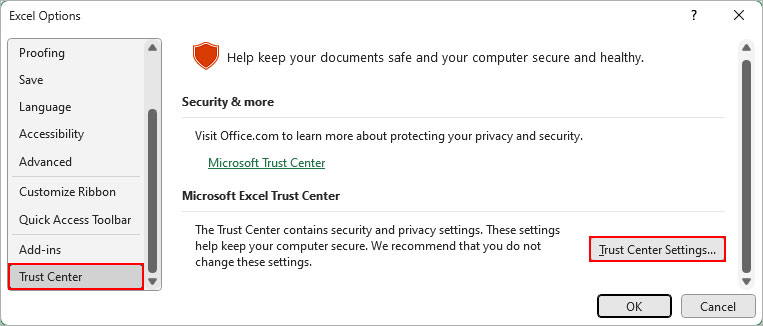
- Select Trust Center from the sidebar and click the Trust Center Settings button in the right pane.
- Then, select External Content from the sidebar.
- On the right pane, choose the Enable automatic update for all Workbook Links option.

If the error pops up again, use the registry to enable the DDE option. However, be sure to take a backup of the registry beforehand as making inappropriate changes to the registry could cause system issues.
- Press Windows + R, type
regedit, and press Enter.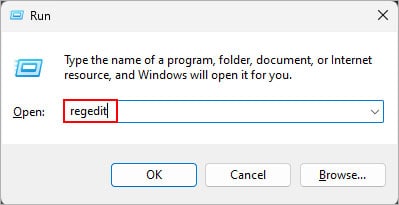
- Then, click File and select Export.
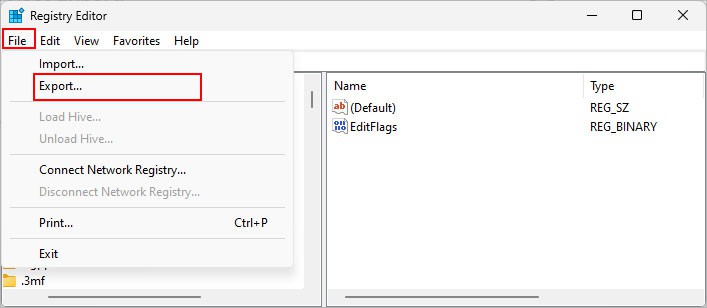
- Save the backup of the current registry configurations file in a preferred location.
- Now, copy and paste the following path into the registry URL bar.
HKEY_CLASSES_ROOT\Excel.Sheet.8\shell\Open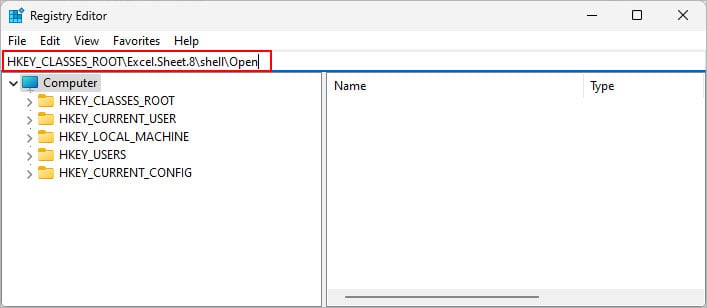
- Right-click on
ddeexecand select the Rename option.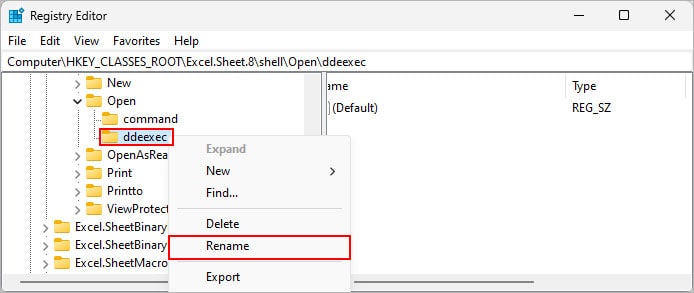
- Then, enter a preferred name such as
old_dde.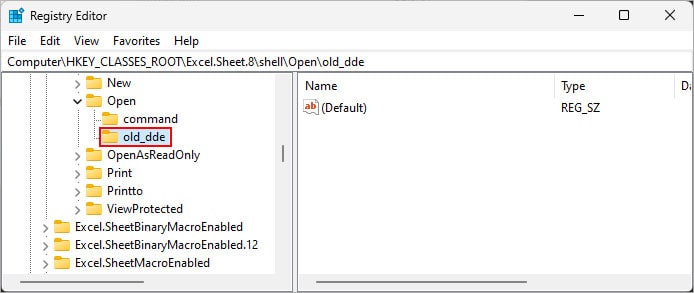
- Then, select the command option just above it and open Default In the right pane.
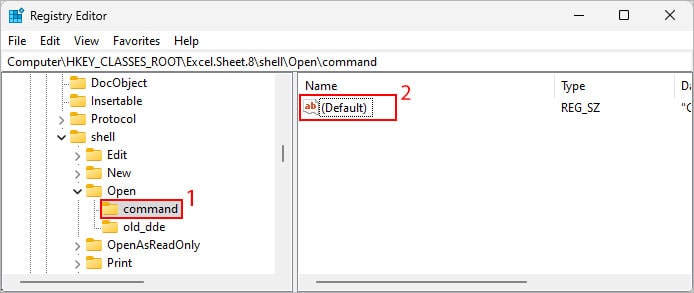
- Replace the previous Value Data with the following address.
"C:\Program Files\Microsoft Office\Root\Office16\EXCEL.EXE" "%1"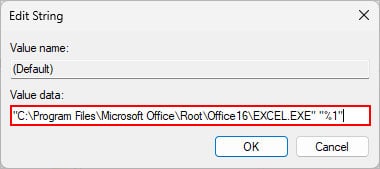
- Close the registry editor and restart the system.
Disable or Uninstall Com Add-Ins
In case there’s a faulty Excel add-in installed on your system, you might encounter such an error. So, you should either disable the add-in or uninstall it completely from the system.
To check if the add-ins are behind the issue,
- Press Windows + R key.
- Type
excel /safeand press Enter.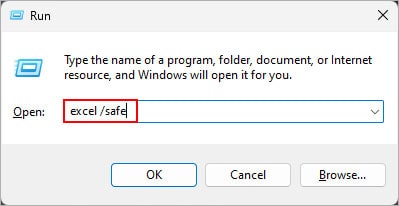
- Open the Excel file and check if it returns the error message.
If the Excel file opens successfully without the error, one or more of the installed add-ins is probably faulty. To disable it, follow the steps below.
- Launch the Excel app.
- Select File > Options.
- On the next window prompt, select Add-ins from the sidebar.
- Now, in the right pane, select the COM Add-ins option next to the Manage field.
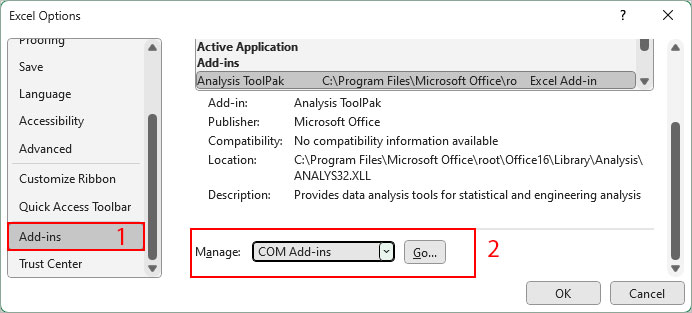
- Then, click the Go button.
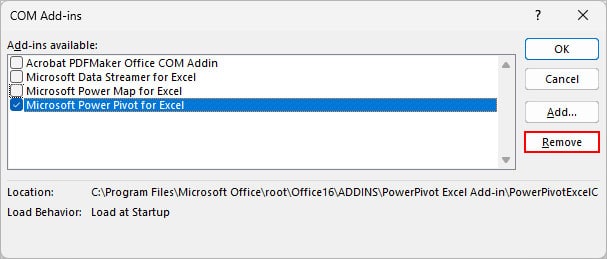
- Uncheck the checkbox next to the add-in. See if the error message has been resolved.

- Repeat Step 7 until you find the problematic add-in.
- To remove the add-in, select it and click Remove.
Set Excel as the Default App
By default, an Excel file has the XLSX format. So, the program associated with opening such files must be the Excel application. Otherwise, the file may not open and return an error.
To resolve it, make sure Excel is set as the default app in system settings.
- Select the Excel file where you are receiving the error.
- Right-click on it and select Open with > Select another app.
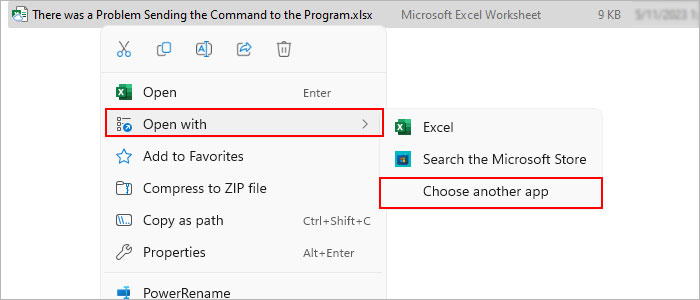
- On the next prompt, select Excel from the list of programs.
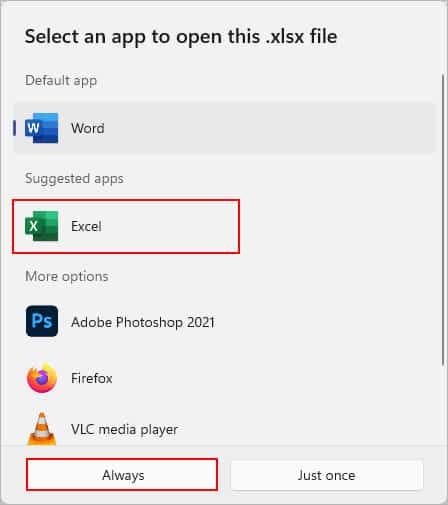
- Then, click Always.
Repair the Excel App
Although the above solutions fix the error most of the time, you might still receive the error. This happens when the Excel app itself is suffering from an unknown glitch/bug.
To repair it,
- Save all the Excel files you are currently working on and exit the app.
- Press Windows + R key, type
appwiz.cpl, and press the Enter key.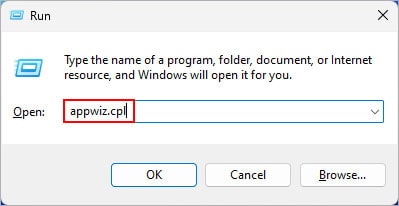
- On the Programs and Features window, select Microsoft 365 or Microsoft Excel <your-excel-version>.
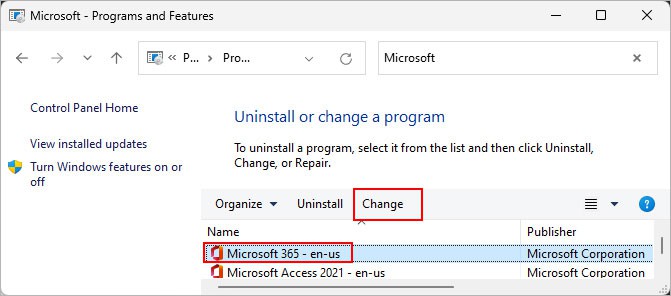
- Click Change in the top bar.
- On the next prompt, select Quick Repair and click Repair.
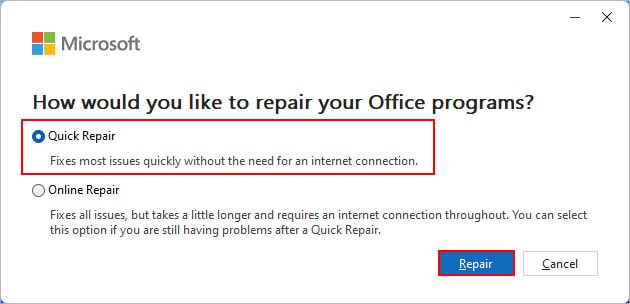
- Follow the on-screen instructions and wait until the repair process completes.
- If the issue persists, select the Online Repair option and click Repair.