Whenever you click the Send/Recieve or Reply option while Outlook is having issues sending or receiving email, the app can return the “Not Implemented” error.
Most of the time, this happens when you use different versions of Outlook on the same machine. Even if you aren’t currently using multiple versions at once, any issue related to the previous installation can result in such an error.
Many users have successfully resolved the issue by simply repairing the Outlook app. However, if the error doesn’t go away, move on to other fixes and apply them one by one.
Repair the App
In case you installed the Outlook app multiple times (possibly different versions) without properly uninstalling the previous version, you can get the above error.
To resolve this issue, you can repair the Outlook app to replace/repair any existing corrupt files that remained during installation.
- Press Windows + R, type
appwiz.cpland click OK.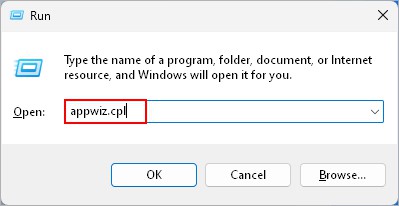
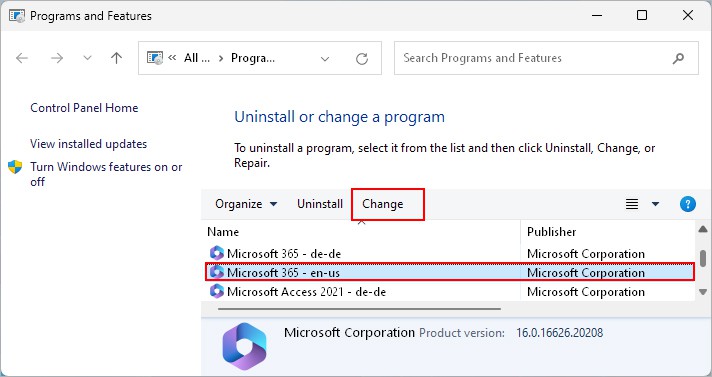
- Select Microsoft Outlook or Microsoft Office package.
- Click Change in the top bar.
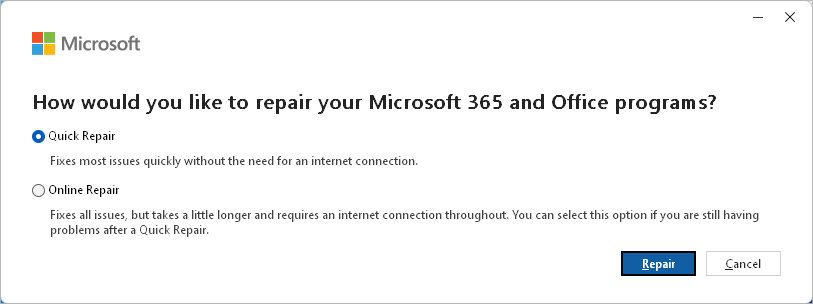
- On the next prompt, select Quick Repair and click Repair.
- Wait for the repair process to finish.
- Restart the app.
- If Outlook is still displaying the error, use the Online Repair option. Make sure you are connected to the Internet while using this option.
Repair SRS File
The SRS (Send Receive Settings) file holds all the send/receive related details for a particular Outlook profile. When it becomes corrupt, it can return the above error while clicking the Send/Receive All Folders option on Outlook.
Luckily, you can easily repair it by renaming it. By doing so, Outlook automatically creates a fresh copy of the SRS file on the next relaunch.
- Close the Outlook app.
- Press Windows + R, type
%appdata%, and press Enter.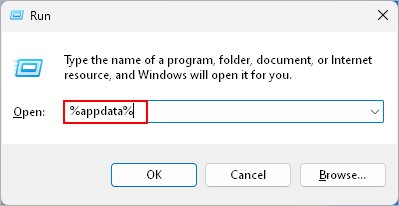
- Navigate to Roaming > Microsoft > Outlook.
- Now, rename the
Outlook.srsfile toOldOutlook.srsor similar.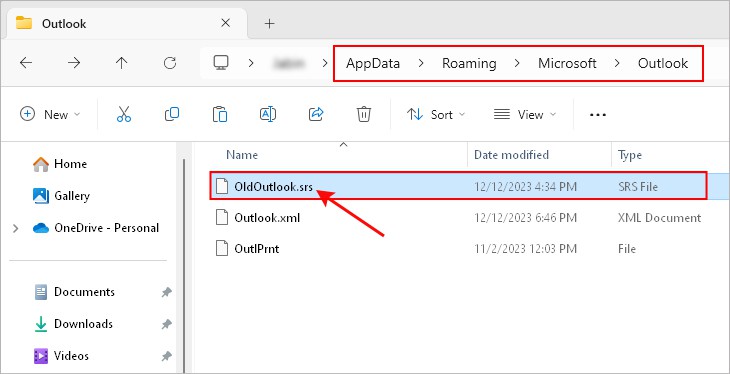
- Relaunch the Outlook app.
Create a New Profile
As Outlook stores an SRS file for each profile, you might have multiple SRS files. This can make it difficult to diagnose which file is actually corrupt and causing the issue.
Nonetheless, you can create a new profile so that Outlook creates another SRS file from scratch.
- Open the Outlook app.
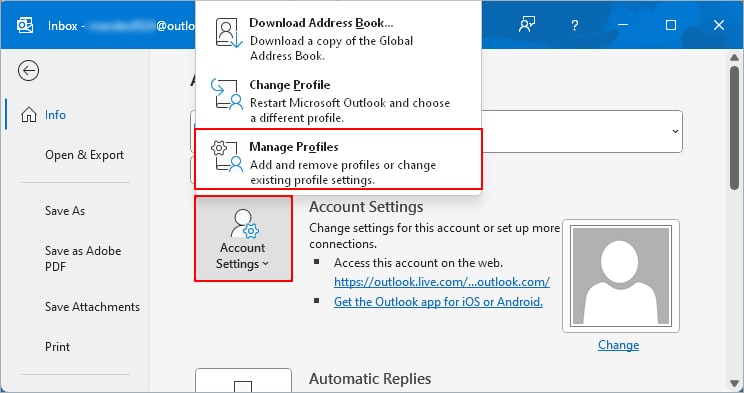
- Click the File menu.
- In the right pane, click Account Settings and select Manage Profiles.
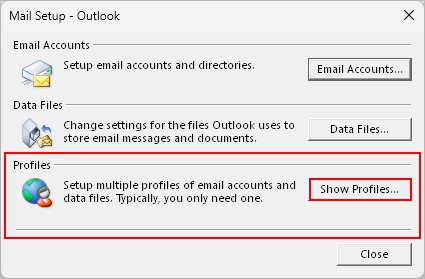
- On the next prompt, click Show Profiles.
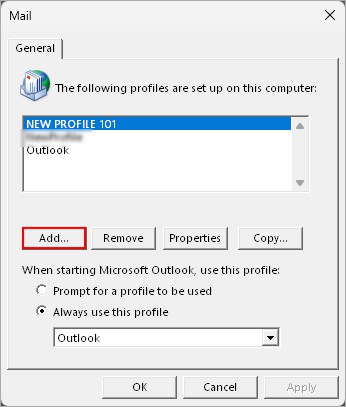
- Click Add to create and add a new Outlook profile.
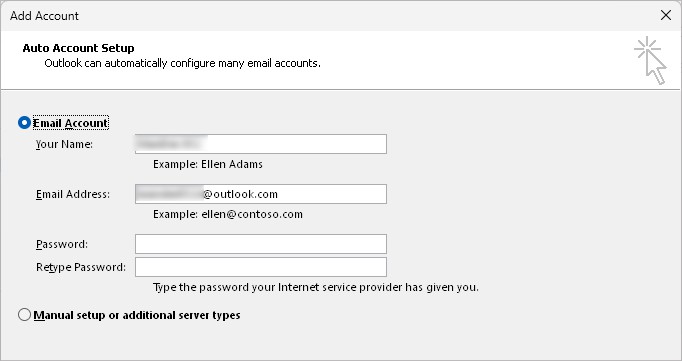
- Follow the on-screen instructions and create a new profile according to your preferences. Enter the necessary credentials like email and password when prompted.
- When done, select the newly created profile under Always use this profile.
- Relaunch Outlook using the new profile.
Repair Outlook Data File
In case you are getting this issue due to a corrupt data file (OST or PST), you need to repair it.
For this, you can run a file called “ScanPST.exe”, also known as the Inbox Repair tool. Once you do so, it scans and detects corruption (if any) in the data file and automatically repairs it.
- Close the Outlook app.
- Open the file explorer (Windows + E) and browse to the SCANPST file location.
- Depending on your specific Outlook version, you can usually find it in the following locations.
C:\Program Files (x86)\Microsoft Office\root\Office<version>C:\Program Files (x86)\Microsoft Office\Office<version>
- Alternatively, type
Scanpst.exein the search bar to find it.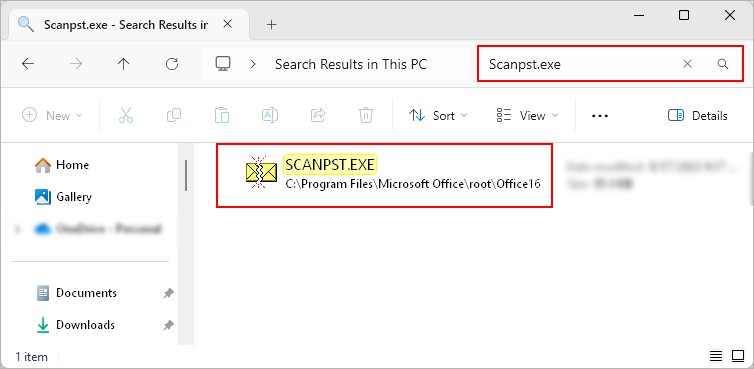
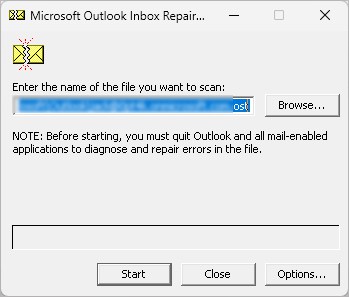
- Double-click and run the Scanpst.exe file.
- On the next window, click Start.
- Enable the Make backup of scanned file before repairing checkbox for a backup.
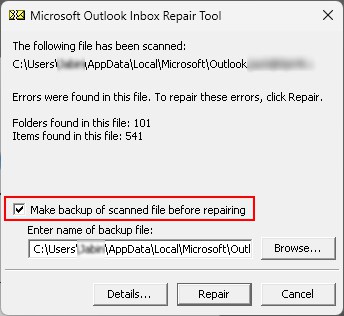
- Click Repair.
- Wait until the repair process is finished.
- Relaunch Outlook.
Disable Add-Ins
Sometimes a faulty/incompatible add-in could be conflicting with the Outlook app and causing the issue.
To avoid it, run the Outlook app in safe mode. Then, disable or remove the unnecessary add-ins and relaunch Outlook.
- Press Windows + R, type
Outlook /safeand press Enter to launch Outlook in safe mode.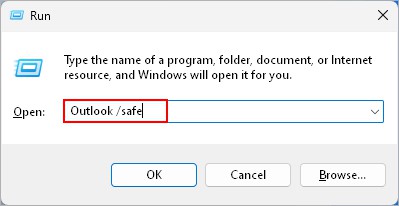
- Then, click the File menu.
- Select Options in the bottom left corner.
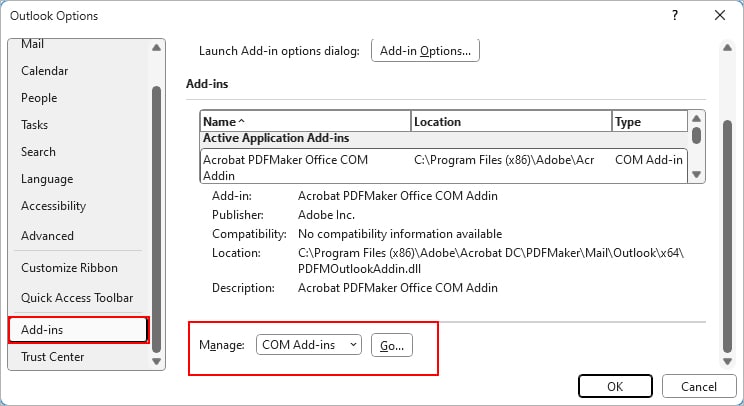
- On the next window, select Add-ins from the sidebar.
- In the right pane, select COM Add-ins next to the Manage field and click the Go button.
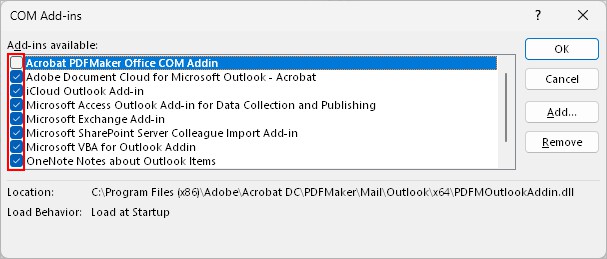
- Disable the add-in by unchecking the checkbox next to it. Alternatively, click Remove to uninstall it from Outlook.
Reinstall the App
As a last resort, consider reinstalling the Outlook app to resolve the above issue. Meanwhile, make sure you uninstall the older Outlook version first.
For this,
- Press the Windows + R, type
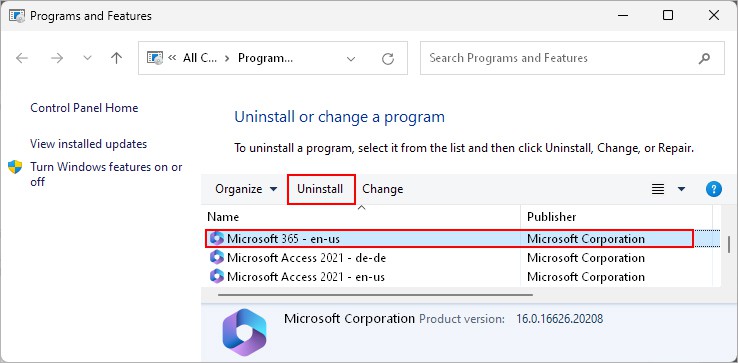
appwiz.cpl, and press Enter. - Select the Microsoft Office package you want to reinstall.
- Click Uninstall on the top bar.
- Wait for the uninstall process to finish.
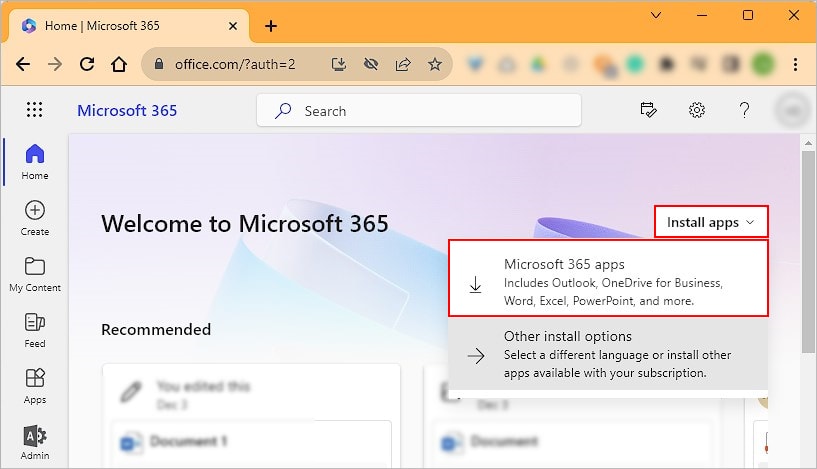
- Now, open a browser and log in to your Microsoft 365 account.
- On the homepage click Install apps and choose Microsoft 365 apps or a similar option.
- Download and run the installer.
- Follow the on-screen instructions to complete the installation.