If you already have a data table with values you wish to insert in a data validation list, you can set the table as the source itself. This is not only easier, but also makes the data validation list easier to edit in the future.
When you create a data validation list from a table, each cell from the table is entered as an individual list item. It’s better to source a table as the data validation list when you have a larger data set. This will save you the time you’d otherwise spend hard coding the list items.
How to Use Excel Data Validation List from Table?
As Excel supports 3-D referencing, you can use tables from the same worksheet, or even a different workbook while defining the list source for data validation. In this section, we have a step-by-step breakdown of how to create and use the Data Validation list from a table.
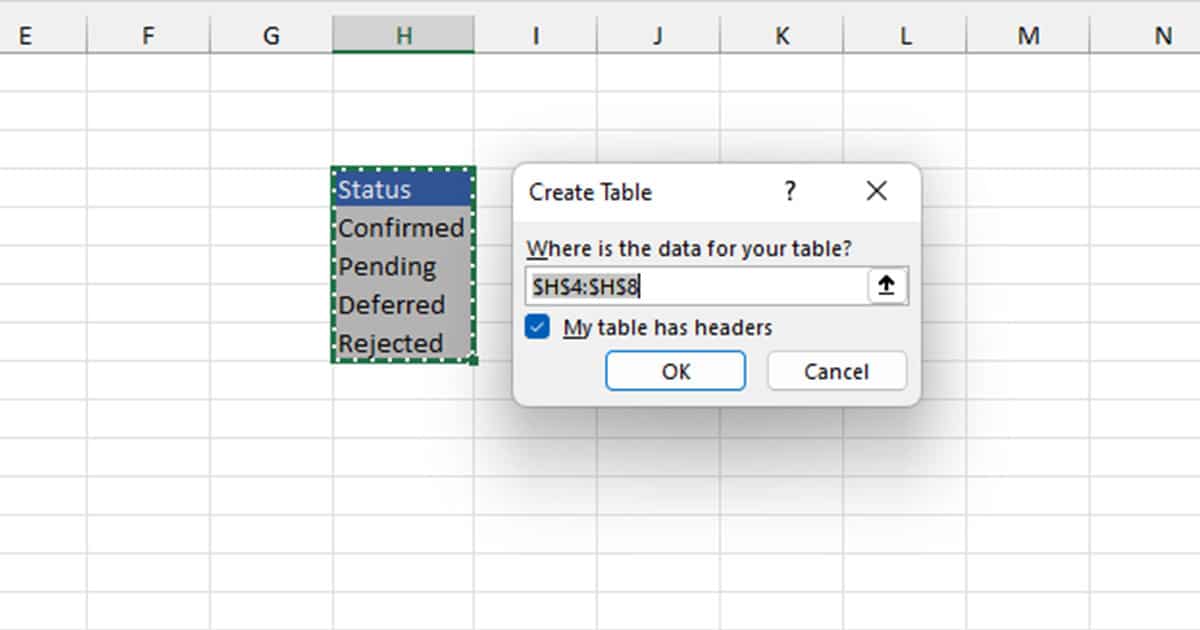
Step 1: Create a Table
When you’re creating a table to reference as a source for data validation, you must make sure that the table contains a single row or a single column. Even if your table contains multiple numbers of rows and columns, make sure that you’re referencing only a single alignment.
- Select your data range.
- On your keyboard, use Ctrl + T.
- If your table has headers, select the box next to My table has headers.
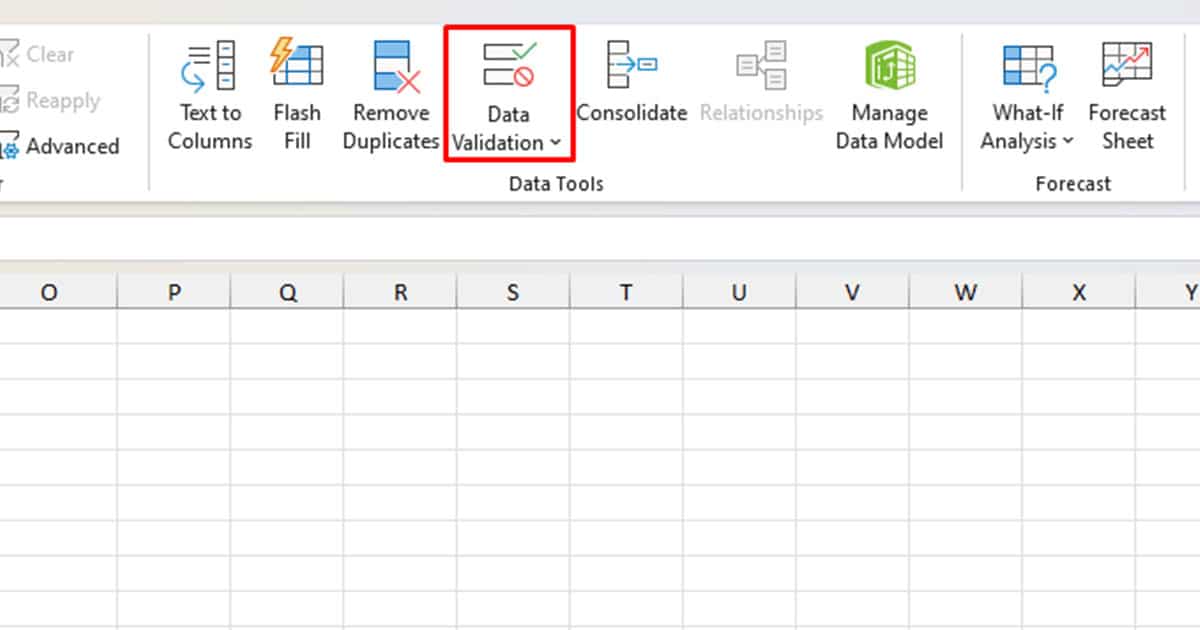
Step 2: Create a Data Validation List
After you’ve created your data, you can use the list as your source for data validation.
- Select the range you wish to insert the drop-down option.
- Head to the Data tab.
- Select Data Validation from the Data Tools section.
- Under Allow, select the fly-out and choose List.
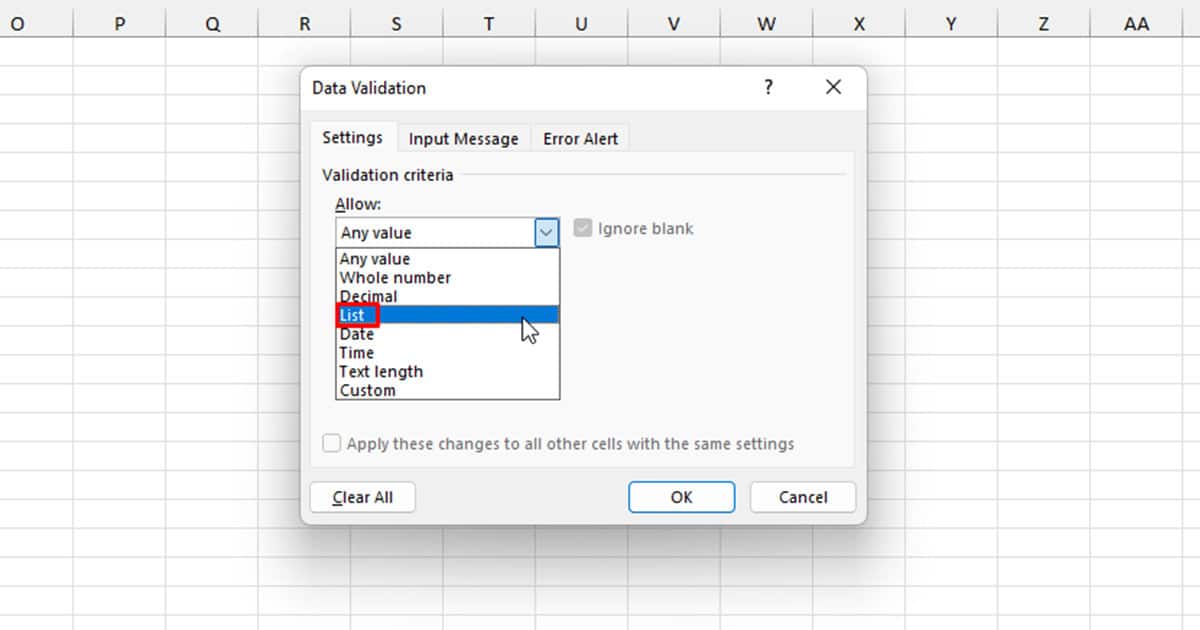
- In the Source section, select the icon on the right.
- Select the table you wish to use in the data validation list. After that, select the down arrow icon again.
- Click OK.
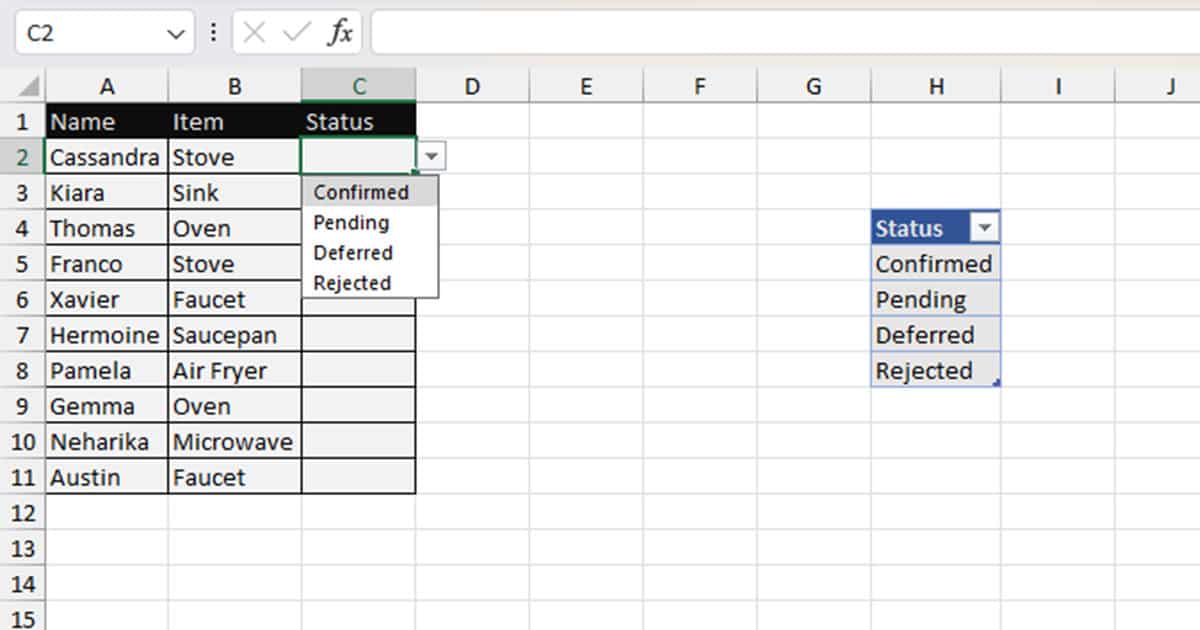
Step 3: Use the Data Validation List
Now that you’ve created the list, let’s put the list into use. If you’re used to using a data validation list, using a data validation list from a table is the same thing.
- Select the cell you wish to enter the data from.
- Click on the fly-out on the right.
- Choose a list item to enter into the cell.
Edit the Data Validation List
The best thing about using a table as a source for a data validation list is the flexibility it offers when it comes to changing the list items. All you have to do is change the cell that holds the data you referenced, and that’s it; your list is changed!
- Select the cell with the referenced data.
- On your keyboard, select the F2 key to enable cell editing mode.
- Change your data and hit Enter.
Delete Data Validation List
Once you’re done with the list, you can delete the data validation list. This will not actually delete the cell value, but only reduces the cell to hold a static value. It is a great idea to remove features that you no longer find useful. This will help you reduce the file size, which could contribute to your Excel running slow.
- Select the cell with data validation.
- Head to the Data tab.
- Select Data Validation from the Data Tools section.
- Click the Clear All button on the bottom-left corner of the window.
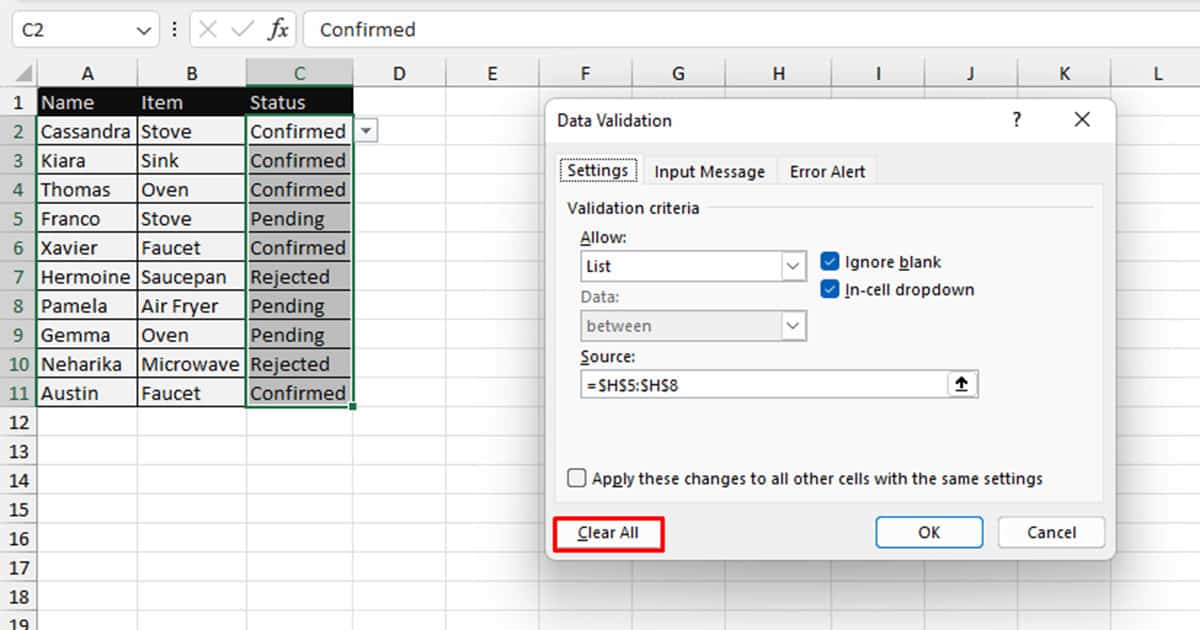
When you choose to clear all cell content, everything, including the data validation, is removed from the cell.