As the named ranges make the formula much simpler, you might end up creating too many of them. And, when you have similar named ranges, it can get quite confusing as to which named ranges you are supposed to use in the formula.
Luckily, all the named ranges appear in the Name Manager so you can easily delete or update them all in one place. Plus, you can use the Filter option to quickly find the one you are looking for.
Saying that you can delete multiple named ranges at once but only update one of them at a time.
How to Delete Named Range?
If you remove a named range that’s referenced in a formula, you will get the #NAME? error on each cell using the formula. Also, once you delete it, you cannot undo the action.
So, you should first consider updating the named range whenever possible. If not, select and remove the unnecessary ones only.
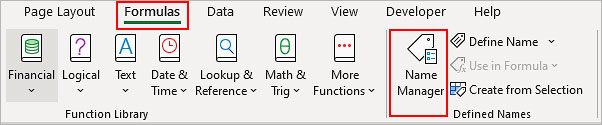
- Select the Formulas tab.
- Click Name Manager.
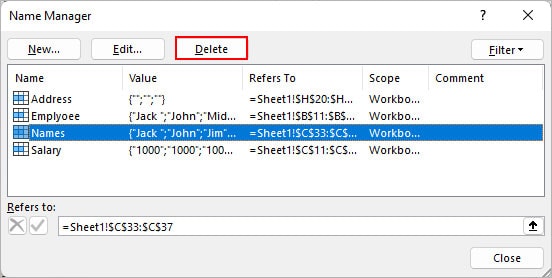
- Select the named range you want to delete and click the Delete button.
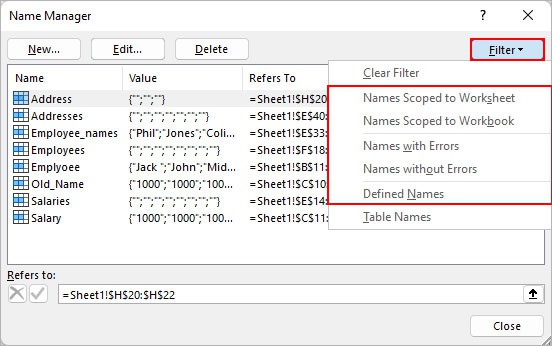
- If your worksheet contains many named ranges, click Filter and choose the appropriate option that shows the required named ranges.
- To delete multiple named ranges, press the Ctrl key while selecting and then click the Delete button.
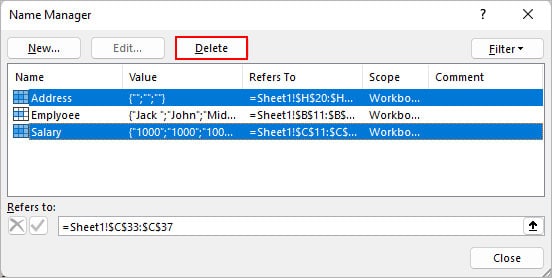
- Click OK to confirm.
How to Delete Only Certain Parts of the Named Range?
If you later feel that a cell value or record shouldn’t be part of the named range, you can easily remove them. Doing so doesn’t affect the named range and the remaining cells still collectively refer to the same named range.
For this,
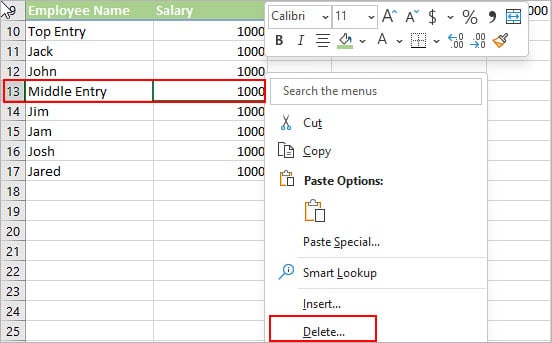
- Select the cell (s) you want to delete.
- Then, right-click and select the Delete option. Here, we are deleting the Middle Entry cell which is part of the named range “Employee”.
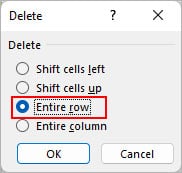
- On the Delete window, choose Entire row and click OK.
How to Update the Named Range?
Updating a named range mainly refers to making two changes; name, and cell reference. Luckily, you can perform all these operations within the Name Manager.
However, you cannot change the scope of the named range after it has been created. You can only edit it at the time of creation.
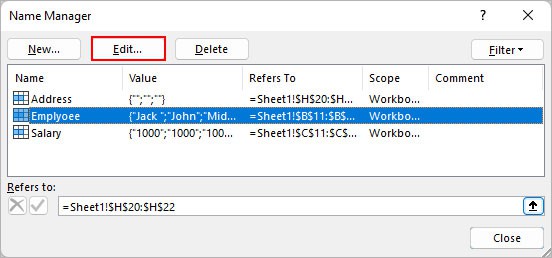
- Open the Name Manager.
- Select the named range and click the Edit button.
- Replace the existing name with the new preferred name to rename the named range.
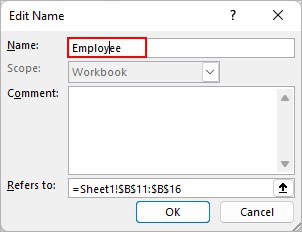
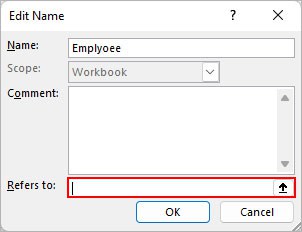
- To update the cell reference, delete the old cell reference next to the Refers to field.
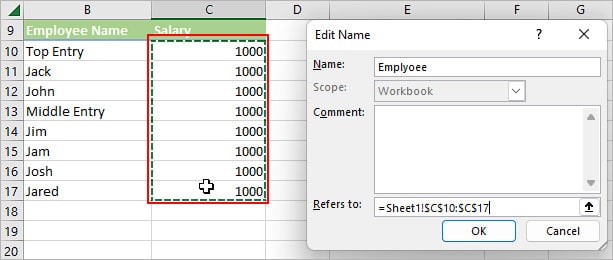
- Then, select the new cell range you want to include as the named range and click OK. In the Employee named range, we added two new entries; Top Entry and Jared. So we updated its cell reference to include those entries as well.
- Alternatively, if you want the named range in a different worksheet, you can choose to select the cell range from there.
Note: While renaming the named range, you cannot use the name of another named range existing in the same workbook.