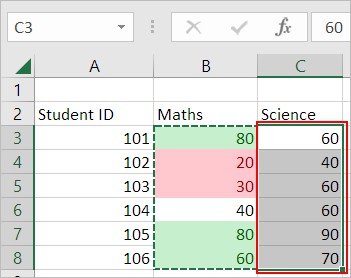
By default, when you copy a cell in Excel, it copies both the value and the formatting including the conditional formatting.
But, what if you only want to copy the conditional formatting and not the content?
Well, there are various tools in Excel that let you do so. Using them, you can apply the conditional formatting to an individual cell, or cell range regardless of whether they are in the same or different worksheet/workbook.
Using the Format Painter
Along with basic cell formatting such as font and background properties, the format painter copies the conditional formatting as well. Also, it provides the extra advantage of applying the formatting to multiple non-adjacent cells by locking it.
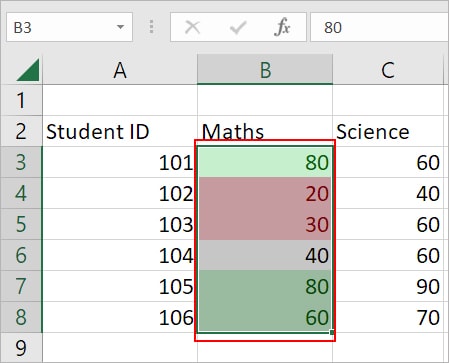
- Select the cell (s) with the desired conditional formatting.
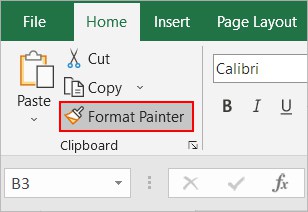
- Click the Format painter icon under the Home tab.
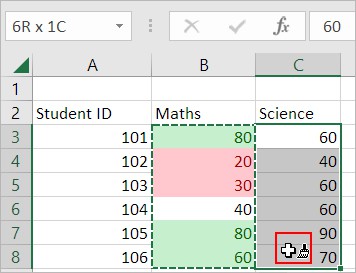
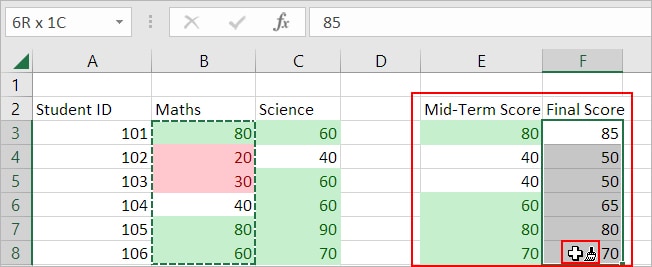
- Drag over the cell (s) where you want to apply the same conditional formatting.
- Double-click the Format Painter icon to use conditional formatting for multiple scattered cells. Press Esc to stop using it.
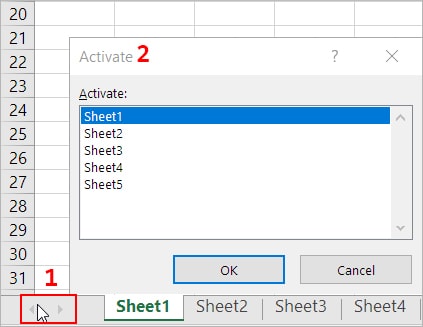
- If you want to apply the conditional formatting to cells in another worksheet, right-click between the two arrows icon above the status bar and navigate to that specific worksheet. Then, apply the format painter to them.
Using the Paste Special Option
With the default option of copying the cell value, you also have several other paste options like copying the conditional formatting from the cell (s).
However, you cannot use it at multiple non-adjacent cells at the same time. You have to right-click and select the option again to paste the conditional formatting to other cells.
- Copy the cell (s) which contain the conditional formatting you want to copy.
- Then, select the cell (s) where you want to apply it.
- Next, right-click and choose the Formatting option under the Paste Options.

Note: Do not copy anything while pasting the conditional formatting as the paste clipboard will paste the most recent action.Using the Flash Fill
Another way you can copy conditional formatting is using the Flash fill with the Formatting only option.
Here, you simply drag the fill handle across a row or column right next to cell (s) with the required conditional formatting. Which means you cannot use this method if the source and the destination cells aren’t adjacent to each other.
Apart from it, flash fill is the quickest method among all the above-mentioned ones.
- Select the last cell that contains the conditional formatting in a column.
- Hover over the little square icon at the bottom-left of the cell so that it turns into a plus icon.
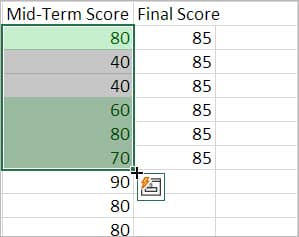
- Then, drag it over across the row/column to apply the conditional formatting to those cells.
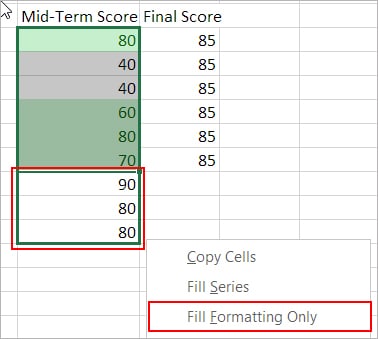
When dealing with large amounts of data, instead of dragging and dropping, you could simply double click at the bottom right of the cell once the “+” sign appears. This is an alternative method for performing the flash fill. The conditional formatting will be copied until the record is found. The format stops copying as soon as Excel detects a blank cell.