Voting Buttons are one of the handy features in Outlook that allows you to get a short response like Yes or No and Accept or Reject instead of a long justification.
This simple yet convenient button can add a professional touch to your polling system.
- As of today, the voting button feature is only available for Outlook users using a Windows system.
- Also, your Outlook account must be connected to Microsoft Exchange to use voting buttons while creating or sending the response to a voting poll message. You can check it by going to File > Account Information.
Creating a Poll
The first thing you can do as a sender is begin creating a poll using Voting buttons.
Outlook already provides some predefined options like Yes/No, Yes/No/Maybe and Approve/Reject. However, you can enter custom voting options for your particular poll/survey.
- Open the Outlook app.
- Select the Inbox icon in the sidebar and click New Email under the Home tab to compose a new message.
- Enter your question in the message body.
- Now, to create a poll with voting buttons, select the Options tab.
- Then, click Voting Buttons and select the built-in options like Approve; Reject, Yes; No, Yes; No; Maybe.

- Alternatively, click Custom and enter your own voting options next to the Use voting buttons option. Make sure you separate each option with a semicolon and without any space character between them.
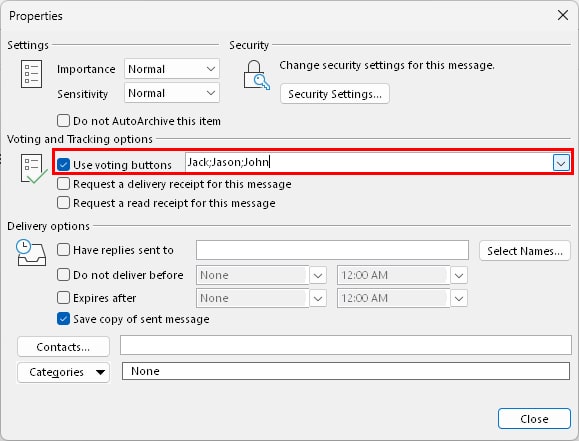
- When done, click Close.
- Enter other necessary fields like To and Subject according to your preferences.
- Click Send.
Responding to Votes (As a Recipient)
While the recipients are supposed to choose a voting option, the sender can cast a vote as well. Here, we are using voting buttons as one of the recipients.
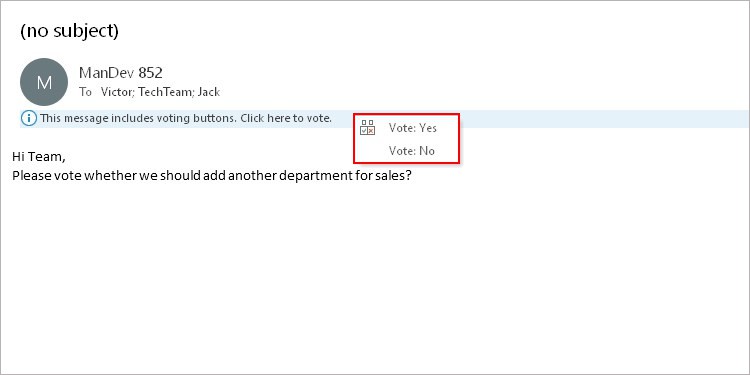
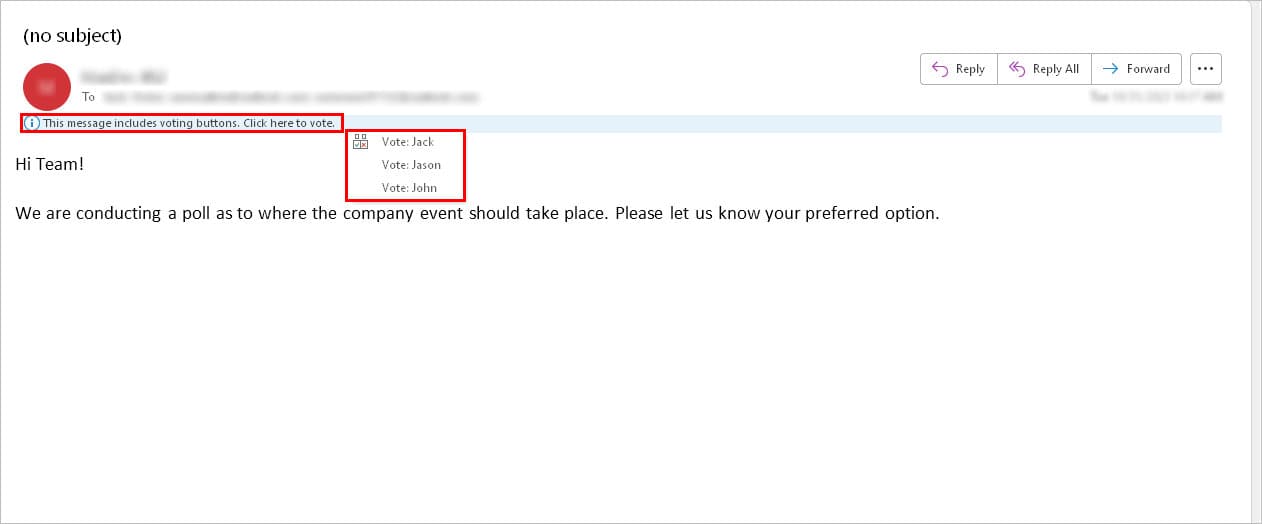
- Open the message with the voting button. Such messages display “This message includes voting buttons. Click here to vote.” above the message body.
- Click it and choose the preferred option to vote.
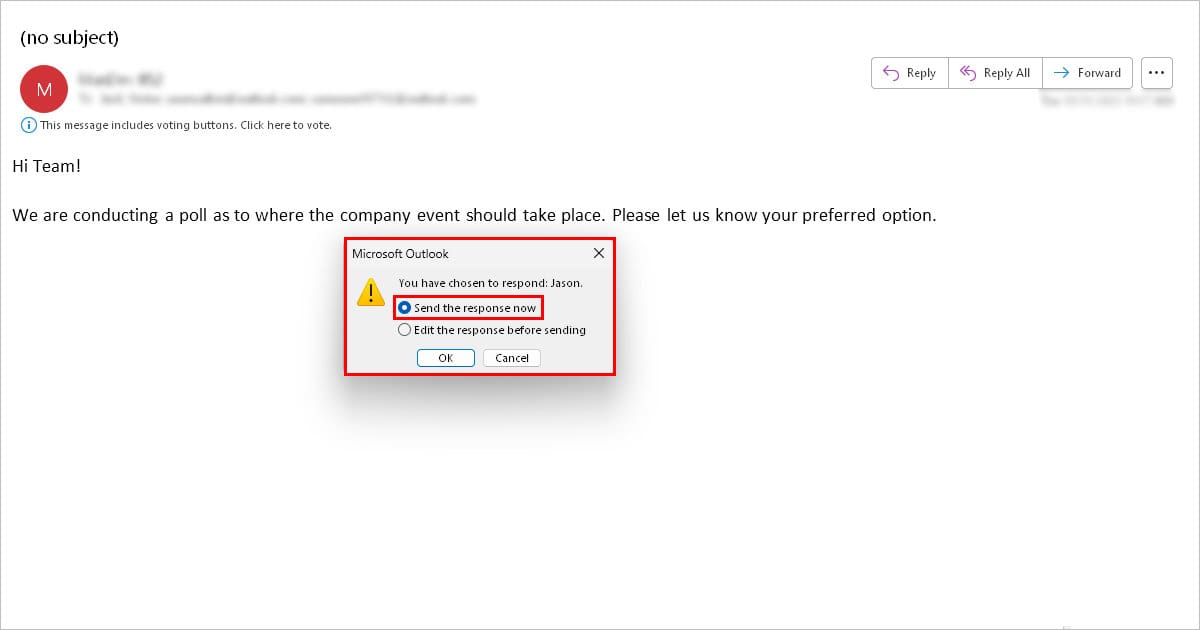
- On the next prompt, choose the Send response now option to immediately send the message.
Reviewing the Poll (Only for the Sender)
Once other people start sending a response with their preferred voting option, you can individually review each of their answers under the same message inside the Inbox folder.
However, for large groups, doing so is quite inconvenient. Instead, you can use the Tracking option, which displays a list of all the voting responses and the total number of voting options selected for each voting option.
- Open the message with the poll. Look for it inside the Sent Items folder.
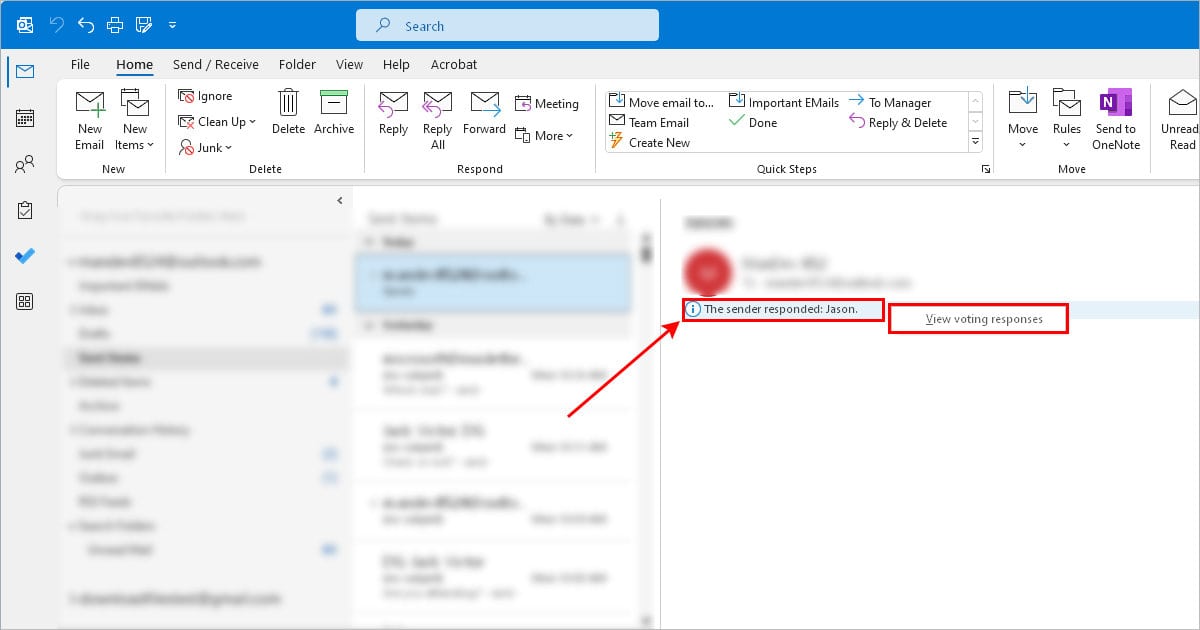
- In the right pane, you can view the recipient (s) who responded and what option they voted for.

- To view the summary of all the votes, click one of the responded message. Then, right-click on “The sender responded…” and select View voting responses.
- In the next window, you can view the total number of votes chosen for each option under the Tracking section.
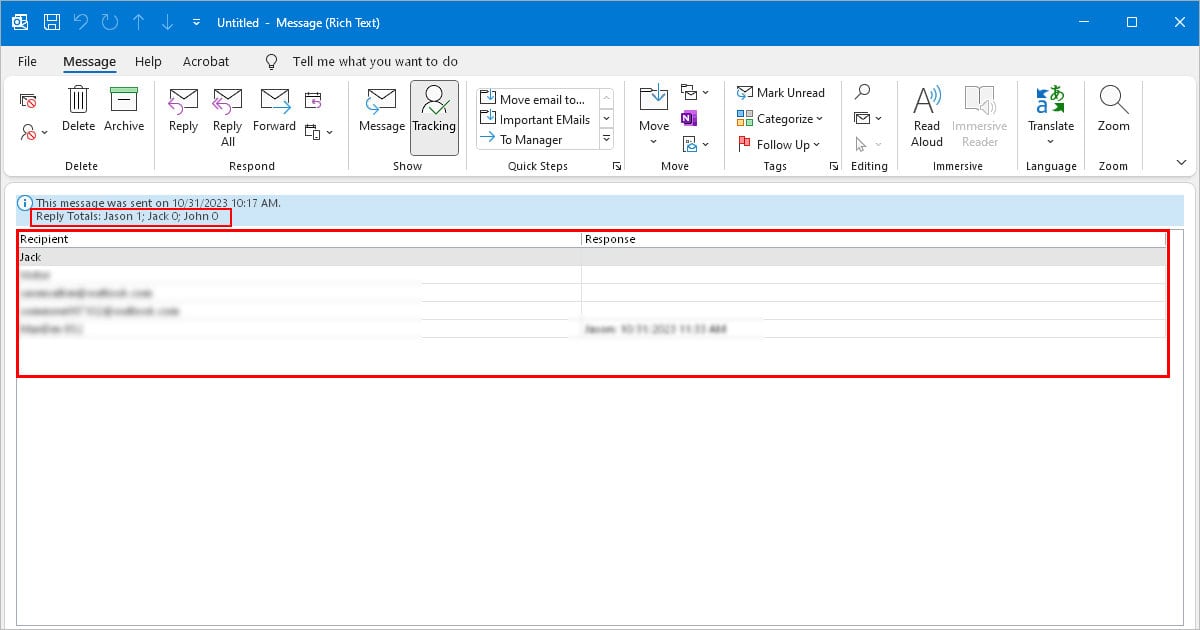
- Additionally, you can print the summary of the voting results under the Tracking tab.