Once you install the Microsoft Teams desktop app, Outlook automatically adds the Microsoft Teams add-in and provides the option to host meetings using Microsoft Teams.
However, you won’t find its add-in or get the “New Teams Meeting” option when the add-in is disabled on the Outlook app. So, enabling it fixes the issue most of the time.
Some users have reported resolving this issue by simply signing out of the Teams app and signing in again. While doing so, make sure to exit the Outlook app first.
If you are still unable to restore the add-in, you can apply the solutions mentioned below.
Run the SaRa Troubleshooting Tool
SaRa, also known as the Microsoft Support and Recovery Assistant, is a diagnostic tool that can detect and resolve issues related to Microsoft Office apps. It also includes an option to troubleshoot the missing Teams add-in on Outlook.
You can use it to resolve the Teams add-in issue as follows.
- Download the SaRa tool from the Microsoft Official site.
- Extract the file and run the
SaRaSetup.exeinstaller.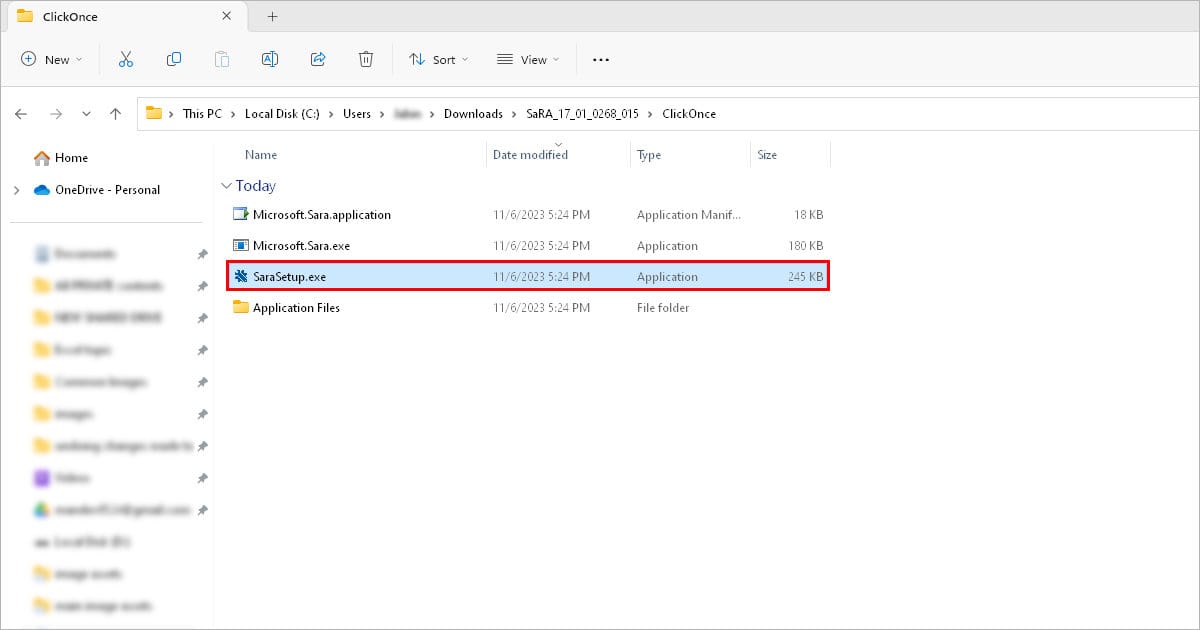
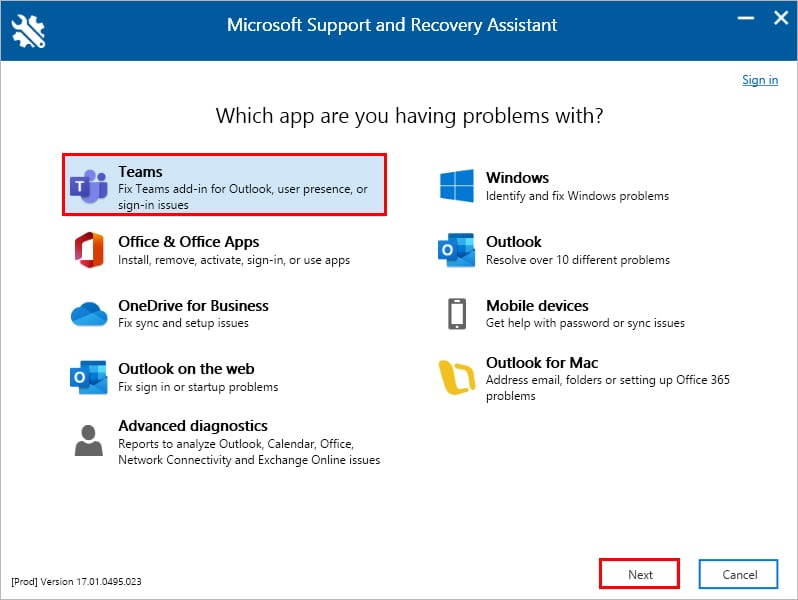
- Select Teams and click Next.
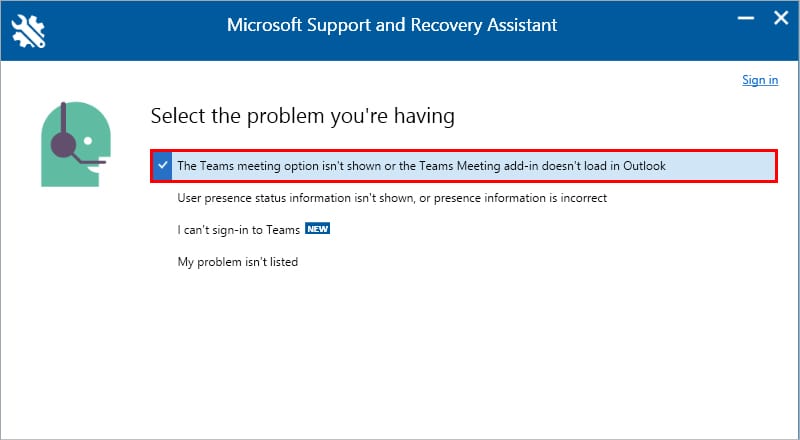
- Then, select the “The Teams meeting option isn’t shown or the Teams Meeting add-in doesn’t load in Outlook” option and click Next.
- Follow the on-screen instructions and apply the recommended fix for your particular system.
Check if the Add-in Is Disabled
The Outlook app itself disables the Microsoft Teams add-in whenever it causes performance issues and slows down Outlook. To avoid it, you need to enable it inside Outlook options.
- Launch the Outlook app.
- Click the File menu and select Info in the left sidebar.
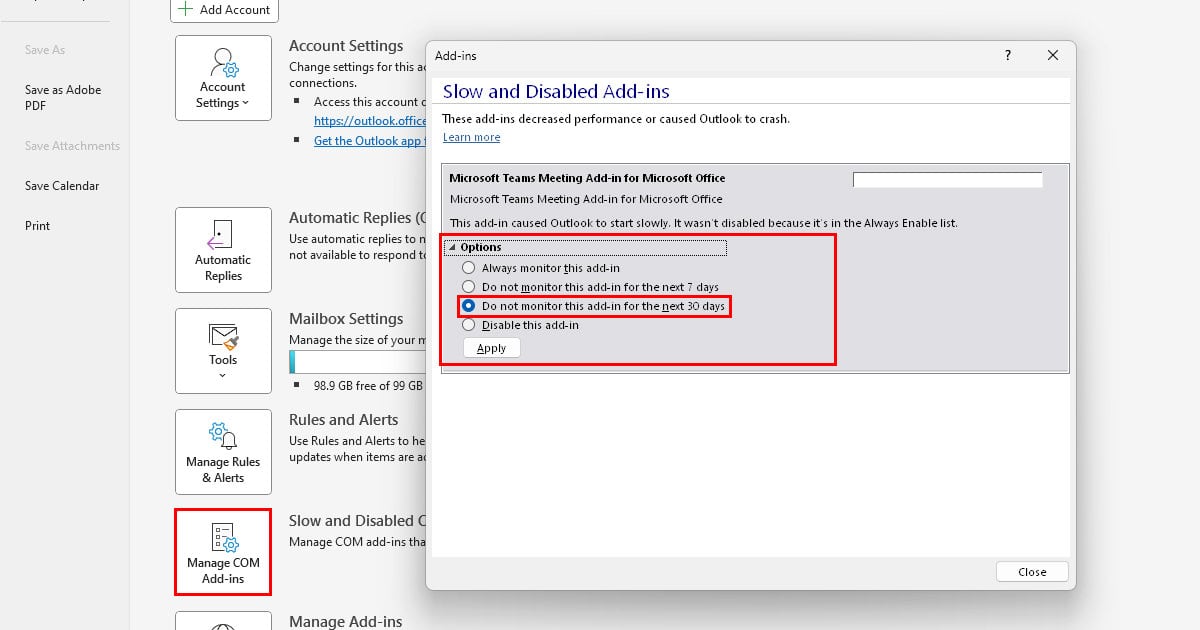
- On the right page, click Manage COM-Add-ins.
- Under Slow and Disabled Add-ins, check if the Microsoft Teams add-in is listed.
- Expand Options below it.
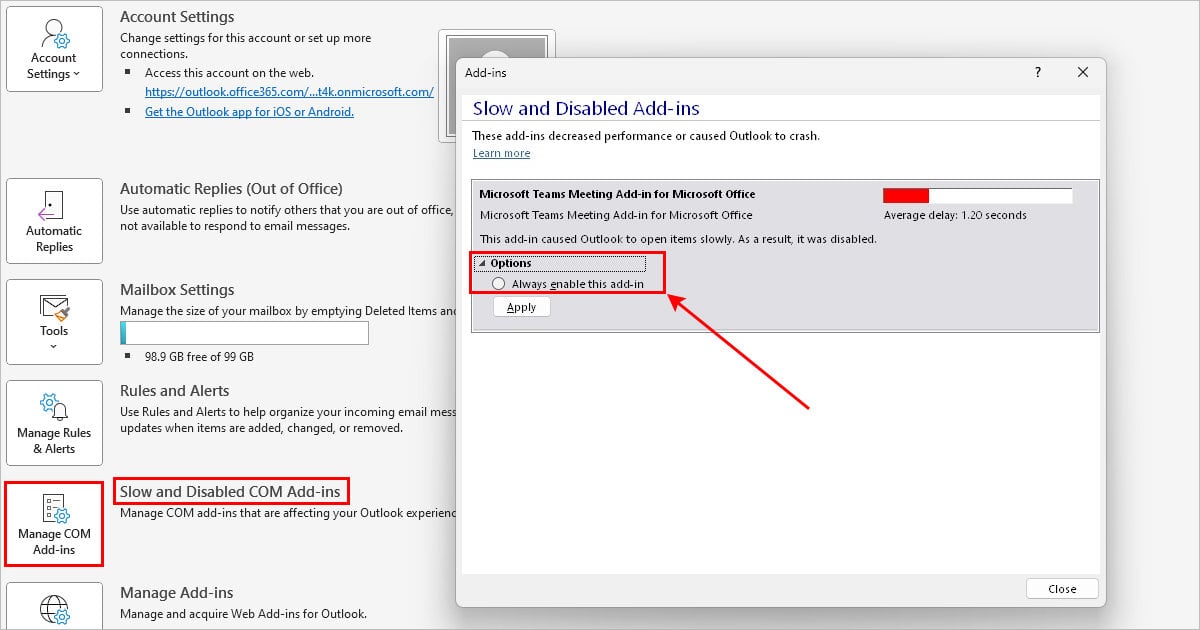
- Enable the Always enable this add-in option and click Apply.
- If you previously ran the SaRa tool, you might get different options. In that case, choose an option like Do not monitor this add-in for the next 30 days and click Apply.
- Now, select File > Options and check the Teams add-in under Active Application Add-ins. Otherwise, click Go at the end of the Manage field.
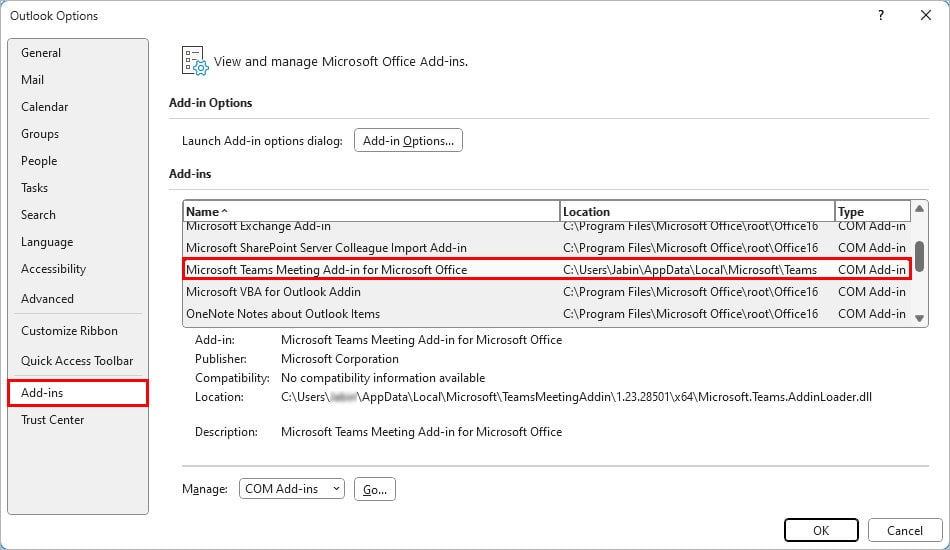
- On the next prompt, make sure the checkbox next to the Teams add-in is enabled.

- Restart Outlook.
Re-Register the Add-in
For any COM add-in like the Microsoft Teams add-in to appear on Outlook, its DLL file namely “Microsoft.Teams.AddinLoader.dll” must be registered in the Windows registry.
While it isn’t so common, it may sometimes fail to register due to an interruption while updating Outlook.
Nonetheless, you can re-register the DLL using the regsvr32 tool and resolve the add-in issue as follows.
- Close the Outlook app if it’s running.
- Press Windows + E and open File Explorer.
- Then, search for
Microsoft.Teams.AddinLoader.dllon the search bar. Look for it in the top right corner.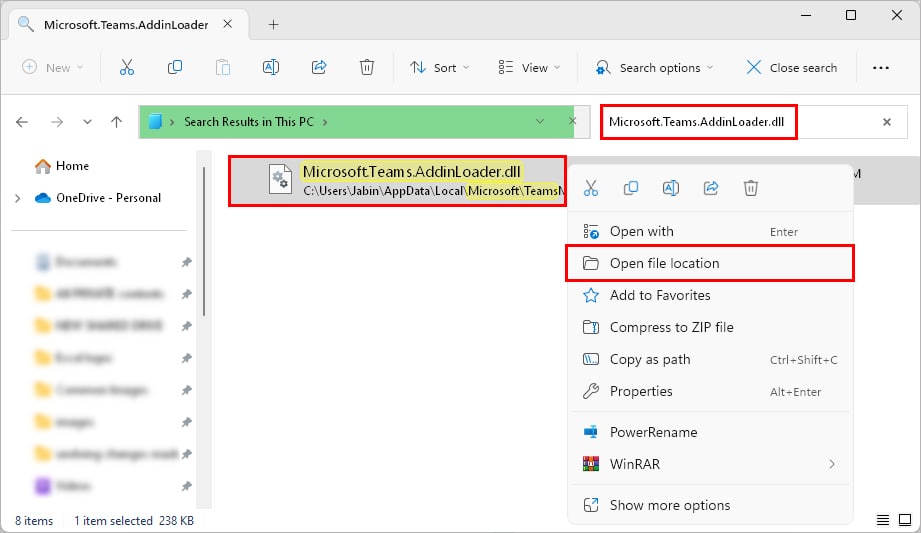
- Once you find it, right-click on it and select Open File location.
- Press Windows + R, type
cmd, and press Ctrl + Shift + Enter to open the command prompt as administrator. - Copy the file location of the above DLL file from the File Explorer.
- Type
cdand right-click to paste the copied path. Then, press Enter. - Now, run the command below to re-register the Teams add-in.
regsvr32 Microsoft.Teams.AddinLoader.dll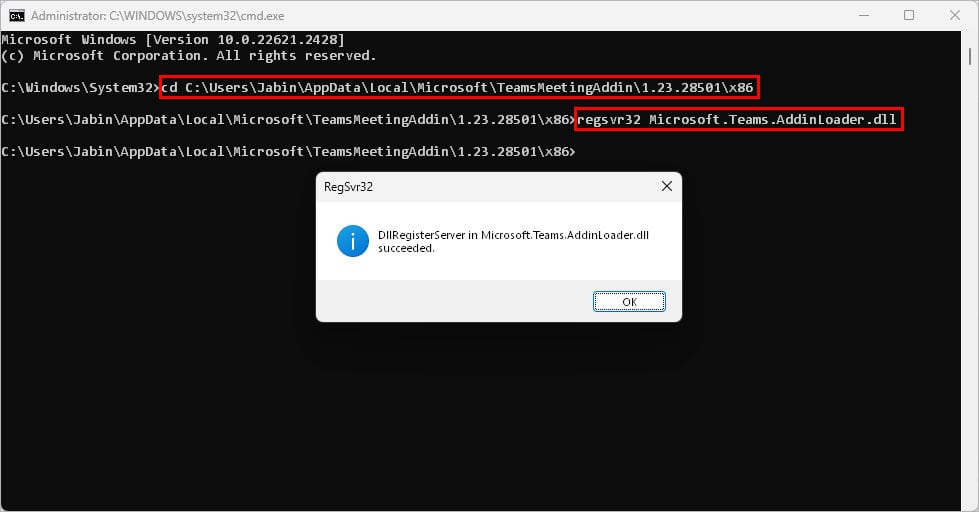
- Open the Outlook app and check if the add-in is available now.
Enable the Add-in from the Admin Center (For Admins Only)
In case the Microsoft Teams add-in is disabled in the Microsoft 365 admin center, you may not find it on your Outlook app.
To fix it, configure the following settings as an admin or request the IT admin of your particular organization to make the changes.
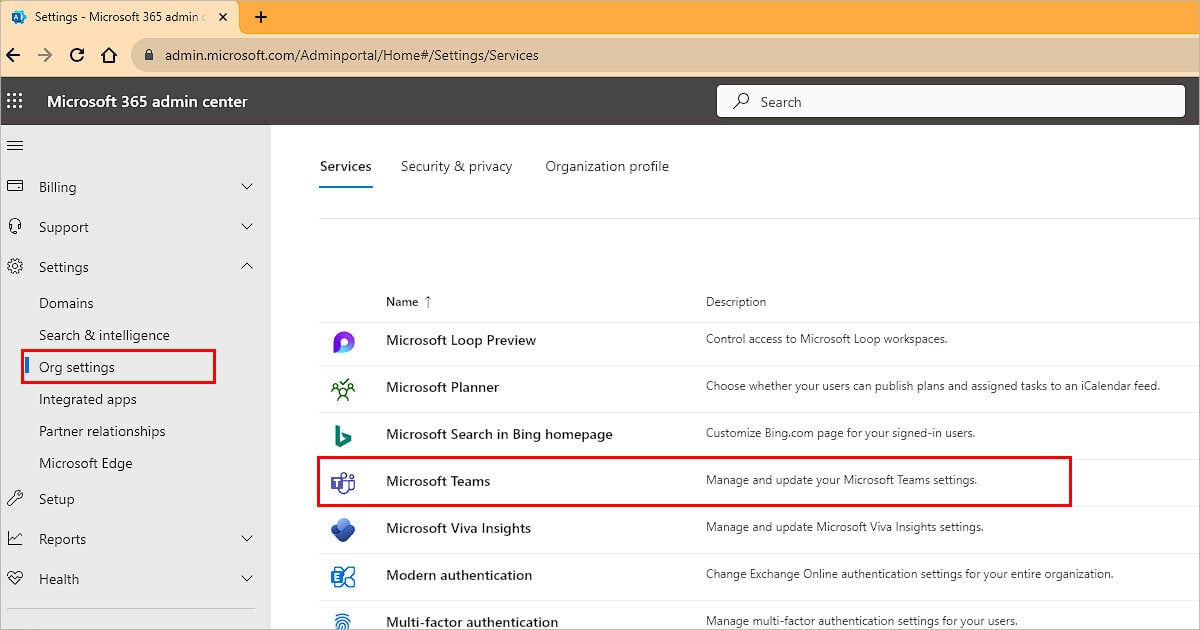
- Open a browser and sign into the Microsoft 365 admin center using the admin credentials.
- Expand Settings from the sidebar and select Org settings.
- Now, in the right pane, scroll down and select Microsoft Teams.
- Once the Microsoft Teams window appears on the right side, enable the Turn on Microsoft Teams for all users checkbox.
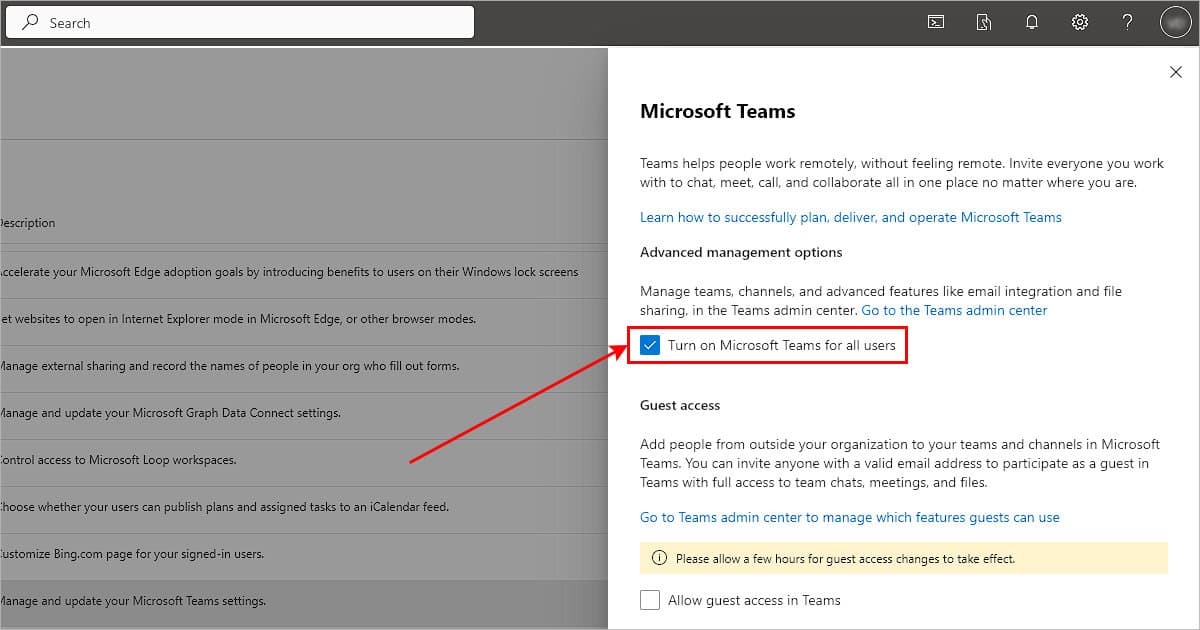
- Click Save to apply changes.
- Launch the Outlook app and check if the Microsoft Teams add-in has been restored.
If someone that’s part of your organization is facing the issue, add a custom policy or enable the necessary policies for all users.
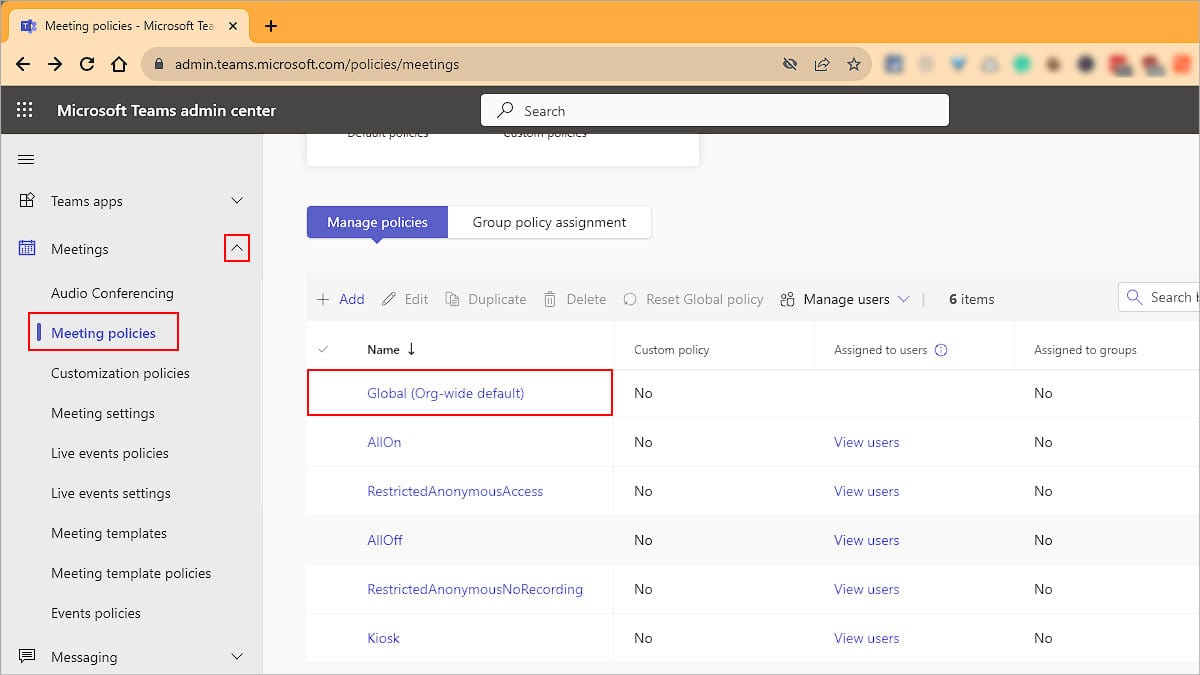
- Open the Microsoft Teams admin center.
- Then, expand Meetings from the sidebar and select Meeting policies.
- Now, in the right pane, click Global (Org-wide default).
- Next, scroll down to the Meeting scheduling section and toggle on the button next to Outlook add-in.
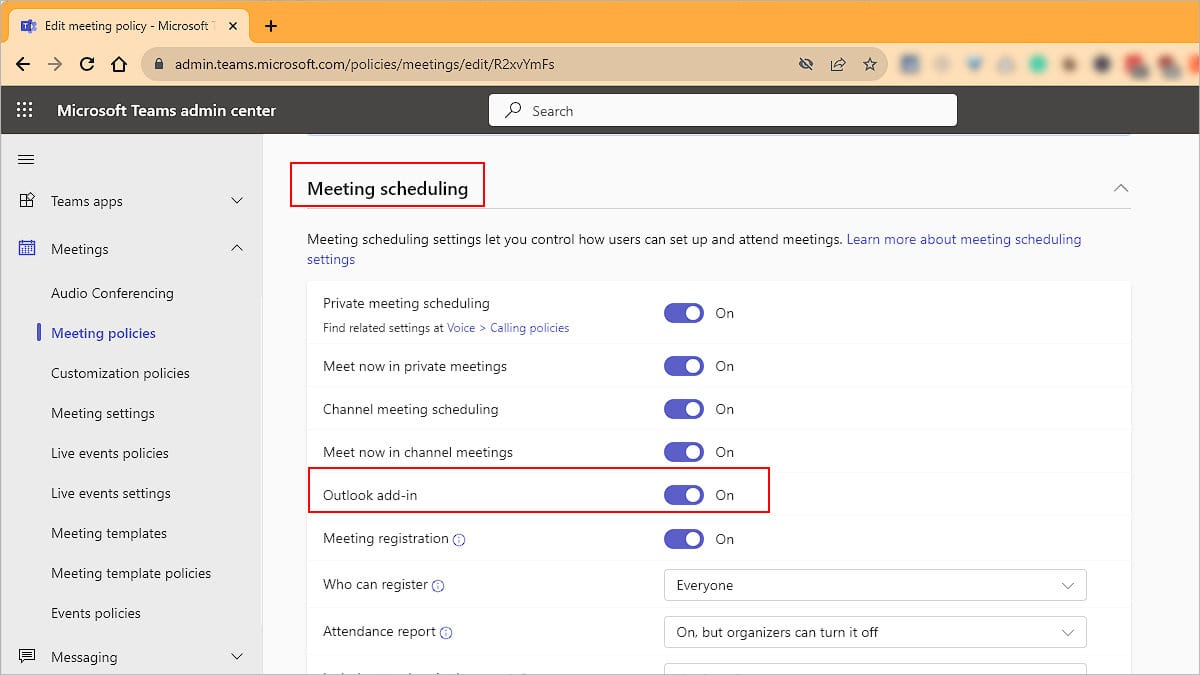
- Click Save.
Configure Registry Key
If your Outlook app had the Teams add-in disabled due to performance issues, it may be disabled again. To prevent Outlook from disabling the add-in again, you can configure a registry key to always enable the add-in.
However, note that haphazardly modifying the registry settings can cause unwanted changes in the system. So, back up your registry settings (File > Export) beforehand.
- Exit the Outlook app.
- Press Windows + R, type
regeditand press Enter to open the Registry Editor.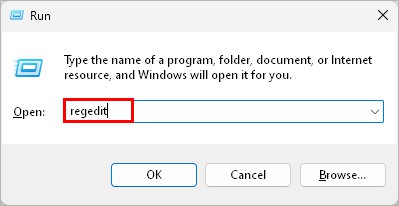
- Click the File menu and select Export to save a backup of your registry settings.
- Now, copy and paste the following path into the registry address bar.
HKEY_CURRENT_USER\Software\Policies\Microsoft\Office\16.0\Outlook\Resiliency\DoNotDisableAddinList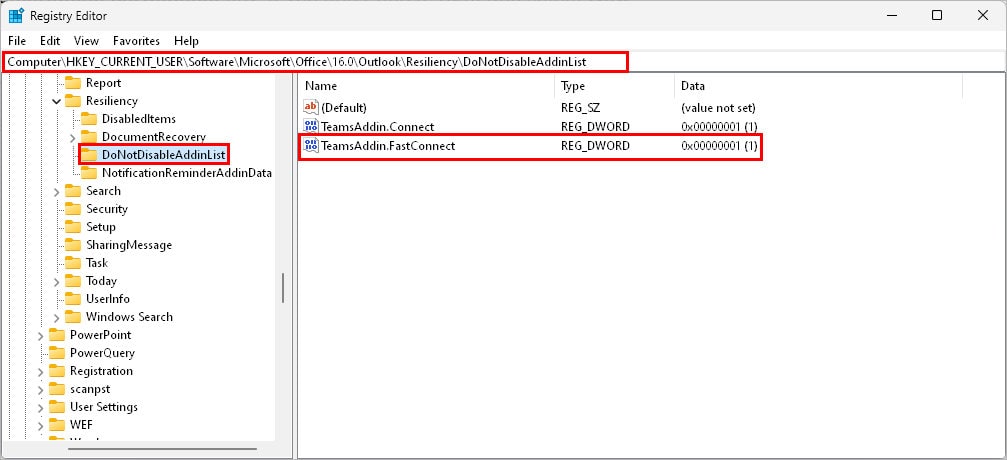
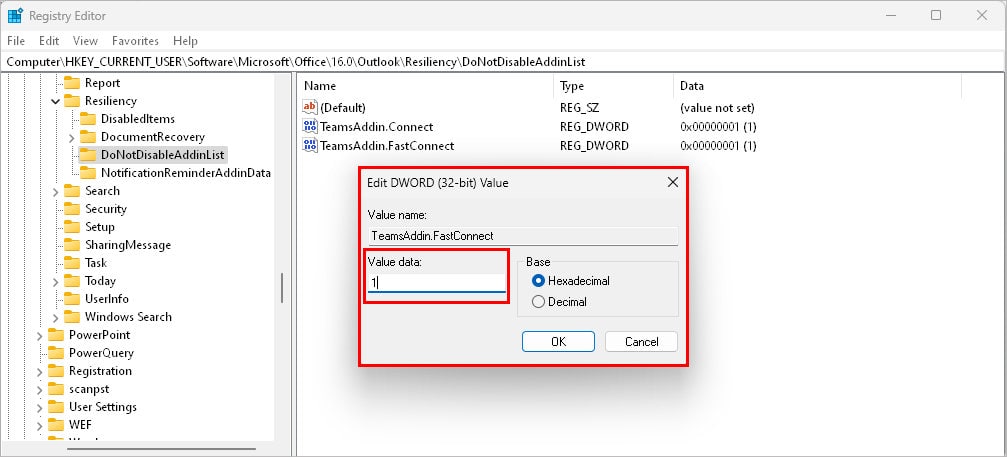
- Open TeamsAddin.FastConnect. If you don’t find it, right-click and select New > DWORD (32-bit) Value and name it TeamsAddin.FastConnect.
- Set the Value data to 1 and click OK.
- Open the Outlook app.