When you want to look for a specific message in Outlook, entering the keyword isn’t just enough. For Instance, if you wish to find an “Excel” message, you’d get probably thousands of messages with this keyword in the search result. It would take forever to browse through these lists and filter out the ones you need. But, what if I tell you, you can find the exact message in seconds?
Yes, Outlook has introduced a “Search Folders” feature to make users easier to locate any message they want. It is basically a virtual folder where you can specify the criteria or conditions to show the results for the exact items.
For Example, in the Search folder, you can filter the results to display “Excel” messages sent by XYZ person on this month that has attachments.
At the time of writing this article, Search Folders is not available for the Outlook web version yet. So, if you use the Outlook Desktop app, let’s get started.
Step 1: Create a Search Folder
Firstly, in order to use the Search Folder, you should create one as it does not come in-built. You could create a Search Folder with the existing pre-defined categories. Or, make your own custom Search Folder with customized categories. Check out the steps to add each one of them.
Add a New Pre-defined Search Folder
- Launch Outlook App and Sign in to your account if prompted.
- From the left panel, click Folders. (If you cannot find it click on More Apps > Folders)

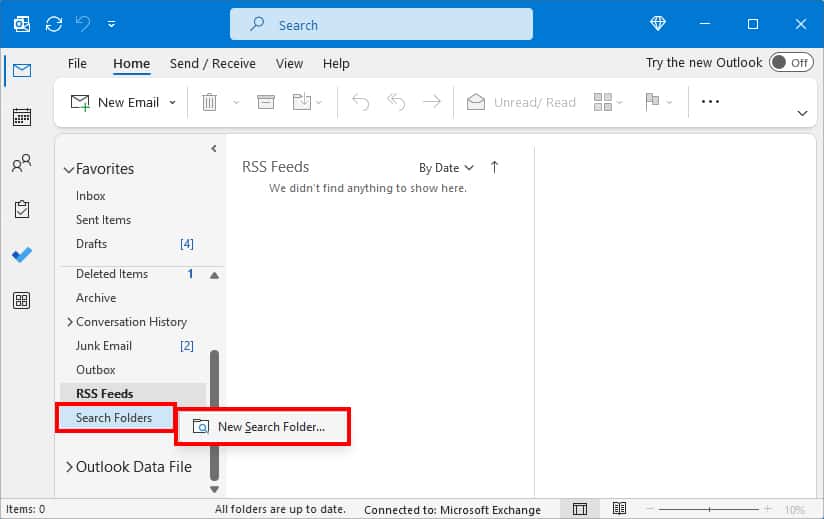
- Right-click on Search Folders > New Search Folder.
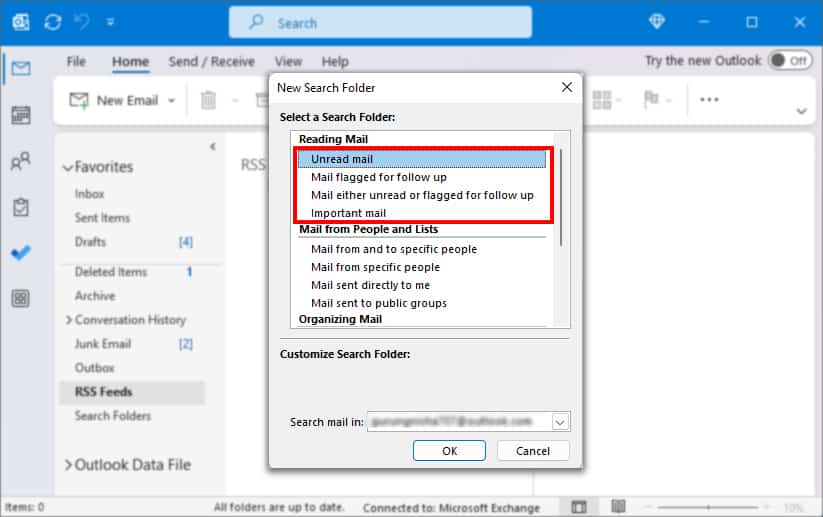
- On New Search Folder window, you can set the following criteria for Search Folder.
- Reading Mail: Create a Search Folder to look for items based on the Reading Mail category. Choose any one option from Unread mail, Mail flagged for follow up, Mail either unread or flagged for follow up, Important mail.
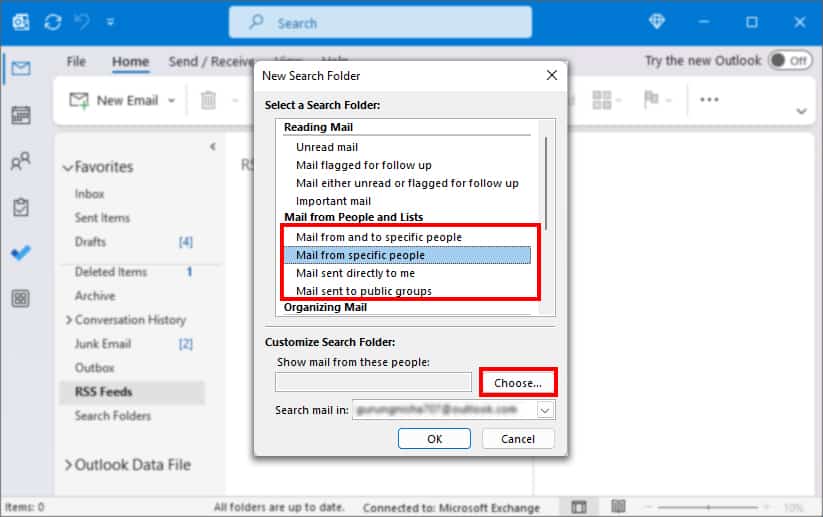
- Mail from People and Lists: Create a Search Folder to look up messages of certain people. For Instance, Mail from and to specific people, Mail directly sent to you, and Mail sent to public groups. Here, you can also set the criteria to Show mail only from particular addresses or names. To do so, click on Choose.
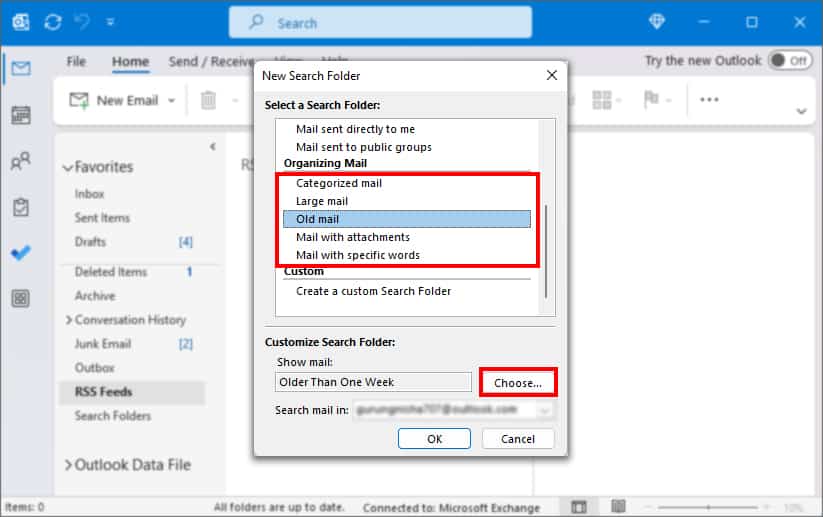
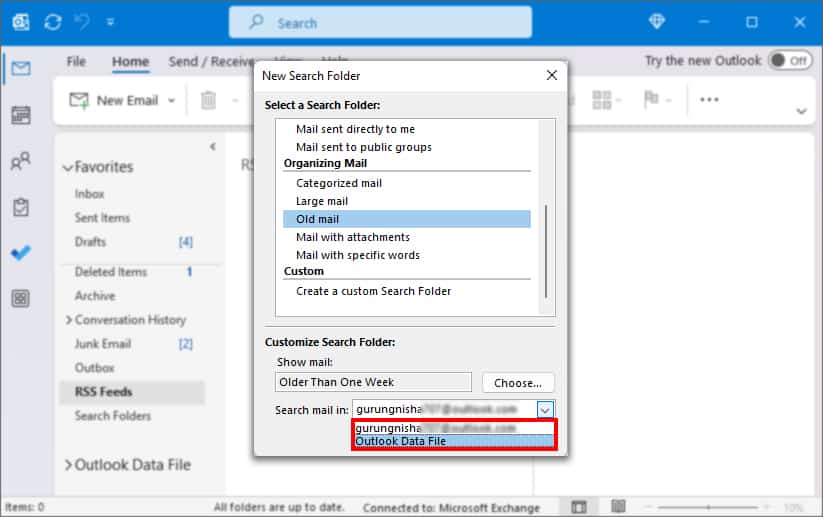
- Organizing Mail: Search Folders based on Categorized mail, Large mail, Old mail, Mail with attachments, and Mail with specific words. Pick one of these options if you wish to filter the search results to find mails older than one week, mail with 100KB size, or Red category, etc.
- Reading Mail: Create a Search Folder to look for items based on the Reading Mail category. Choose any one option from Unread mail, Mail flagged for follow up, Mail either unread or flagged for follow up, Important mail.
- For Search mail in, choose your Outlook Address or Outlook Data File.
- Hit OK.
Add Custom Search Folder
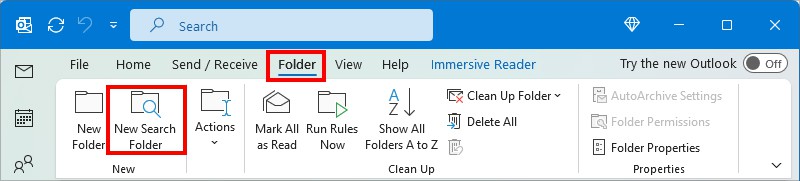
- On your Outlook App, go to Folder tab. (Note that you can see the Folder tab only on Classic Outlook Ribbon)
- From New section, click New Search Folder.
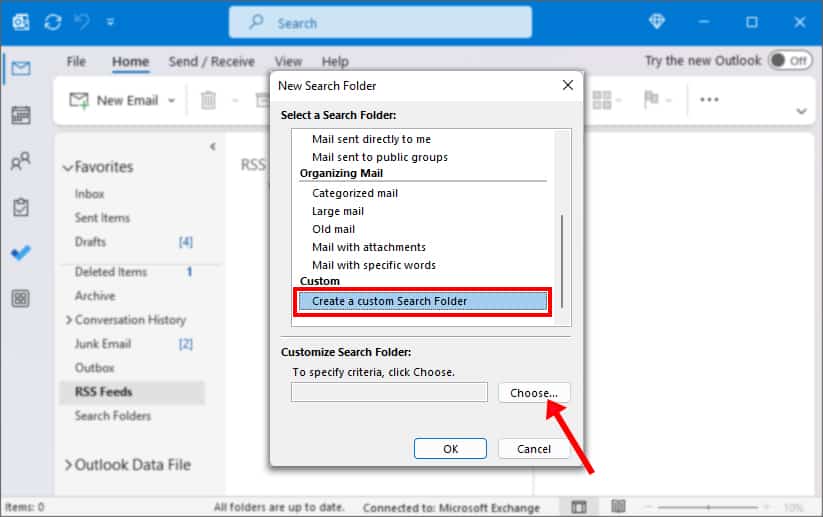
- On New Search Folder, head to Custom menu and click on Create a custom Search Folder. Below, Customize Search Folder, hit Choose.
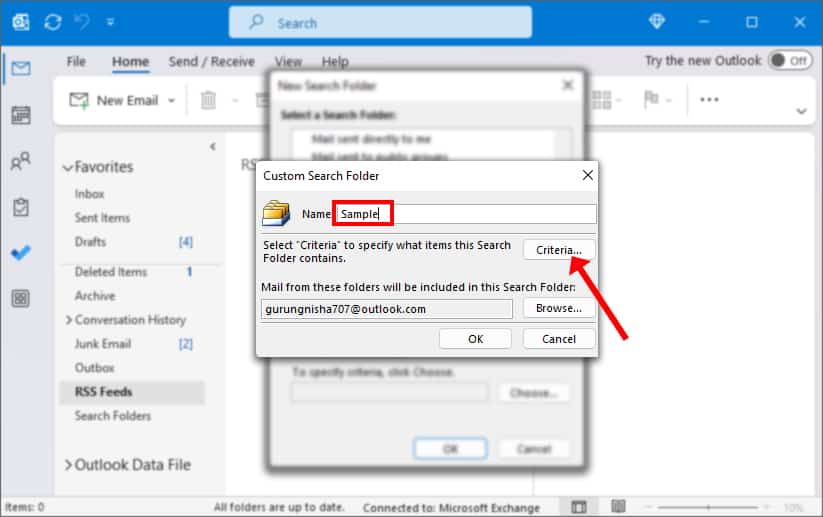
- On Custom Search Folder window, enter a Name for your search folder in the field. Then, click on Criteria.
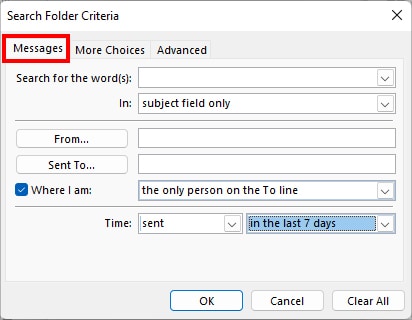
- On Search Folder Criteria, go through each tab to set your criteria.
- Messages: Specify message properties like Keyword, Sender, Recipients, Time, etc to search. You can also choose Sent, created, expired, or modified messages at a given time.
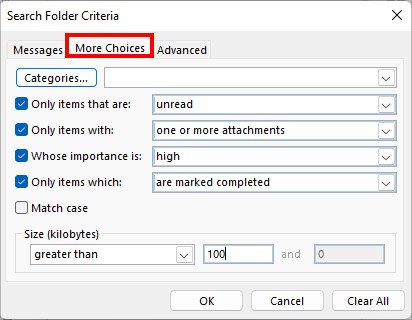
- More Choices: Pick categories like Green, Blue, Orange, Purple, etc to look for. Determine the Search Folder to find Only items that are read/unread, items with one or more attachments, high/low important, have no flag, are greater than 100 KB in size, etc. Since the menu is greyed out by default, tick the boxes to choose the criteria.
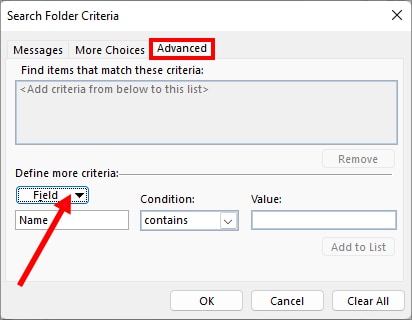
- Advanced: This tab has a wide range of categories to set for the Search Folder. Below Define more criteria, click on the Field to pick a criterion. You can also set your own condition and Value for the chosen category.
- Messages: Specify message properties like Keyword, Sender, Recipients, Time, etc to search. You can also choose Sent, created, expired, or modified messages at a given time.
- Once done, click OK.
- Again, hit the OK button in each open window to save changes.
Step 2: Use Search Folders
Below the Search Folders, you can see the Search Folder you just created. When you click on the Search Folder name, the message results will appear as you have specified the criteria.
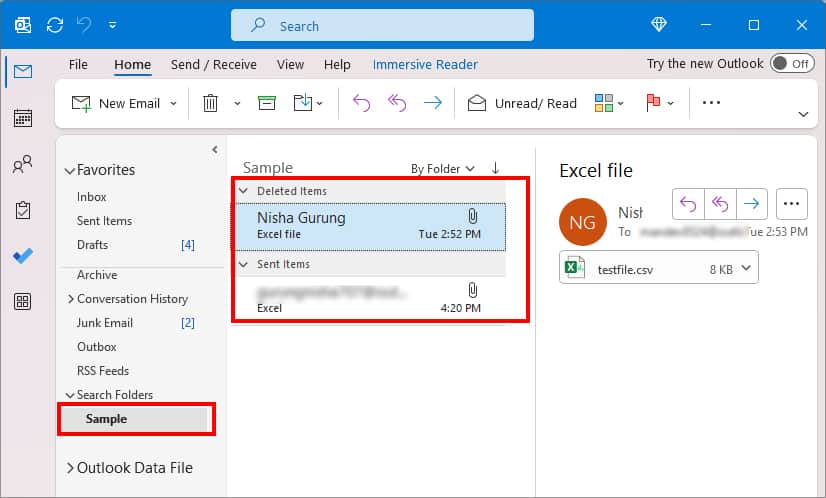
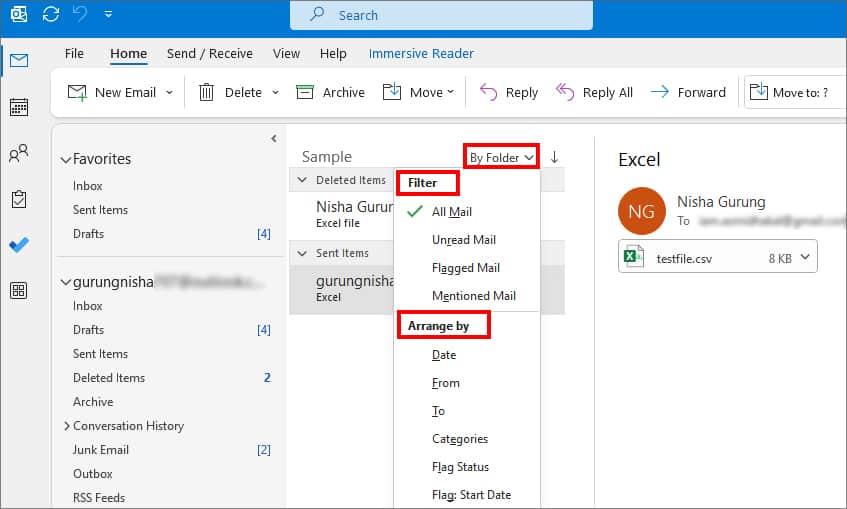
If you still want to Filter the shown results, click on the By Folder menu and choose one of the options from Filter and Arrange by categories.
Related Questions
Where is the Search Folders Option in “New Outlook”?
Outlook has rolled out the “New Outlook” app with advanced features and a simplified design. Unfortunately, at the time of writing this article, the Search Folders feature is unavailable in the New Outlook. So, if you have switched to this latest version, you won’t find the Search Folders option. However, you could access this feature anytime by going back to the older version.
What Happens When You Delete Search Folders in Outlook?
When you delete a Search Folder, Outlook will only remove the folder. So, you will still have your original messages. If you wish to delete the folder, right-click on Search Folder. Pick Delete Folder and choose Yes in the prompt box.