Creating a rule in Outlook is basically a 2-step process—specify the conditions when to apply the rule to the messages and specify the action once the message meets the criteria.
Depending on your specific use case, you can manually set up a rule from scratch or use a built-in template (Outlook for Windows users only) in the Rules Wizard. You can also create a rule based on an existing message that already matches most criteria for the rule.
If you want to prevent Outlook from applying the rule in special cases, you can even add an exception condition while creating the rule.
On Desktop
- Open the Outlook app.
- Click the File menu.
- Select Info from the sidebar and click Manage Rules & Alerts in the right pane.

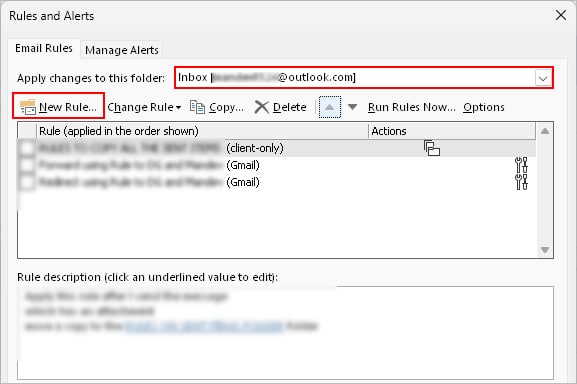
- On the Rules and Alerts window, click New Rule. If you have added multiple accounts to the Outlook app, select the one on which you want to create the rule.
- Now, to create a rule from scratch, choose the option under the Start from blank rule depending on whether you want to apply the rule to incoming or outgoing emails.
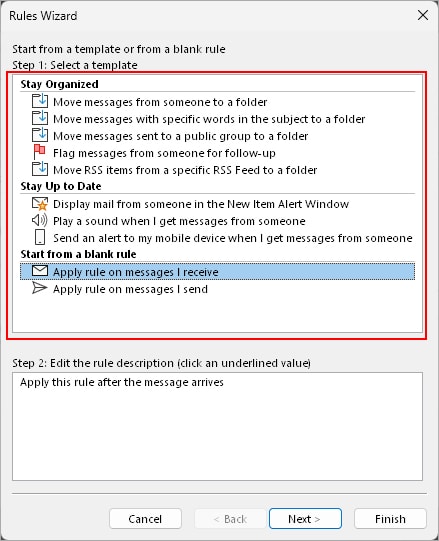
- Alternatively, you can choose to start with preset rules under the Stay Organized section.
- For demonstration purposes, we are choosing the Apply rule on messages I receive option. However, the process is similar even if you choose any other option.
- Select one or more conditions for the rule like an email from a particular person, email message containing specific words.
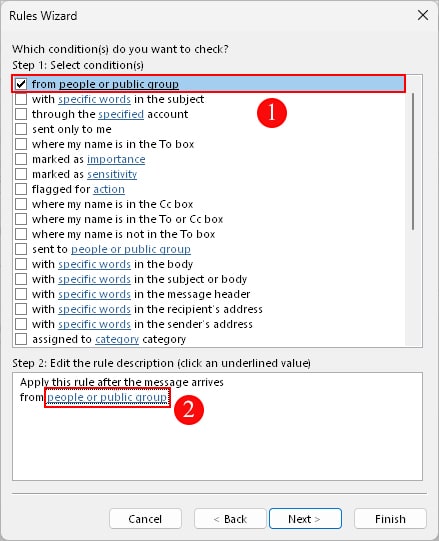
- Under the Step 2 section, click the condition text with an underline and enter the appropriate value like email or text according to your condition.
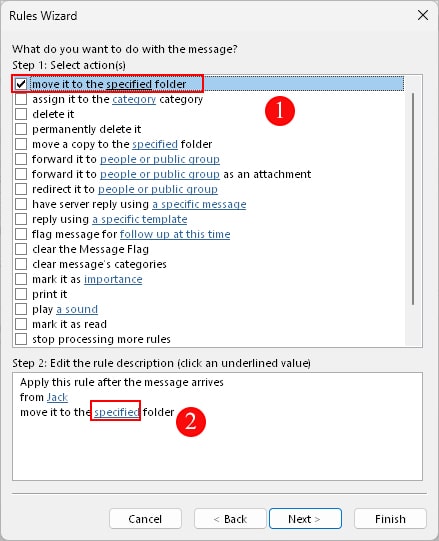
- Now, choose an action to apply to every message matching the above-mentioned criteria. With action, you can move, delete, flag, redirect, or forward incoming emails to other people.
- Additionally, enable the Stop processing more rules to allow only one rule to execute.
- Choose any exception condition to prevent running rules in certain conditions.
- Provide an appropriate rule for the name.
- Under Step 2, choose the preferred option (s).
- Run this rule now: Apply the rule to already existing messages in your Inbox. By default, Outlook will apply the rules only for future incoming messages.
- Turn on this rule: Enable the rule
- Create this rule on all accounts: Add the rule to all accounts that exist on your Outlook app
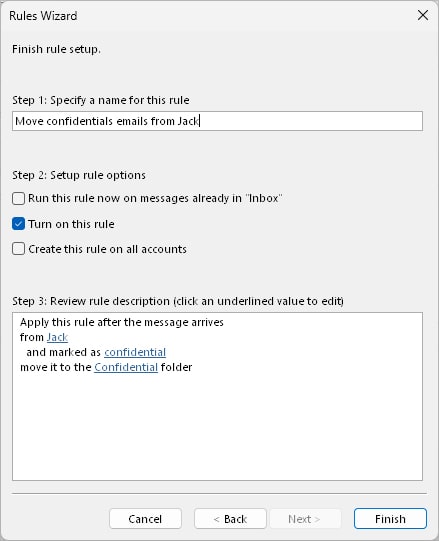
- When done, click Finish.
On Mac
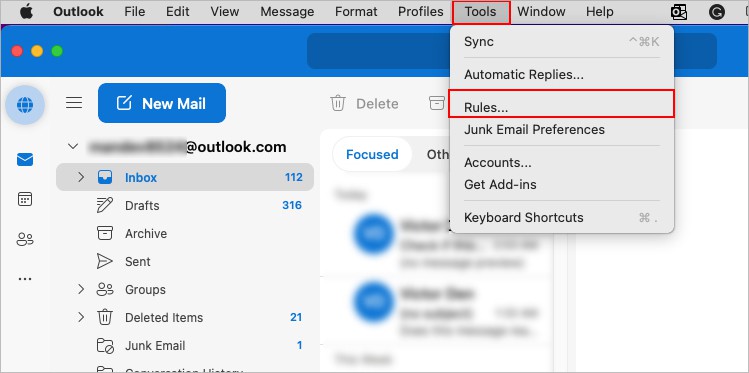
- Launch the Outlook app.
- Click the Tools menu and select Rules.
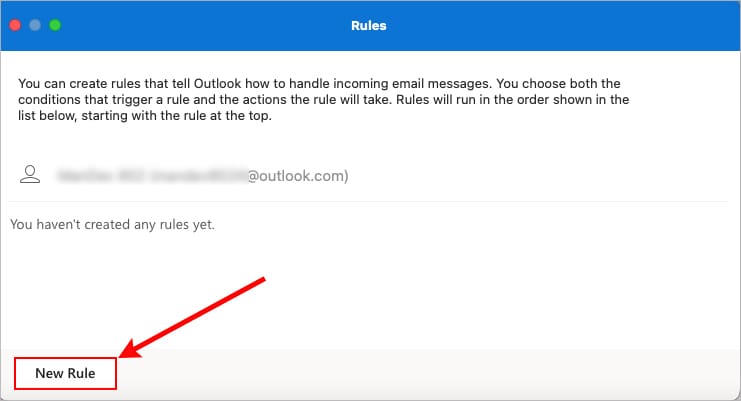
- Click New Rule in the bottom left corner.
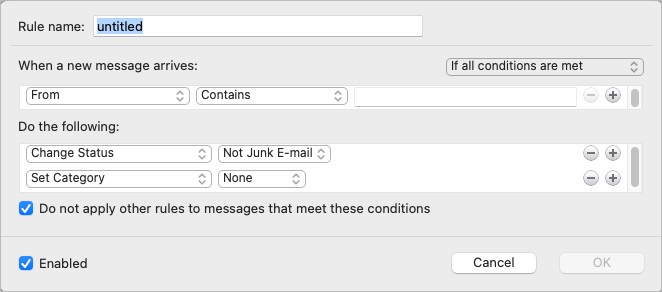
- On the next window, enter the preferred name, condition, and action for the rule.
- Click Add another <condition, action, exception> to add more conditions, actions, and exceptions.
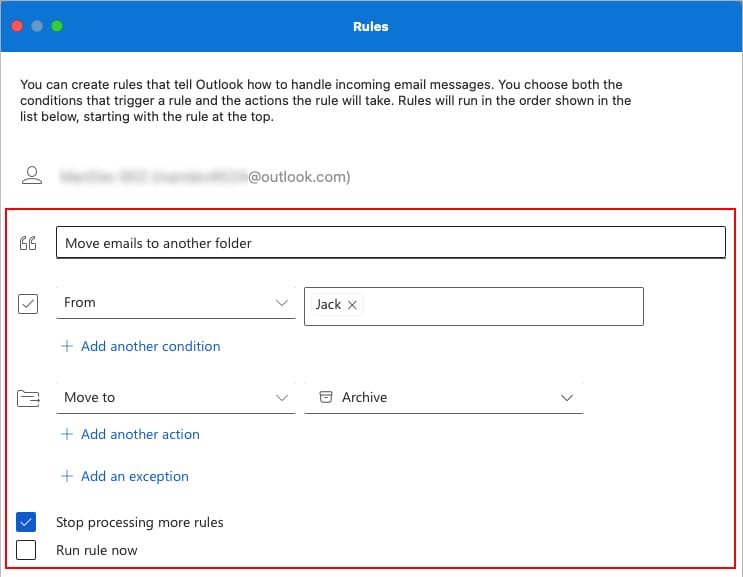
- Additionally, enable the Stop processing more rules checkbox. Otherwise, Outlook will run every existing rule that matches and consists of similar conditions.
- When done, click Save.
If you are using the legacy Outlook app on Mac, follow the steps below.
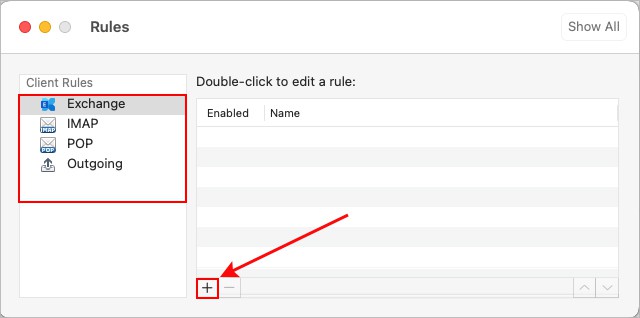
- Click Tools and select Rules.
- On the Rules, window, select the specific type of account (Exchange, IMAP, or POP) for which you want to apply the rule.
- Click the plus icon in the right pane to create a new rule.
- Add the preferred condition (s) and action (s).
On Outlook Web
- Open a browser and log in to your Outlook account.
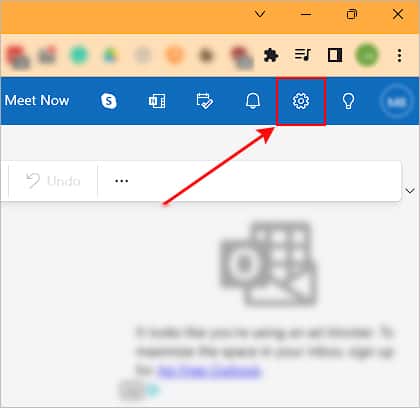
- Then, click the gear icon in the top right corner of the window.
- Next, select Mail > Rules.
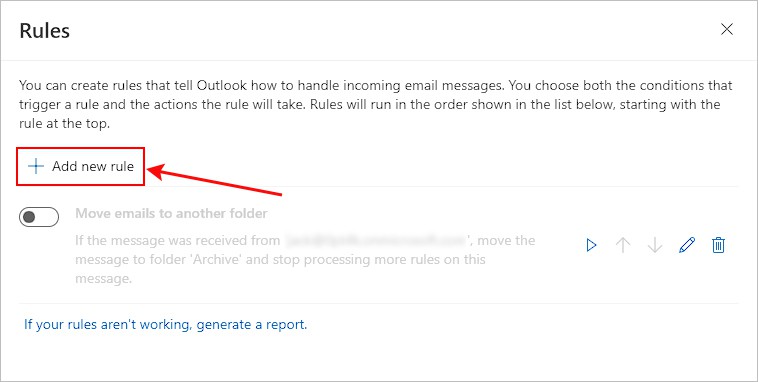
- Now, click Add new rule to create a new rule from scratch.
- Enter an appropriate name for the rule.
- Add one or more conditions, actions, and exceptions according to your preferences. Here, we have created a rule to automatically delete unwanted emails.
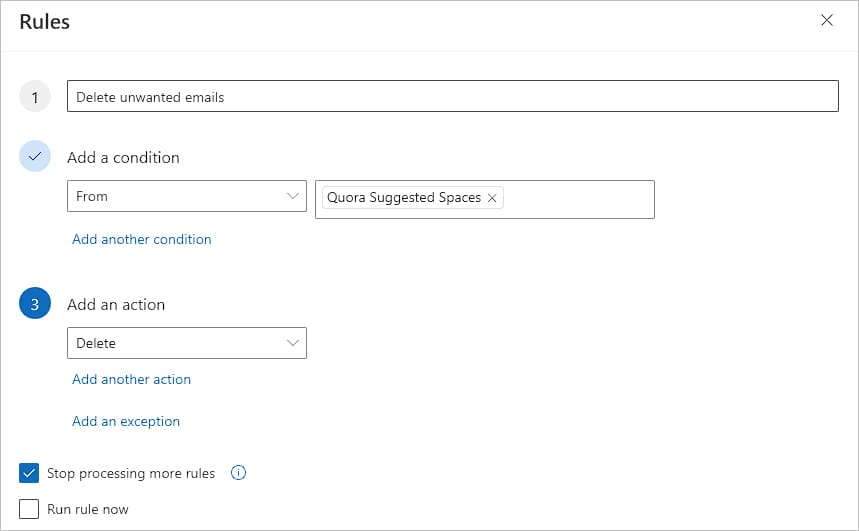
- When done, click Save.
How to Create Rules Based on a Message in Outlook?
With this method, you can directly create a rule to move specific types of emails.
The good thing is you can select an existing message that already matches some of the criteria like from a specific sender or subject containing specific words.
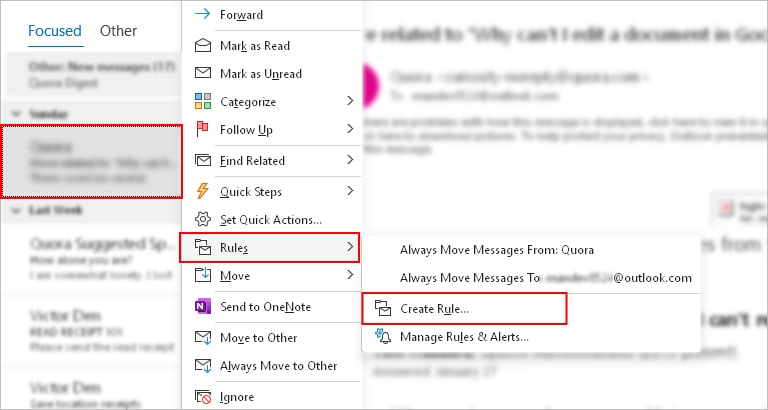
- Right-click on the message and select Rules > Create Rule.
- On the next prompt, enable the checkbox for conditions under the When I get … section.
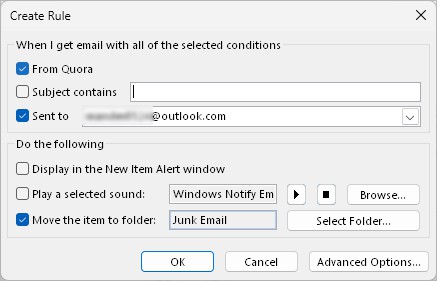
- Under the Do the following section, enable the Move the item to folder section.
- Then, choose a folder where you want Outlook to automatically move such types of emails.