You can pin email in Gmail using the star and important label icon, as it doesn’t have a pin feature like other mailing apps.
Pinning ensures new emails are marked and organized in labeled folders to make them more easily accessible.
You can also automate this process by creating a Gmail filter.
Pin Emails Manually
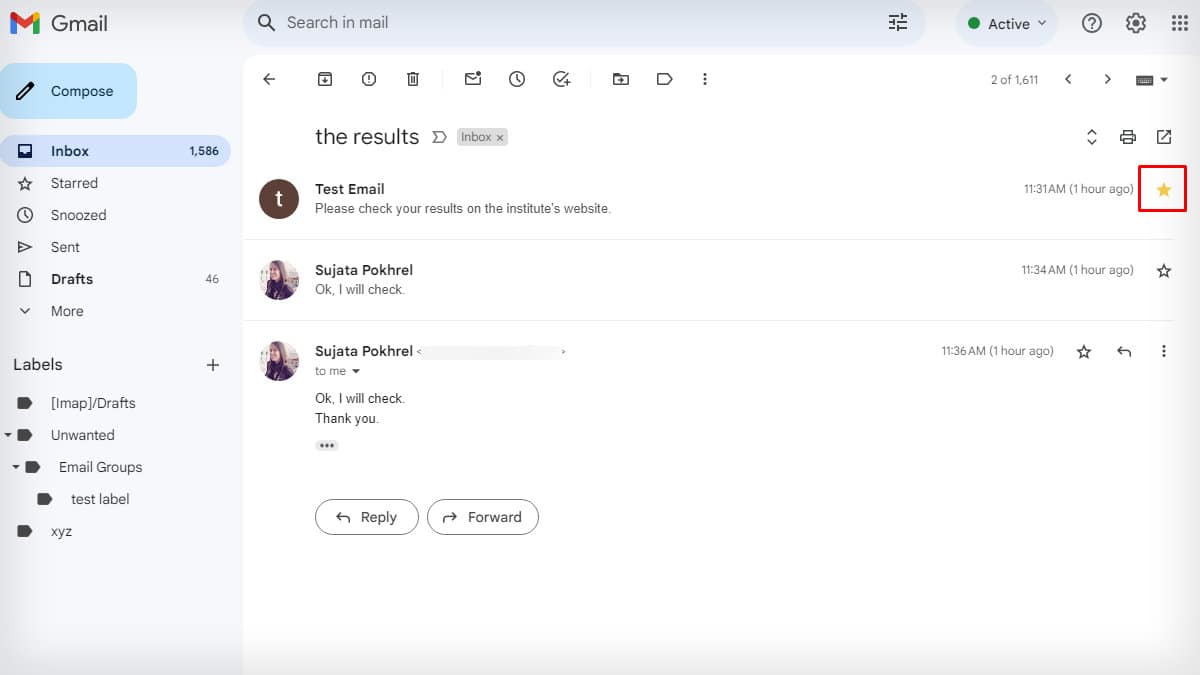
You can pin an individual email or a group conversation in Gmail by clicking on the Star or Important icons, respectively.
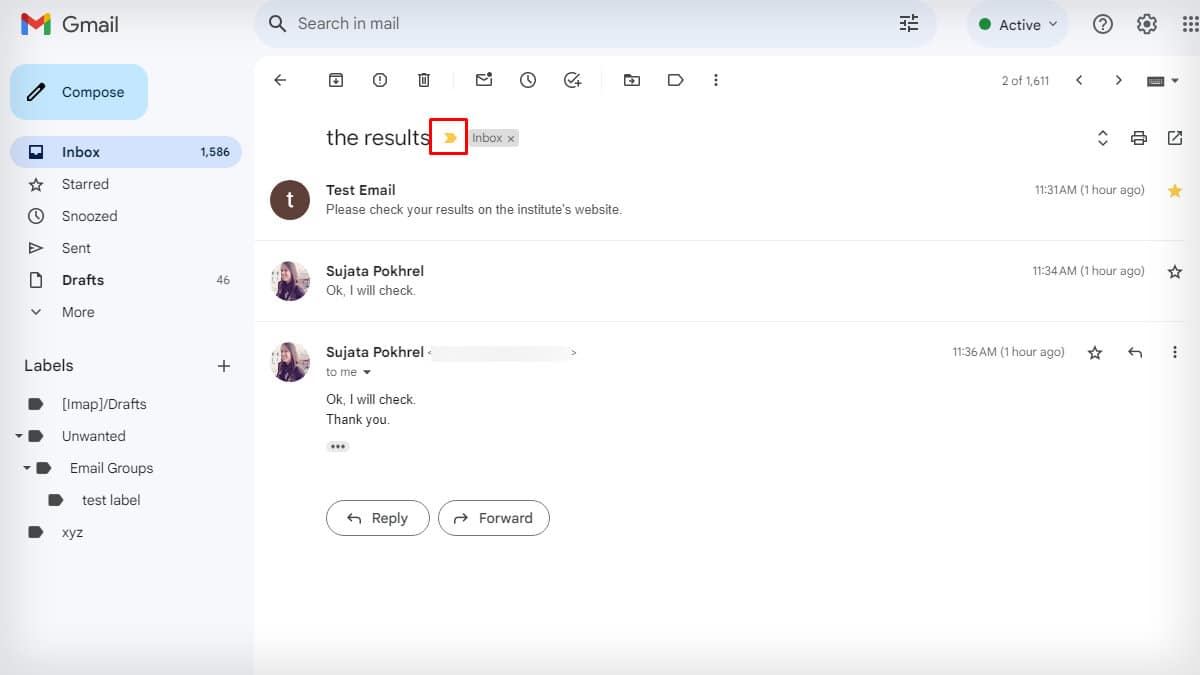
Clicking on the Star icon will pin only a single email. But, if you pin it as important, then all emails in that conversation are pinned.
- Launch Gmail on your preferred browser.
- Tap on Inbox and scroll down to find the email that you want to pin.
- You can also use the Search bar to find the email.
- Once you find it, tap on the Star icon to pin it.
- Alternatively, you can tap on the Important label icon to pin the entire conversation with that particular person.
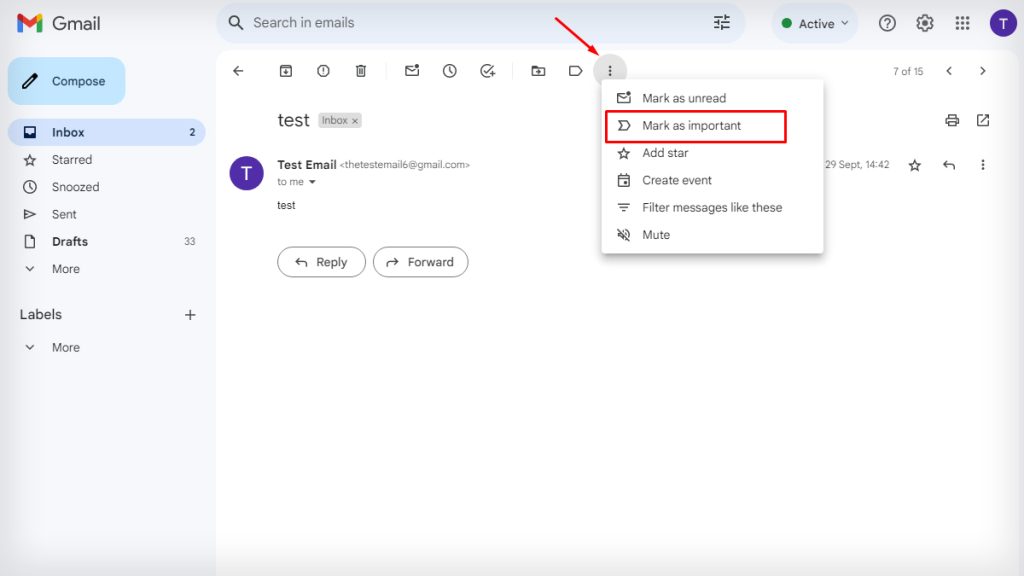
However, if you cannot find the Important label icon in an email, click open the email and tap on More options. Then, select Mark as important.
Pin Emails Automatically
You can also automate the process of pinning important emails by creating filters on Gmail. However, this feature is available only on Web browsers, so you need to create a filter on your PC even though you use a mobile application for your daily work.
- Open Gmail on your web browser and sign in if prompted.
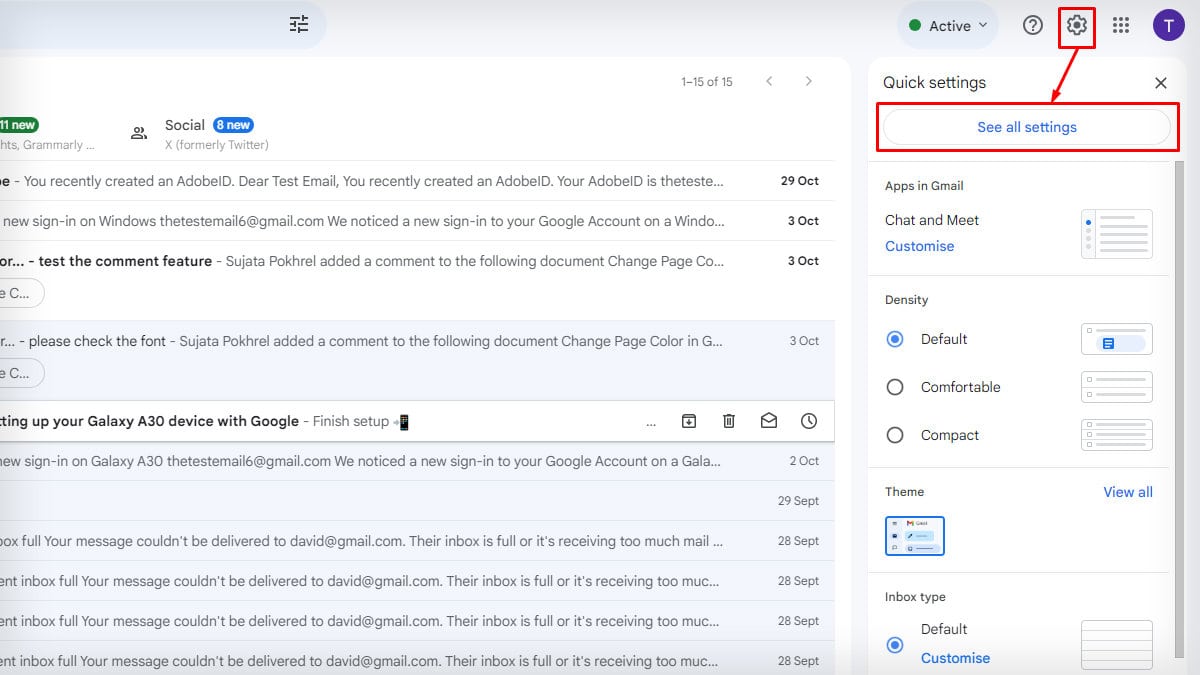
- Go to the Cogwheel icon on the top right and click on See all settings.
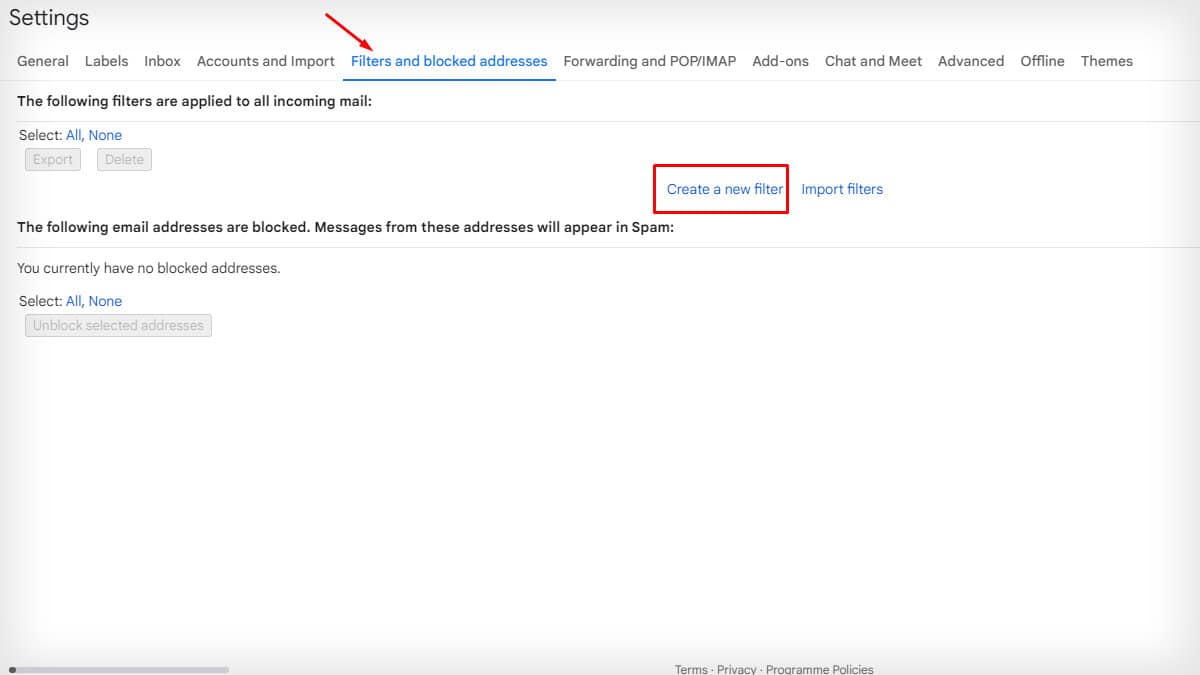
- Select Filters and Blocked Addresses. Tap on Create a new filter.
- Fill in the details to define the type of emails you want to pin. Then, click on the Create filter.
- From: Insert the sender whose emails you want to pin
- To: Type the email address of the recipients that you want to pin
- Subject: Give the subject of the type of emails you want to mark
- Has the words/Doesn’t have: Input the keywords of the emails that you desire to pin
- Size: Select the size of emails that you want to pin automatically
- Has attachment: Tick on the box to pin emails with attachments

- Check the box before Star it or/and Always mark it as important. If required, check the box for Also apply filter to x matching conversations.
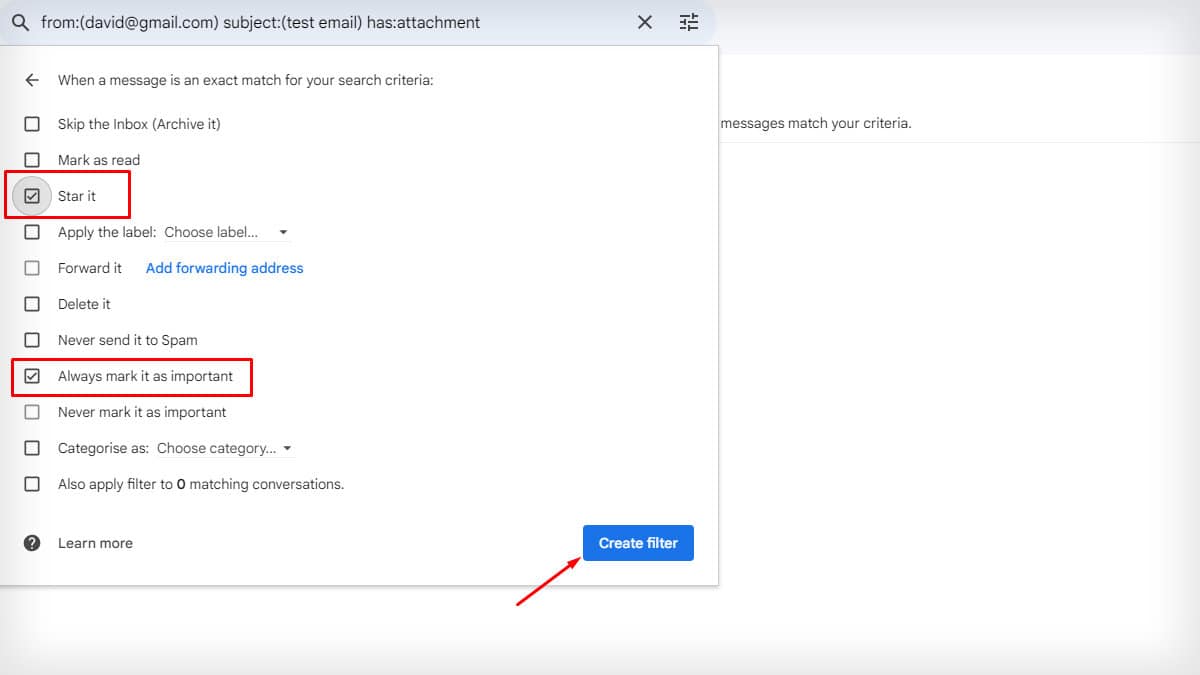
- Tap on the Create filter.
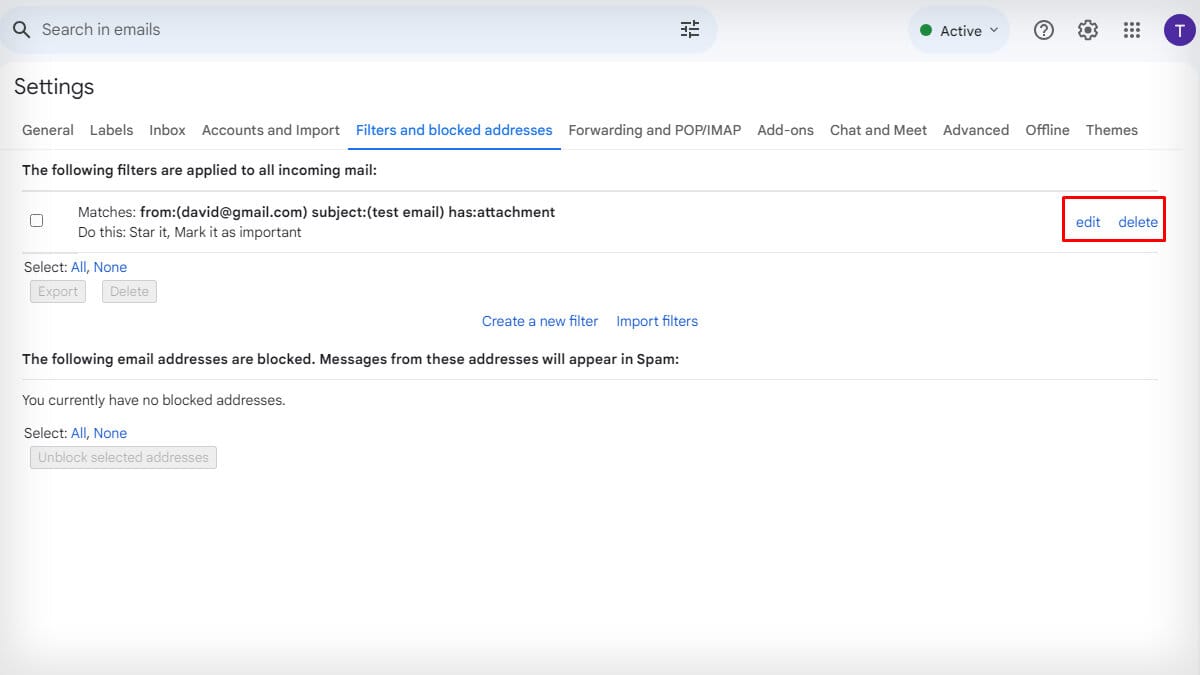
- Your filter is created. You can edit/delete it from settings when required.
How to Pin Email On Gmail App?
- Open the Gmail app on your mobile devices (iPhone or Android).
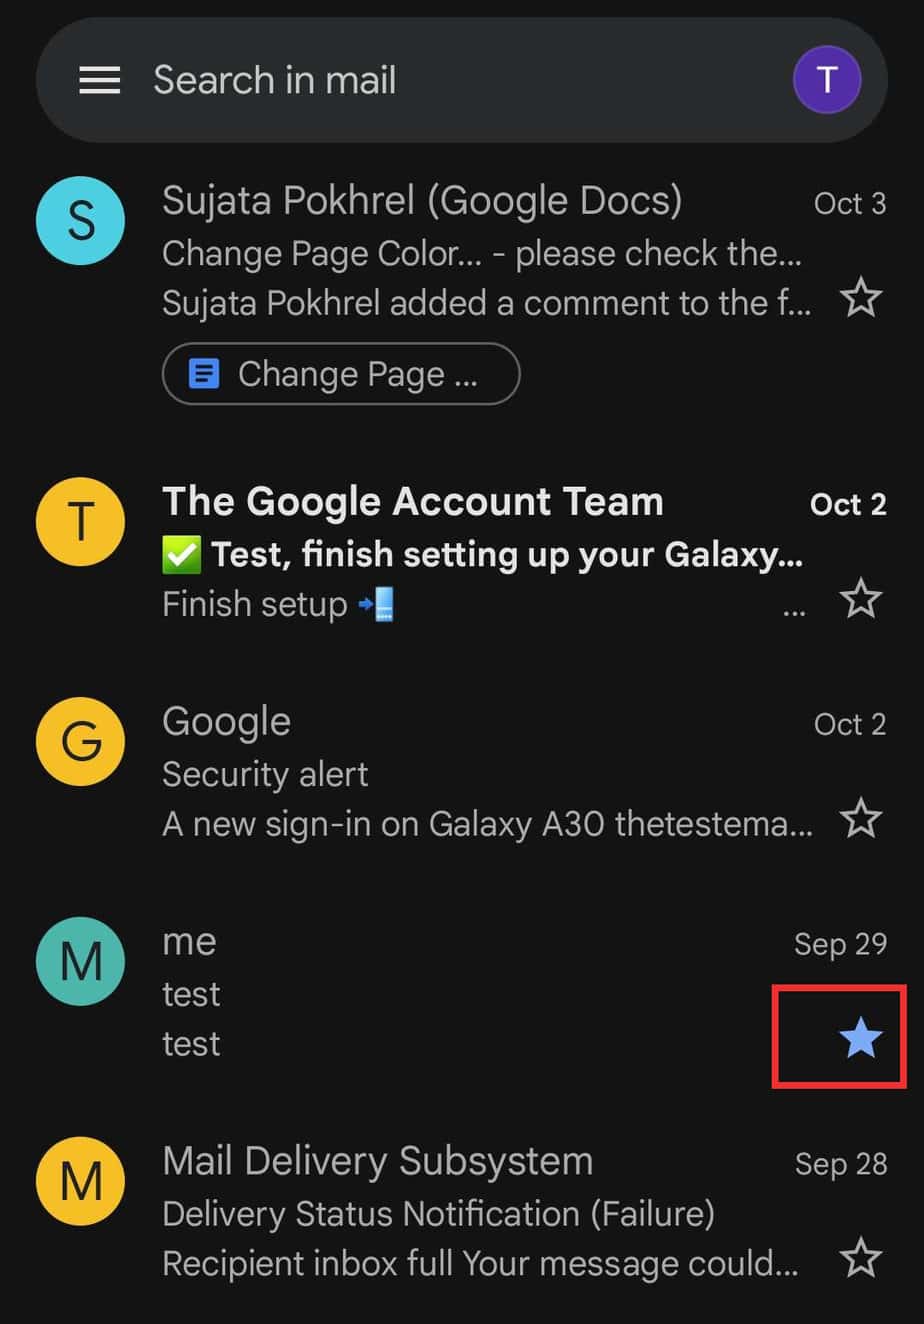
- Find the email that you want to pin.
- Click on the Star icon on the right end. The email will be pinned.
Unlike the Web, the Gmail app doesn’t have an important label icon. Follow the steps to pin as important:
- Click open the email.
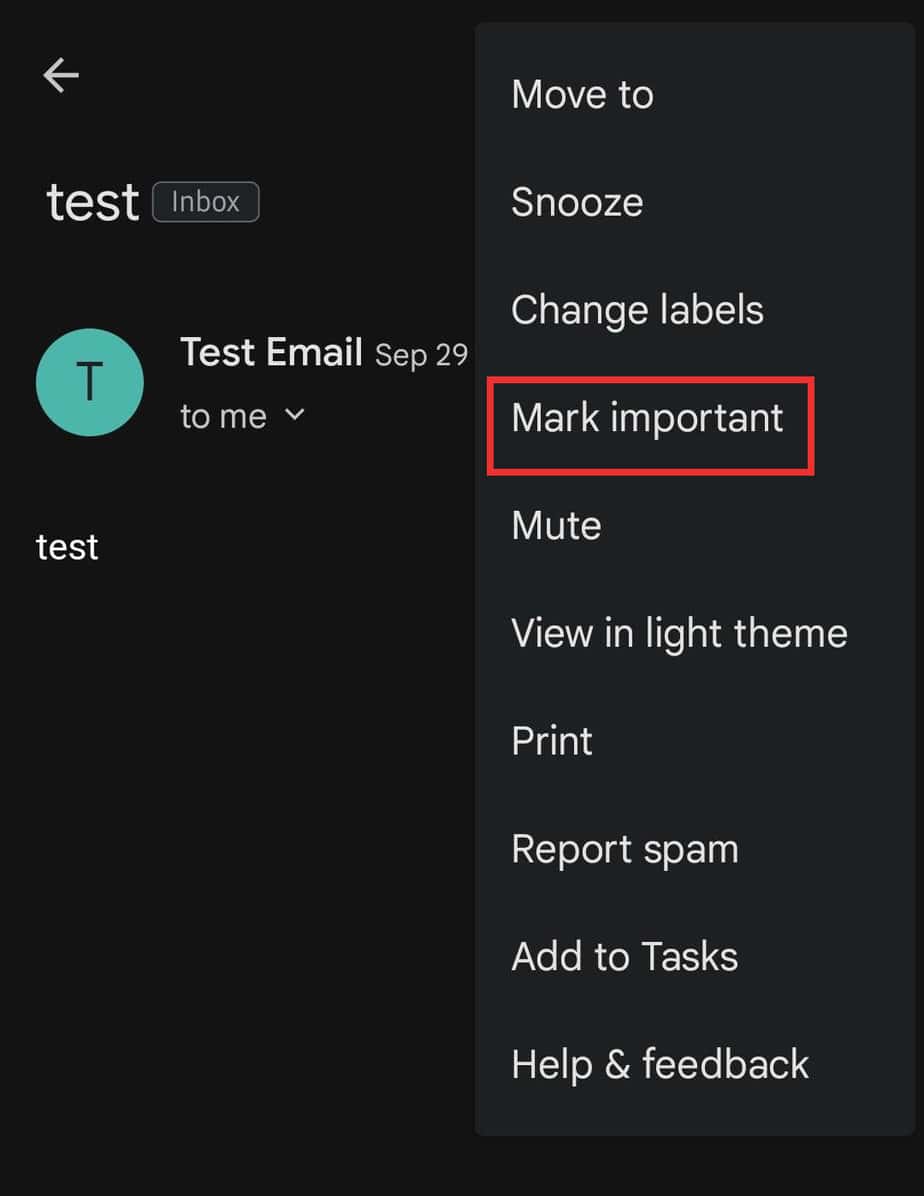
- Tap on More options.
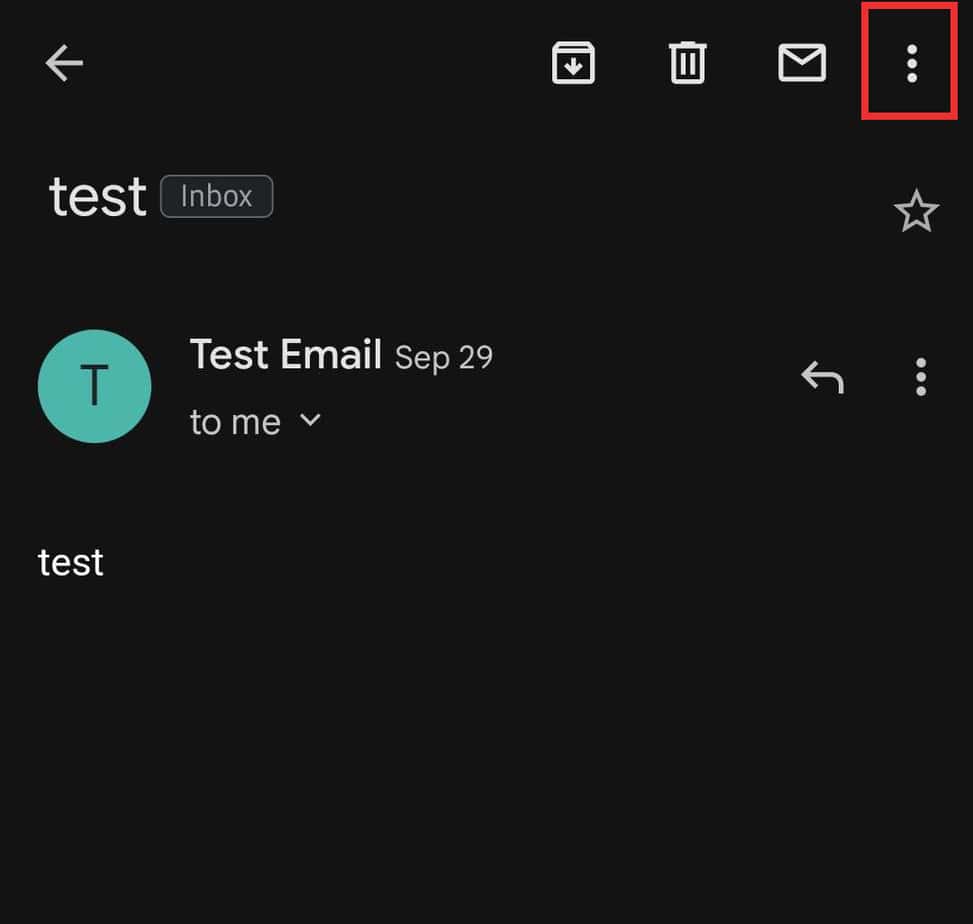
- Select Mark important.
How to Make Pinned Email Appear at the Top of Your Inbox?
You can also set your inbox to display pinned emails at the top every time you open your Gmail. This will make it easy to find important emails.
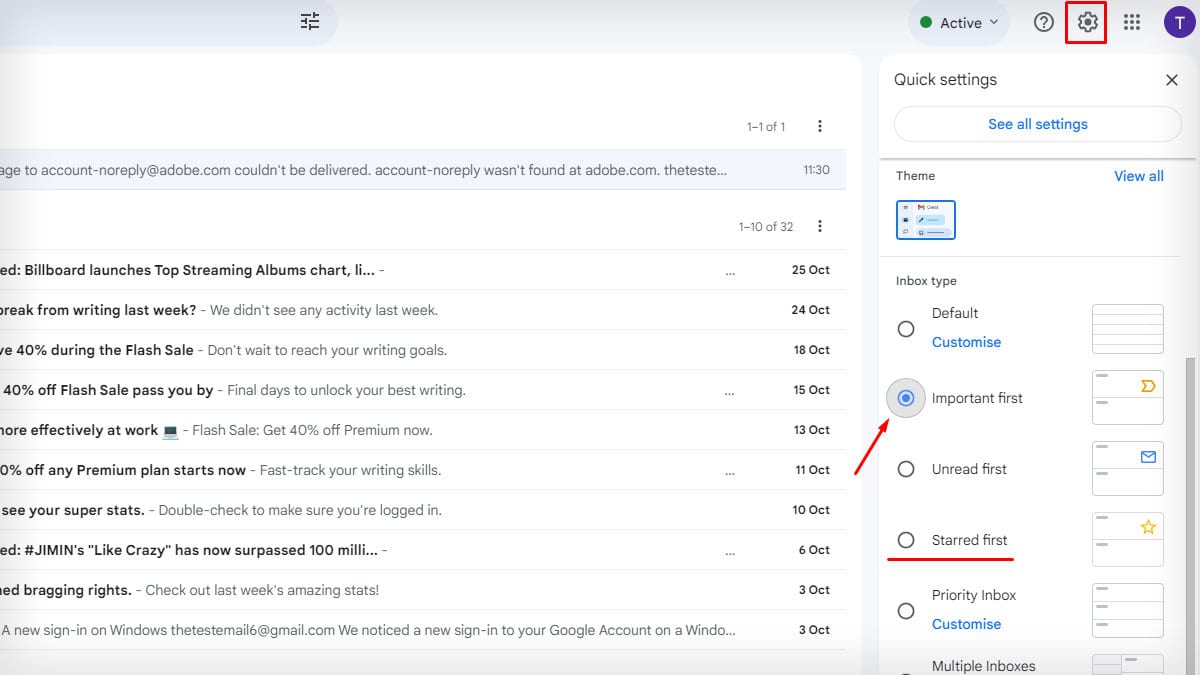
- Go to your Gmail and click on the Settings icon.
- Hover over to the Inbox type section in Quick Settings. Click on the Important first or Starred first option.
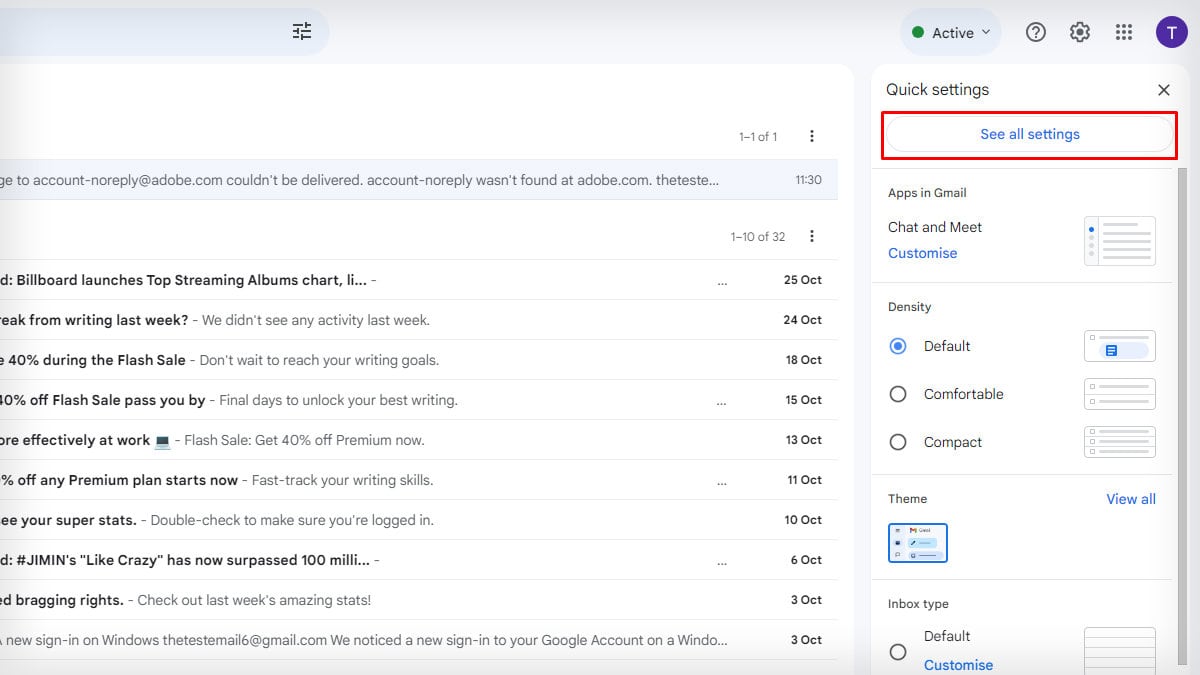
- If you don’t see the section, then choose See all settings.
- Click on Inbox and expand the drop-down menu on Inbox type. Select the Important first or Starred first option.
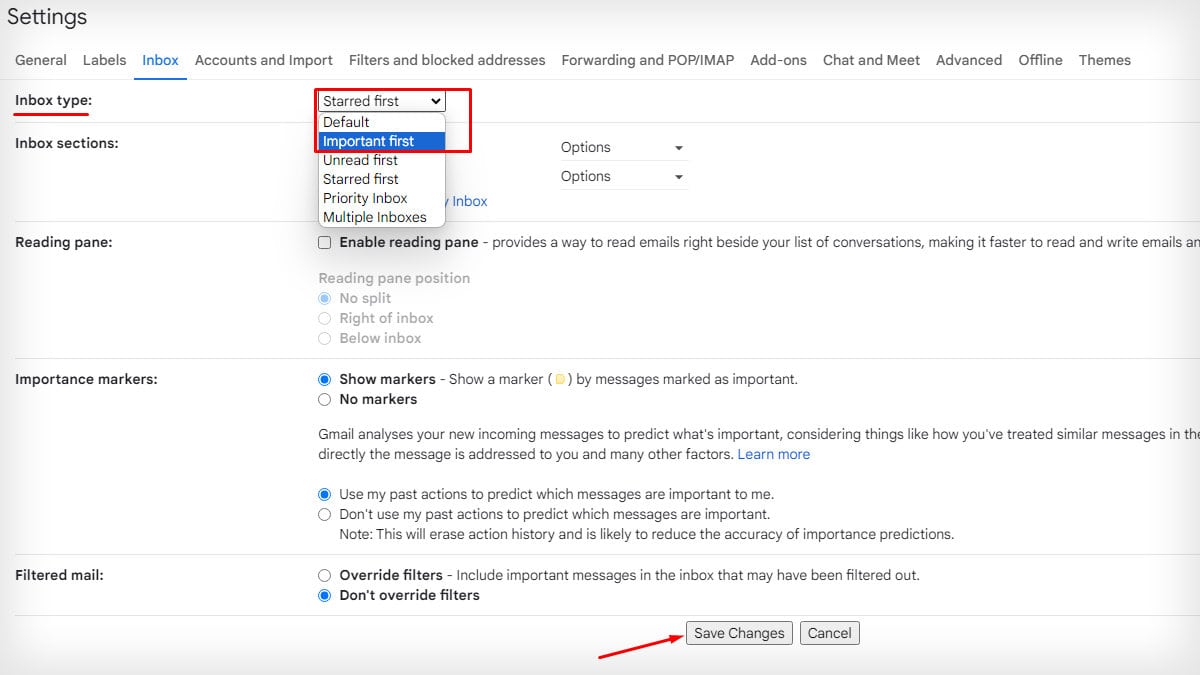
- Scroll down to the bottom of the page and tap Save Changes.
- Your preferred pinned email will appear on top.