Missing an email can be quite daunting, especially if your organization solely depends on Outlook for communication (with team members or clients). If you didn’t receive one or two emails, it’s possible that there was some problem while sending them. So, you could request the sender to re-send the emails.
However, if you aren’t receiving any new emails whatsoever, something is probably wrong with your Outlook app.
Such issues arise because of various reasons. It could be as simple as emails redirecting to a different folder than expected due to certain rules or filters. Sometimes, it happens because of account-related issues in Outlook as well.
For minor glitches in the Outlook app, it’s worth a try to exit and relaunch it. But, for other unknown issues, you might have to go through and apply multiple fixes in the article.
Check the Outlook Service Status
Before you move on to the technical fixes, check if Outlook services are operational.
Although Outlook tries to keep its services up and running all the time, outages still occur once in a while.
While you cannot fix it specifically from your end, it’s helpful to know which Outlook services have been affected and the ones that are active. For this, you can check their status site.
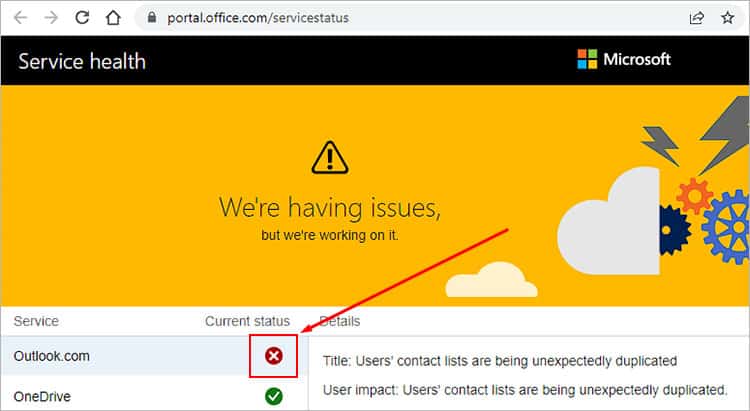
If the Outlook server is down, you will see a red cross icon with additional details about various services unavailable at the moment. Once the issues are resolved, you will see a green tick.
On the other hand, any network-related issue could prevent incoming messages from reaching your inbox. To detect it, try opening other sites and see if they open or load up.
And, consider using an ethernet connection (one with wire) instead of Wi-Fi for a stable internet connection.
Disable Work Offline Mode
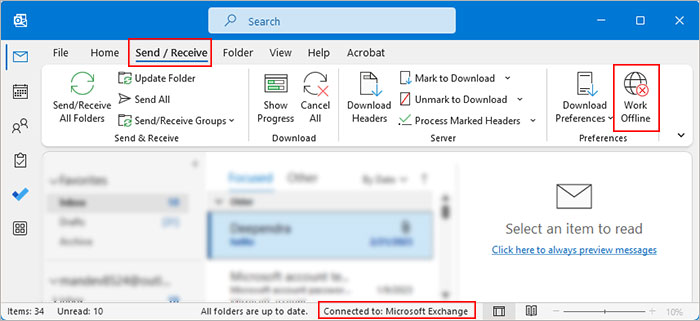
Even if there are no network issues, enabling the Work Offline option automatically halts any new incoming messages. Whenever it’s turned on, you can notice Working Offline appear on the status bar.
To disable it,
- Launch the Outlook app.
- Under the Send/ Receive tab, click Work Offline. Make sure the status changes from Working Offline to something like Connected to: Microsoft Exchange or similar in the status bar.
- Additionally, click the Send/Receive All Folders under the Send/Receive tab to refresh your Outlook inbox.

- To manually reduce the refresh time interval, select Send/Receive Groups > Define Send/Receive Groups.
Check the Junk or Others Folders
Depending on how you have configured the Outlook Junk email options, Outlook could filter out some messages as spam and move them to trash or even delete them.
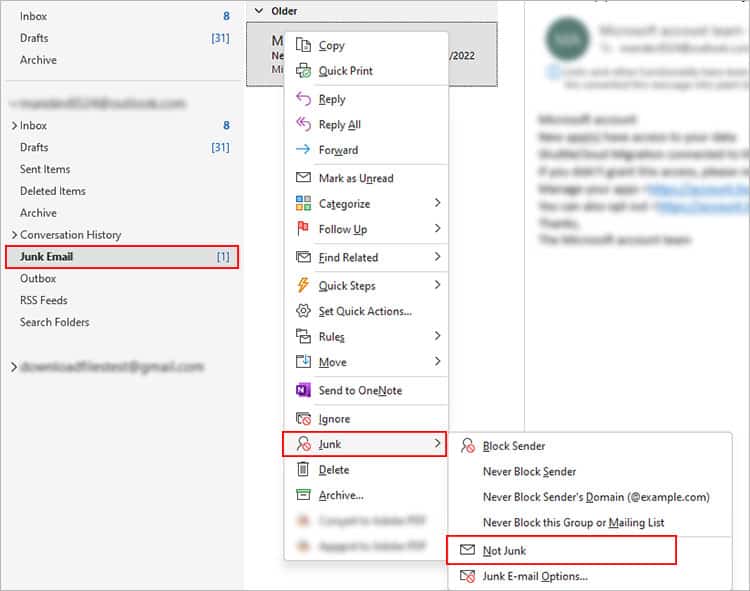
So, consider checking the Junk Email or the Deleted Items folder to find your missing emails. To restore an email from such folders, right-click and select Junk > Not Junk.
To configure Outlook settings and prevent such issues in the future, follow the steps below.
- Open the Outlook app.
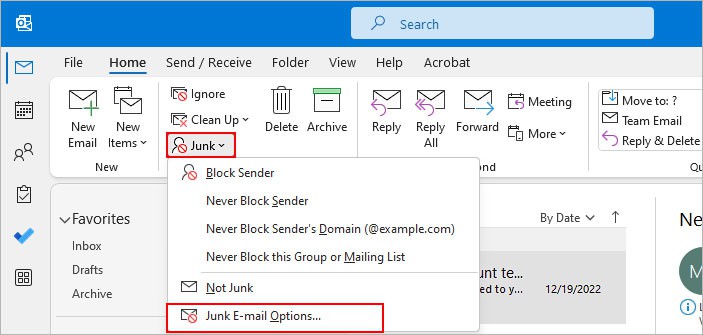
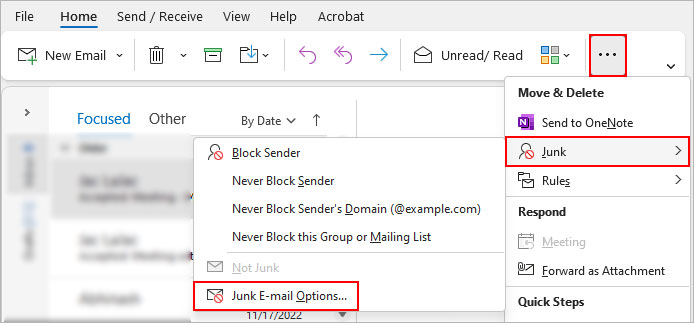
- Under the Home tab, select Junk > Junk E-mail Options.
- If you are using the Simplified Ribbon layout, you can find the above option by clicking the three horizontal dots in the top-right corner.
- Under the Options tab, choose one of the options below.
- No Automatic Filtering: prevent Outlook from filtering any mail to junk on its own unless the mail is from a blocked person.
- Low option: let Outlook automatically detect and move possible junk emails to Trash

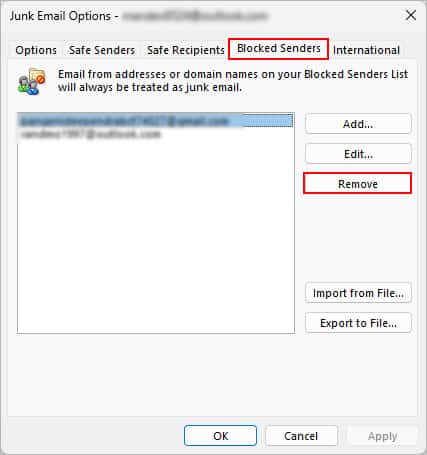
- Now, go to the Blocked Senders tab, and check for any unintended email address or person that’s on the blocked list. To remove them from there, click the Remove button.
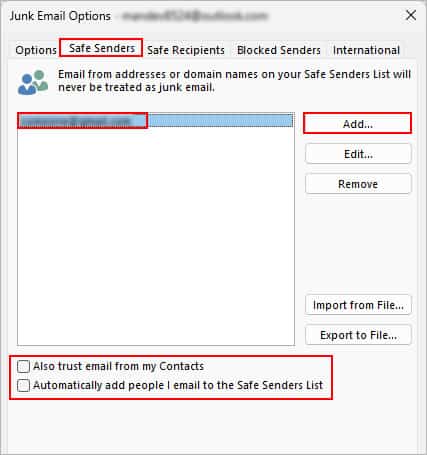
- Additionally, select the Safe Senders tab. Click Add to add email addresses for which you want none of their emails to ever be treated as junk email by Outlook.
Remove Outlook Filters
If you aren’t receiving email messages from a specific email address or a person, you probably have some rules that are automatically moving them to a different folder as they arrive.
The rules could also redirect incoming emails with specific characteristics like mails containing an attachment, specific words, and so on.
You can edit or remove such rules as follows.
- Open the Outlook app.
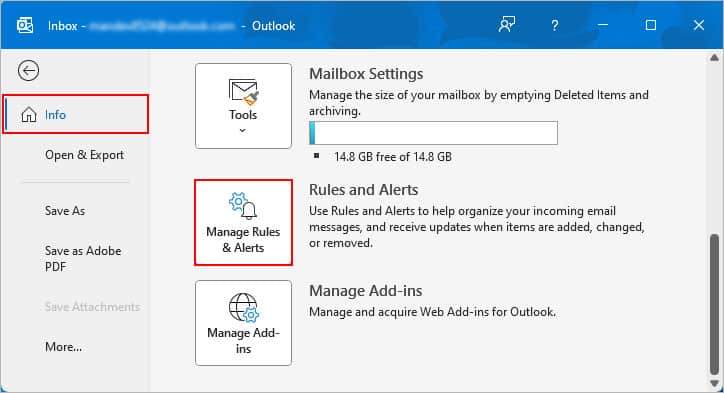
- Click the File menu.
- Then, click Manage Rules & Alerts in the right pane.
- Select the Email Rules tab and select the correct email address next to Apply changes to this folder field.
- Now, select the unwanted rule (s) that specify moving the received mail to another location or similar.
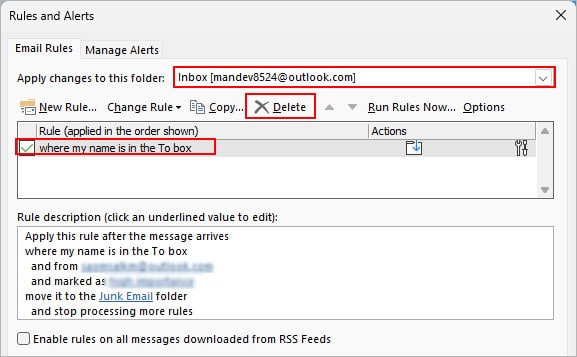
- Click Delete to remove it. If you still want to keep the rule, double-click to open the rule and edit it to your preferences.
- Click OK.
Check Outlook Inbox Storage
If you can neither send nor receive any email messages in Outlook, chances are your mailbox storage is almost full.
When this happens, Outlook prompts you with a message like “Your Mailbox is Full” or something similar.
Even if you don’t get the message, the new update causes the Outlook web version to stop sending/receiving messages once your OneDrive storage reaches its maximum limit. That’s because all the Microsoft 365 apps, including Outlook, take email attachments and images into account while calculating the storage.
Therefore, you have to free up some space on your Outlook app, OneDrive, or both. For this, consider deleting unnecessary messages, especially those with huge attachments. You can use the Mailbox Cleanup feature for this purpose by going to File > Info > Tools.
Edit or Repair Outlook Account
If you recently set up your Outlook account or added another email account on Outlook, it’s possible that you have entered the wrong credentials. As a result, the emails aren’t reaching your inbox.
To edit and input the correct account details,
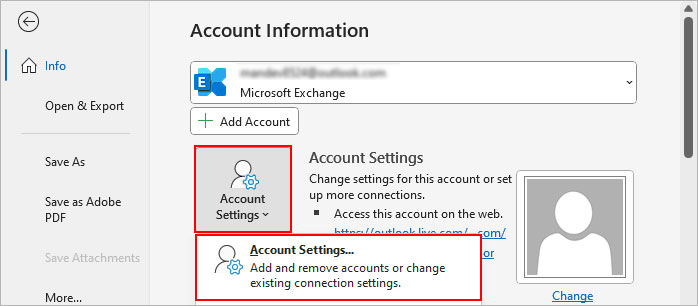
- Click the File menu and select Info from the sidebar.
- In the right pane, select Account Settings > Account Settings.
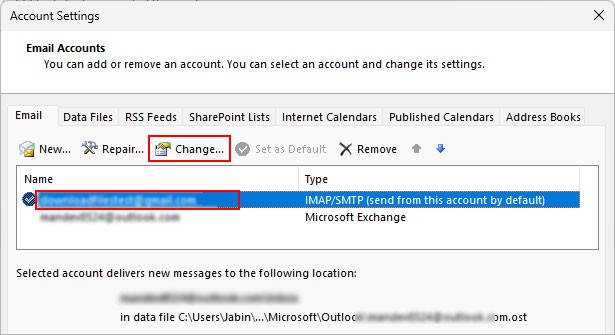
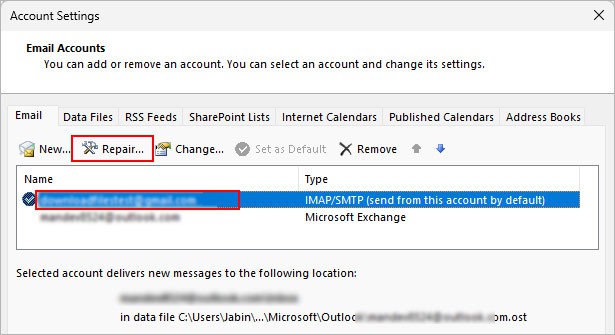
- Under the Email tab, select the account you want to edit and click Change above it.
- On the next prompt, edit and make sure you enter the correct account credentials and settings.
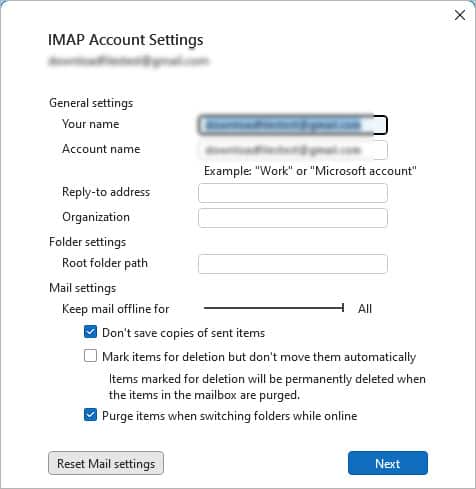
- Alternatively, click Repair to resolve any Outlook profile issues.
Clear Cache
Each time you open and exit the Outlook app, it builds up a cache to load the app faster the next time. However, as it accumulates over time, it affects Outlook’s performance and the message could load up slowly.
On the other hand, the cache could get corrupted which causes syncing issues with the Outlook server and thus, stop the incoming messages.
- Save any existing work and exit the Outlook application.
- Press Windows + R, type
%localappdata%\Microsoft\Outlook, and click OK.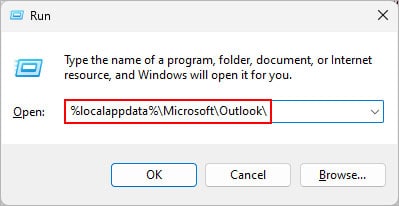
- Move or delete all the contents in the folder.
Create a New Outlook Profile
If the issue persists, consider creating a new Outlook profile. This way, you can start fresh and avoid any unknown issues on the Outlook app or profile.
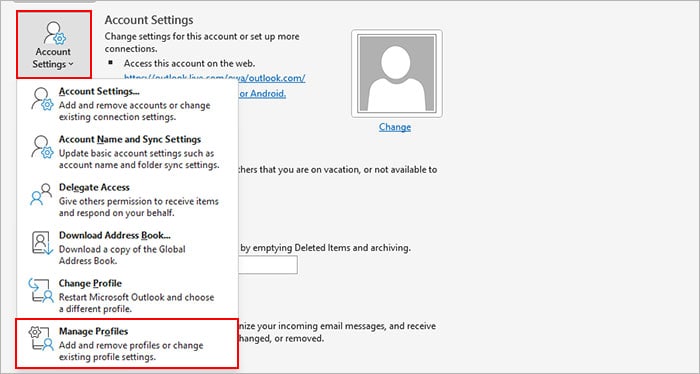
- Click the File menu and select Info from the sidebar.
- On the right pane, click Account Settings and select Manage Profiles.
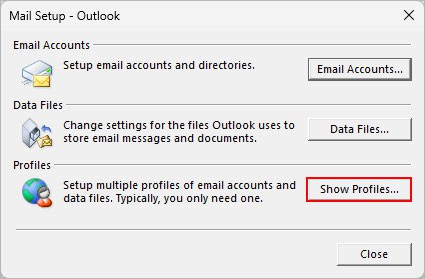
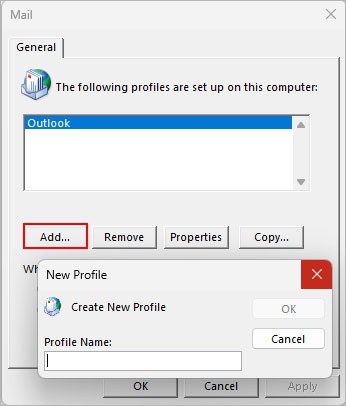
- On the Mail Setup window, click Show Profiles.
- Click Add and set up your account with the preferred email and password when prompted.
- Additionally, select the newly created profile under the Always use this profile option.
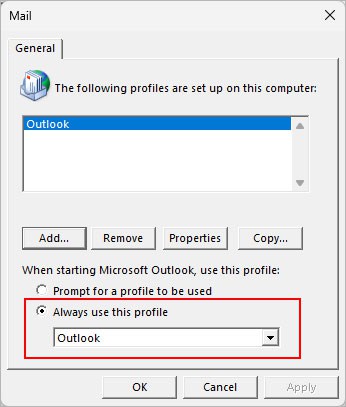
- Click Apply and OK.