While each Outlook app uses the default working hours —8 AM to 5 PM, you may already have your own custom work schedule.
In such cases, you can personalize the Outlook options and choose the preferred working hours. That way, whenever a meeting organizer wants to invite you, he/she can clearly view and choose the most appropriate time slot within your available working hours on the Scheduling Assistant.
On Desktop
- Open the Outlook app.
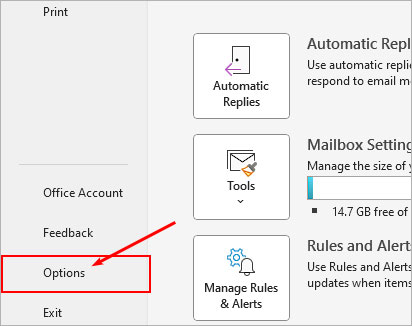
- Click the File menu at the top.
- Then, select Options in the bottom left corner of the window.
- On the next window, select Calendar from the sidebar.
- In the right pane, scroll to the Work time section.
- Now, choose the preferred working hours next to the Start time and End time fields.
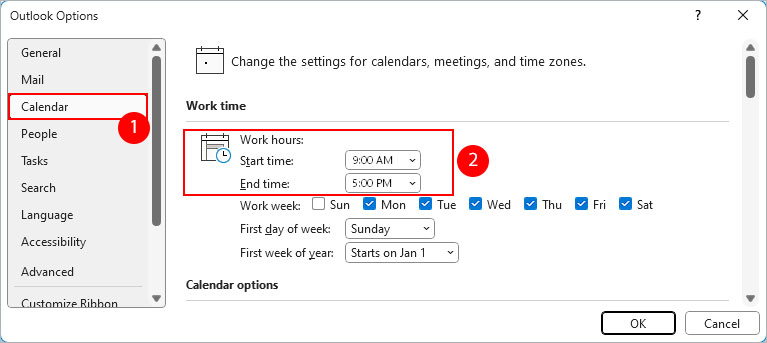
- Additionally, you can choose other options like starting day of the week and work week.
- Click OK when done.
On Mac
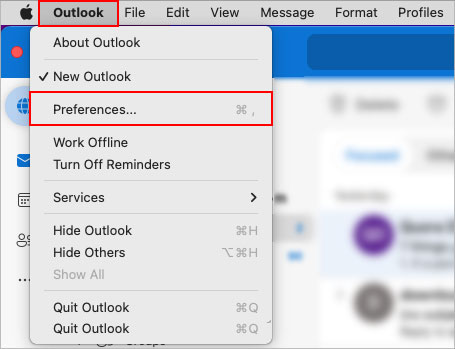
- Open the Outlook app.
- Click Outlook in the top left corner and select Preferences.
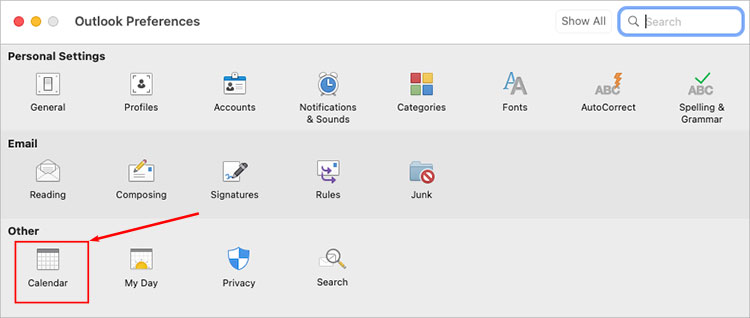
- On the next window, select Calendar under the Other section.
- Under the Work Schedule section, choose appropriate working hours next to the Work day starts and Work day ends fields.
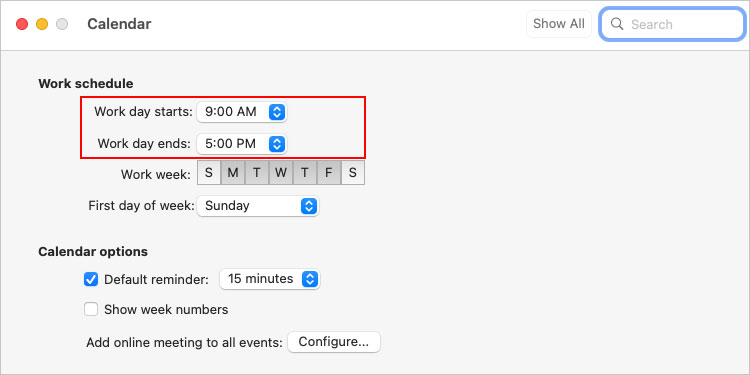
- Additionally, make other changes like the first day of the week or workweek if necessary.
On Outlook.com (Free Online Version)
- Open a browser and sign in to your Outlook.com account.
- Click the gear icon in the top right corner.
- Next, select Calendar > View.
- Under the Meeting hours section, set the working hours by choosing an appropriate time next to the Start time and End time fields.

- Configure other options like work week if necessary.
- Click Save to apply changes.
On Outlook Web (Microsoft 365)
- Sign in to the Outlook web app.
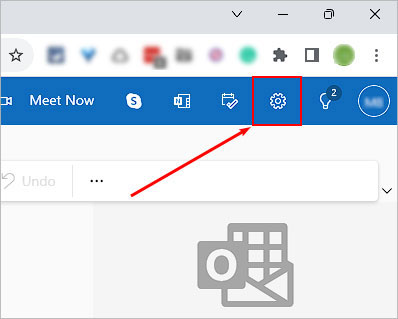
- Click the gear icon in the top right corner.
- Next, select Calendar > Work hours and location.

- Now, select the working days.
- Choose the start and end time of the working hours next to each day.
- To add different working hours within the same day, click the Plus icon for the respective day.
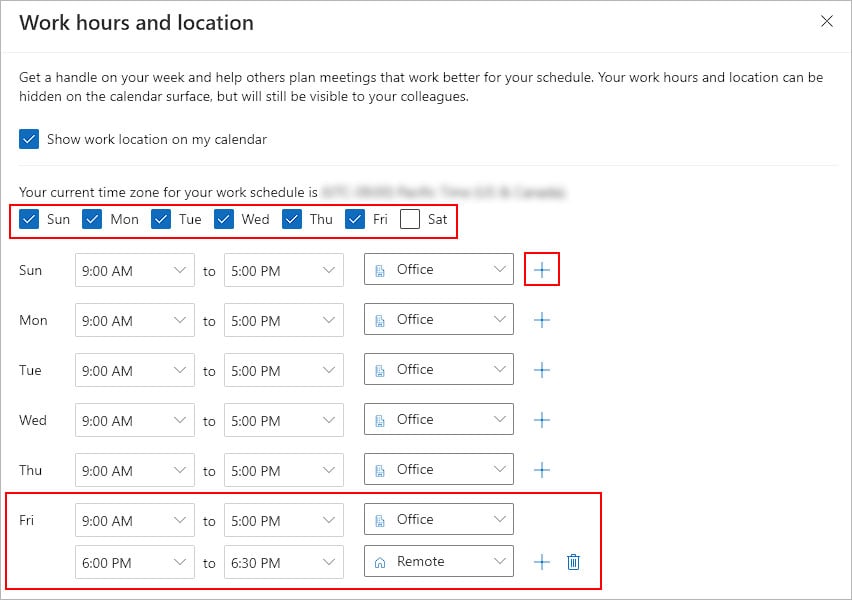
- Then, set the start and end time for another working hour.
- Click Add a location to set a location: Office or Remote if you want.
- Click Save when done.
How to Set Multiple Working Hours in Outlook?
Sometimes you may not have a fixed schedule throughout the week. Or, you could have two shifts of working hours on the same day.
For instance, from Monday to Thursday, the working hour starts at 9:00 AM and ends at 5 PM. However, on Fridays, you work two shifts — 10 AM to 2 PM on the day shift and 5 PM to 7 PM on the night shift.
However, Microsoft has yet to roll out such a feature on other Outlook apps except the Outlook OWA version. So, you can only set one start time and end time for working hours at a time in Outlook settings.
As a workaround, you can still create a recurring appointment/meeting at specific times for that particular day. Then, use the Out of Office status to let others know that you are unavailable for that time period.
- Open the Outlook app.
- Select the Calendar tab. Look for it in the sidebar or bottom left corner depending on your Outlook app.
- Under the Home tab, click New Appointment.
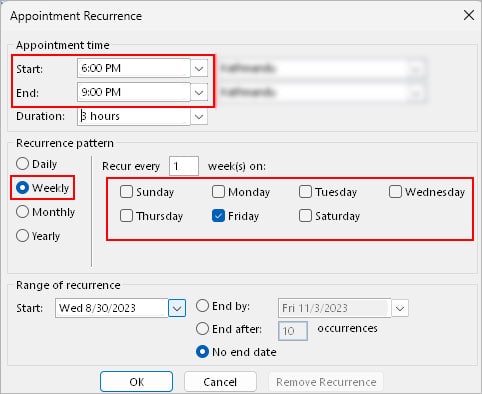
- Click Make Recurring.
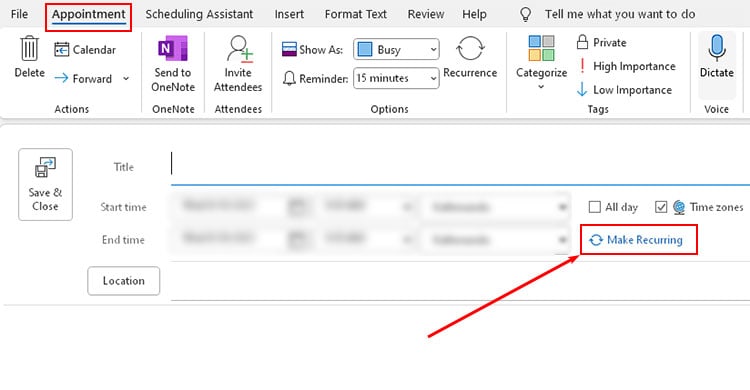
- On the next prompt, choose the Start and End time of the working hour for particular days.
- Under the Recurrence pattern, select Weekly and choose the work days having a different working hour.
- Next to the Show as field, select the Out of Office option.
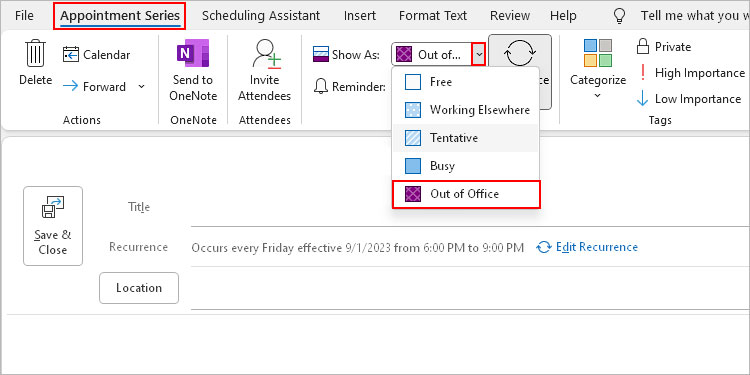
- Make other changes according to your preferences and click OK when done.
- Click Save & Close to save the appointment.