Formulas in Excel are an integral part of any calculation. When sharing Excel worksheets, you wouldn’t want the cells with formulas to be compromised. To avoid such situations, you can lock cells with the formula so nobody can edit the cells that include formulas.
In this article, we’ve broken down the process of locking a cell containing a formula into simple steps. You can also use similar steps to lock other types of cells that hold other values like Data Validation, Conditional Formatting, and so on.
Steps to Lock Cells with Formula in Excel
There are four steps you need to follow to lock cells that contain formulas in Excel. If your worksheet is, however actively protected, unprotect it first then process to follow the steps we’ve mentioned below to lock a cell containing formulas in Excel.
Step 1: Unlock All Cells
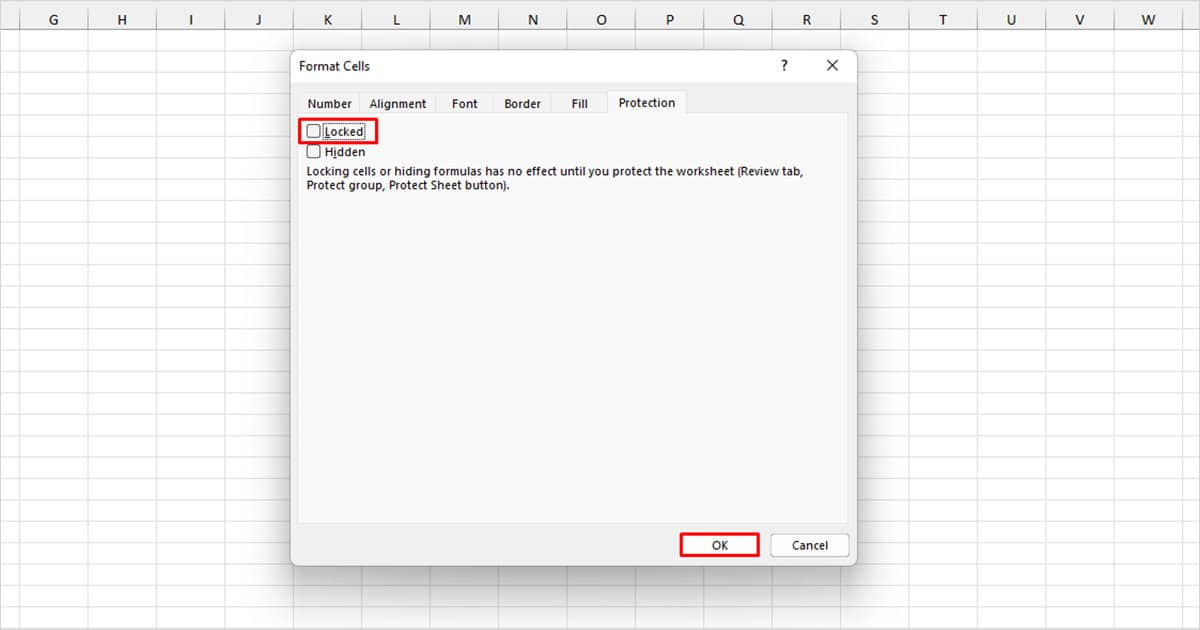
Let’s start off by unlocking all cells first. When you protect a workbook, users without a password are restricted from making changes in only the locked cells. This step is necessary as Excel automatically has all cells locked.
- Click on the indent in the top-left corner of your worksheet.
- Open the Format Cells window (Ctrl + 1).
- Head to the Protection tab.
- Deselect Locked > OK.
Step 2: Select Cells with Formulas
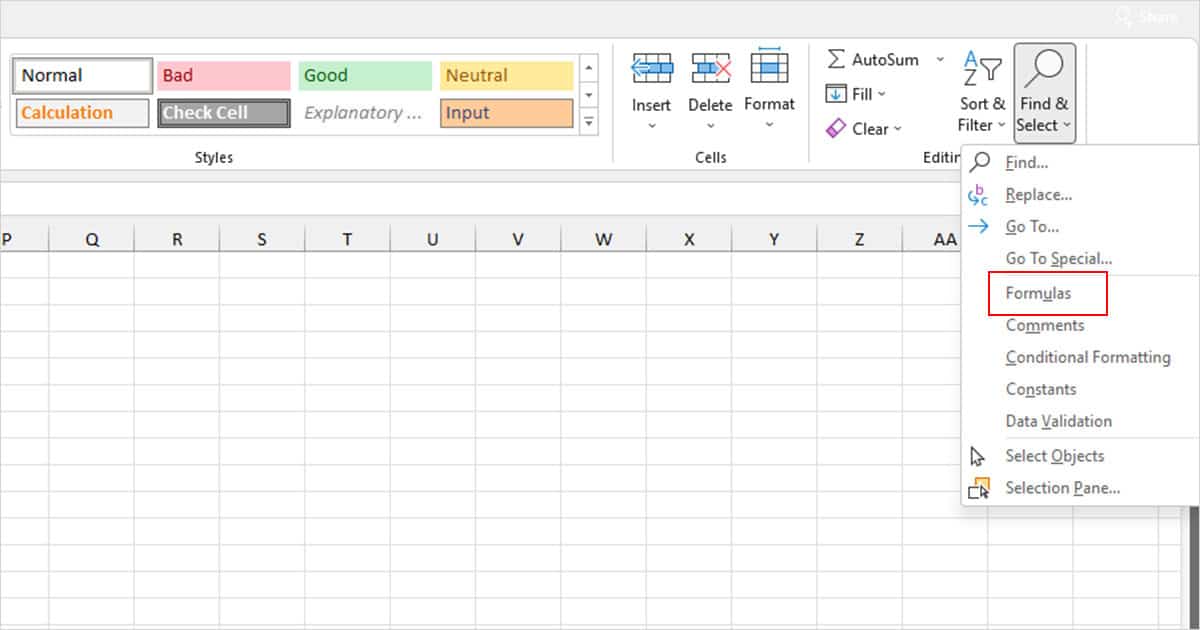
Now, we must only select the cells with the formula. While you could manually make the selection, you could also use the Go To Special tool to select cells that contain formulas. If you however wish to make the selection manually, select the first cell with the formula then hold down the SHIFT key to select the remaining cells that contain formulas.
- Head to the Home tab.
- Select the Find & Select option and choose Go To Special.
- In the Go To Special window, check the box next to Formulas.
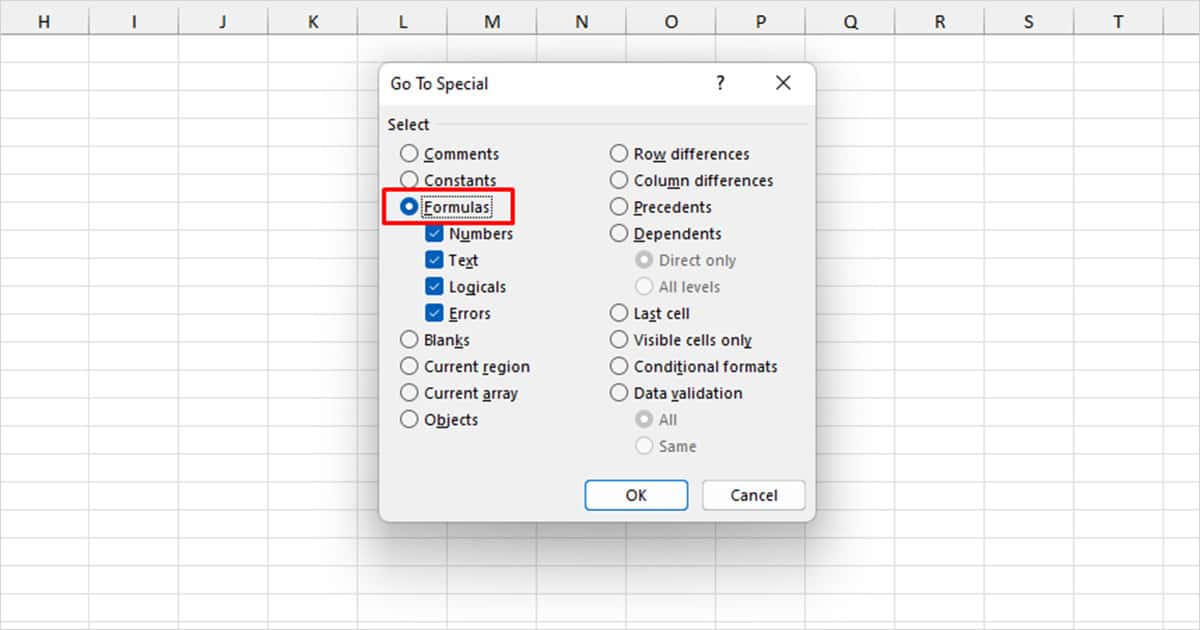
- Make sure all boxes under Formulas are checked then click OK.
Step 3: Lock the Selected Cells
After you’ve used the Go To Special tool to select the cells that hold formulas, you can proceed to lock the cells.
- With the cells selected, use the Ctrl + 1 shortcut to open the Format cells window.
- Open the Protection tab.
- Check the box next to Locked. If you wish to hide the cells as well, select the option next to Hidden.
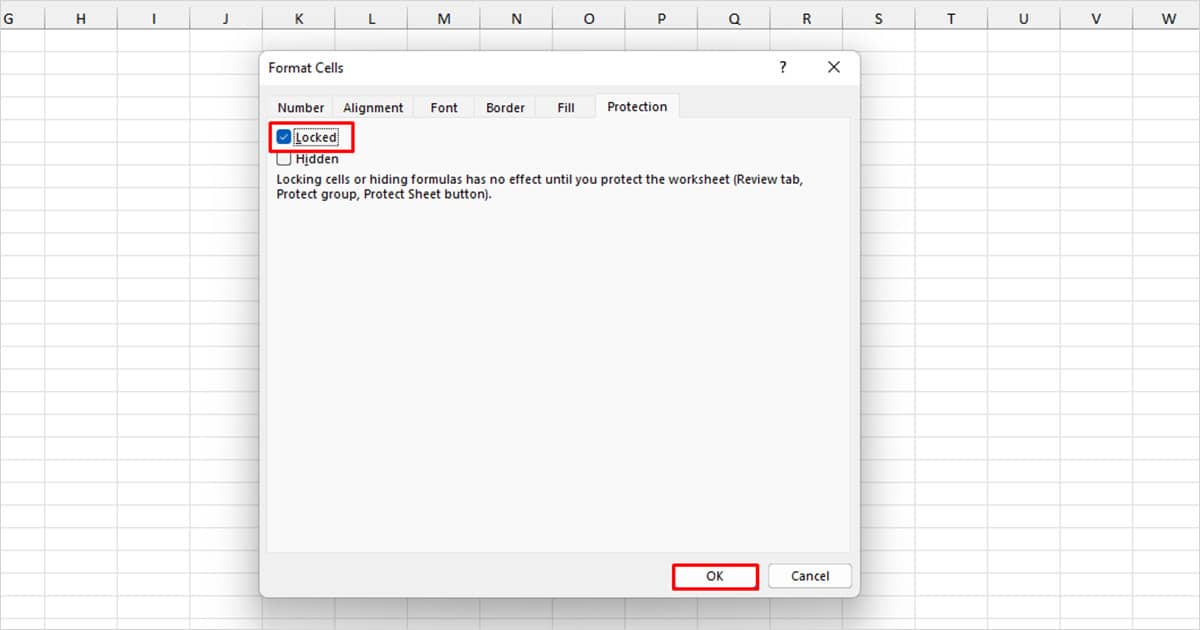
- Select OK.
Step 4: Protect your Worksheet
With only the cells that contain formula locked, you can now protect your worksheet. Only the cells you have locked will be protected. This means the users can still edit the cells that do not have formulas in them.
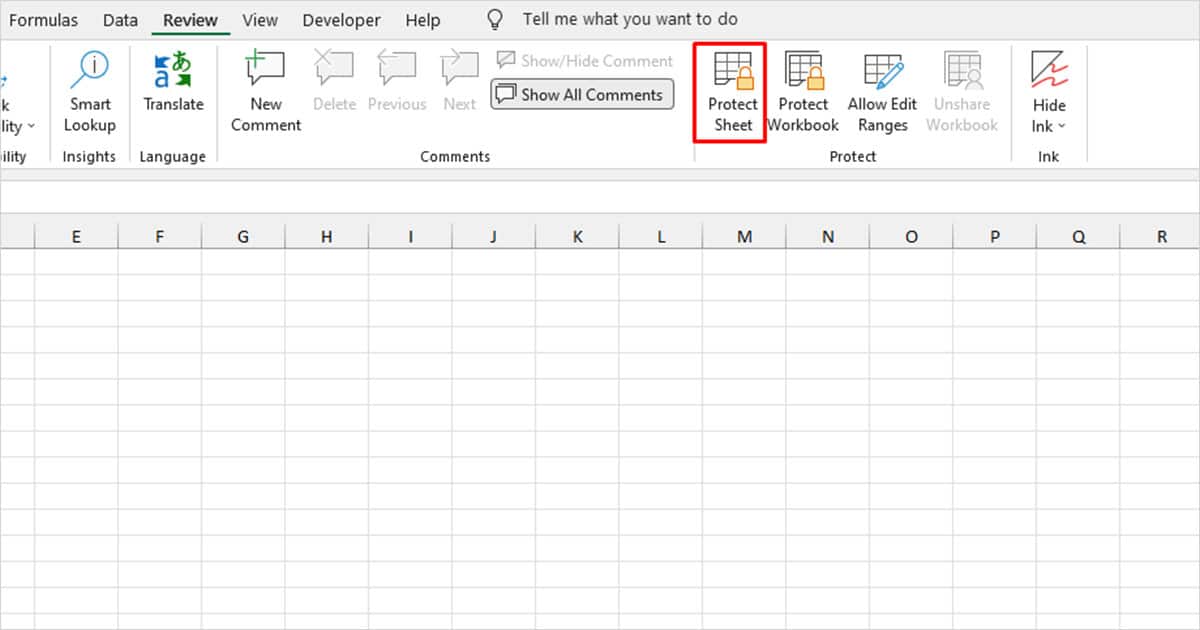
- Go to the Review tab.
- Click on Protect sheet.
- In the Protect Sheet window, enter a password in the section under Password to unprotect sheet.
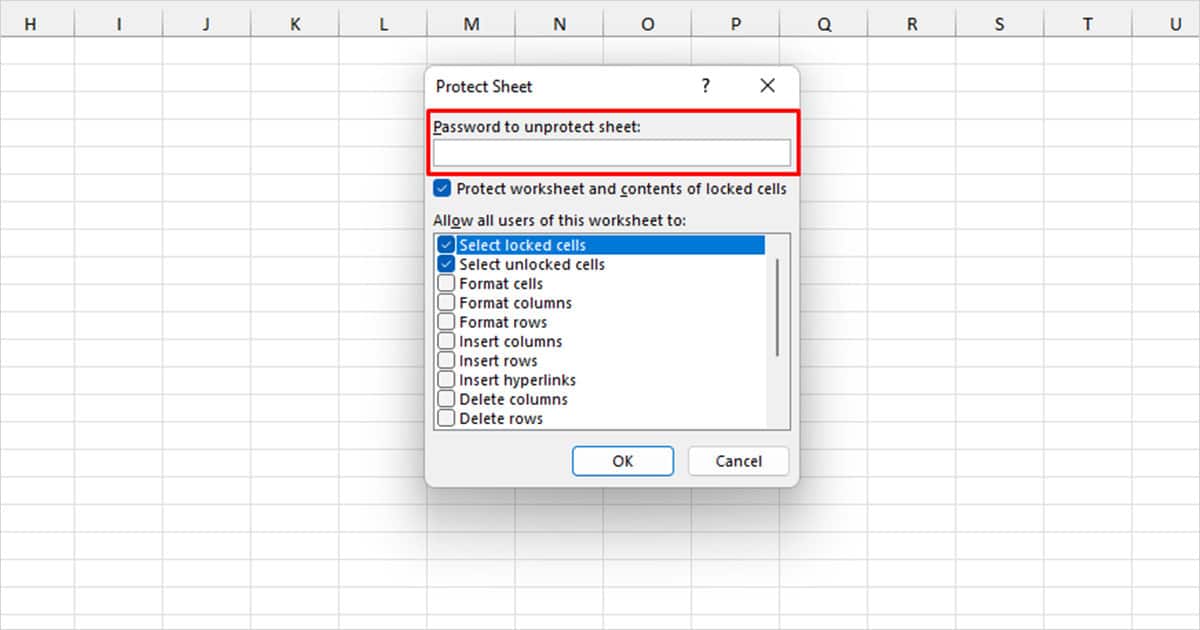
- Select the box next to Protect worksheet and contents of locked cells.
- Under Allow all users of this worksheet to section, configure the permissions.
- Select OK.
How to Edit Protected Cells in Excel?
Once you protect a worksheet in Excel, you are restricted from making changes to the locked cells. However, you do have to edit these cells, you will need to Unprotect the worksheet first.
If the owner of the worksheet has entered a password to protect the locked cells, you will be needing the password to unprotect the cells. After you gain access to the password, you can follow these steps to edit the cell content of the locked cells:
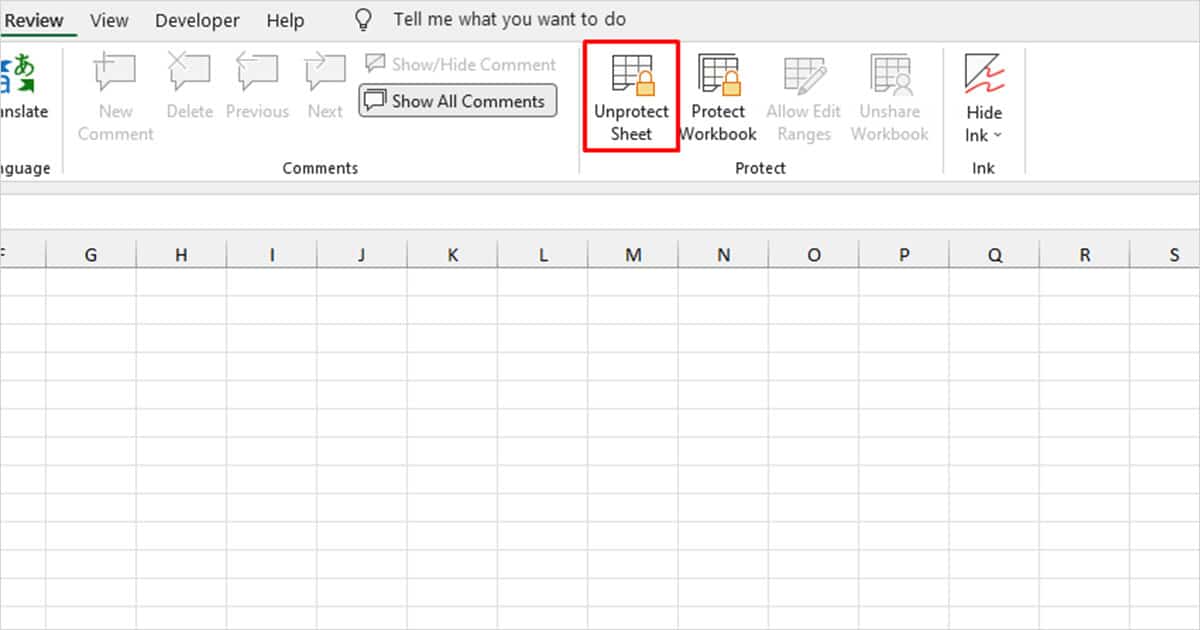
- Head to the Review tab.
- Select Unprotect Sheet.
- If prompted, enter the password to unprotect the sheet.

- Click OK.