XML files contain extensible markup languages like tags and texts. If you need to revise such data, Excel is the best tool as it supports both XML data and Schema files.
Using Excel’s functionality, you can extract information from databases, improvise data in a worksheet, and export them. To do so, we have three ways to import XML files in your workbook.
Note: For users who simply want to load the XML file as a table, we recommend you use the Open Command. However, when it comes to transforming files while importing them, the Power Query tool is best for this. Besides, if you already have an XML Map, import them from the Developer menu.
From Open Menu
Firstly, you can import your local XML files using Excel’s Open command. This method is comparatively the easiest as you just need to locate existing files and open them.
To do so, we have divided the steps into two parts. Depending on your XML file type, you’ll be prompted to choose different options before importing it to Excel.
Step 1: Open XML File
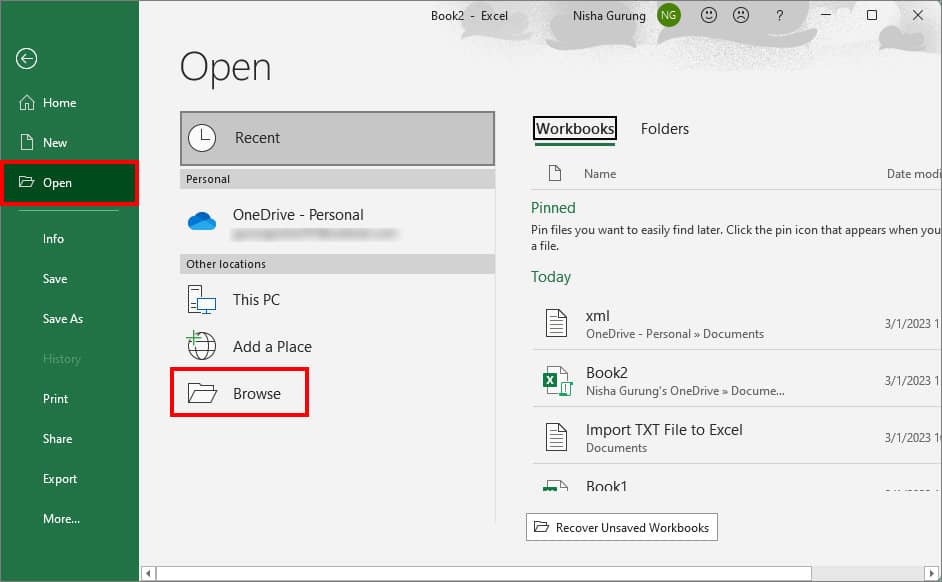
- On your Excel spreadsheet, go to File tab.
- Click on Open. Then, choose Browse.
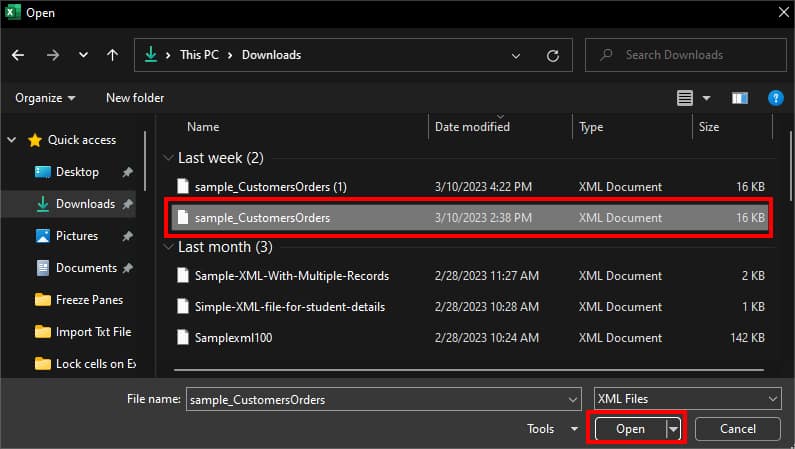
- Locate XML file and hit Open.
Step 2: Import Data
Once you choose the file to open, you will see either Import XML or Open XML window in Excel. This depends on the type of XML file you have.
Import XML: If your XML file has multiple XSLT (Extensible Stylesheet Language Transformation) style sheets, you should see Import XML in the pop-up box. Here, you will be prompted to pick any one given option for opening your file.
- Open the file without applying a style sheet: Check this option if you do not want to copy the stylesheet format for your XML data. It imports the data in two-dimensional table.
- Open the file with the following style sheet applied: Pick a style sheet for your XML data and hit the OK button.
Open XML: If your file is free from XSLT style sheets, you’ll see Open XML pop-up. Pick any one Option to Import file as and hit OK.
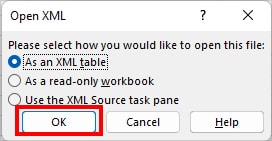
- As an XML table: It imports all contents of the XML file in the XML table format in your worksheet.
- As a read-only workbook: If you select this option, the XML file will open in read-only format.
- Use the XML Source task pane: It shows the Schema of the file in the XML Source task pane.
Using Power Query
Excel’s Power Query is a handy tool for importing external data. You can use this to upload XML files from the internet or your PC. With the Power Query Editor box, transform data as your wish by removing columns, filtering rows, and many more.
- On your worksheet, go to Data tab.
- From Get & Transform Data, click on Get Data.

- Then, do one of the following.
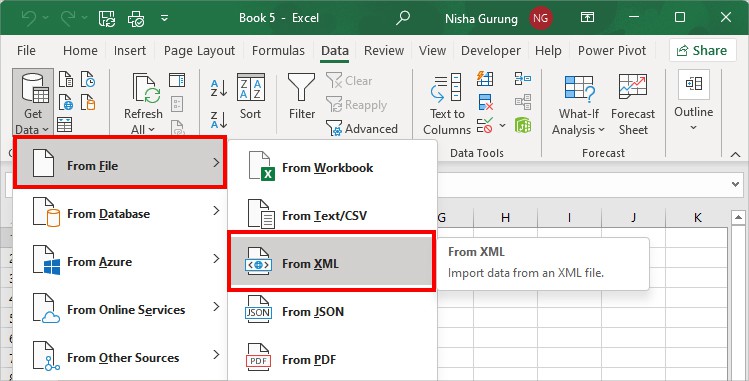
- To import a file from a PC, hover your mouse cursor over From File > From XML. Locate and select your XML File. Then, click on Import button.
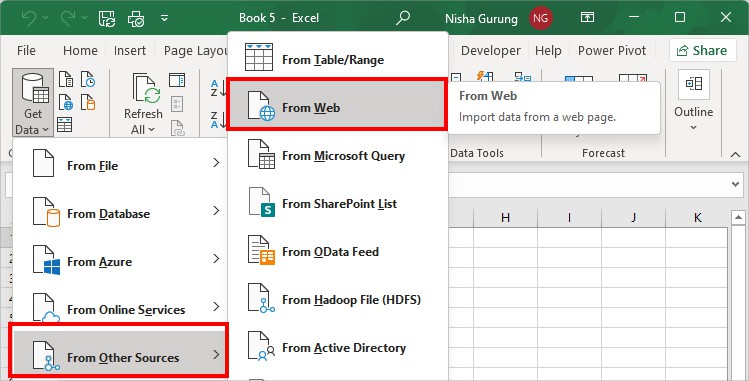
- To import files from the web, hover over From Other Sources menu > From Web. On From Web box, paste URL link of XML data and select OK.
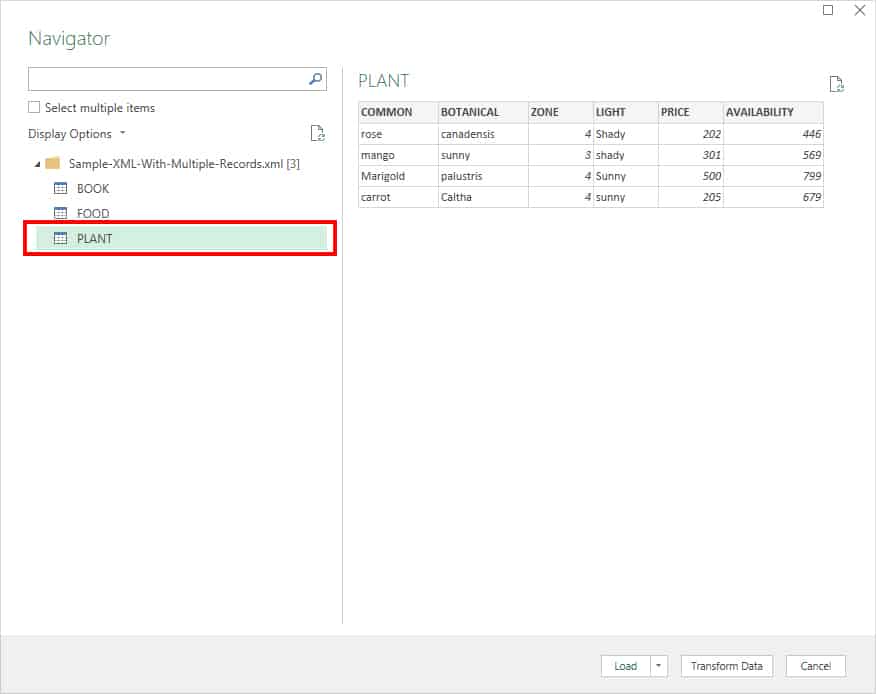
- Now, on the Navigator box, click on the XML file name.
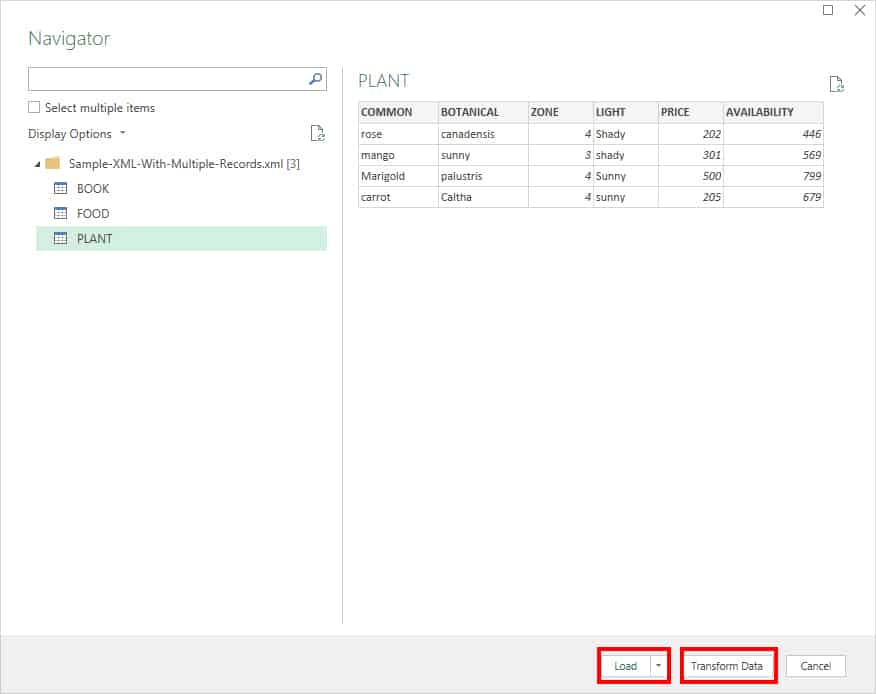
- Click Load to open file or Transform Data button. (If you click Transform Data, Excel will open the Power Query Editor box)
From Developer Tab
Excel’s developer tab has a dedicated section for using XML commands. You can even find the default import option for XML files. We recommend you use this if you already have an XML Map in your worksheet. There’s also a menu to view and modify Map properties.
Before you begin, ensure to enable the Developer tab from the Options menu. Excel hides this tab by default.
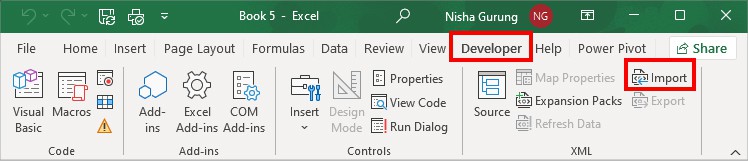
- On your Excel Spreadsheet, click on Developer tab.
- From the XML section, choose Import.
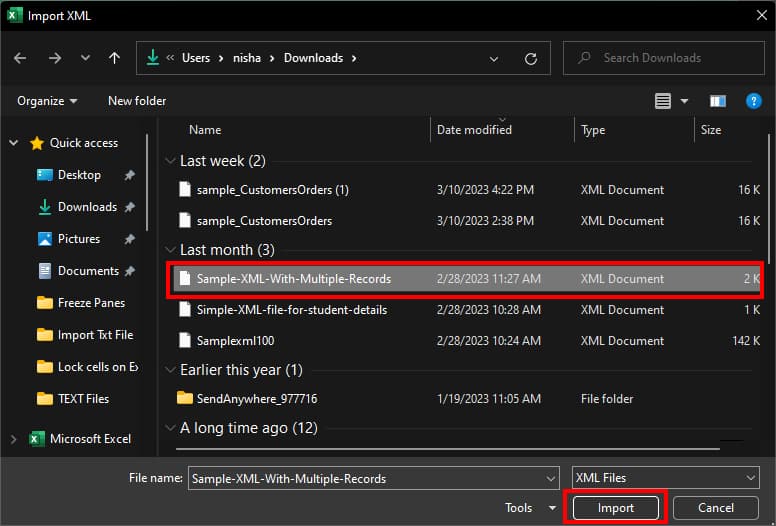
- Find and select the XML file on your PC. Then, click on Import.
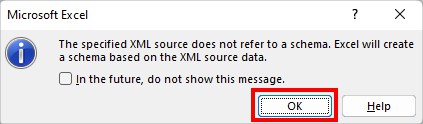
- If prompted, click OK to continue.
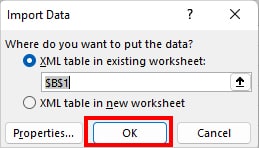
- On Import Data box, pick one of the given Options.
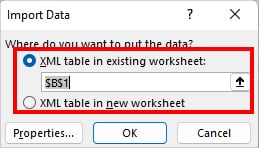
- XML table in existing worksheet (Here, you can choose a specific range to import data)
- XML table in new worksheet
- Click OK.