Need to import Excel Sheets into QuickBooks?
QuickBooks, an accounting software to track business finances, works well with Excel files. So, if your Excel Sheet contains data like Inventory, Bank Feeds, Expenses, and Accounting reports, you can import them all into QuickBooks.
For desktop users, you can also find an Excel file in the Import option. But, to avoid errors when uploading the files, I suggest you go through these tips below.
Things You Should Note Before Importing Data From Excel
- QuickBooks only supports .XLSX and .CSV Excel File Formats.
- Check if your Excel workbook has data.
- Before you import your Excel Sheet to QuickBooks, clean your data in the spreadsheet. Especially, if you have Bank Transactions to format them properly.
- Ensure the data to import is in the First Sheet of your workbook.
- When you import Excel Sheets, you need to ensure the columns match with the QuickBooks.
- QuickBooks Online takes a reference of the Column Header to map columns. So, you must have Column Headers in your Excel Sheet.
- Make sure there are no blank cells before the Header on your Excel Sheet. Delete empty cells immediately.
- Your spreadsheet must have at least one column with Name Field.
- Make sure the values in your Excel Columns are formatted appropriately. For Example, the Average Unit cost number should be in 2 decimal places, Names in General, Company Reorder Point in Number format, etc.
- Always create a copy of the file as a backup.
Import in QuickBooks Online
If you use QuickBooks Online, there’s an Import Data menu. Here, you can find all sorts of categories like customers, suppliers, products and services, Invoices, and Bills to choose from. So, you can directly import Excel data to the category you wish to.
Step 1: Upload Data
- Go to QuickBooks Online in your web browser.
- Sign in to your QuickBooks account if prompted.
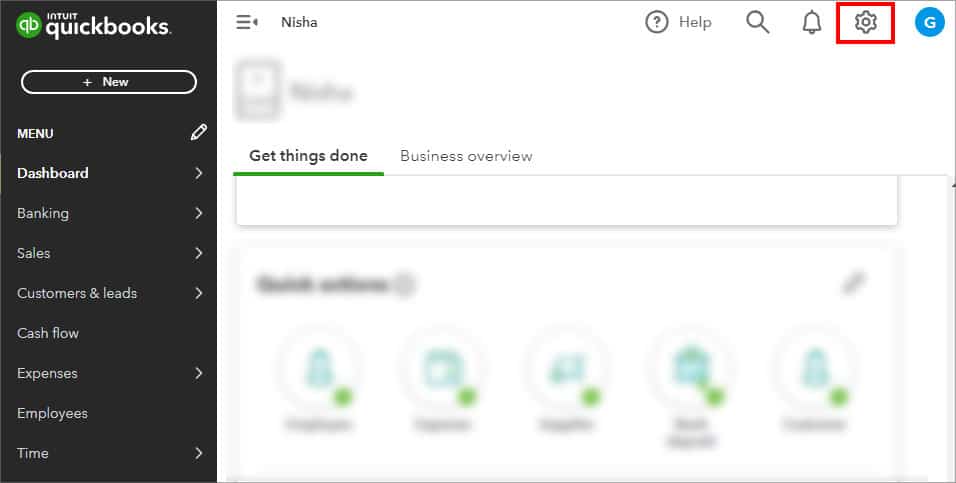
- On the home page, click on the Gear icon in the upper-right corner.
- Below the Tools, choose Import data.
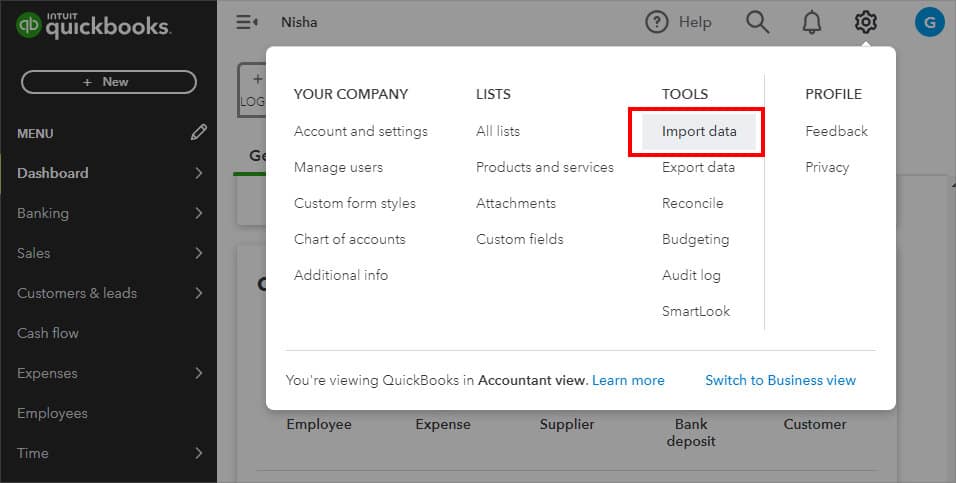
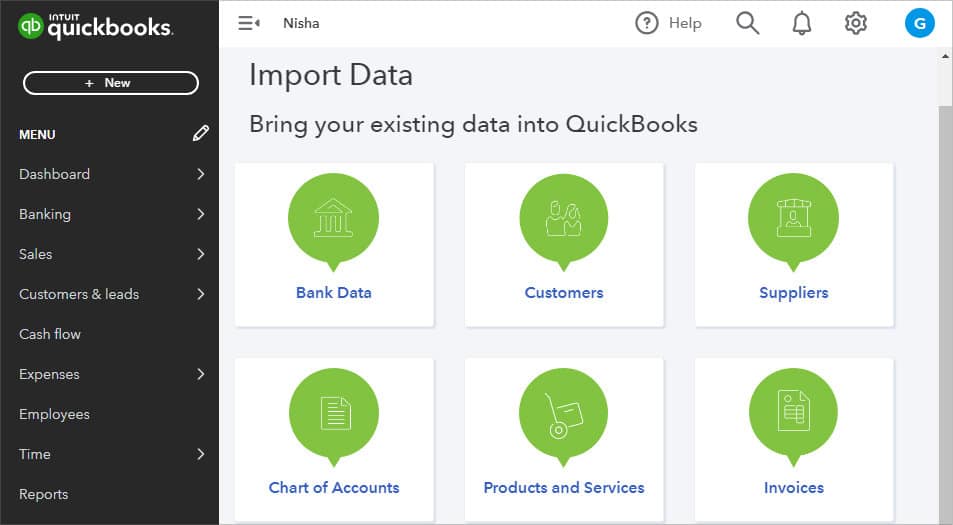
- Now, in the Import Data window, you can see Bank Data, Customers, Suppliers, Chart of Accounts, Products and Services, Invoices, and Bills categories. Click on any one category to import data. Here, I picked Suppliers as an example.
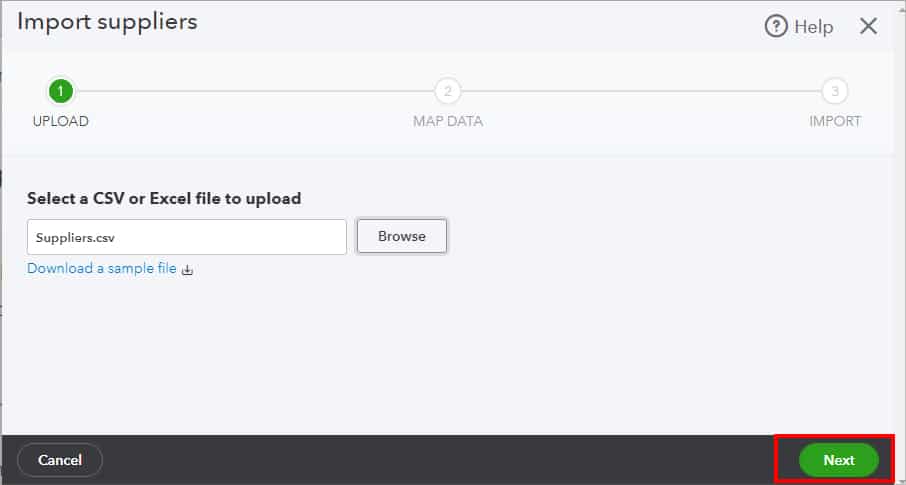
- Under Select a CSV or Excel file to upload, click Browse.
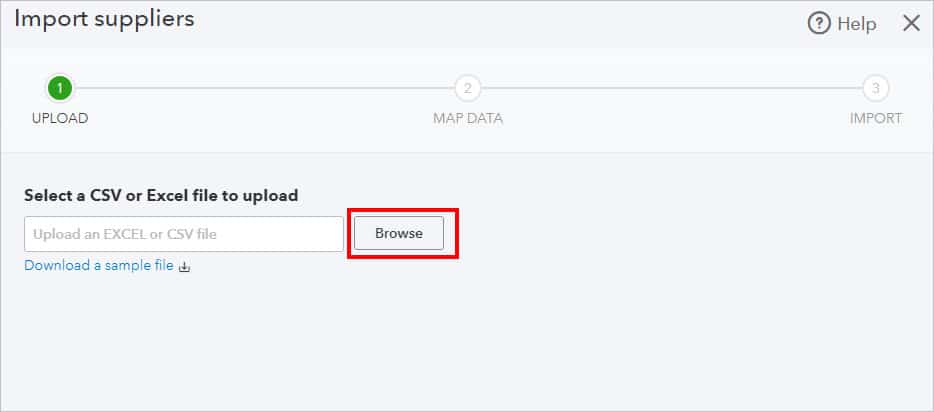
- On the Open window, Choose your Excel File and select Open.
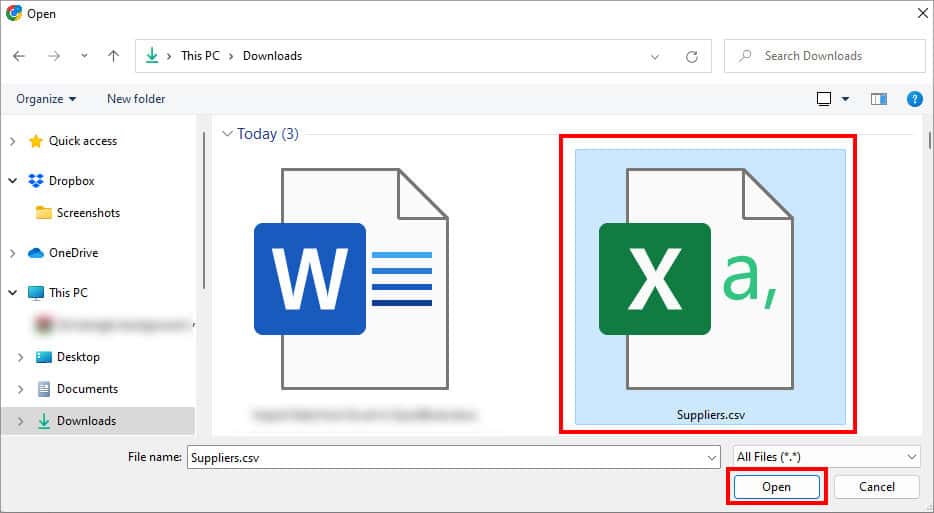
- In the bottom-right corner, click the Next button.
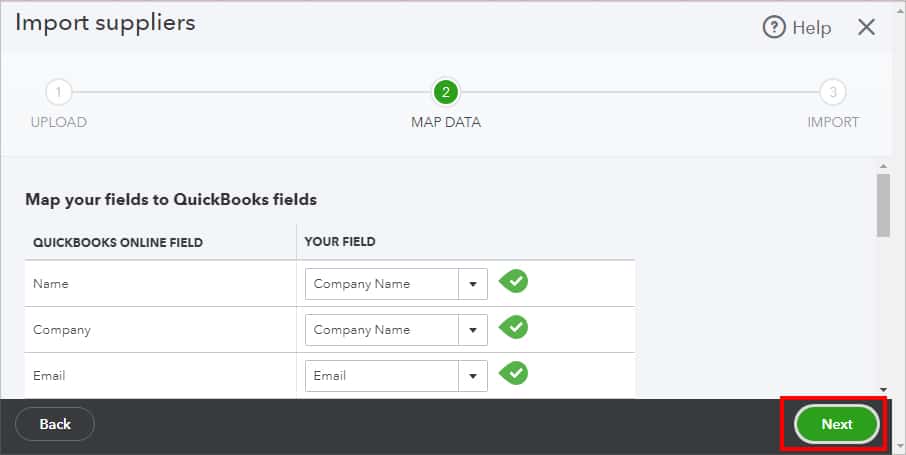
Step 2: Map and Import Data
Now, you need to make sure the QuickBooks Online Field and your Excel Field Match. For example, does the Name field aligns with the Suppliers name in your Field? If it’s mapped correctly, you can hit the Next button in the lower right to proceed.
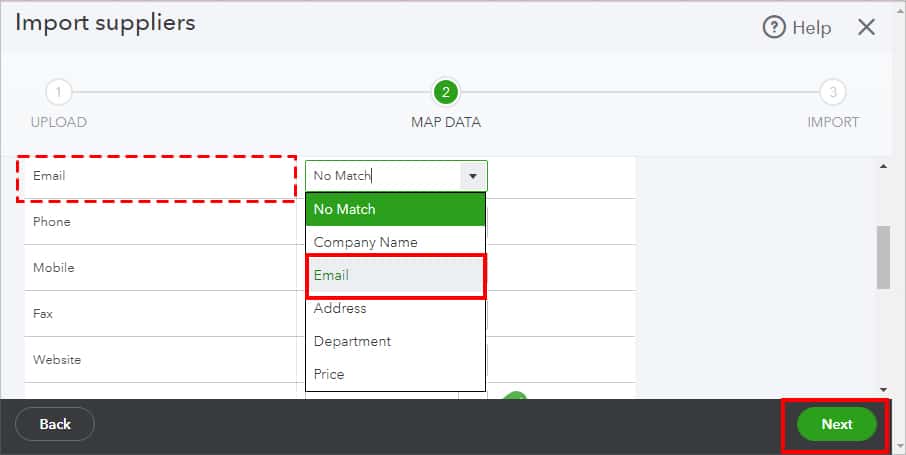
But, in case you wish to edit the field, expand the drop-down menu for one of your Fields. Then, choose a Column Header. Do this to match all the remaining fields. When done, click Next.
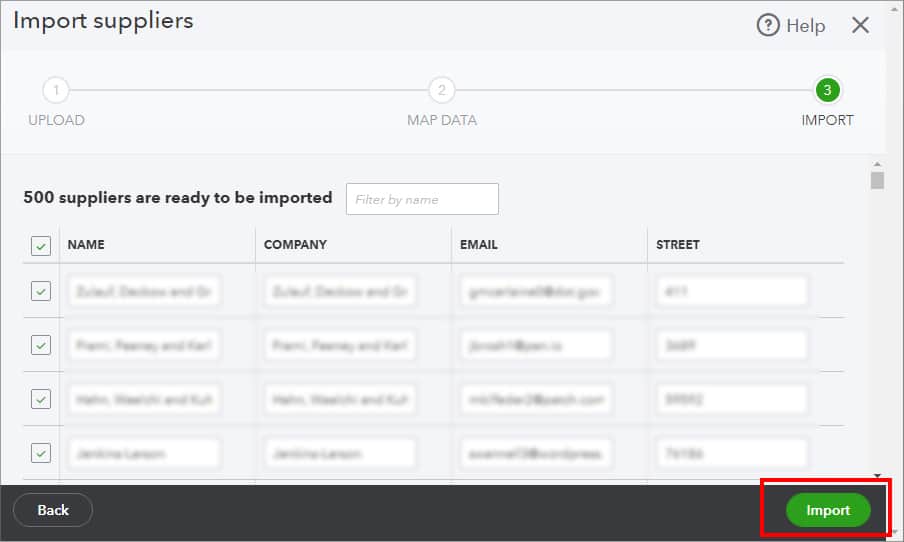
On the Import page, skim through the lists. Then, click Import on the bottom right.
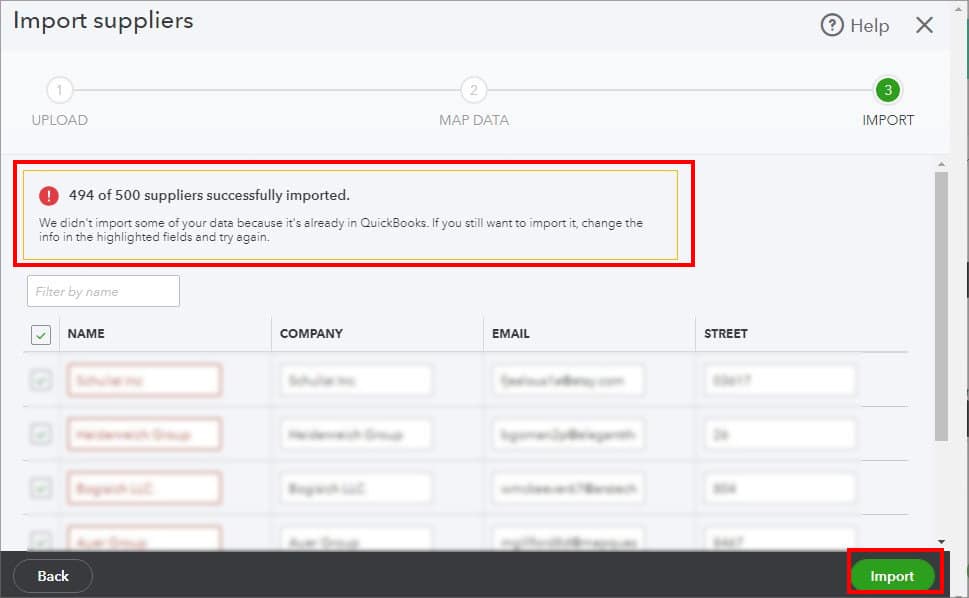
Remember, QuickBooks won’t import the data that are already in the Online tool. If you want to load them, however, click the Import button again.
Import in QuickBooks Desktop
If you have the QuickBooks Desktop application, there’s a default menu for Excel files in the Import section. Since the QuickBooks have different versions, some of the menus might differ according to the product type. However, the steps are similar for all.
Step 1: Import Excel File
- Launch the QuickBooks app.
- Head to File Tab > Utilities.
- Choose Import and click on Excel Files.
- On Add/Edit Multiple List Entries, pick No.
- On Add your Excel Data to QuickBooks window, choose Advanced Import.
- On Import a File dialogue box, click the Preferences Tab. Below Select a File, hit Browse.
- Select an Excel file and hit Open.
- Under Choose a sheet in this Excel workbook, choose a Sheet that contains data.
- Next to Choose a mapping, pick <Add New> from the drop-down list.
Step 2: Map an Imported File
- On the Mappings window, enter a name in the Mapping Name.
- Then, expand the drop-down for Import type and choose the Imported sheet name.
- Now, start mapping the data for QuickBooks and Import Data. For this, click on the box for Import Data and choose Values.
- Once you’re done, click Save.
- You’ll be back to the Import a file window. Click on Preview to see if it’s in the correct Format.
- Now, below the Error Handling, you’ll see two options Import rows with errors and leave error fields blank and Do not import rows with errors. You can leave them as it is or tick the options.
- Click Import.
- On the Import prompt box, pick Yes.
Limitations of Import Fields in QuickBooks – Avoid These in Excel Sheets
Although you can easily load Excel Sheets into QuickBooks, it also has its limitations. For Instance, the data in the Contact Field has a restriction in the character counts. If you reach the limits, you’ll eventually experience error importing these fields. So, check them out and avoid them.
| Contact Field | Limitations |
| Full Name | Do not use colon and quotation marks in Name. Make sure the characters of the name are less than 100. Enter Unique Names. |
| Company | Enter Company Names with less than 50 characters |
| Do not use any spaces in the email address | |
| Phone, Fax, and Mobile | Character Limit – 21 |
| Website | Make sure the Website is in URL format |
| Street and City | Street Character limit: 2000 City Character limit: 255 |
| Zip Code or ZIP code | Character Limit: 30 |
| Country | If there are no country fields, you will have Home County by default. |
| Account Number | For Customers, the Account Number should begin with 411. For Vendors, the Account Number should begin with 401. If the Account Number Field is empty, the default Account Number will be 411-001 for customers and 401001 for Vendors. |
| Resale Number or Tax ID | Resale Number character limit: 16Tax ID Character Limit: 20 |