In Excel, moving and swapping rows is a pretty common when you have to sort your data. Sometimes, you may find the need to shift rows just one step above or below in sheets. At other times, however, you could wish to switch the entire rows with columns.
Regardless of the reasons, we have compiled very simple ways to do so in this article. If the rows are adjacent, you could use Drag and Drop or Excel commands to shift rows. If they aren’t, Sort & Filter is best for you. Similarly, for users who want to swap rows with columns, Excel has a Transpose tool dedicated to it.
Use Drag and Drop
Firstly, you can use the Drag and Drop method to swap rows on your sheet. It is the most commonly used approach among all Excel users. Here, we will use the Move or Copy Pointer to drag the row and then drop them in the location we intend to have.
- Cut and Replace: This command overwrites the data of the selected row in a new row. For this, select the row and hold down the SHIFT key. Hover the cursor near the border to bring up Move Pointer. Once you see it, use it to swap rows.
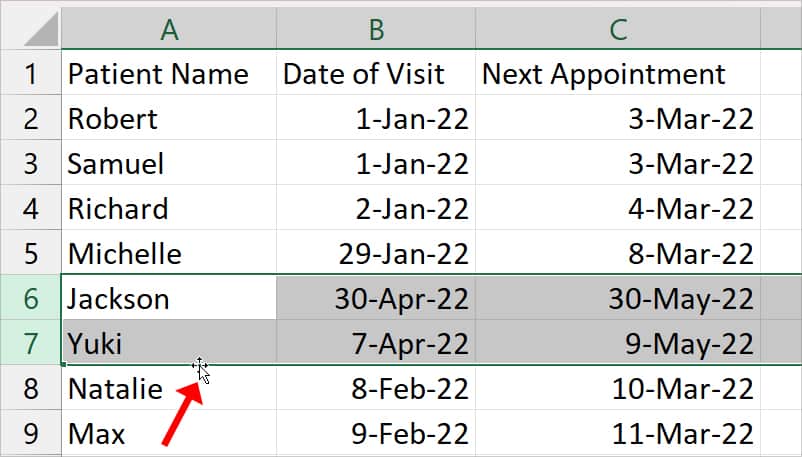
- Copy and Replace: It copies the data of the selected row and replaces them in the row you swap. Once you select rows, hold down the CTRL key and hover your mouse over the row borders. After the Copy Pointer appears, shift the cursor to move rows.

Use Commands
Although drag and drop can be the easiest way, there are possible chances you may move rows in a different location. Especially, when you are dragging rows all the way down in extremely big data sets. If you find using a mouse to swap rows very overwhelming, you can use direct commands instead.
Here, we will use Excel’s Cut Insert and Copy Insert commands to exchange rows. Just like drag and drop, this method also does not work for non-adjacent rows.
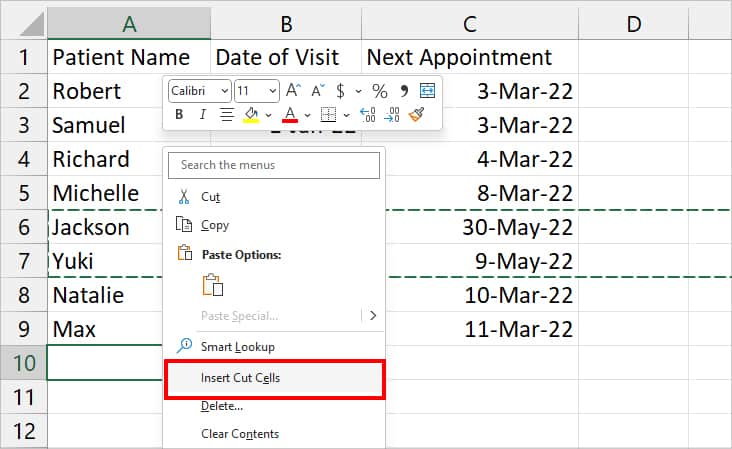
- Cut and Insert: This command will move the rows. First, highlight the rows you want to shift and enter Ctrl + X for the Cut command. Now, right-click on the new cell and choose Insert Cut cells.
- Copy and Insert: It will copy the selected rows to a new location. For this, once you highlight the row you want to move, enter Ctrl + C to Copy them. Then, right-click on a new cell and select Insert Copied Cells.
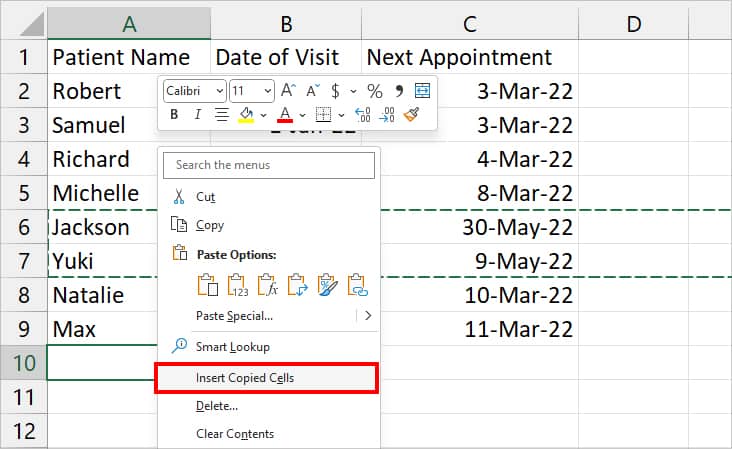
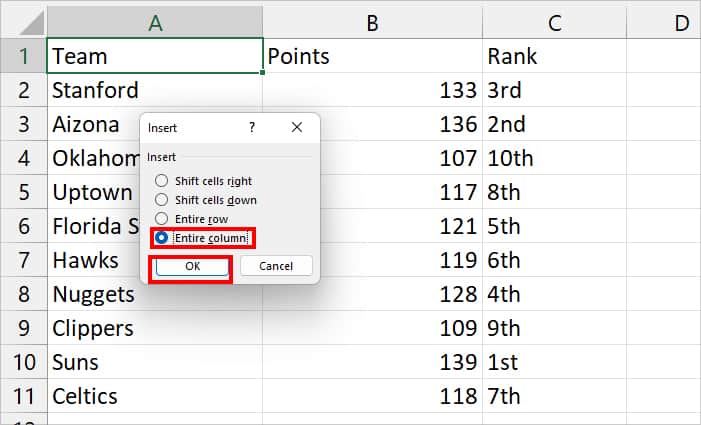
While using any of the given commands, if prompted, pick Shift cells right or Shift cells down in the Insert box. Then, click OK to insert the rows.
Use Sort & Filter
While the above methods are the simplest way to shift rows, it can be equally tedious to swap rows in large spreadsheets. You wouldn’t want to switch the 1st row with the 100th row using those methods. So, we have an even quicker and smart approach to do so.
Excel’s Sort & Filter tool is specifically dedicated rearrange data with few clicks. Here’s how you can use it.
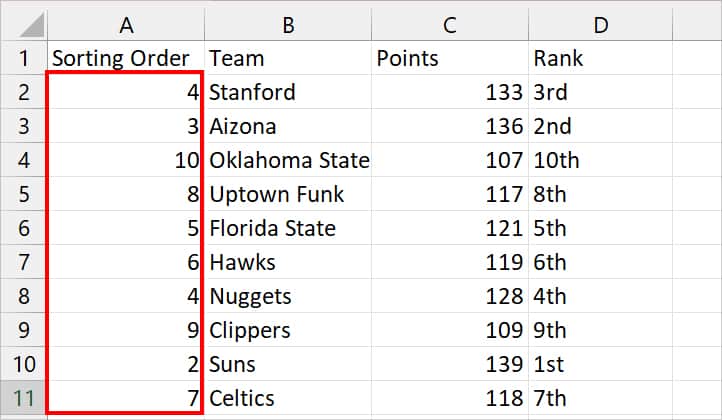
- Firstly, create a helper column using the Ctrl + Shift + + shortcut key next to Column A. When prompted, choose Entire Column and hit OK.
- In the new row, start typing the Sorting order on how you want to rearrange the row.
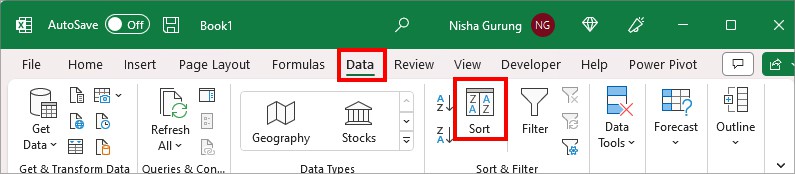
- Select all Rows. Head to Data Tab and on Sort & Filter, click Sort.
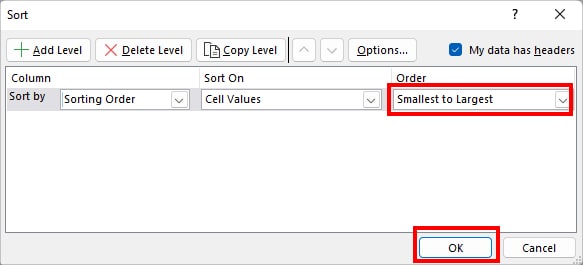
- On Sort by, pick Sorting Order from the drop-down menu.

- Ensure the Order is Smallest to Largest and click OK.
- You can delete the helper column now.
Use Transpose
We learned how to swap rows with rows. However, some of you may wish to switch the rows with columns in Excel. In such cases, you can use Excel’s Transpose tool.
Note that if your data is in a Table format, the option will be greyed out. Convert them into the range to access the feature.
Select rows and copy the value using Ctrl + C. Right-click on the new cell and pick Paste Special from the context menu. On the Paste Special box, tick on Transpose menu at the bottom and hit OK.