While printing the documents in Sheets, you may be prompted to print only a particular cell range regularly. For Instance, the total sales report every week. During such cases, you may wish to set a Print Area on Sheet for your convenience.
Unfortunately, unlike Excel, Google Sheets does not have default Print Area settings. Meaning, when you enter Ctrl + P, you’ve to choose Print Settings every time.
In most cases, you would find the need to set a Print Area to print only specific areas. So, as a workaround, you can choose to print only the selected cells on your sheet.
Step 1: Set Selected Cells to Print
- On your Sheet, select Cell Ranges to Print.
- Enter Ctrl + P to bring up the Print menu. Or, you can also navigate to File > Print.
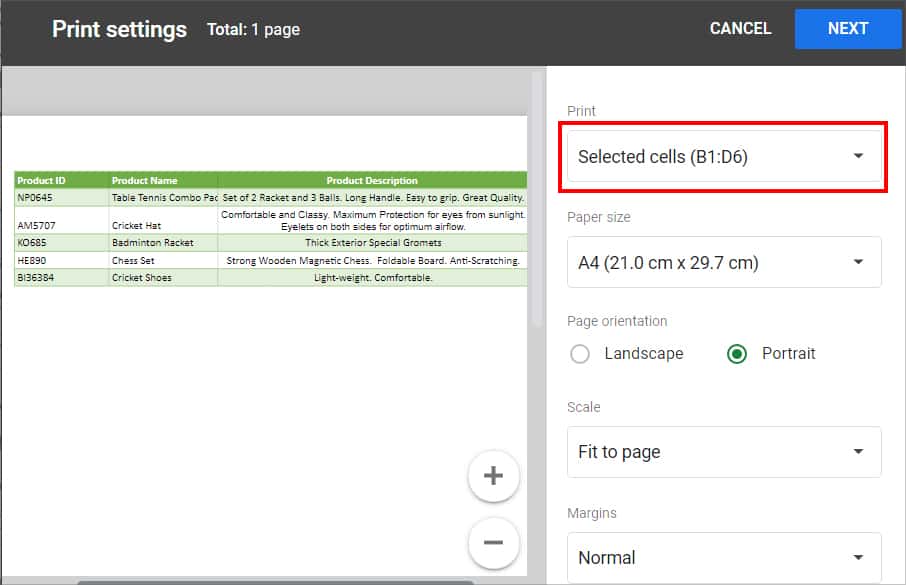
- Under Print, pick Selected cells.
Step 2: Print Page Setup
Once you choose the Print option, stay on the same page. In this step, you can set up the paper size, margins, scale, and page orientation to print.
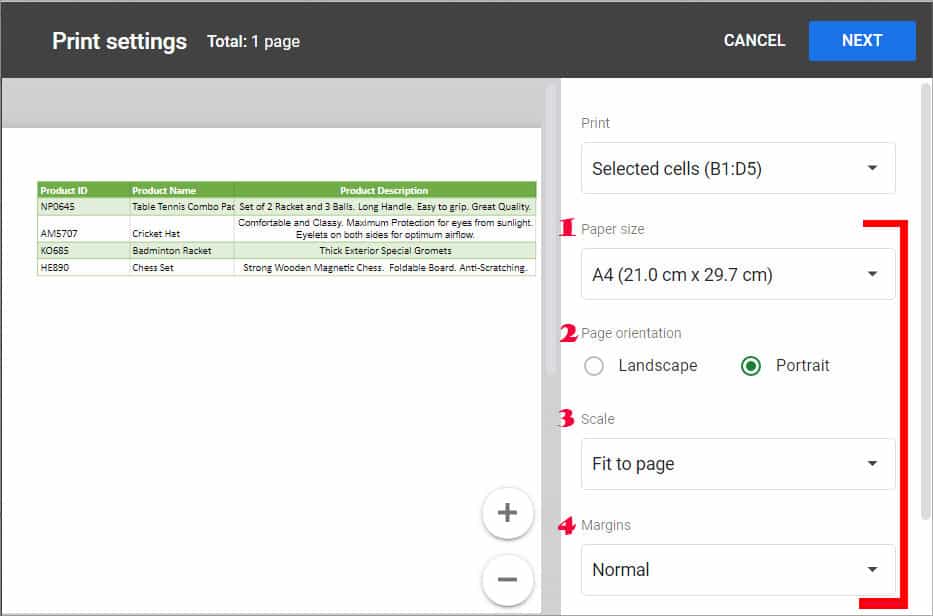
- Expand the drop-down menu of Paper size and choose an option. Here, we picked A4.
- On Page orientation, choose from Landscape or Portrait mode to print.
- Under Scale, pick any one of the options as per your data size:
- Normal (100%): Prints normal view.
- Fit to width: Fits all Columns on one page.
- Fit to height: Fits the entire Row on a single page.
- Fit to page: Fits everything ( all Rows and columns) on one page.
- Custom Number: Set your own scaling percentage number.
- Now, set the Margins for your document. Pick any one option from Normal, Narrow, Wide, or Custom Number. (If you choose Custom Number, drag the blue-dotted margins and set them as per your preference.)
Step 3: Format Print Page
After you’re done with Page Setup, you can see Formatting and Headers and Footers menu right below the Margins. Expand both menus to format your print page.
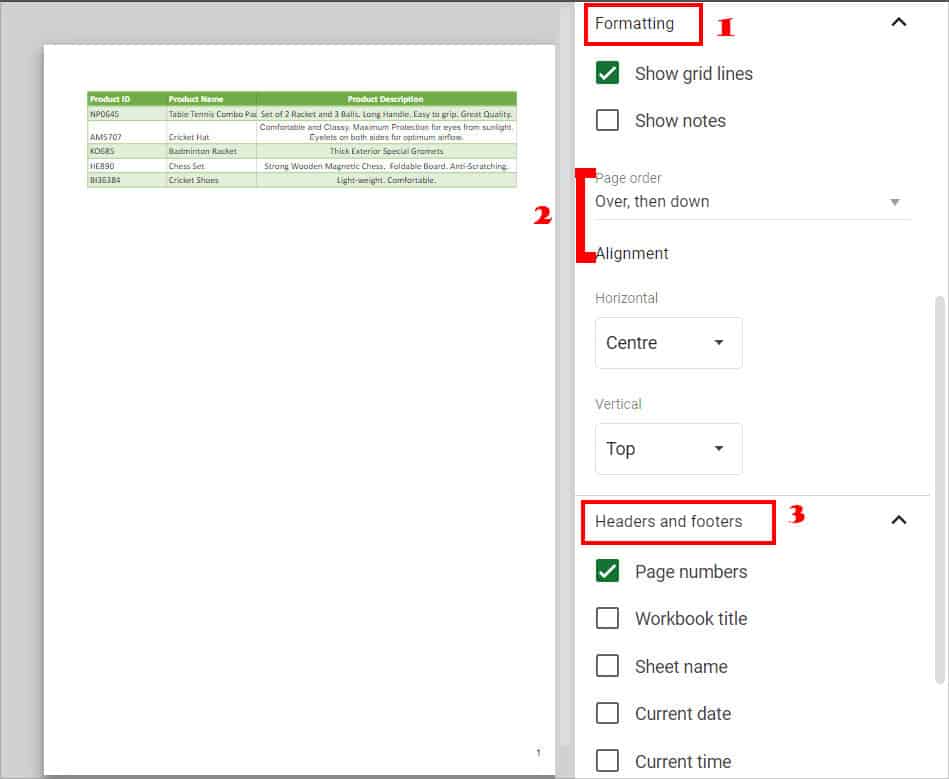
- Under Formatting, tick or untick the box for Show grid lines and Show notes.
- Change the Page Order and Alignment if you want.
- On Headers and footers, tick the boxes for the options you want to include in the Document. Then, under Row & Column headers, check the box for Repeat frozen rows/ Repeat frozen columns.
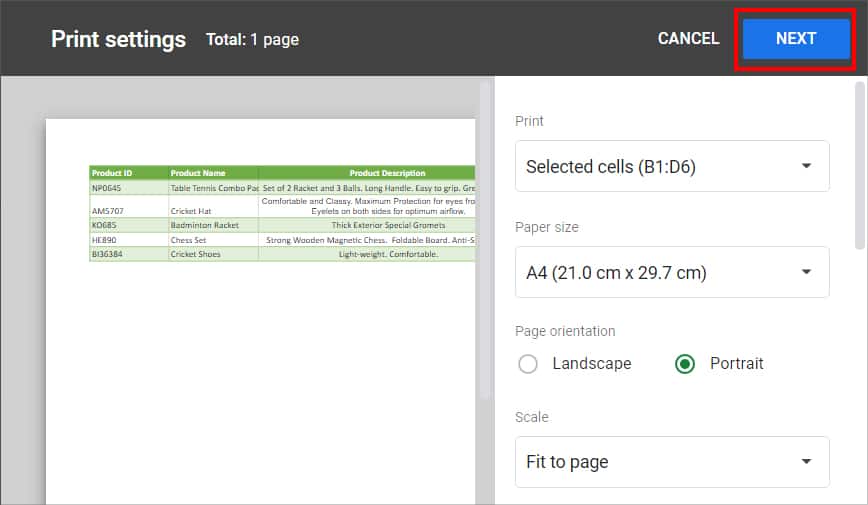
- When done, click Next at the upper right to proceed.
Step 4: Configure Print Settings and Print
This is the final step where you’ll be prompted to choose Print Destination, number of Pages to print, and page color. Additionally, you can also re-set the page setup and Print.
- On Destination, expand the drop-down menu and choose your Printer.
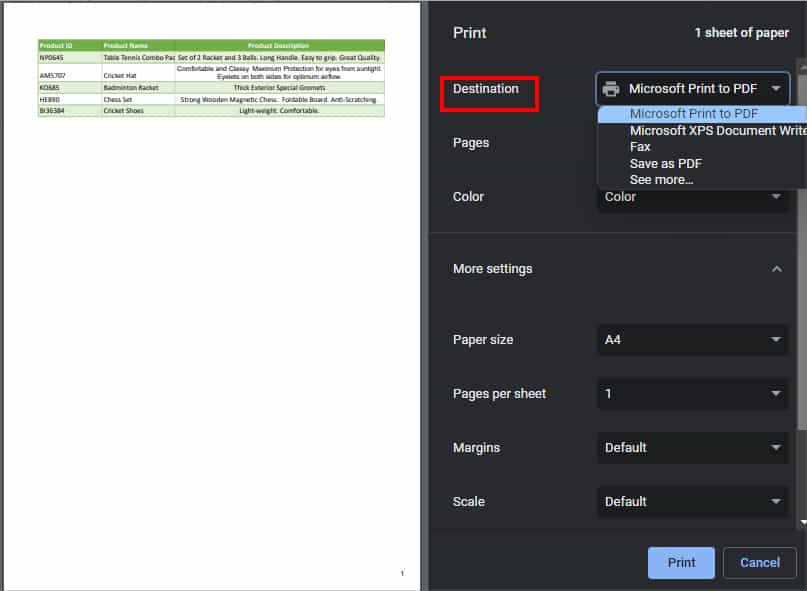
- Then, specify Print Pages and Color.
- Expand More settings menu to set Paper size, Pages per sheet, Margins, and Scale as per your wish.
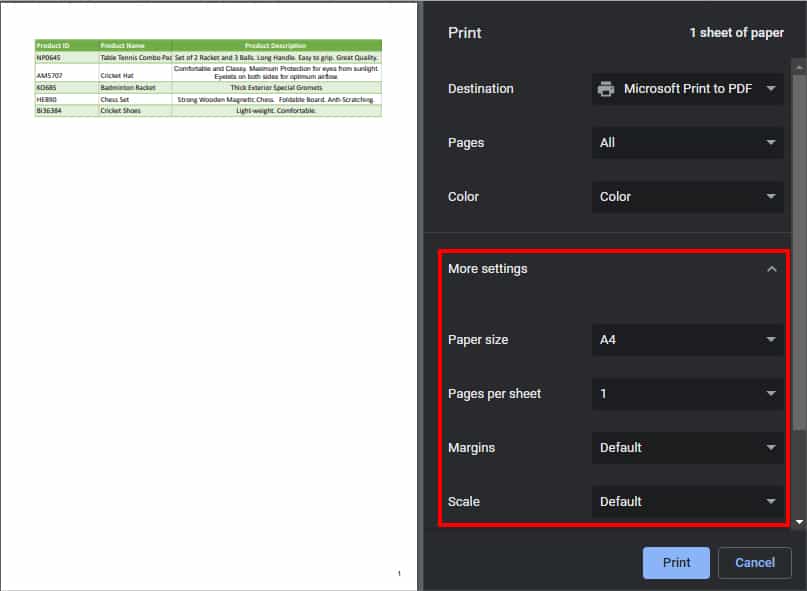
- When done, hit the Print button.

Related Questions
Can You Print the Selected Cells on the Google Sheets Mobile App?
Unfortunately, the Google Sheets Mobile app does not have the option to Print Selected Cells like in the website version. However, when you tap the Print button, there are a few Print Settings you can change as per your wish. So, copy the desired data and paste them into the new sheet. Then, while printing, choose to print only that sheet.