If you paste data like social security numbers or dates in Excel, it may have dashes in them. Dashes can be useful to segregate long numbers which will increase the data readability of your document. However, if you have to perform calculations of such data, you would want to get rid of them.
When you sum up the numbers with dashes, you will get #VALUE! Error or 0 as an outcome. This is because Excel will read the cell value as texts and ignore them during the calculations. To solve this, you can remove dashes from the data.
While you can clear dashes manually, you might not get the desired results as Excel automatically clears the leading zero alongside the character. So, depending on your data type, we have provided four ways to omit dashes in this article.
Using Find and Replace
Firstly, you can use the Find and Replace menu to delete dashes in data. It is the easiest way since you do not have to apply any codes or formulas.
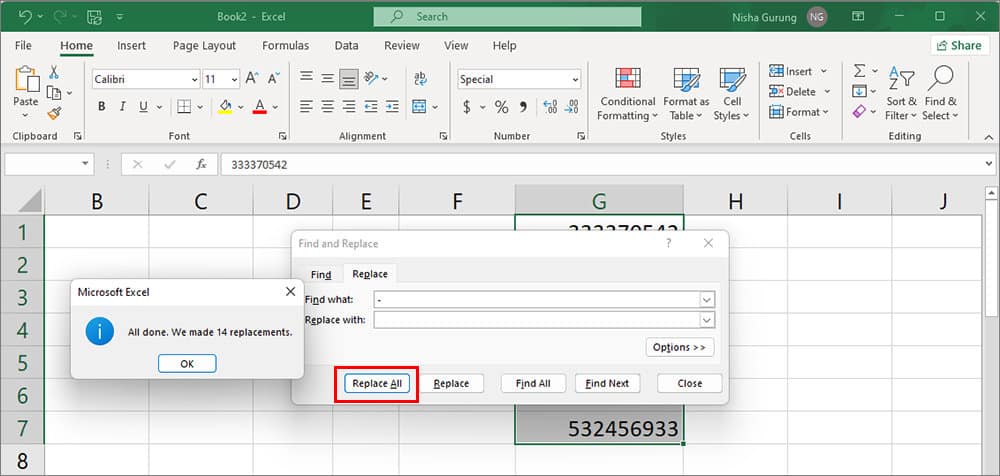
In this method, we will locate all dashes with the Find What menu in the worksheet. Then, replace the dashes with empty spaces.
This approach, however, may not be effective if you have leading zeros in the data as Excel will remove them too. For example, when you delete dashes from 033-370-542, you will get 33370542.
Here’s how you delete dashes with Find & Replace menu.
- Launch Excel.
- Go to your Workbook.
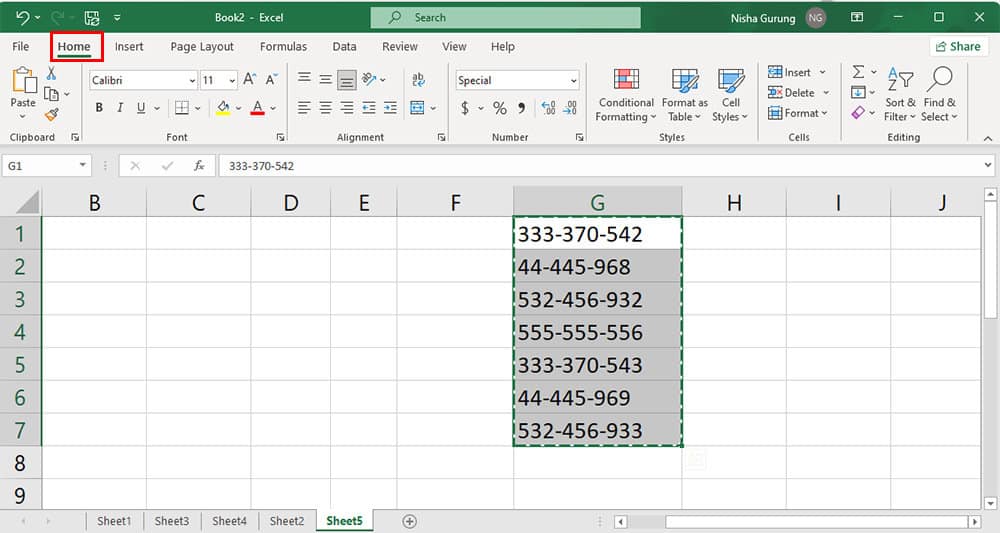
- Highlight the Cells with dashes. Then, navigate to Home Tab.
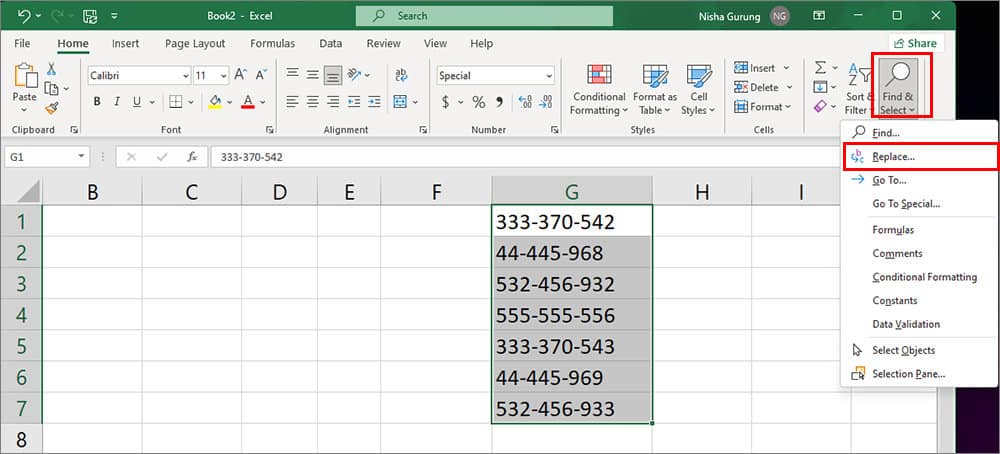
- On Editing menu, click on Find & Select > Replace.
- In the Find What field, type dash (
-).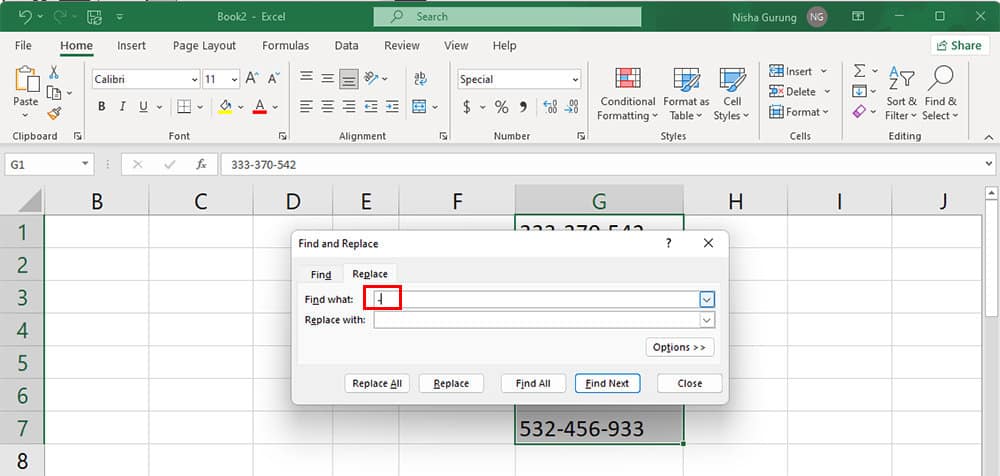
- Click on Replace All to confirm.
Using Substitute Function
Excel’s Substitute Function is used to replace the existing old text with new text. So, you can use this function to delete dashes from your worksheet.
In this method, we will again substitute dash characters with a null string. However, this time, we will use a formula for it. You can rely on this approach if you have Social Security Numbers data because it does not remove the leading zeros from data.
There is a very simple formula to remove dashes. i.e. =SUBSTITUE(G2, “-”,""). Here are the arguments of this formula.
- G2: Select the first cell with dashes.
- “-”: An old Text to replace. It is also known as a string. (Dash should be on the double quotation mark)
- “”: A new Text. (We are substituting dashes with null. So, there are no characters in the double quotation mark)
Now, let’s check out the steps for it.
- On your Excel, open the Workbook.
- Hover over the Cells with dashes.
- Then, in the next column, type in
=SUBSTITUE(G2, “-”,"")and enter.
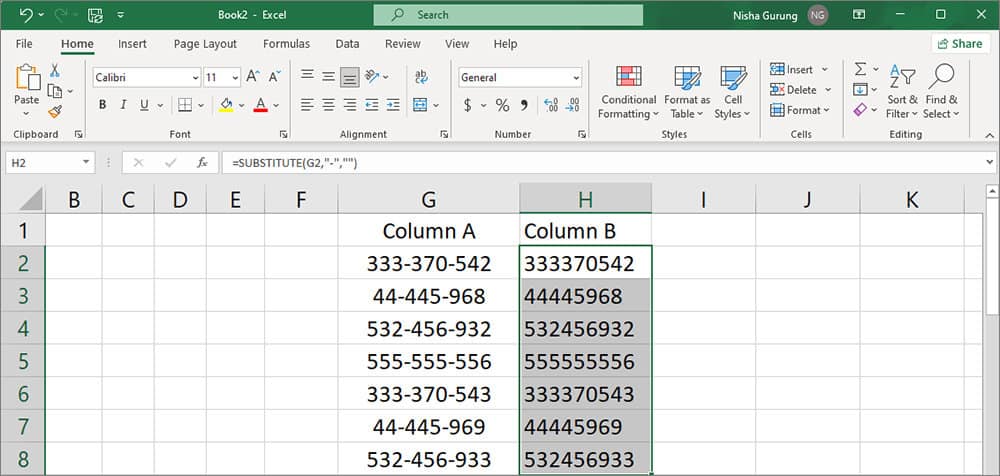
- Now, highlight the Cell without dashes. Hover your cursor in the Bottom-right corner of cell.
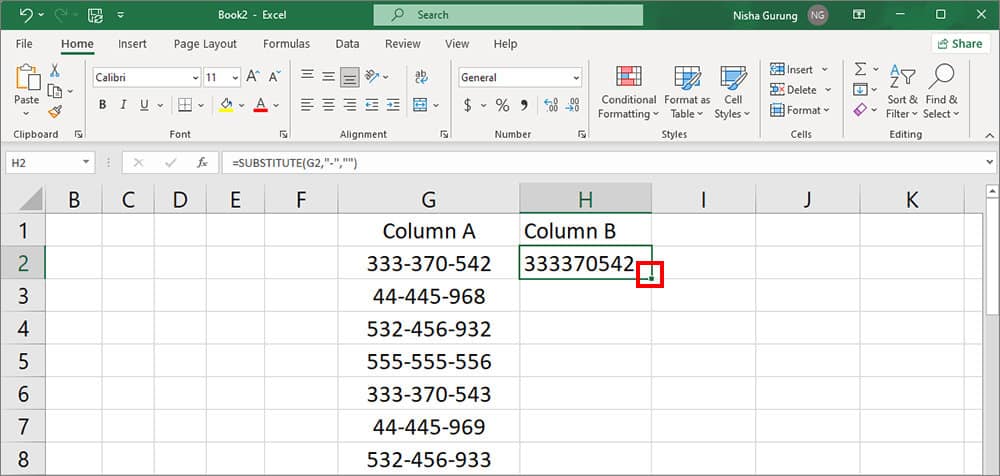
- Then, drag down the Plus icon to apply the same formula to other cells.
Using Text.Select Function
Text.Select Functions of Excel are specially used to omit any special characters from data. Since Hyphens or dashes are also one of the special characters, you can use this function to remove them.
For this, we will use =Text.Select([Column A],{“0”.. “9”}) formula. We will perform this function in the Power Query Editor of Excel.
Before we begin, let’s go through the Formula Arguments.
- [Column A]: Select all data with dashes. Simply, double-click on the column name in the right panel of the Custom column box.
- {“0”.. “9”}: Highlights all characters from the range 0 to 9.
Now, to use Text.Selection Function,
- Launch Excel.
- Go to your workbook.
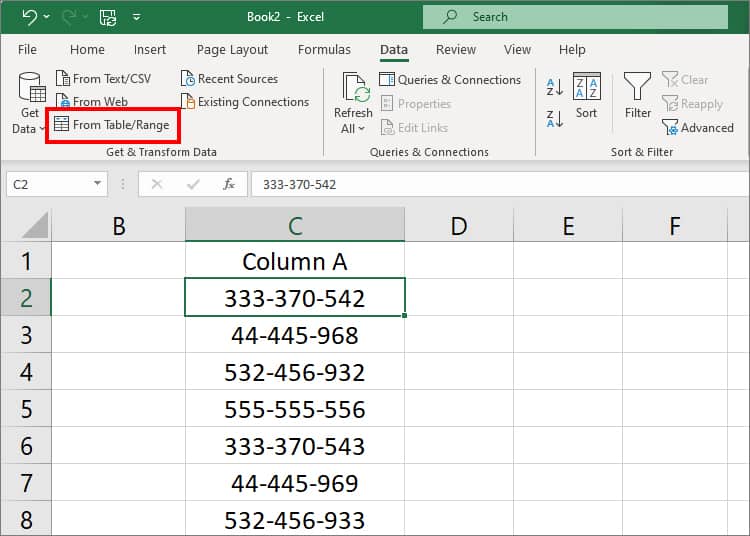
- Highlight any One cell with the dashes. Then, navigate to Data tab.
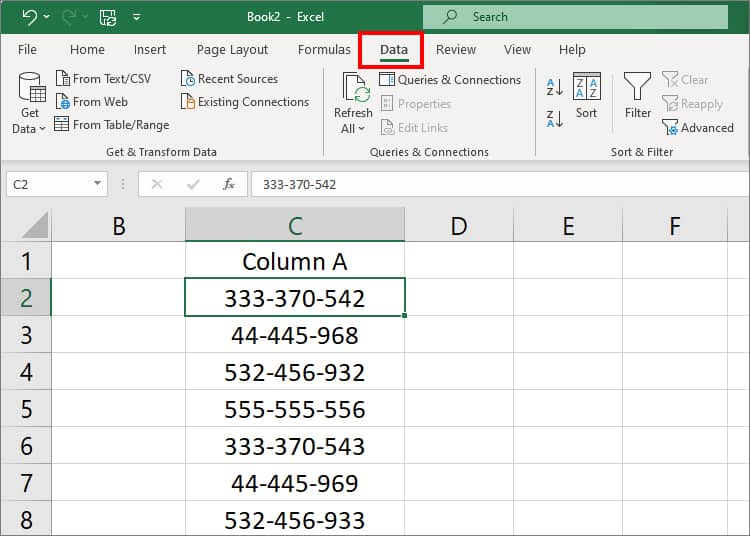
- On Get & Transform, click on From Table/Range menu.
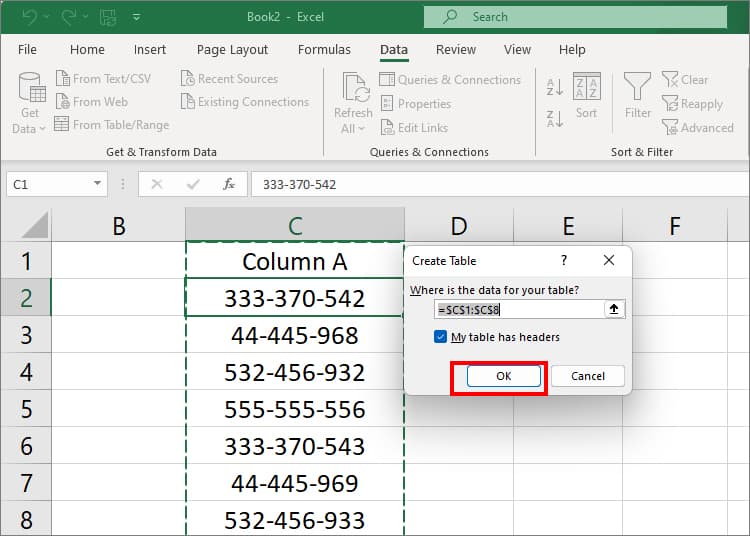
- Click OK to confirm on the pop-up.
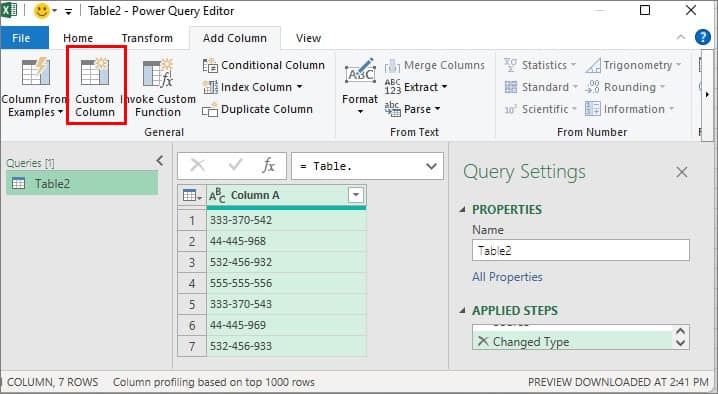
- Power Query Editor window will appear on the screen. Navigate to Add Column.

- Click on Custom Column.
- On Custom Column dialogue box, you can enter New name for your column.

- Now, on Custom column formula, type in
Text.Select([Column A],{"0".."9"})(For [Column A], look under the Available columns section. Then, double-click on the column name)![type-in-Text.Select([Column-A],{“0”..”9”})](https://insidetheweb.com/wp-content/uploads/2023/01/type-in-Text.SelectColumn-A0..9.jpg)
- Click OK.
- At the top-left, navigate to File > Close & Load.

Note: This method will also delete other special characters in cells along with dashes.Using Format Cells
If you want to delete dashes on dates, you can use the format cells menu. In this method, you will simply apply a custom date format without any dashes to your original data.
- Launch Excel.
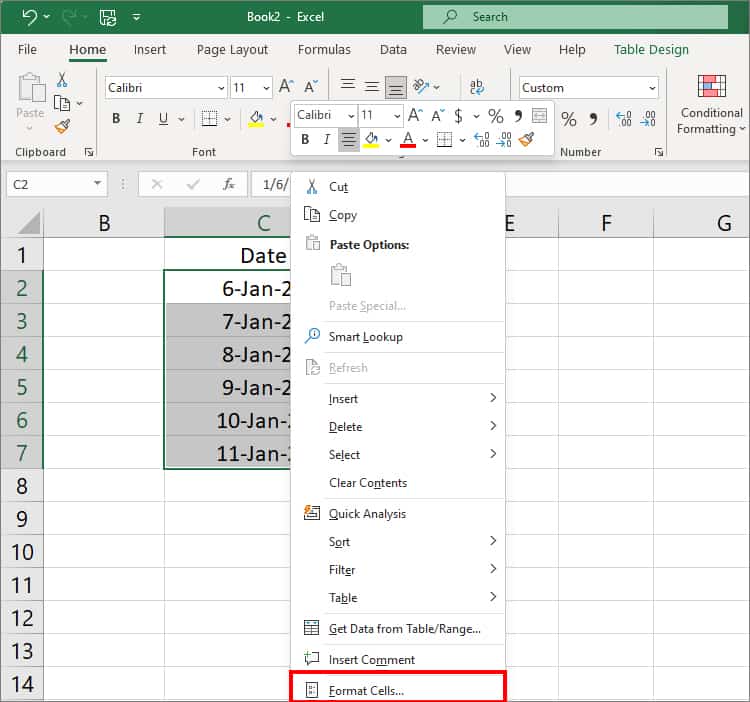
- Highlight Dates with dashes and right-click on them.
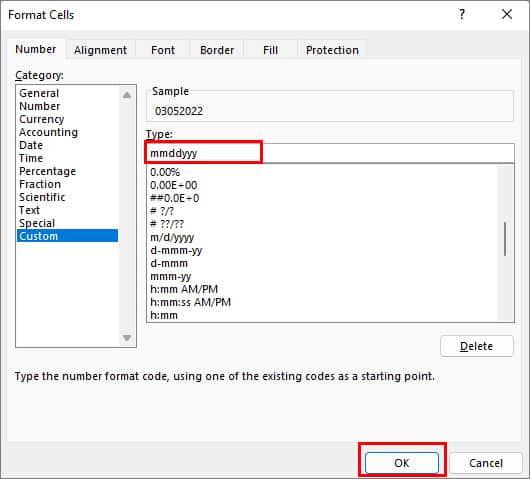
- Choose Format Cells.
- On the Number tab, click on Custom.

- Type in mmddyyy in the field. Then, click OK. (You can also enter your preferred date format. For instance, ddmmyyy.)