Most users prefer to maintain a hard copy of documents as it cuts the need for an interface to access information. As Excel is mostly utilized for professional use, you might often find the need to print your worksheets.
Addressing such needs, Excel has made it convenient to print documents within the utility. You could print all worksheets from a workbook, or only print certain elements from your worksheet. Excel has a designated shortcut, Ctrl + P to help you print your sheet. If you’re not a fan of shortcuts, File > Print will take you to the same location as the shortcut.
Print All Worksheets in the Workbook
You can create multiple worksheets in an Excel workbook. You can print all worksheets in your workbook so you can save yourself from the hassle of printing each sheet individually.
- Head to the Print view (Ctrl + P).
- Select the fly-out menu under Settings.
- Choose Print Entire Workbook.
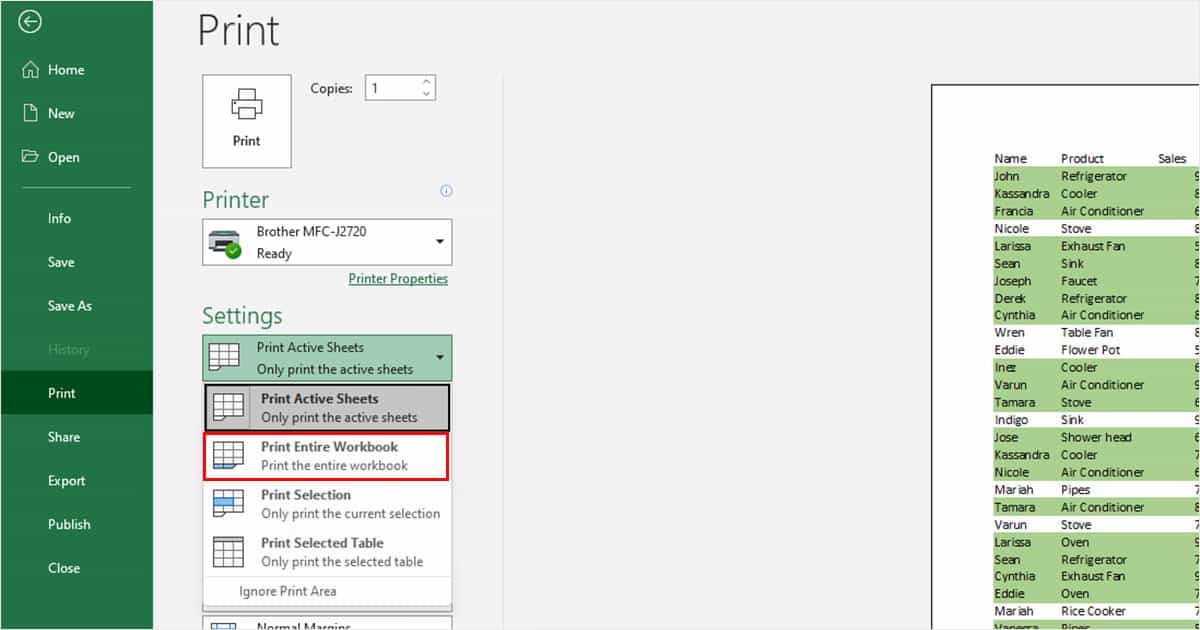
- Click on the Print button in the top-left corner of the view.
Print Active Worksheet
If you only want to print one worksheet from the workbook, open the worksheet from your workbook. When you head to the print view from the sheet, you can print your current worksheet as your active worksheet.
- Open your spreadsheet.
- Head to File > Print (Ctrl + P).
- Under Settings, choose Print Active Sheets.
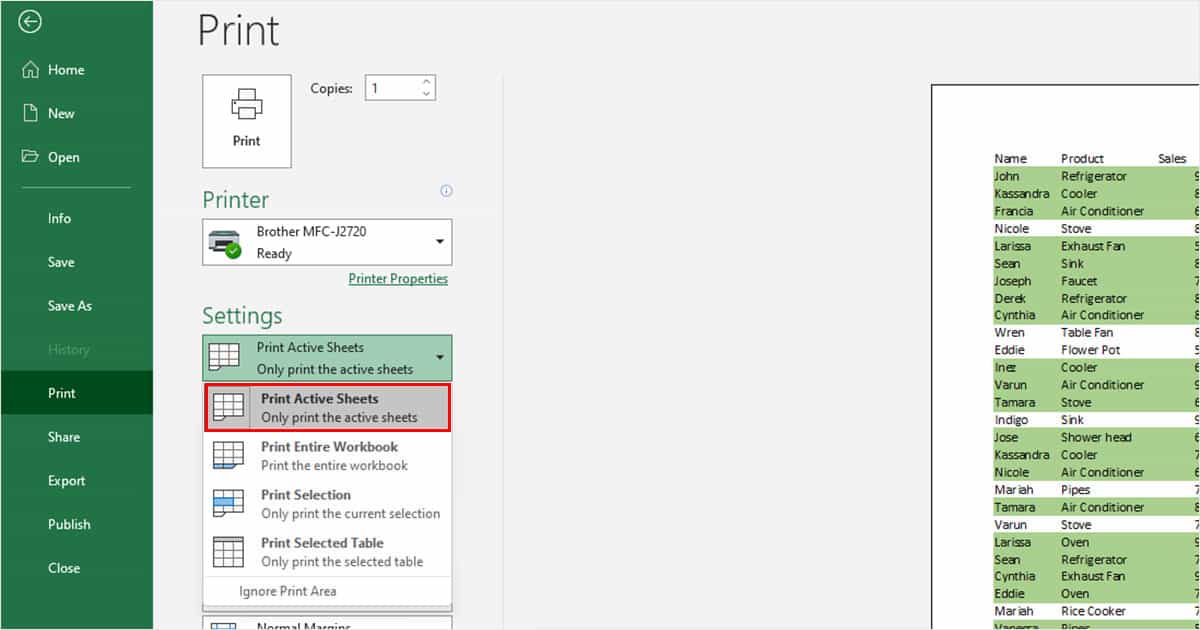
- Click Print.
Print Current Selection
You also have the option to print only a selected range from your current worksheet. Depending on if you print from the same range frequently, you could even set a Print Area. When you set a print area, Excel automatically selected the area for when you print the next time.
- Open your worksheet and select the cell or range you wish to print.
- From the menubar, select File > Print.
- Under Settings, choose Print Selection.
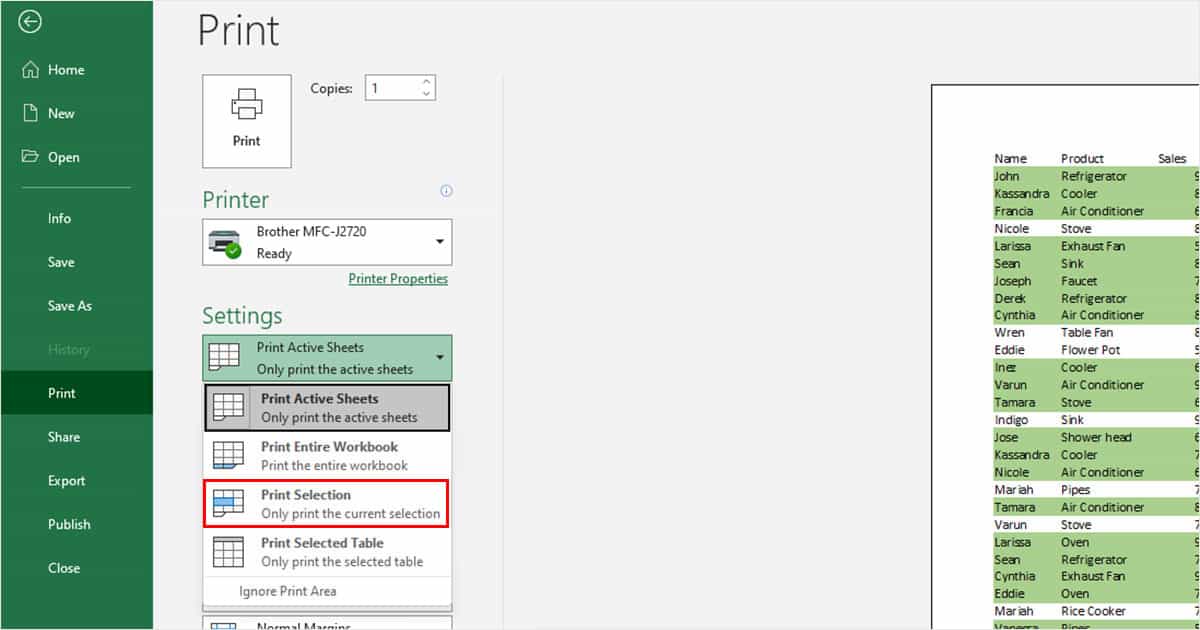
- Select the Print button.
Print Table
You can also print a selected table from your worksheet. This, however, only works for a single table. If you wish to print multiple tables, you can select the range and choose Print Current Selection.
- Select a cell from the table.
- Use Ctrl + P to get to the Print view.
- Under Settings, choose Print Selected Table.
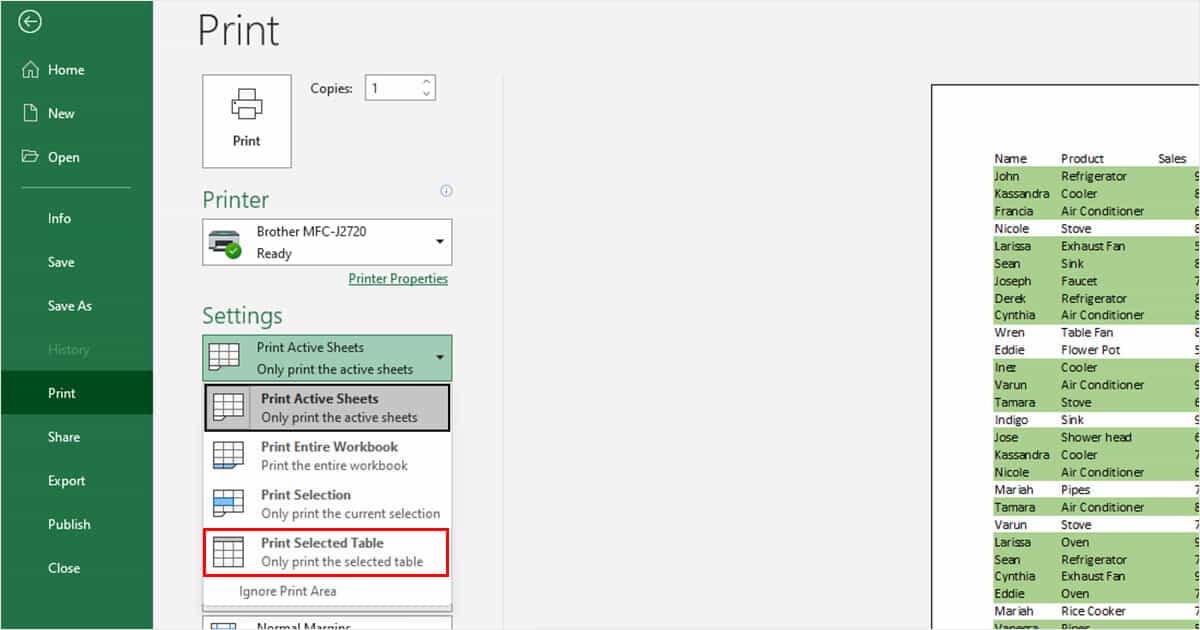
- Click on Print in the top-left corner.
Configure Additional Print Settings
When you’re in the Print view, you must’ve noticed a list of settings Excel asks you to fix before printing your actual document. Well, the settings are actually quite important to get your desired print result. In this section, we’ve briefly explained these settings to help you get the best print result.
In the Print view, make the following changes:
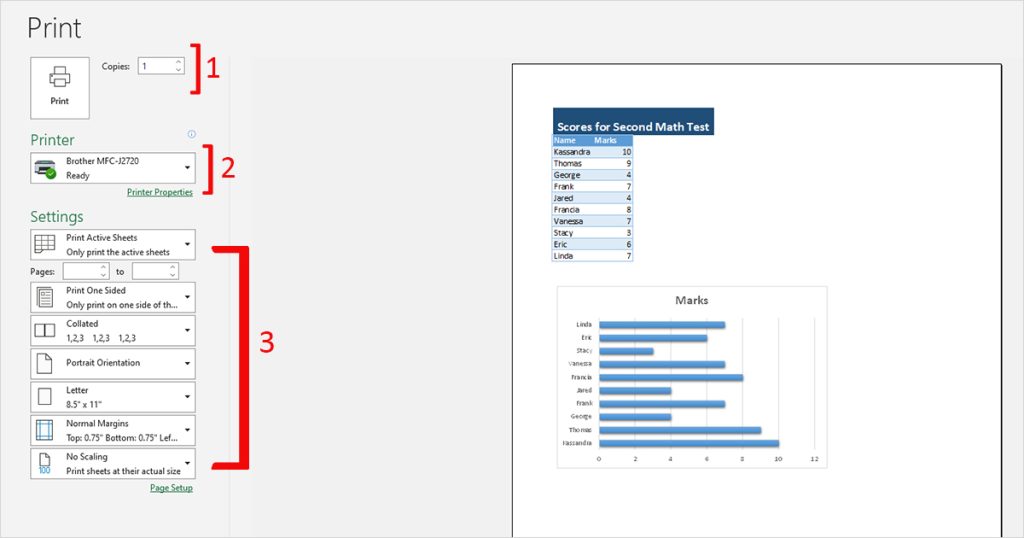
- Copies: Enter how many duplicates of the document you wish Excel to print.
- Printer: Select the device you’ve set up to print your document.
- Settings:
- Select what you want to print. If you’ve set a print area you do not wish to print, select Ignore Print Area.
- If you only want to print some pages in the worksheet, specify the range next to Pages.
- Choose whether you want the print to be One Sided or on Both sides.
- For multiple copies, if you want your pages to be printed in the order: Page 1, Page 2, and Page 3 select Collated. If you selected Uncollated, your first page would finish printing before your printer proceeds with the remaining pages in order.
- Adjust the page orientation, size, margins, and scaling.
- After you’ve made the changes, select Print on the top-left of the Print view.
Things to Consider Before Printing
It’s very common to face issues while printing your document out in Excel. This is because, unlike word processors such as MS Word, Excel doesn’t have a separator to break pages. However, you can tweak the interface to help you print your worksheet perfectly in Excel.
Before we print our document, we need to make sure our document looks the part. This includes making sure an element does not bleed out to another page, follows a margin, and is in your preferred orientation.
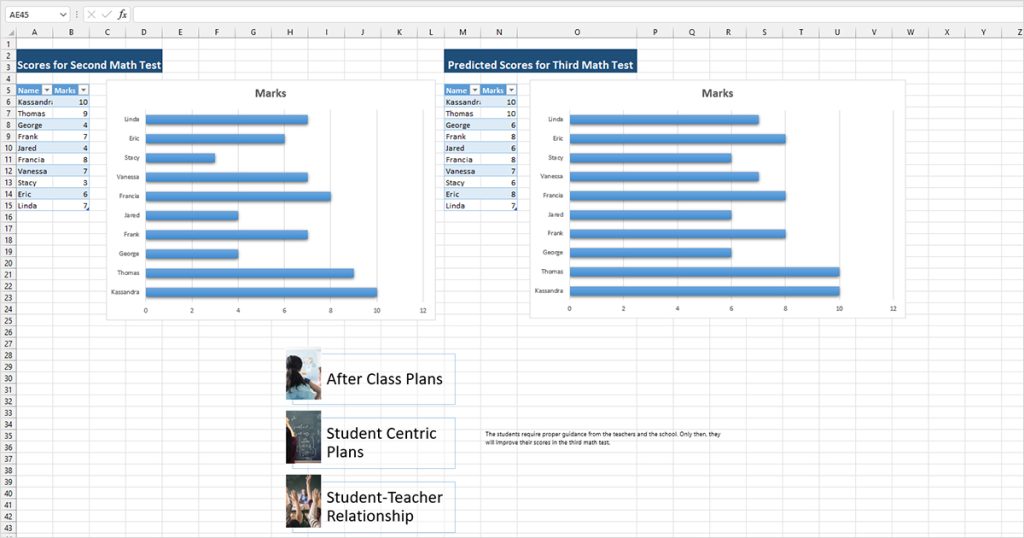
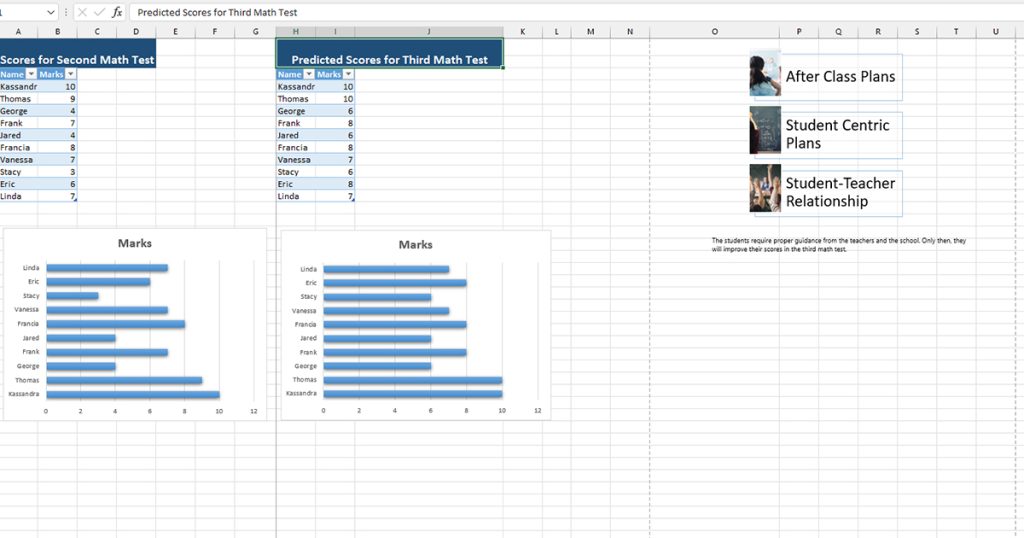
Take a look at this spreadsheet. This sheet includes 2 tables, 2 charts, and a Smart Art. In this article, we’ll be printing this document as an example. Firstly, notice how all elements are cluttered in one place. This could probably create inconsistencies in our printout.
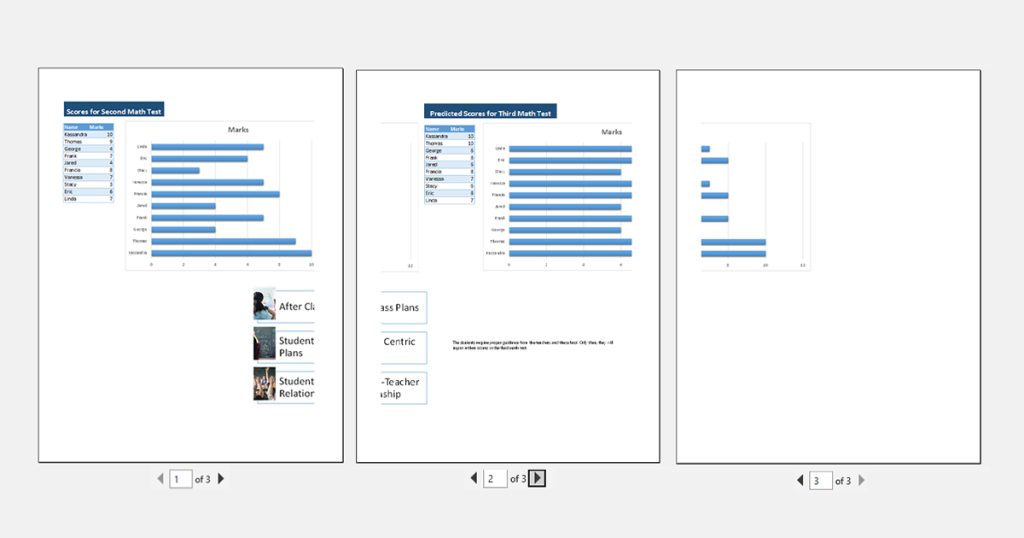
To check, let’s open the print preview (Ctrl + P). In the Preview section, we can see that most elements have spilled over to the next page, making most data incomprehensible.
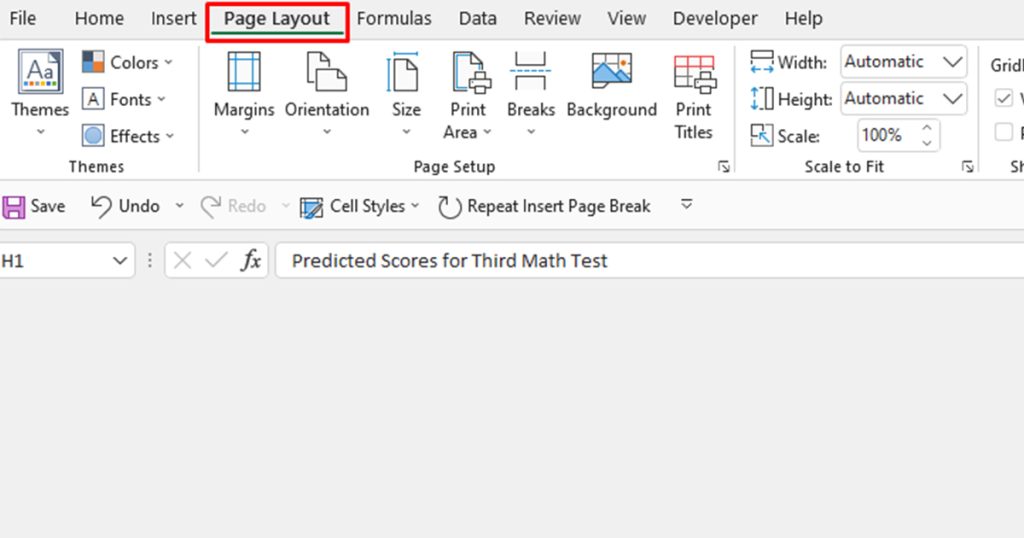
We can make all of these adjustments from the Page Layout tab from the menubar. Head to the tab and refer to the following methods to make these adjustments to your workbook.
Orientation
Excel automatically sets your page orientation to portrait. However, if you wish to change the orientation to landscape, head to Page Layout > Orientation > Landscape.

For our example spreadsheet, we’ve left the orientation as a portrait.
Size
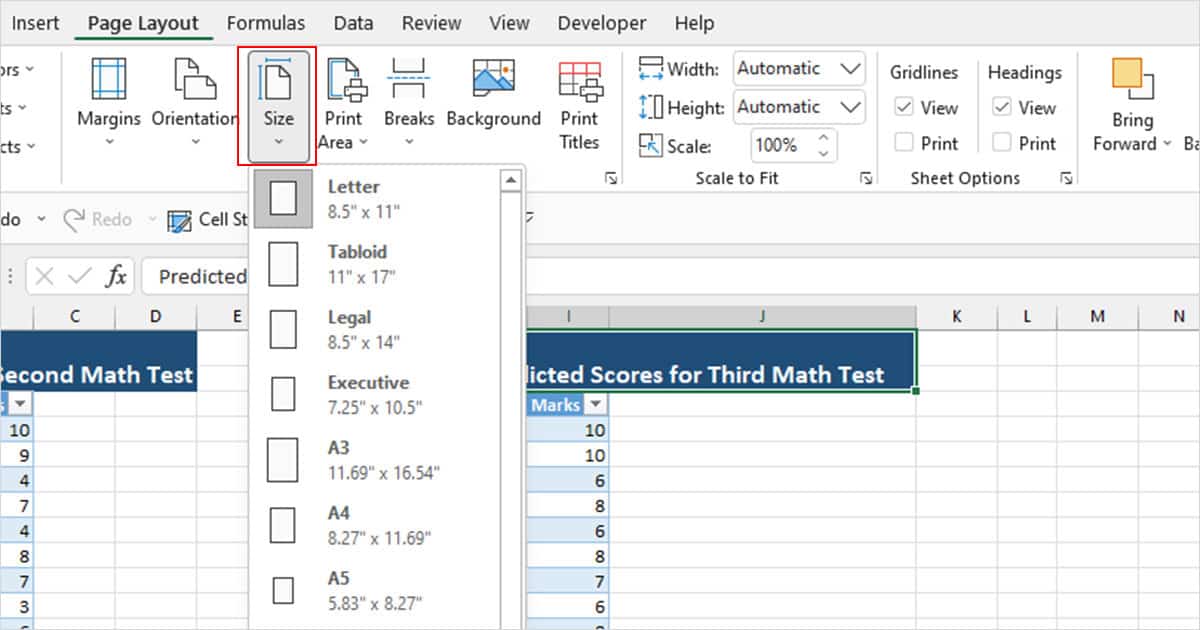
By default, Excel arranges pages in the Letter (8.5” ✕ 11”) size. If you’re printing on paper that’s a different size, you will have to change the size so that you get an accurate preview of your document.
- Select Size in the Page Setup section.
- Choose your page size from one of the presets.

Place Elements so They Don’t Spill
Let’s resize each of our elements so they don’t take space outside our page. As we mentioned before, head to the Page Layout tab and follow the steps mentioned below.
- In the Page Setup section, select Breaks.
- From the fly-out menu, choose Insert Page Break.
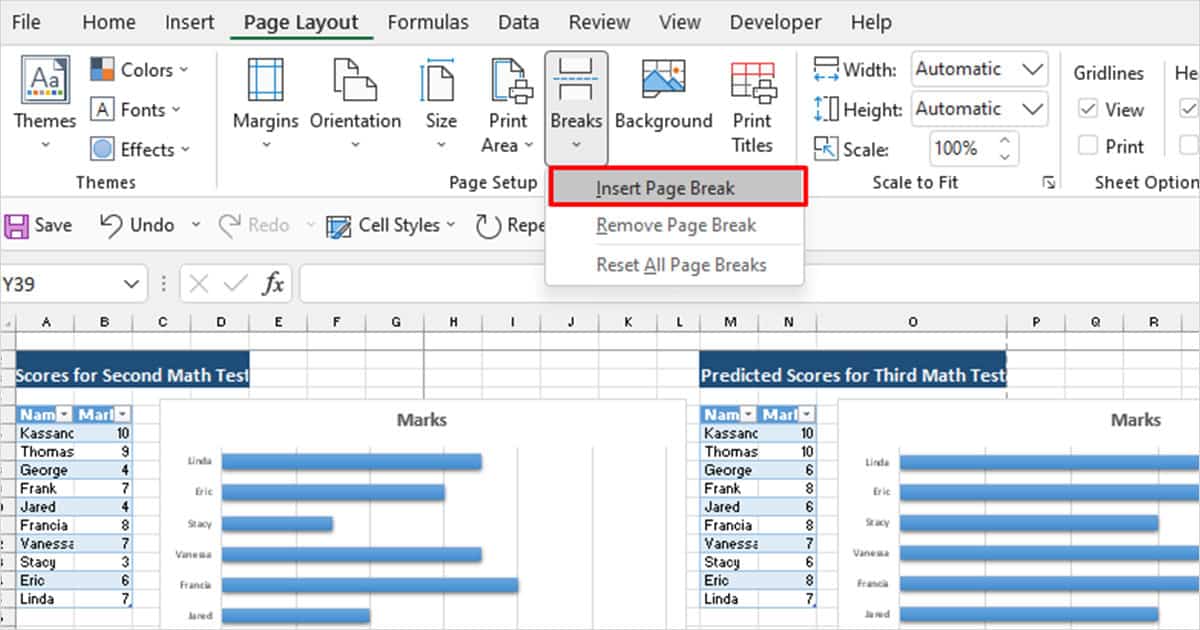
- You will see grey dotted lines on your Excel grid. These grids symbolize the starting and ending of a page.
- Place your objects on each page depending on your preference.
After you’ve made the adjustments, head to the View tab then select Page Layout. Excel will change the view to individual pages so you can check if all your elements are on the desired pages.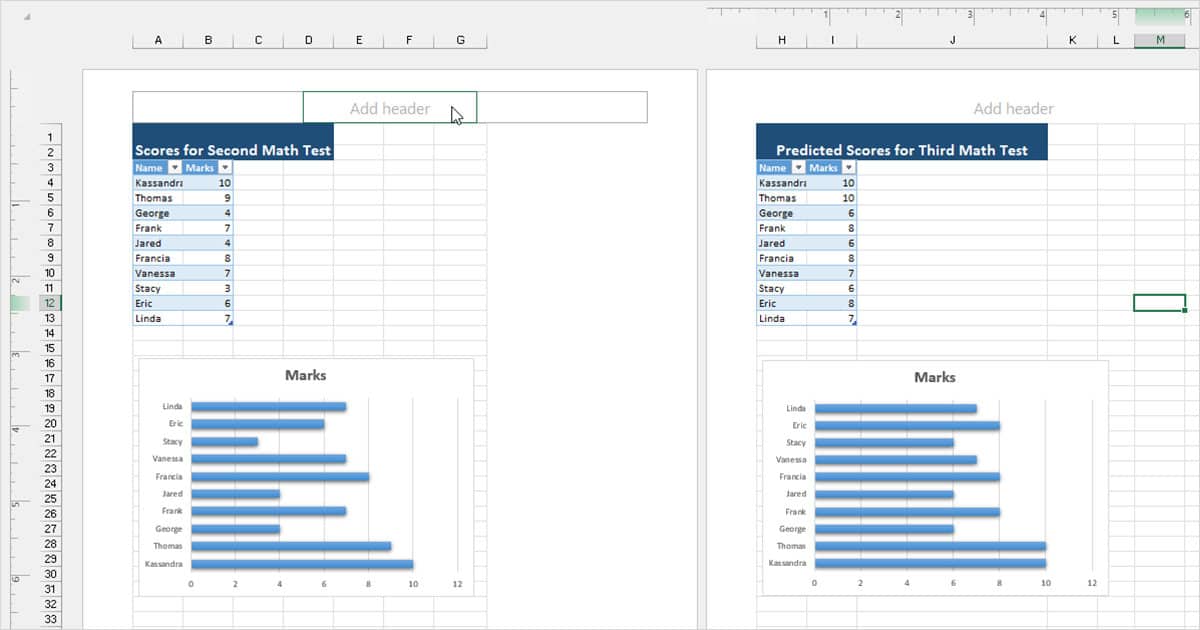
For our document here, we’re resizing our charts to fit the corresponding table on one page. We’ve placed the Smart Art on a separate page. While resizing your elements, remember not to leave the first row empty or else, you may run into issues like Excel printing blank pages.
Margins
Excel applies its default margins even if you haven’t set a margin. You can, however, customize the margin size for your document.
- From the Page Setup section, select Margins.
- Choose from one of the presets or click Custom Margins.
- In the window, you can enter measurements for all sides of your page.
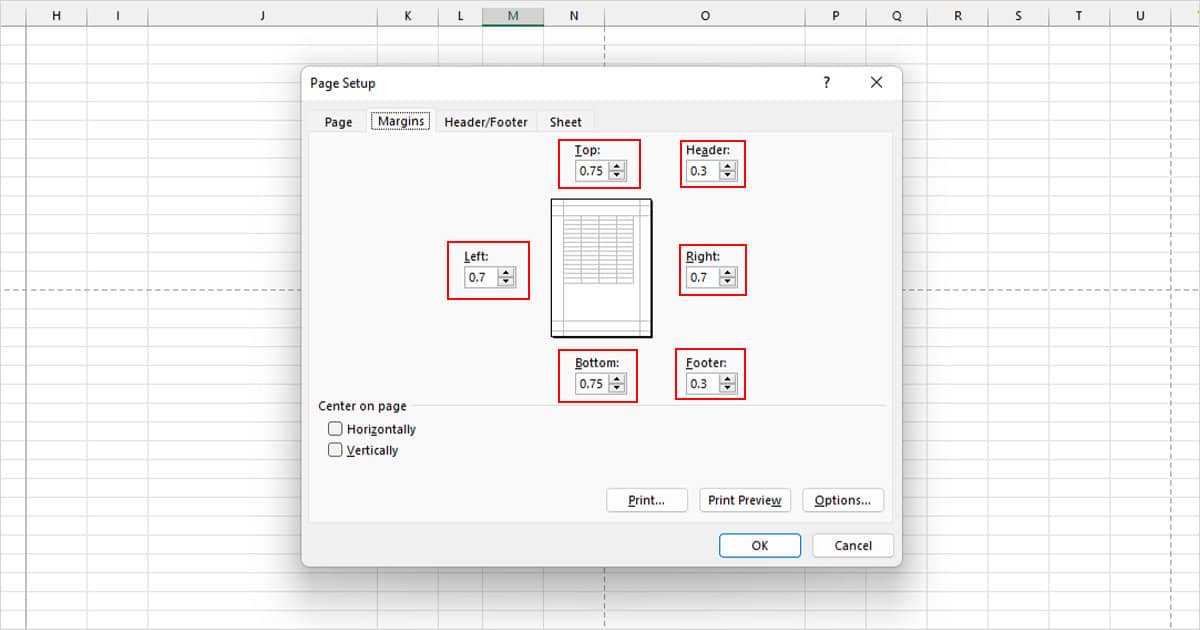
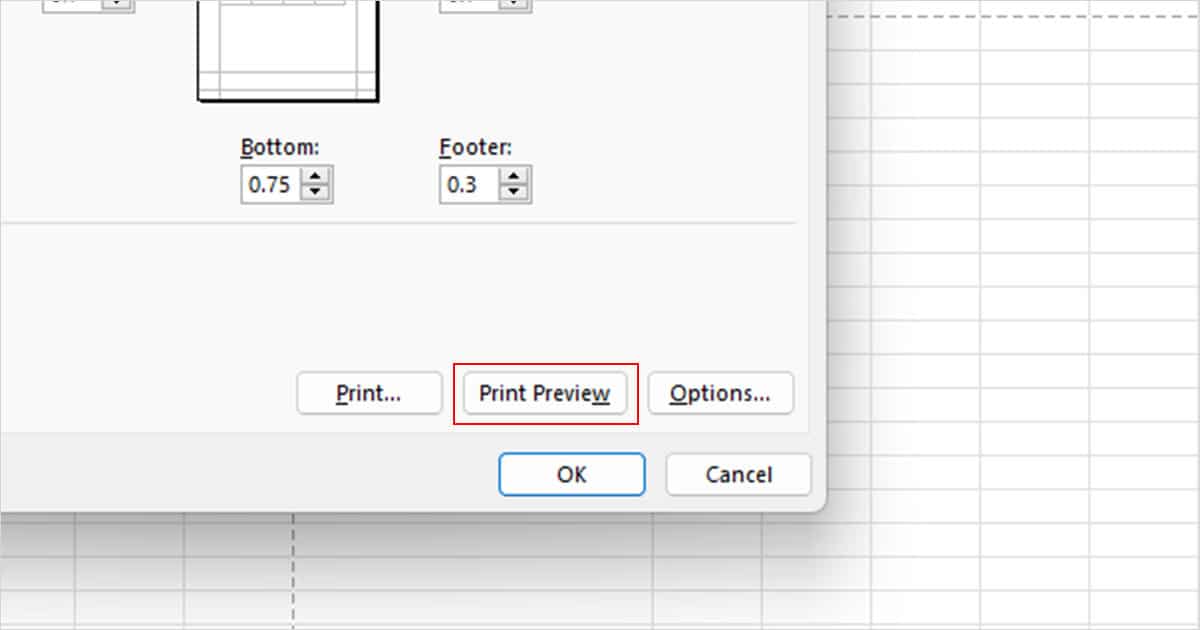
- Select Print Preview to see how your pages look.
What does not Get Printed in a Worksheet?
Excel will only print the content inside the grid. This means the menubar, ribbons, formula bar, or anything outside the grid will not be printed.
Similarly, the row and column labels and the grid lines will be excluded while printing an Excel spreadsheet. If you have hidden a column in Excel, Excel will also rule it out during the printing process.