Whether it’s to label gadgets, organize materials, or prepare teaching material for students, flashcards come quiet handy.
According to research conducted at Herzing University, flashcards play a significant role in promoting active brain recall, which is very effective in memorizing study materials.
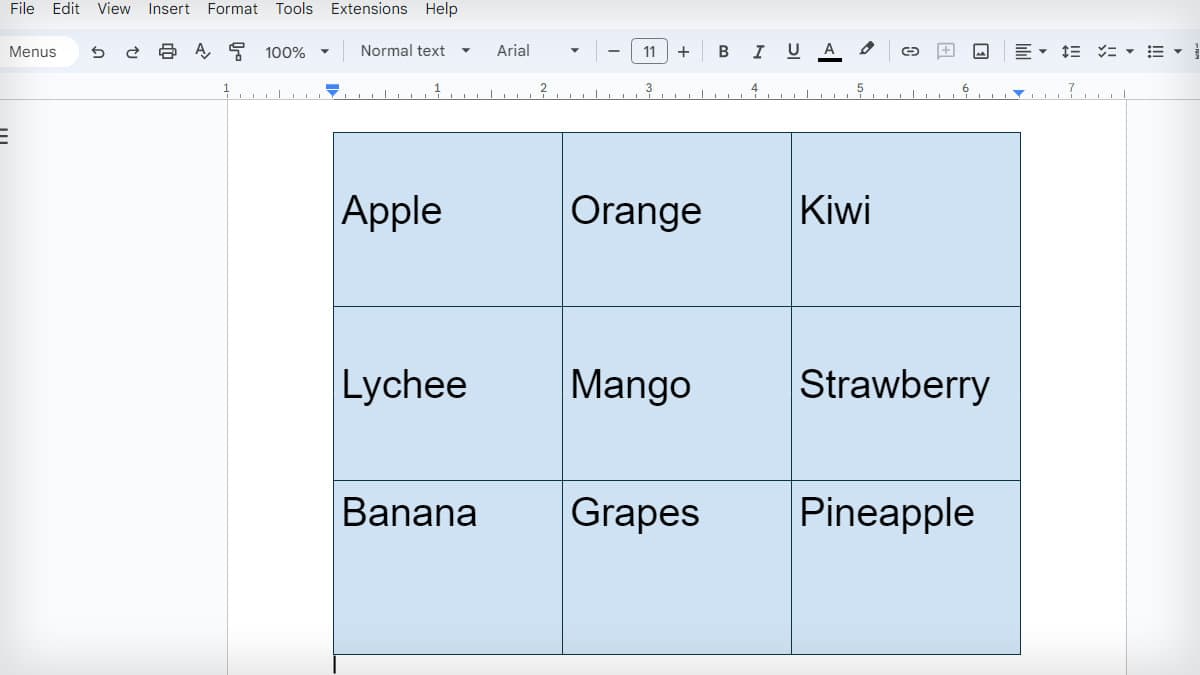
You can make text or image Flashcards using the Table option in Google Docs. If you want to customize it, insert hand-made drawings or manually draw them using the Drawing feature.
For users willing to avoid editing page sizes or table properties, Google Docs add-ons can be a great help.
Via Table Method
Inserting a table and filling in the contents is a preferred method for making flashcards on Google Docs.
You can customize each cell’s color, size, and contents to obtain desired results.
Step 1: Build a Frame
- Launch Google Docs and open a blank document.
- Click on the Insert tab. Expand the Table options.
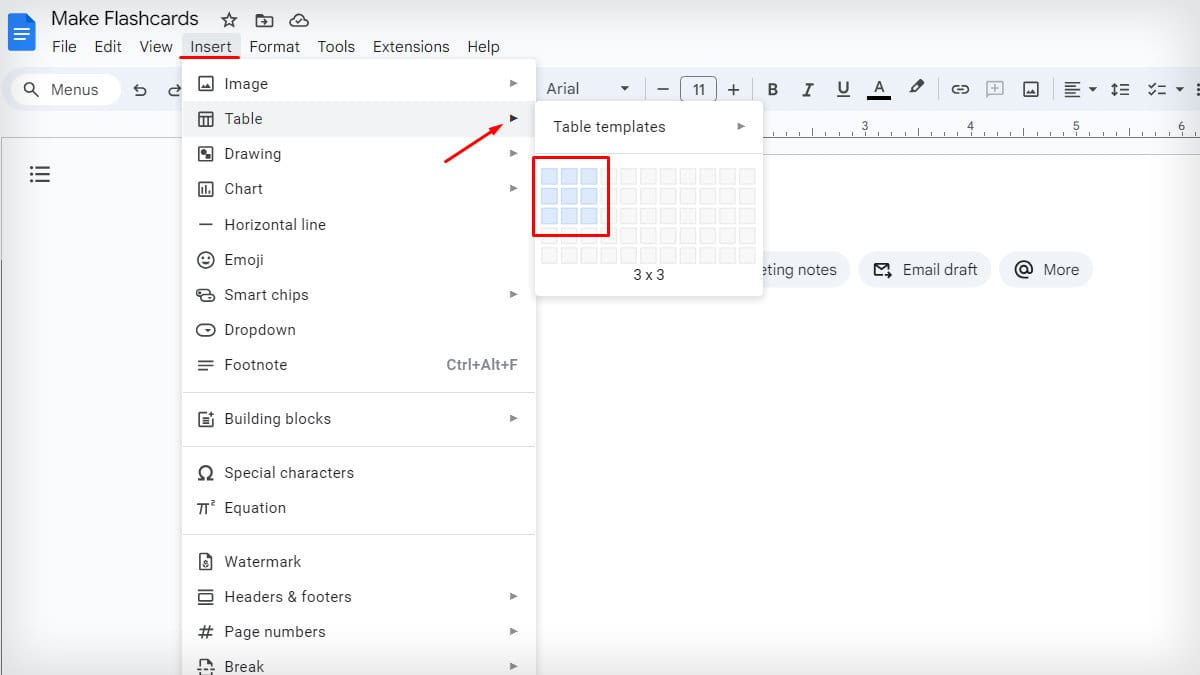
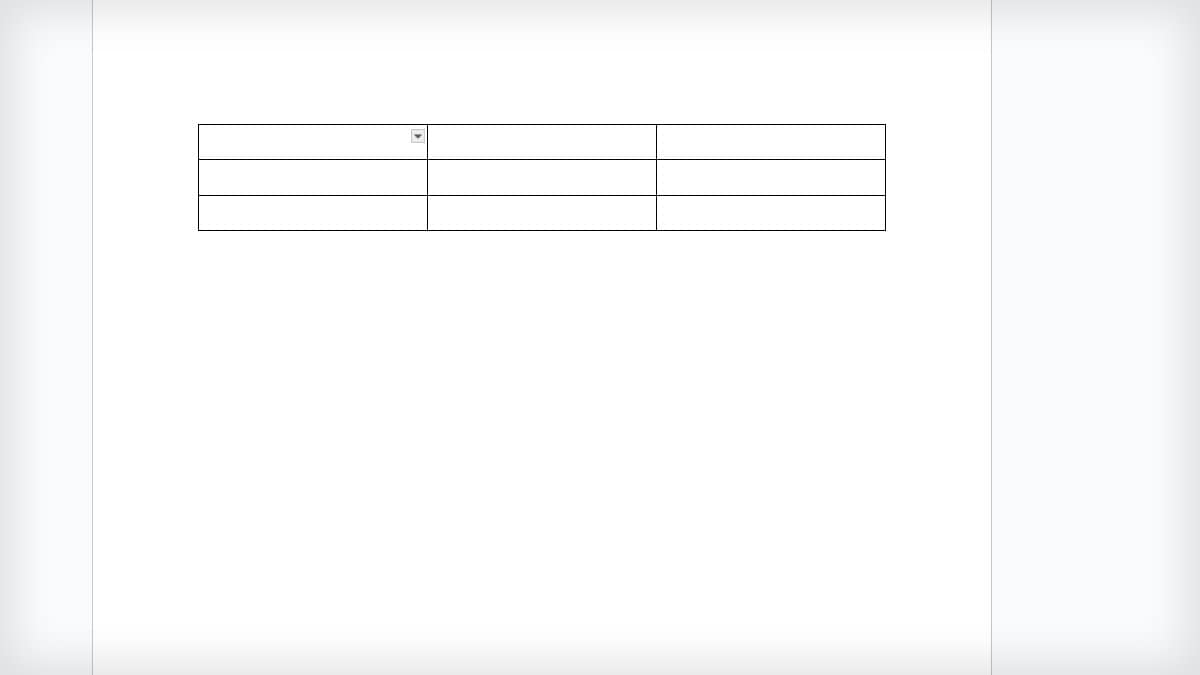
- Select the desired number of rows and/or columns. Press Enter or right-click the selection to insert it.
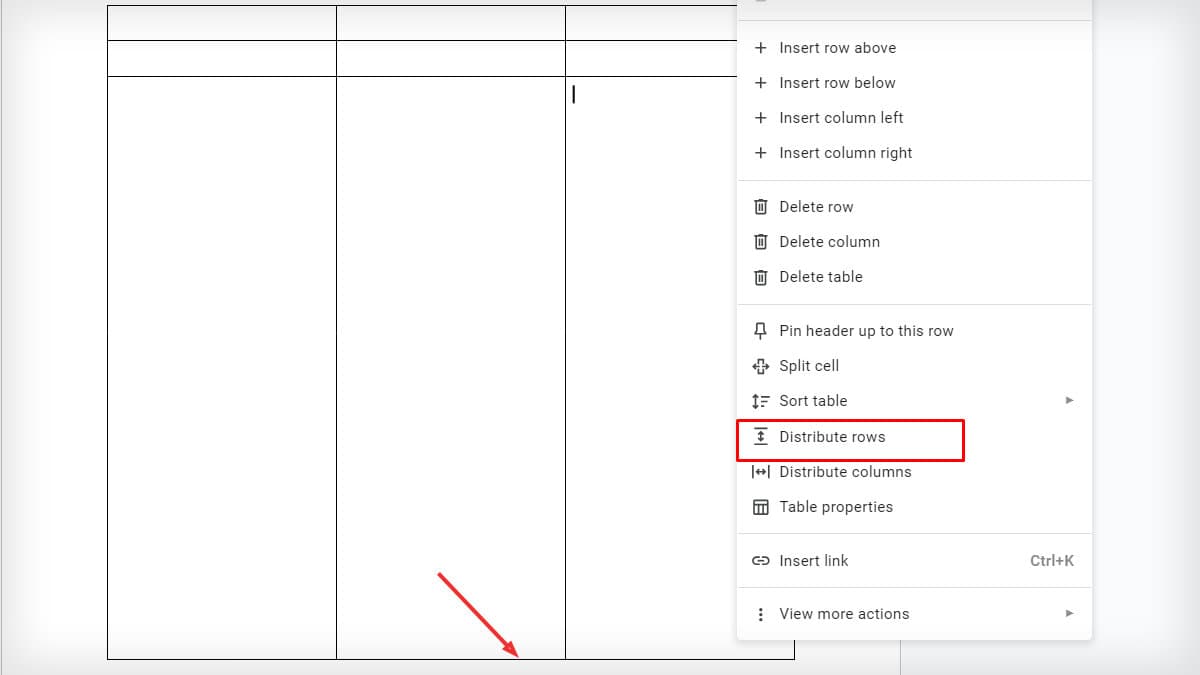
- Drag the end of the table to the bottom of the page. Right-click on it and select Distribute rows to even out the cell size.
- For additional edits, right-click and choose Table Properties.
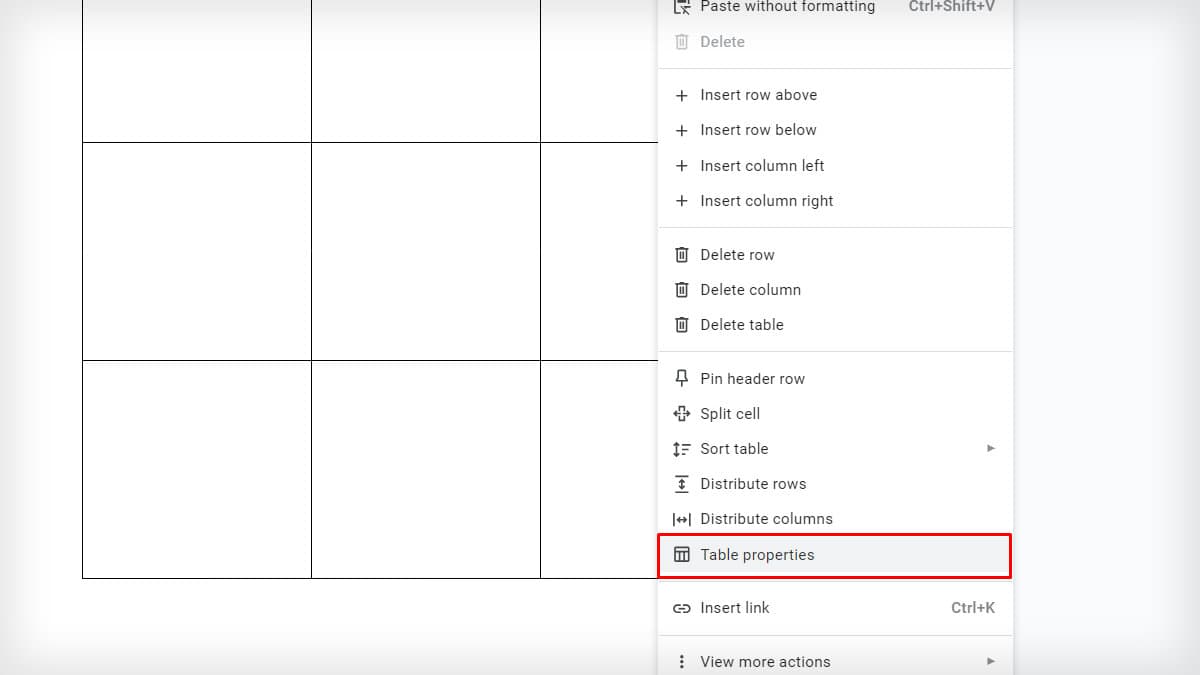
- Set height, width, color, cell, and other table properties as per your requirement.

Step 2: Insert the Details
- Type the desired syllables to make flashcards.
- To insert an image, place the cursor on the desired cell.
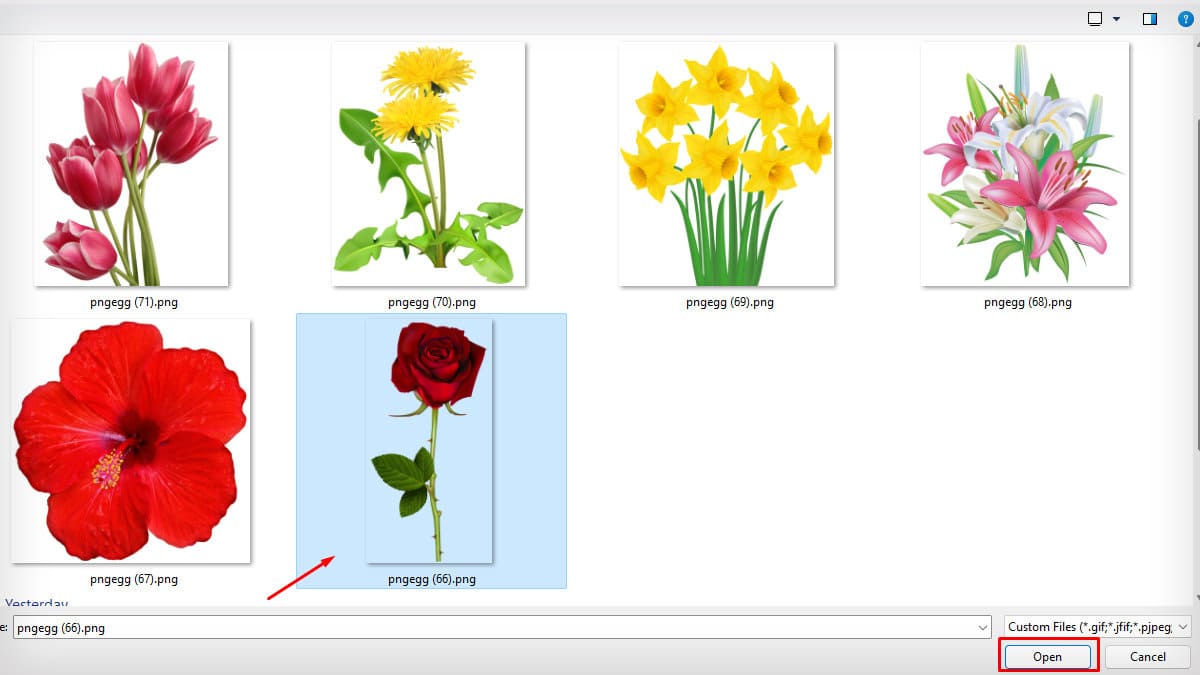
- Go to Insert and select images. Choose Upload from computer, Google Photos or Drive.
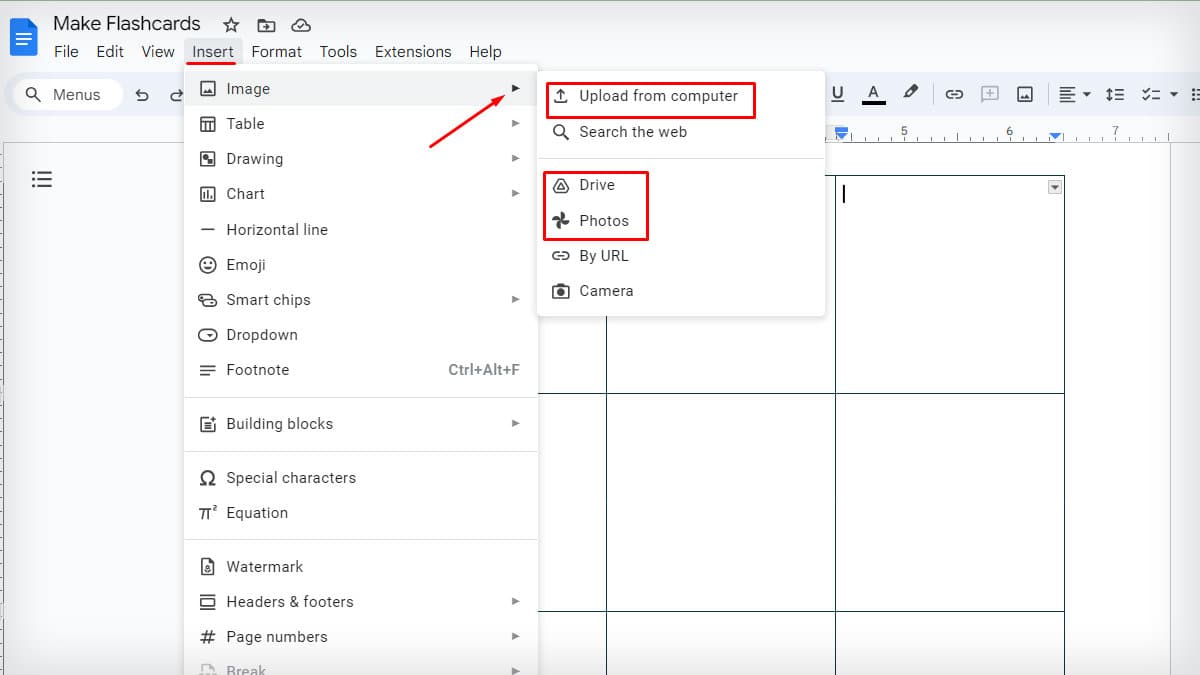
- Choose an image and tap Open.
- Resize and edit the image. Type the label text beneath the image if required.
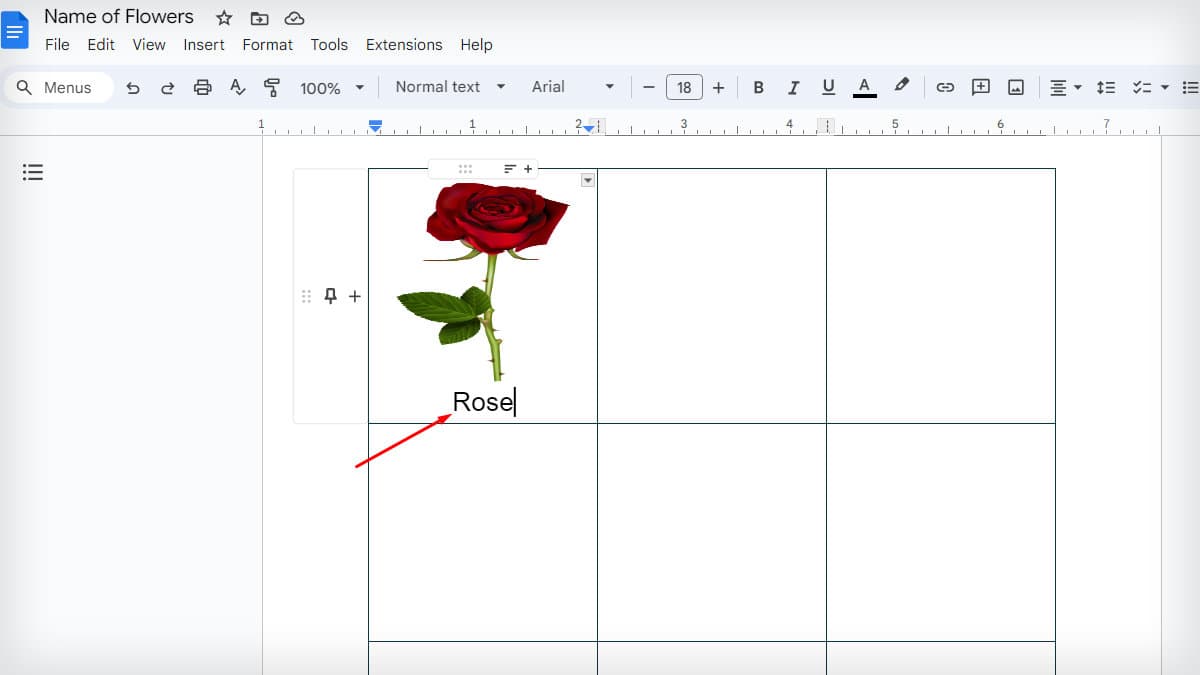
- Repeat the steps for all other images.
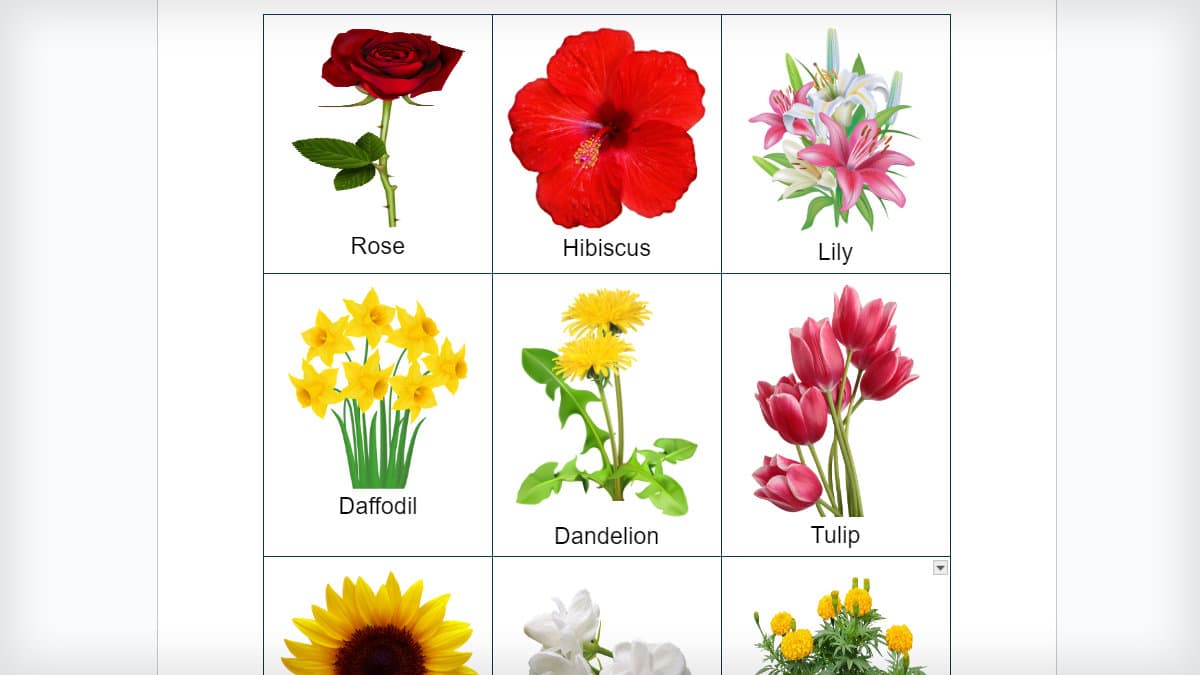
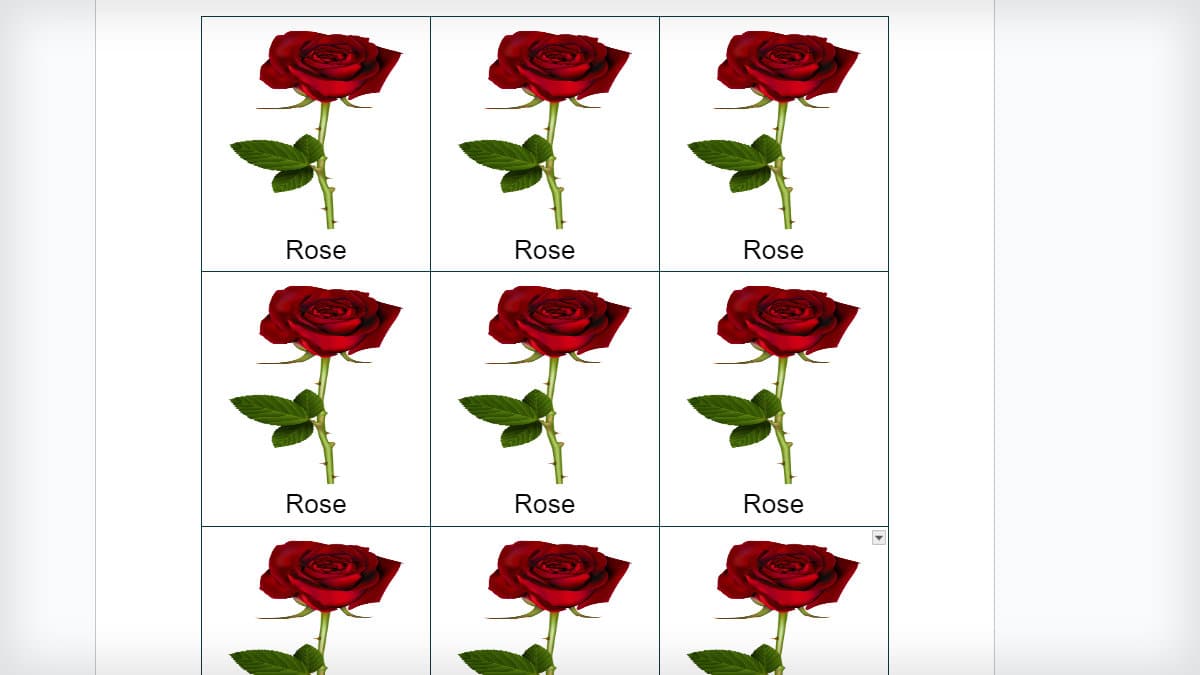
- You can copy-paste the first edited image on every cell to make flashcards with the same image.
Step 3: Print the Flashcard
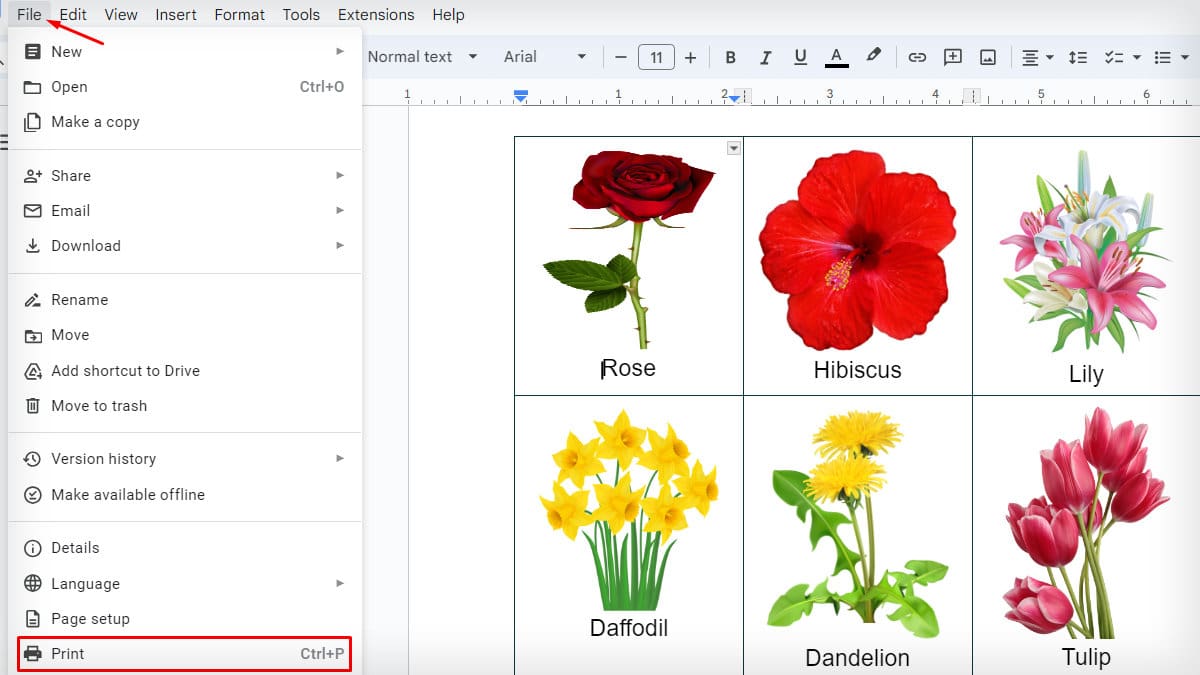
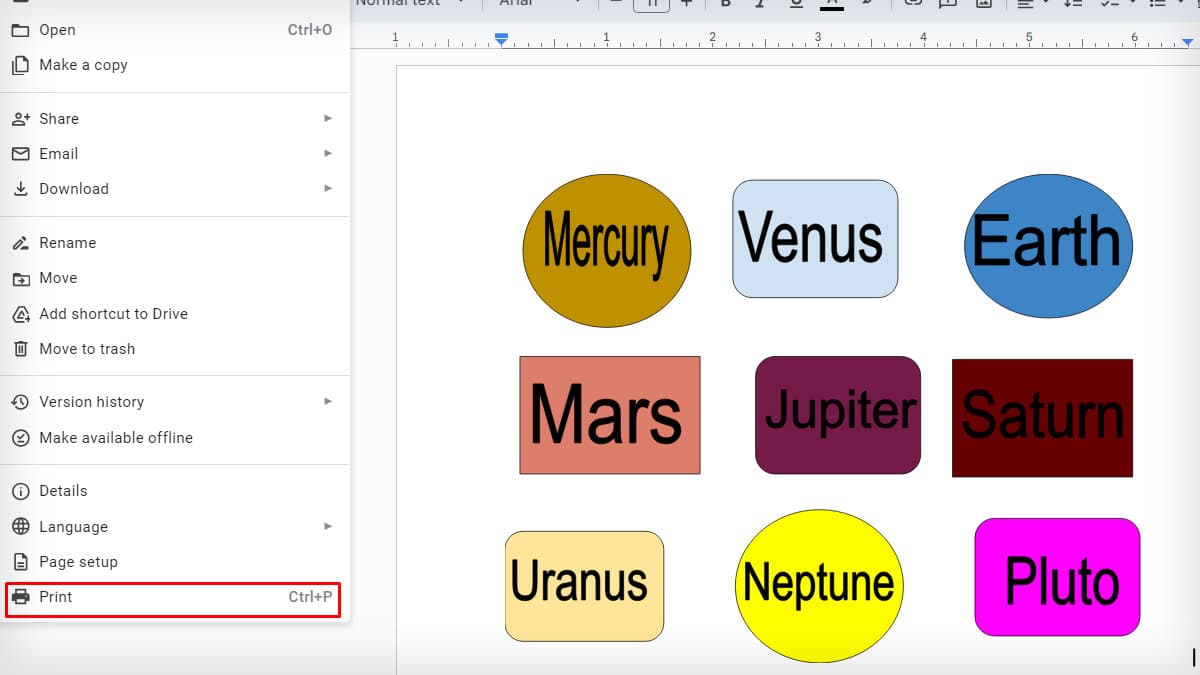
- Once you’ve created the flashcard, tap on the File tab.
- Select the Print option.
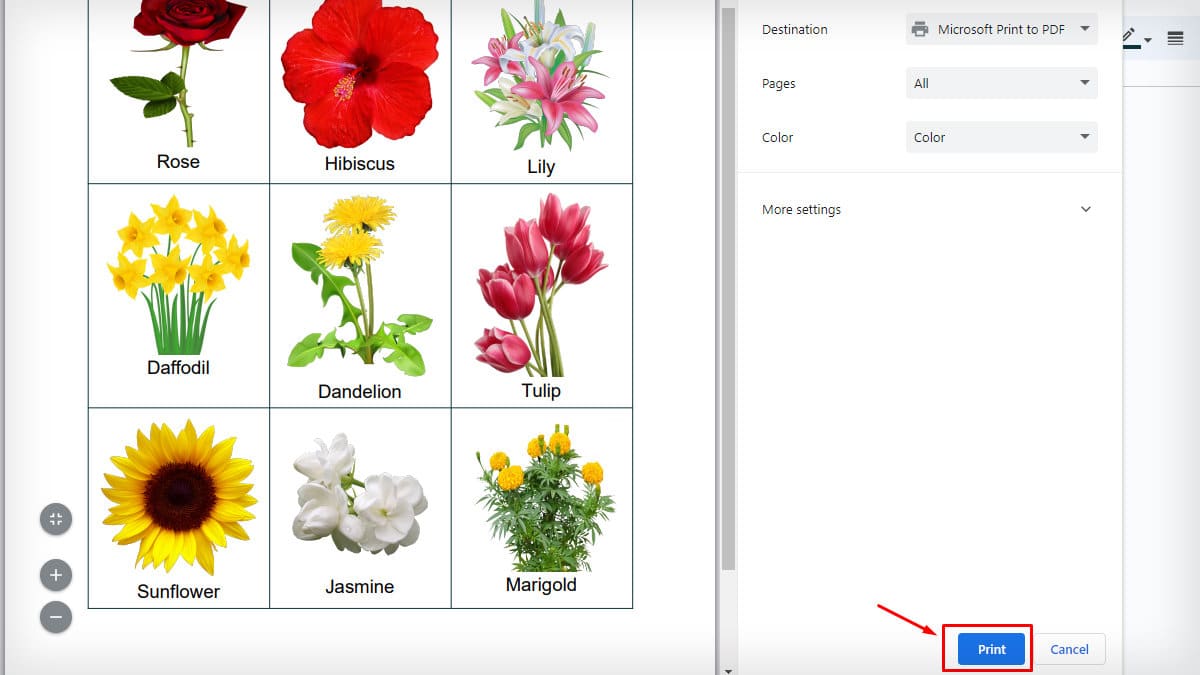
- Check the print format setting and hit Print.
Using Drawing Feature
You can also insert a hand-made drawing or draw a Flash card using the Drawing option on Google Docs.
You will have to scan the handwritten drawing and insert it as an image.
- Launch Google Docs and open a blank page.
- Go to the Insert tab and expand the Drawing option. Click on Google Drive to insert the drawing saved there.
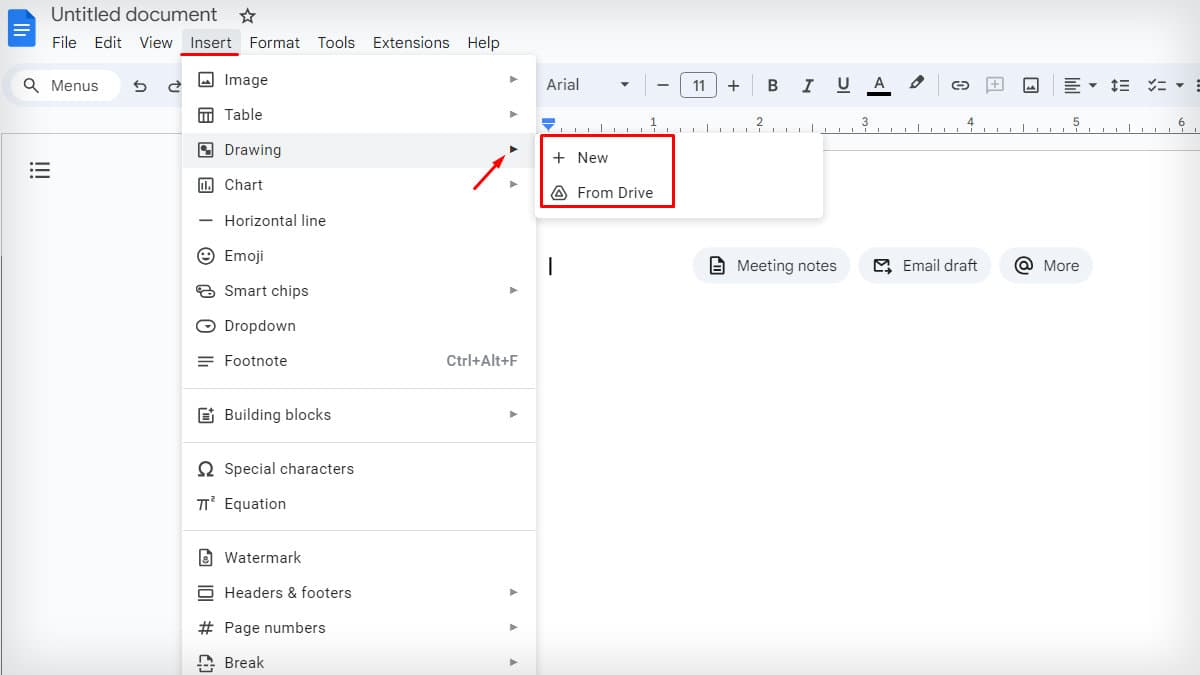
- Or else tap on New to open a drawing window.
- Click on the Shape icon. Choose the kind of shape you want for your flashcards.
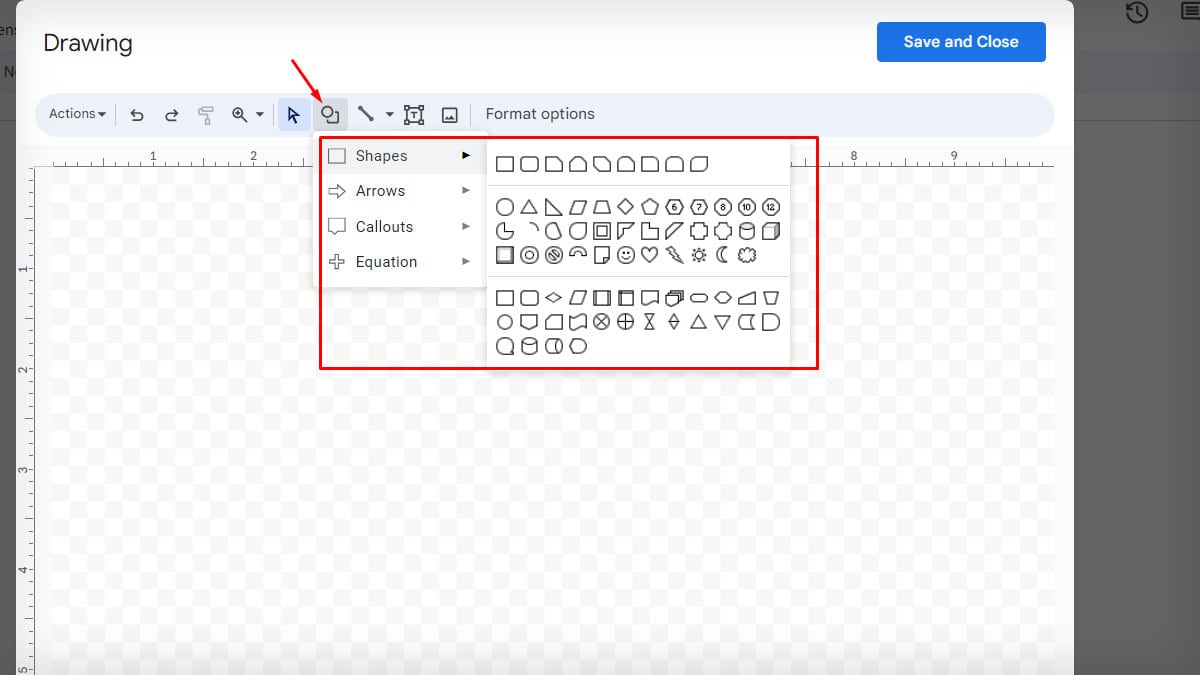
- Drag the cursor to draw the chosen shape. You can fill in the color inside the shape or on its border by clicking on respective icons.

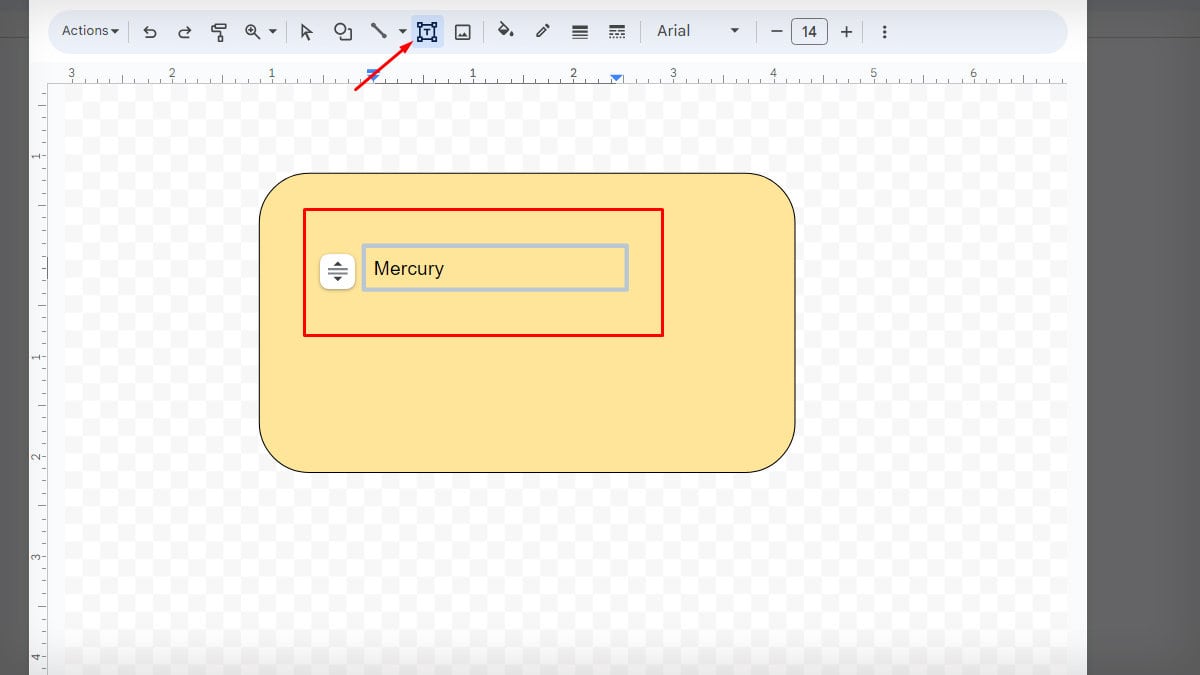
- Click inside to insert the text. You can also insert text using the Text box.
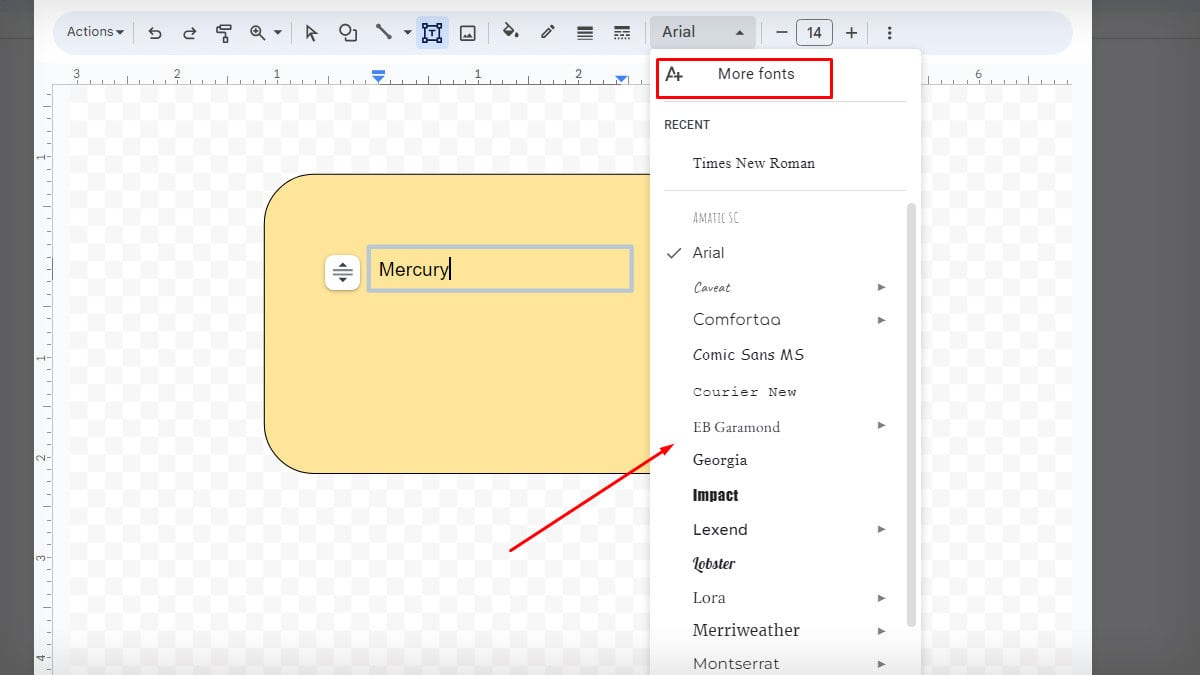
- To change the text font, expand the drop-down menu and choose the desired one. Click on More fonts to add custom fonts to the text.
- If you want to insert Word art, click on Actions and choose the Word art option.
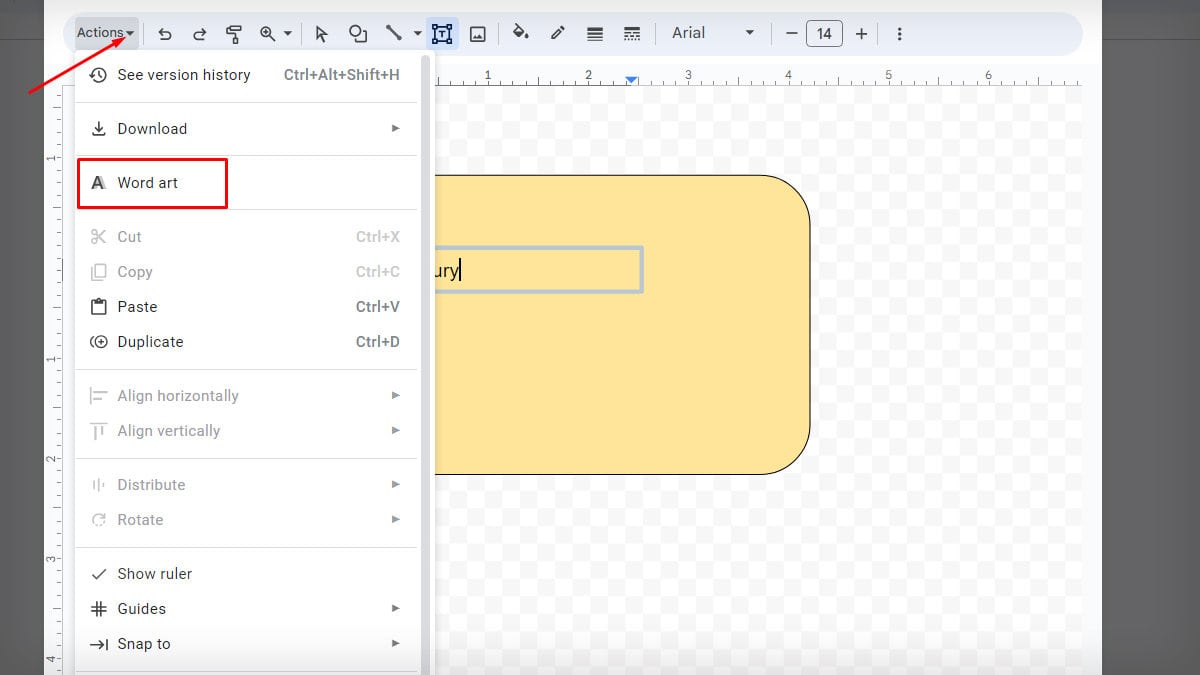
- Type the desired text, then you can change the color and font with a click on the respective icons. Repeat it for as many flashcards as you want to make.
- After completing the edit, select Save and Close.
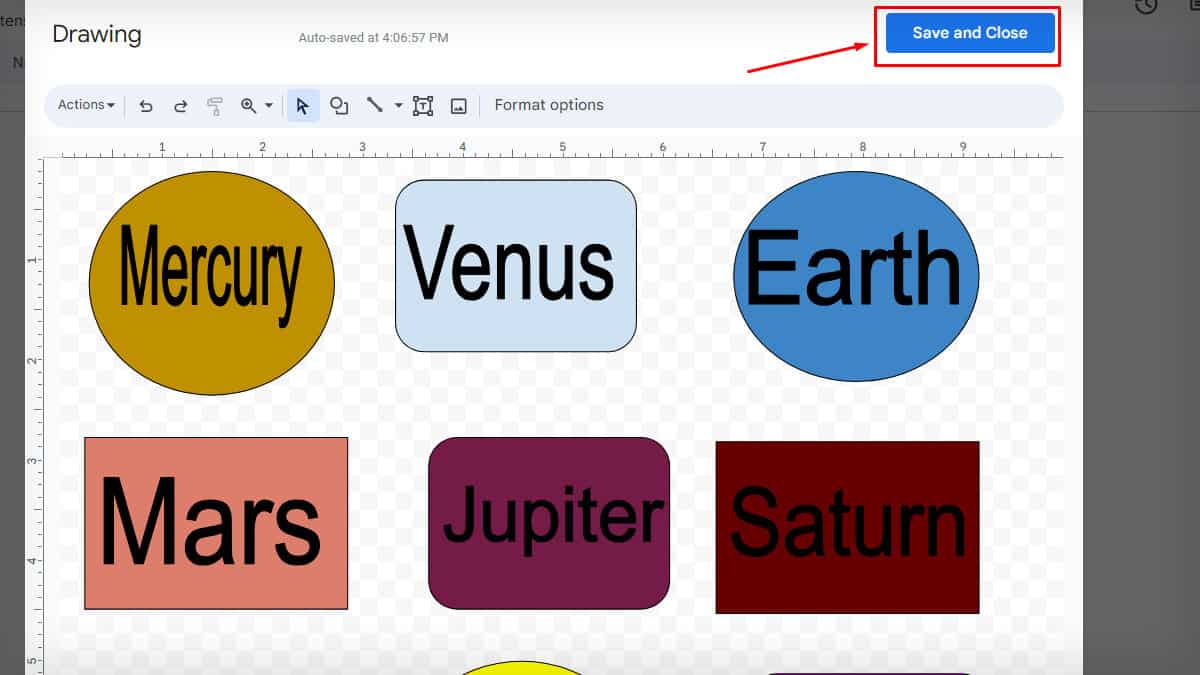
- Print the Flashcards.
Using Add-ons
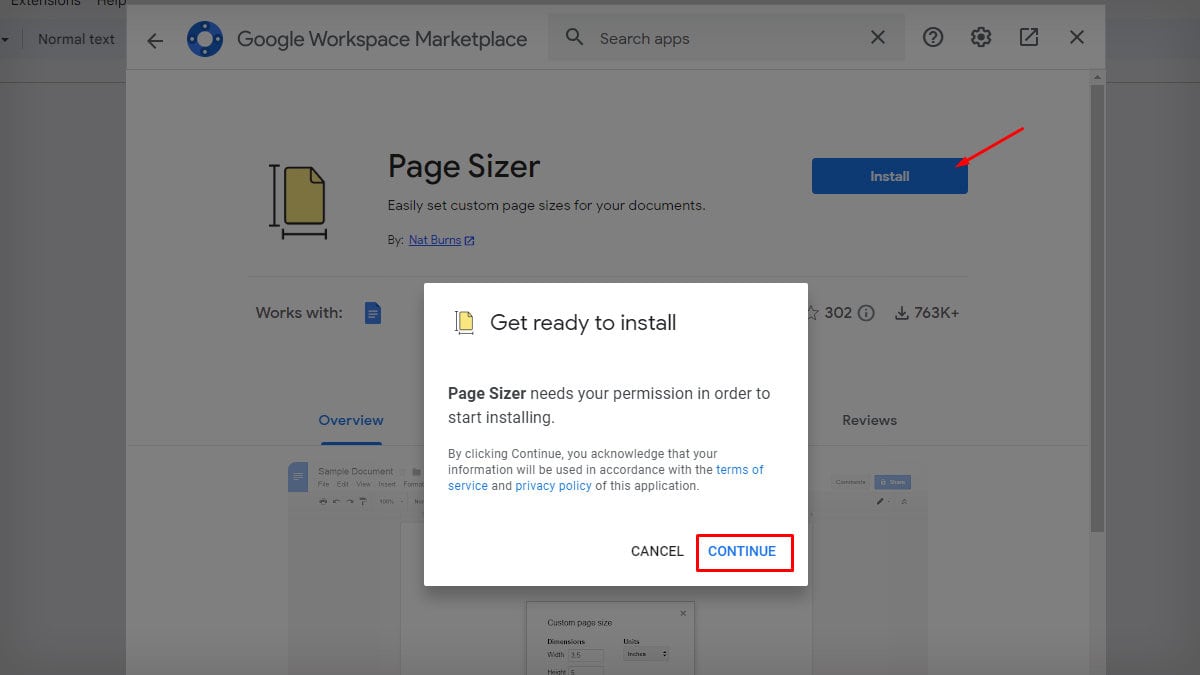
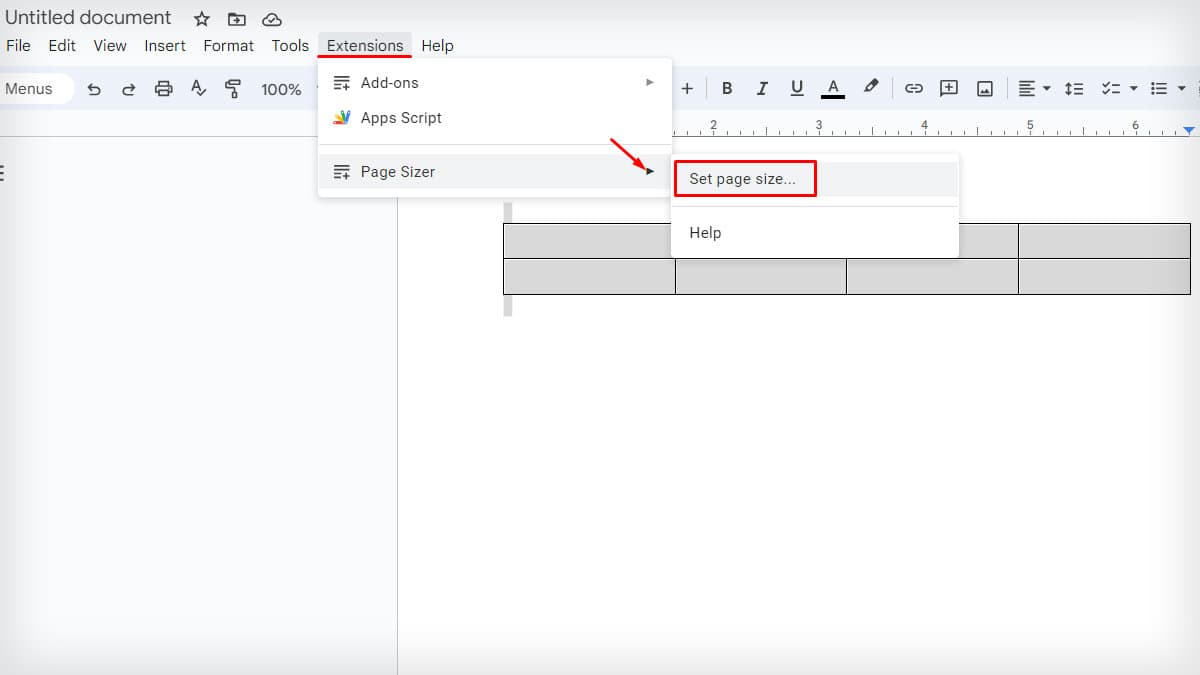
If you want to cut off the additional task of editing table properties, take the help of Page Sizer.
This add-on for Google Docs lets you customize the page size.
Step 1: Install Page Sizer
- Open a blank sheet on Docs.
- Click on the Extensions tab and expand Add-ons. Select Get add-ons.
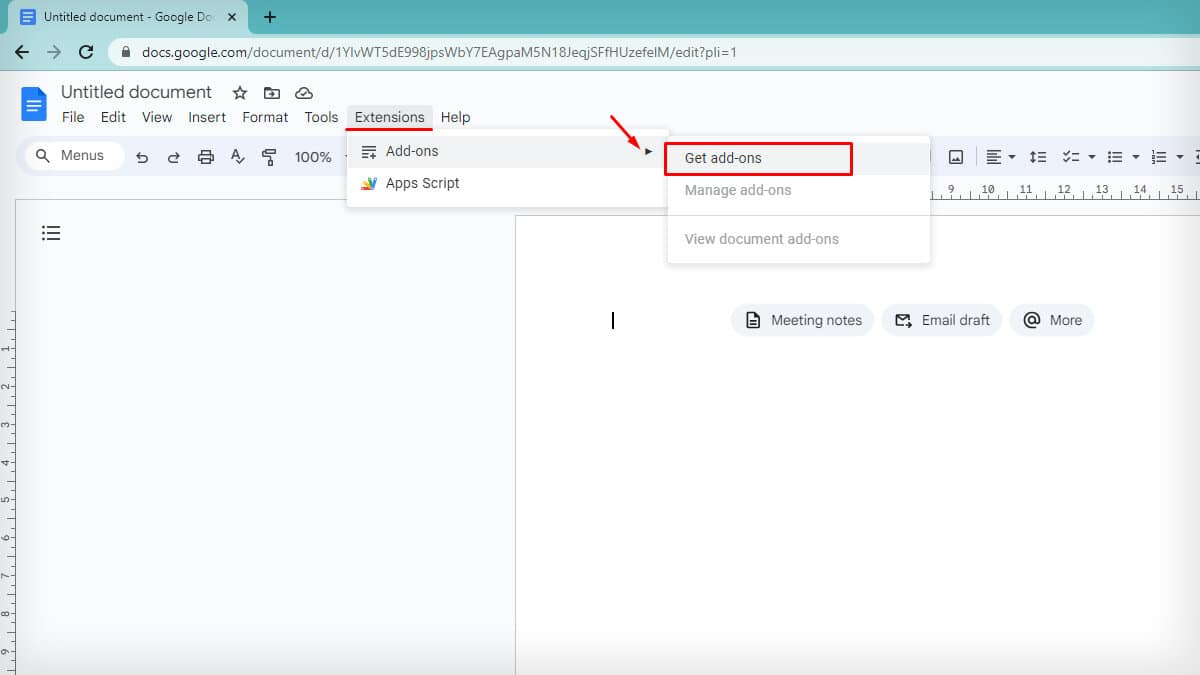
- Search Page Sizer and Install it. Choose Continue for confirmation.
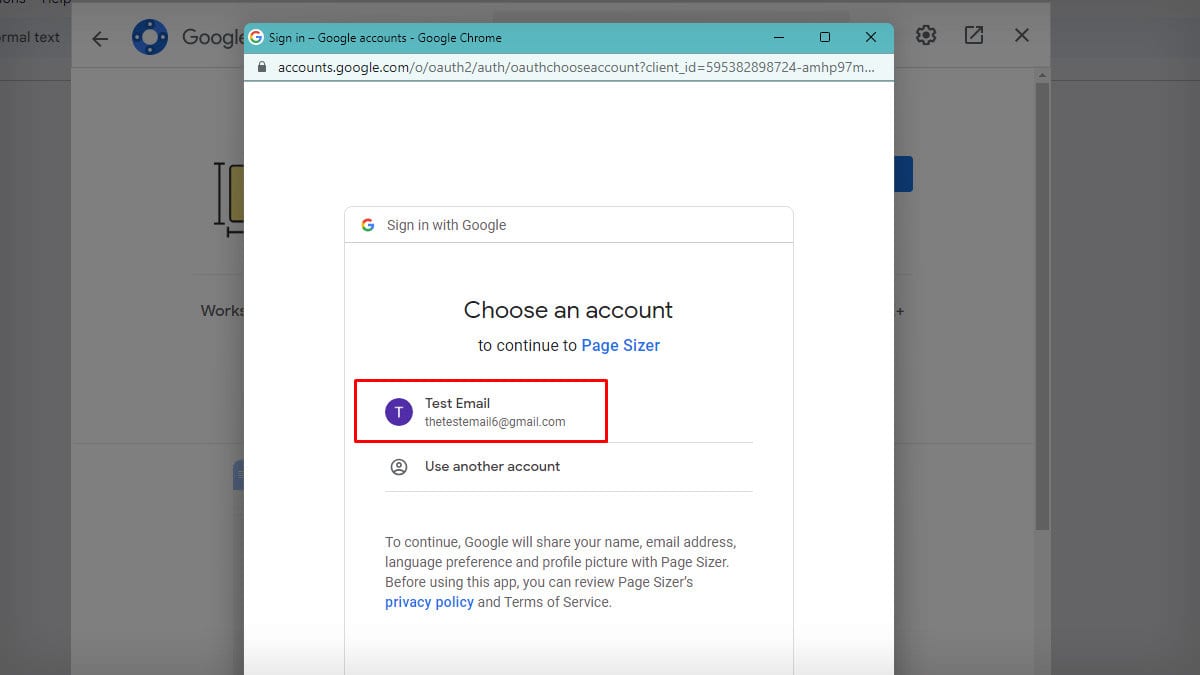
- Select your email address.
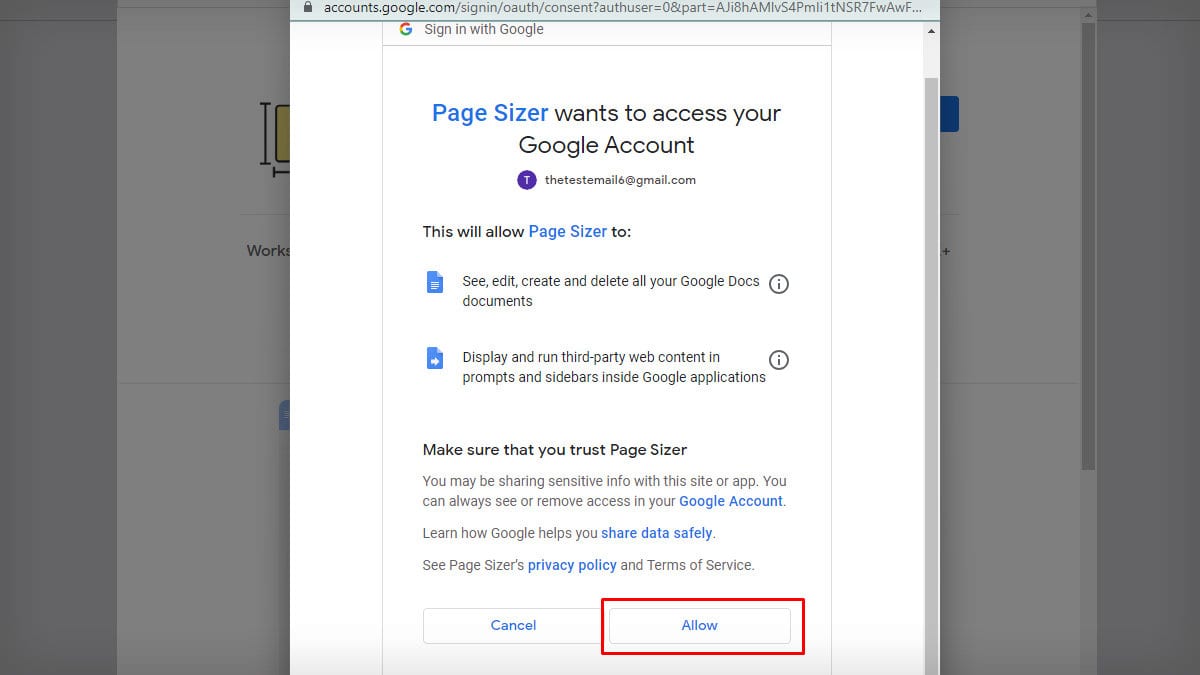
- Tap Allow to give the add-on access to your Google account.
- After it’s installed, tap on Done.
Step 2: Create Flashcard
- Go to Insert. Click on Table and create a table.

- Press
Ctrl+Ato select the table.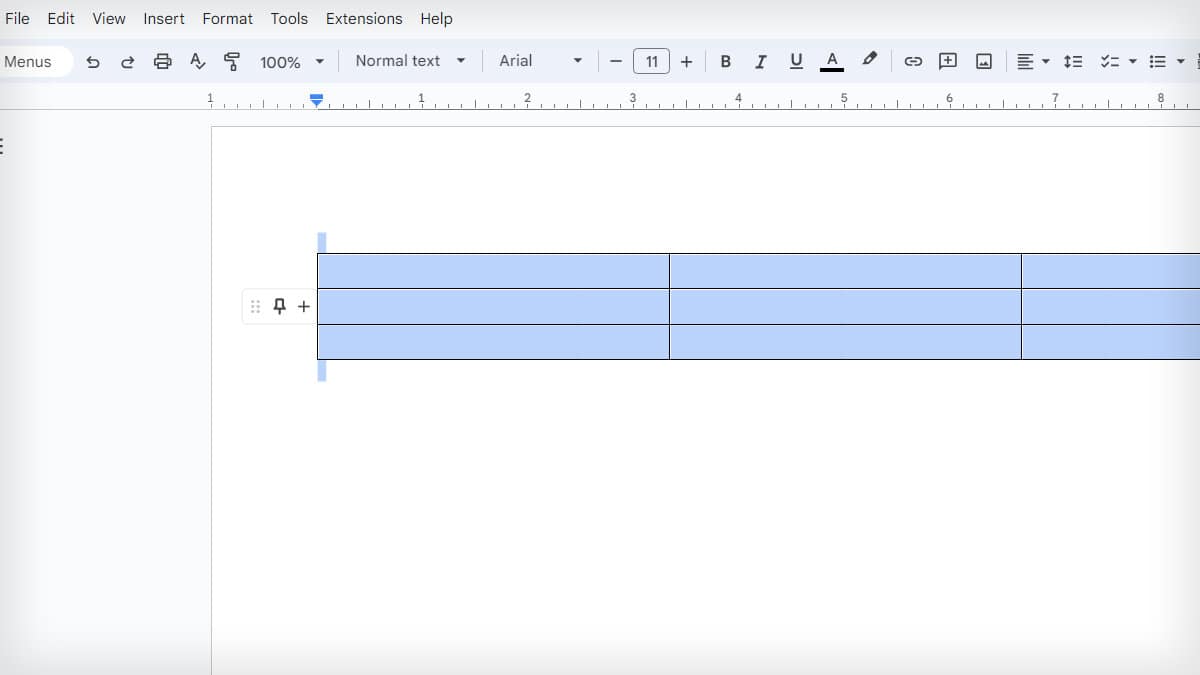
- Go to the Extensions tab and click on Page Sizer. Select Set page size.
- Enter the page dimensions and choose the unit. Click on Apply.
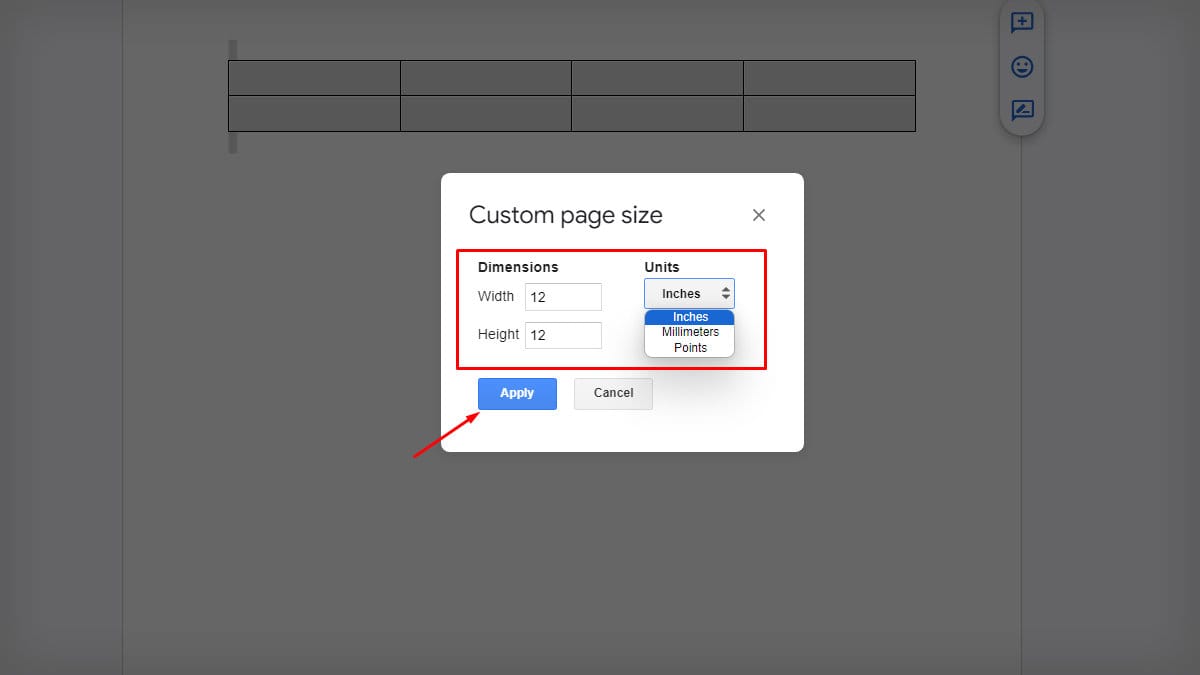
- Now, drag down the bottom border of your table. You will get evenly sized-boxes now.
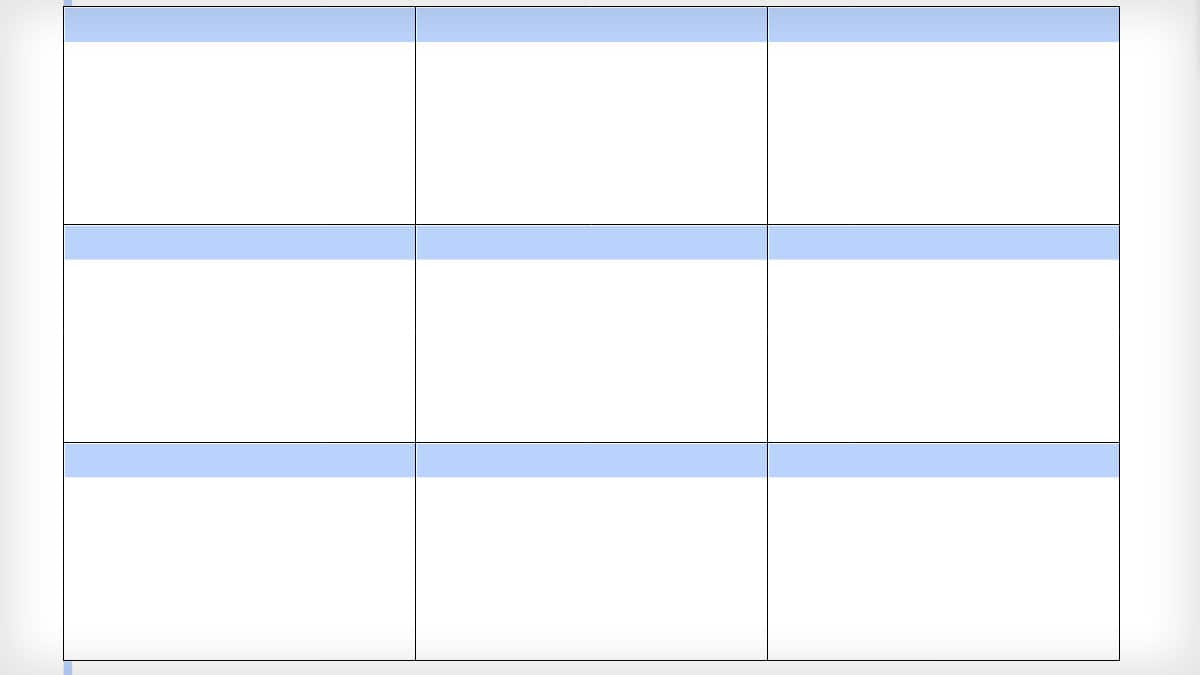
- Input text or insert images as mentioned above.
- Then, print the flashcards.
Alternatively, you can also edit the flashcard templates on Google Slides to achieve your desired result.