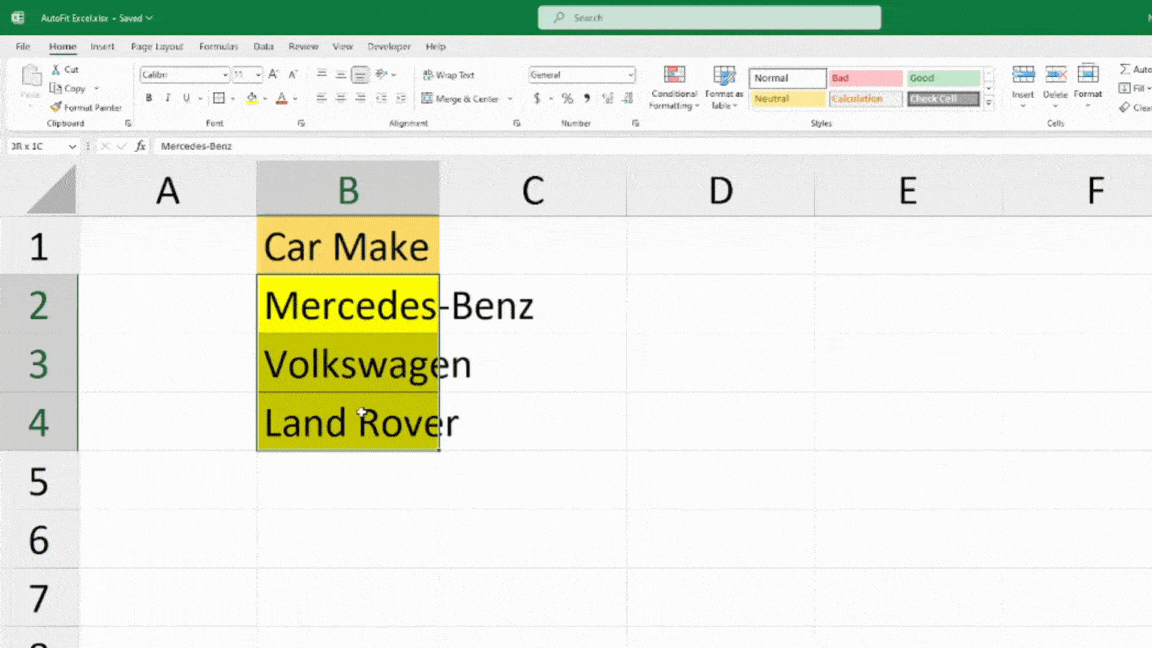
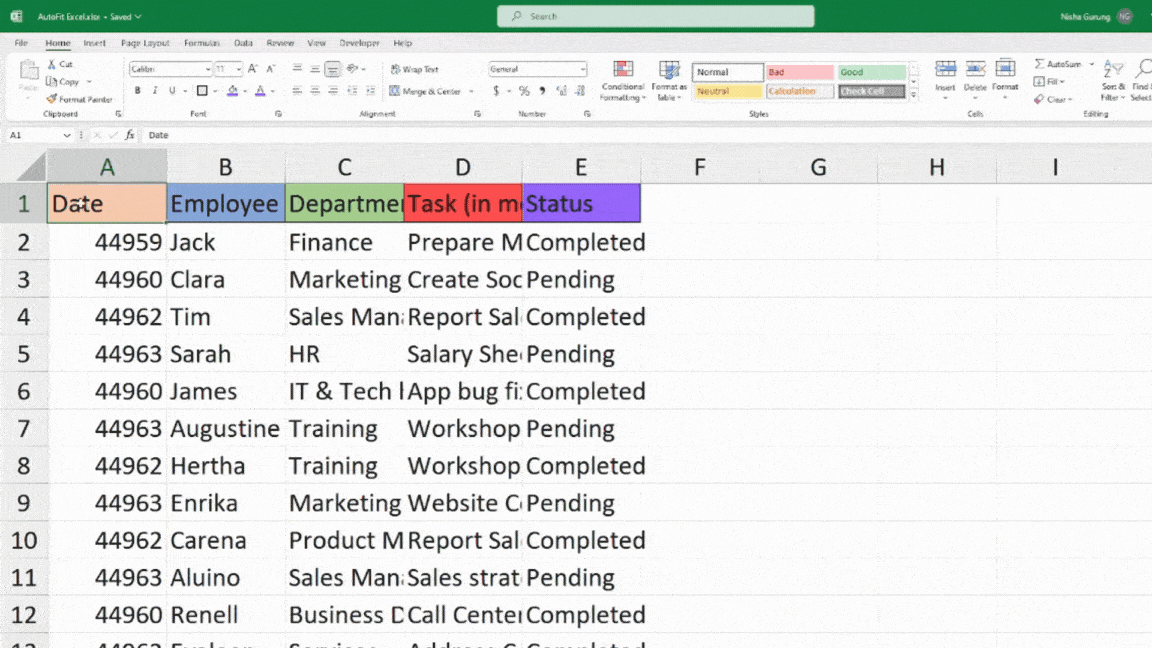
Whenever you enter longer texts, it is normal for contents to spill to other adjacent cells. This is because Excel’s default cell size (8.43 column width and 15-row height) cannot fit lengthy contents. You might as well encounter the #### error in the cells.
To address this issue, you can always expand the cell size to fit the text. This way, you could also keep your data clean in the worksheet.
To expand the cell size, most beginners tend to drag the resize cursor to stretch rows or columns. I’m not saying its wrong. But, with this approach, you may stretch the cell size too far or too less than required.
So, today, I will guide you through different ways that’ll automatically expand the cells to fit the texts perfectly.
Double-click Resize Cursor
Don’t we all Excel users look for the easiest and quickest way possible to do our tasks in worksheets?
The good news is that there’s a way that’ll automatically expand the cells to fit text in seconds.
In this method, you just need to press Ctrl + A to select the entire cells. Hover your cursor in between the Column Header you want to expand the column. Then, once you see the resize cursor, Double-click on your left mouse button.
Similarly, to expand the Row size, select the Entire cells. Head to the Row Header. As soon as you see the resize cursor, Left-click on your mouse twice. It’ll increase the cell size.
Using Keyboard Shortcut
While the double-click method could be the simplest, it isn’t possible to use that approach for huge spreadsheets. So, you could try out the keyboard shortcut.
As for me, I love using keyboard shortcuts because it saves a lot of time. Every time I need to extend the column size, I immediately press the Alt H O I out of habit. Shortcuts can basically become a part of your routine as you find yourself resizing cells almost every day in Excel.
Firstly, select all cell ranges with Ctrl + A keys. Then, press each of the keys one at a time. This is because the given shortcuts are Ribbon shortcuts.
AutoFit Column Width: Alt, H, O, I
AutoFit Row Height: Alt, H, O, A
From Excel Ribbon
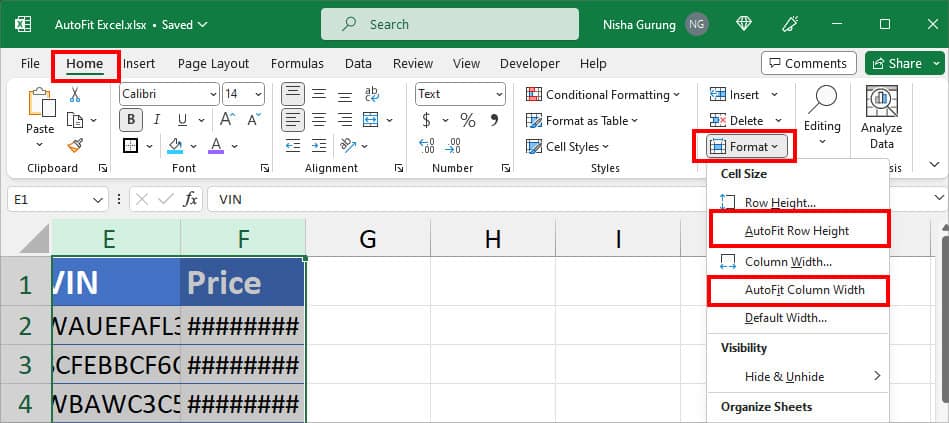
If you’d rather prefer to change the cell size from the Excel Ribbon, this method is for you. Firstly, select the entire cells and head to the Home Tab. From the Cells section, click on Format. Under cell size pick AutoFit Row Height or AutoFit Column Width.
Change Default Column/Row Width
If expanding the cell size is a part of your day-to-day job, you can change the default column or row size beforehand. The best part is you can do this for multiple sheets at once.
Remember the changes will apply to only selected sheets. You’ll have the default size when you add a new sheet to your workbook.
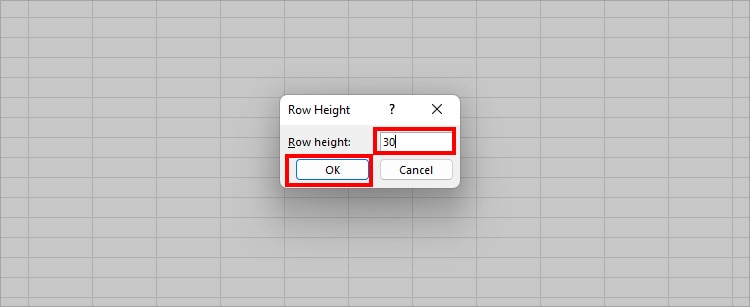
As an example, we have entered size 30 for both columns and rows. You can enter your preferred measurement.
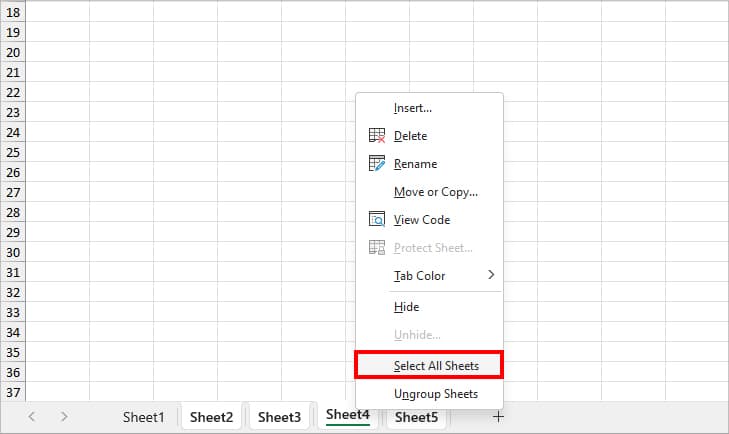
- On your Excel sheet, press the Ctrl key and select Multiple sheets.
- Right-click on any one Sheet and pick Select All Sheets.
- Now, click on the Select All icon at the upper-left to select the entire cell ranges.

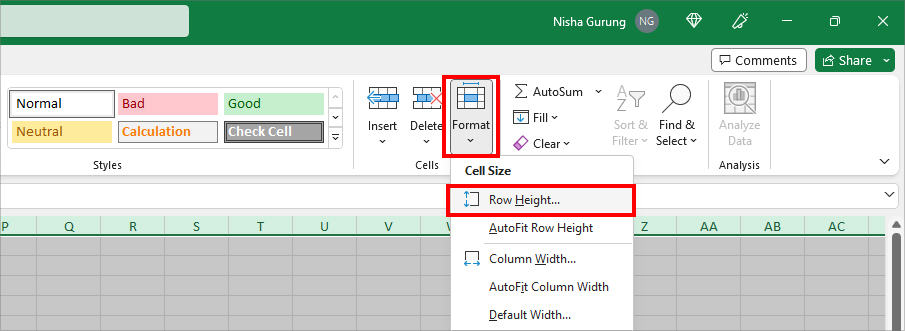
- Go to the Home Tab. From the Cells section, click on Format > Row Height.
- On the Row Height window, enter a Size and click OK.
- Again, click the Format option on the Home Tab and choose Column Width.
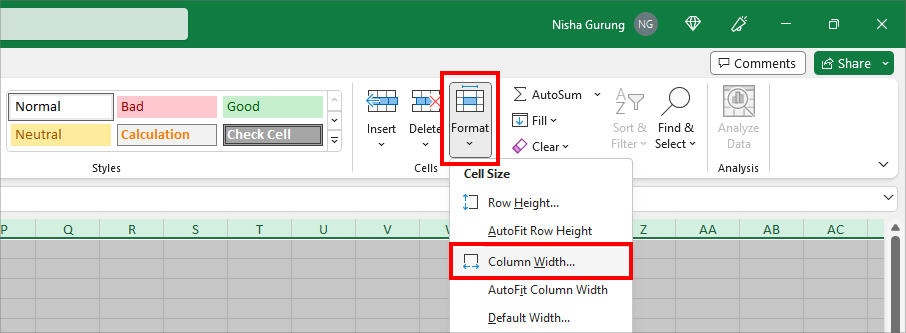
- On the Column Width window, type in the Column Size and hit OK.

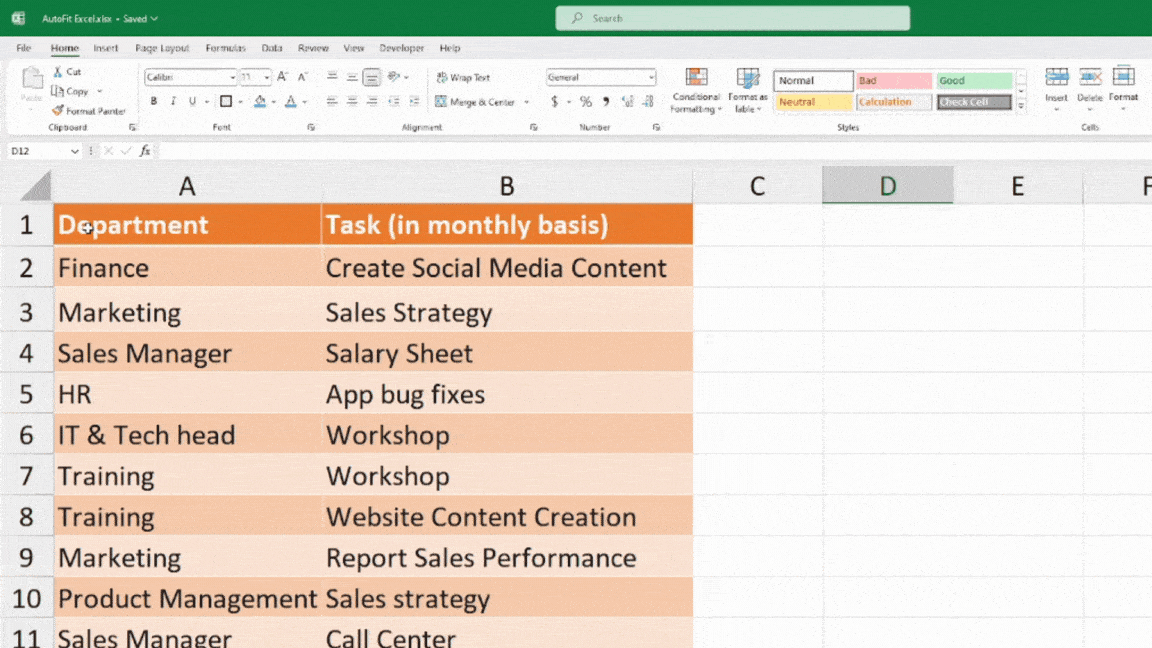
- After increasing the row height and column width, our cells look like this.
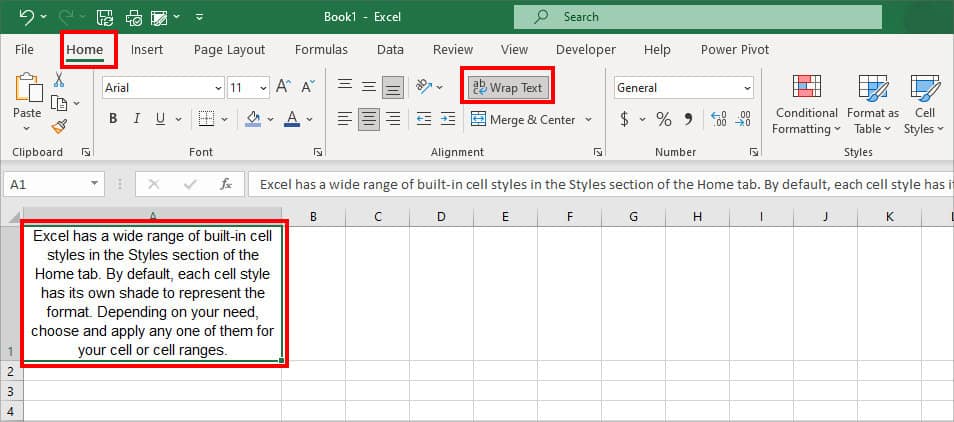
Use Wrap Text
To deal with long texts or paragraphs, you can use Excel’s Wrap Text menu. Wrap Text will automatically adjust the cell size such that the contents will fit in the cells.
For this, you can select the cells and enter the shortcut keys given in the box. Keep in mind, if the shortcut starts from Alt, it’s a Ribbon Shortcut. Meaning, you do not need to press keys together.
Keyboard Shortcut: Alt, H, WAlternatively, if you want to use the Excel Ribbon, select Cells and go to Home Tab. In the Alignment section, click on Wrap Text.
Shrink to Fit Text
There’s also a way to fit your texts in cells without changing the cell size. You could use Excel’s Shrink to Fit Text menu for this. The Shrink to Fit menu will shrink all items in the cells such that it only changes how your contents appear.
However, if you have very long texts, I do not recommend you use this method. The lengthy items will shrink so much that you’ll barely be able to see the items clearly.
- On your sheet, select the Cell ranges.
- Enter Ctrl + 1 keys together to open the Format Cells window.
- On the Format Cells window, head to the Alignment tab. Under the Text control, tick the box for Shrink to fit menu. Then, Click OK.