Google Sheets is a preferred option when it comes to storing and organizing data. But, it offers so much more than just managing data. One of the lesser-known features of Google Sheets is creating schedules.
In Google Sheets, you can either use the given templates or opt-in to create your own schedule from scratch. Read further to learn more about making schedules in Google Sheets.
Make Schedule Using Templates
Creating schedules from the default templates is much more convenient than creating your own. Google Sheets provides various template designs based on different categories. i.e personal, work, project management, and education.
- Open Google Sheets on your web browser
- Click on Schedule under the Start a new spreadsheet section.
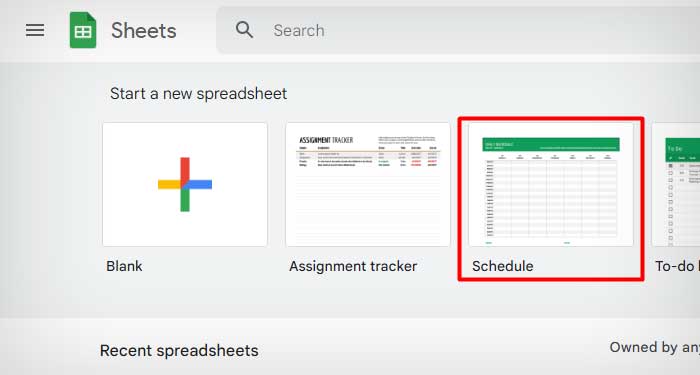
- You can enter data, and notes or customize the template to your liking.
Note: You can also access the sheet without an internet connection by making it available offline. Make Customized Schedule
Besides using a template, you can also create and customize your own schedule from scratch in Google Sheets. For this article, we’ll be making a basic weekly schedule on the spreadsheet.
- Open Google Sheets.
- Click on Blank sheet under Start a new spreadsheet section
- Click on the B1 cell and enter the starting day of the week. We will put in Sunday for this schedule. Press Enter.
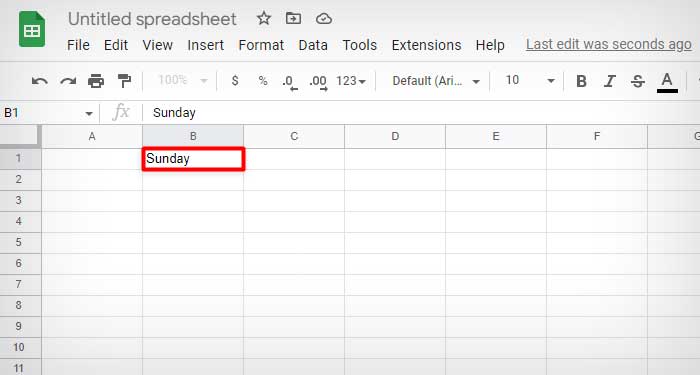
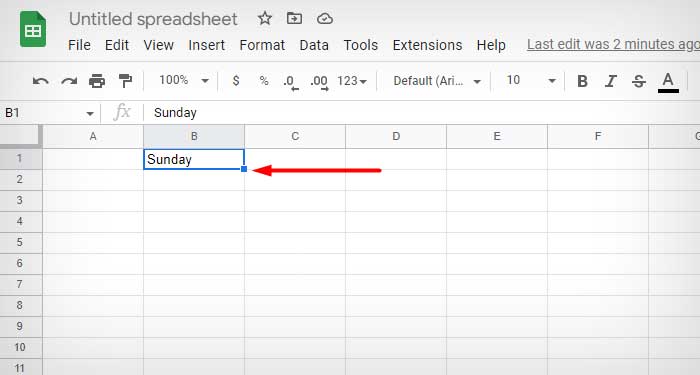
- Click on the B1 cell again, Hover on the small blue square until your cursor changes into a plus (+) icon.
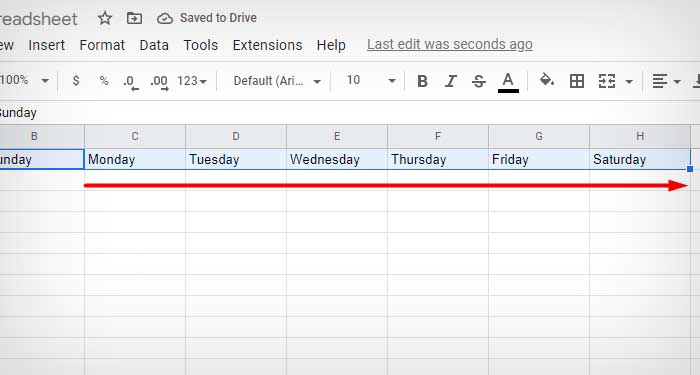
- Click and drag the cell horizontally up to the H row. The remaining days of the week will be filled automatically.
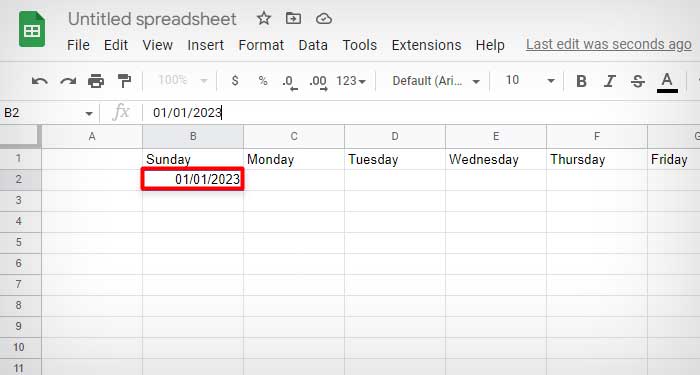
- Click on B2 and enter the date for Sunday. Follow the “MM/DD/YYYY” format
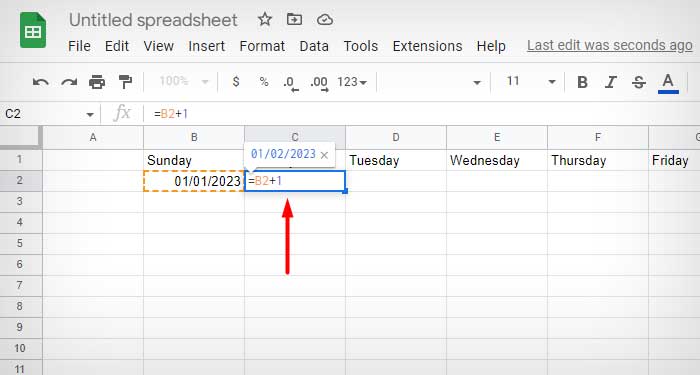
- Switch to the C2 cell, type =B2+1 and press Enter.
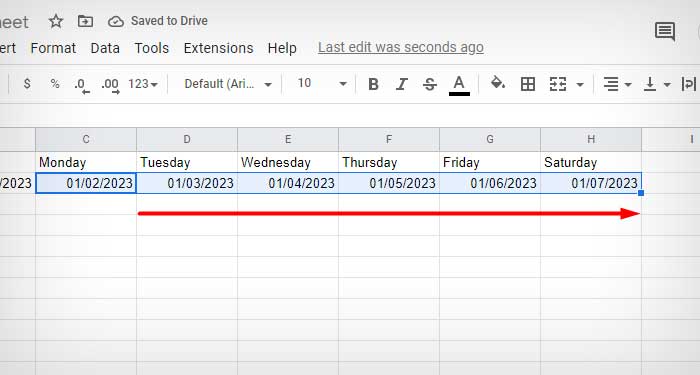
- Drag the cell similar to step 5
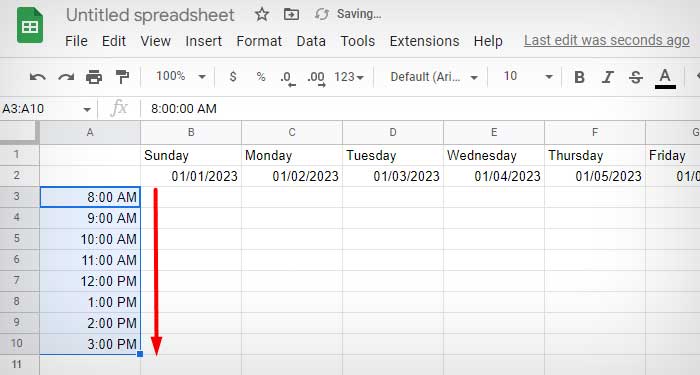
- Click on the A3 cell and enter the time that you start your day with.
- Drag the cell vertically until required.
Note: To save a schedule as a template, add the word "template" at the end when naming the schedule.